Friday, April 20, 2012

Ranger Clone Build Part 29 Engine Mount Gluing

I wanted to center the engine mount between the fins. One motor tube would be centered, the others would fall evenly between the other fins.

Look closely at the base of the yellow fin.
The engine mount was slid in place - no glue yet.
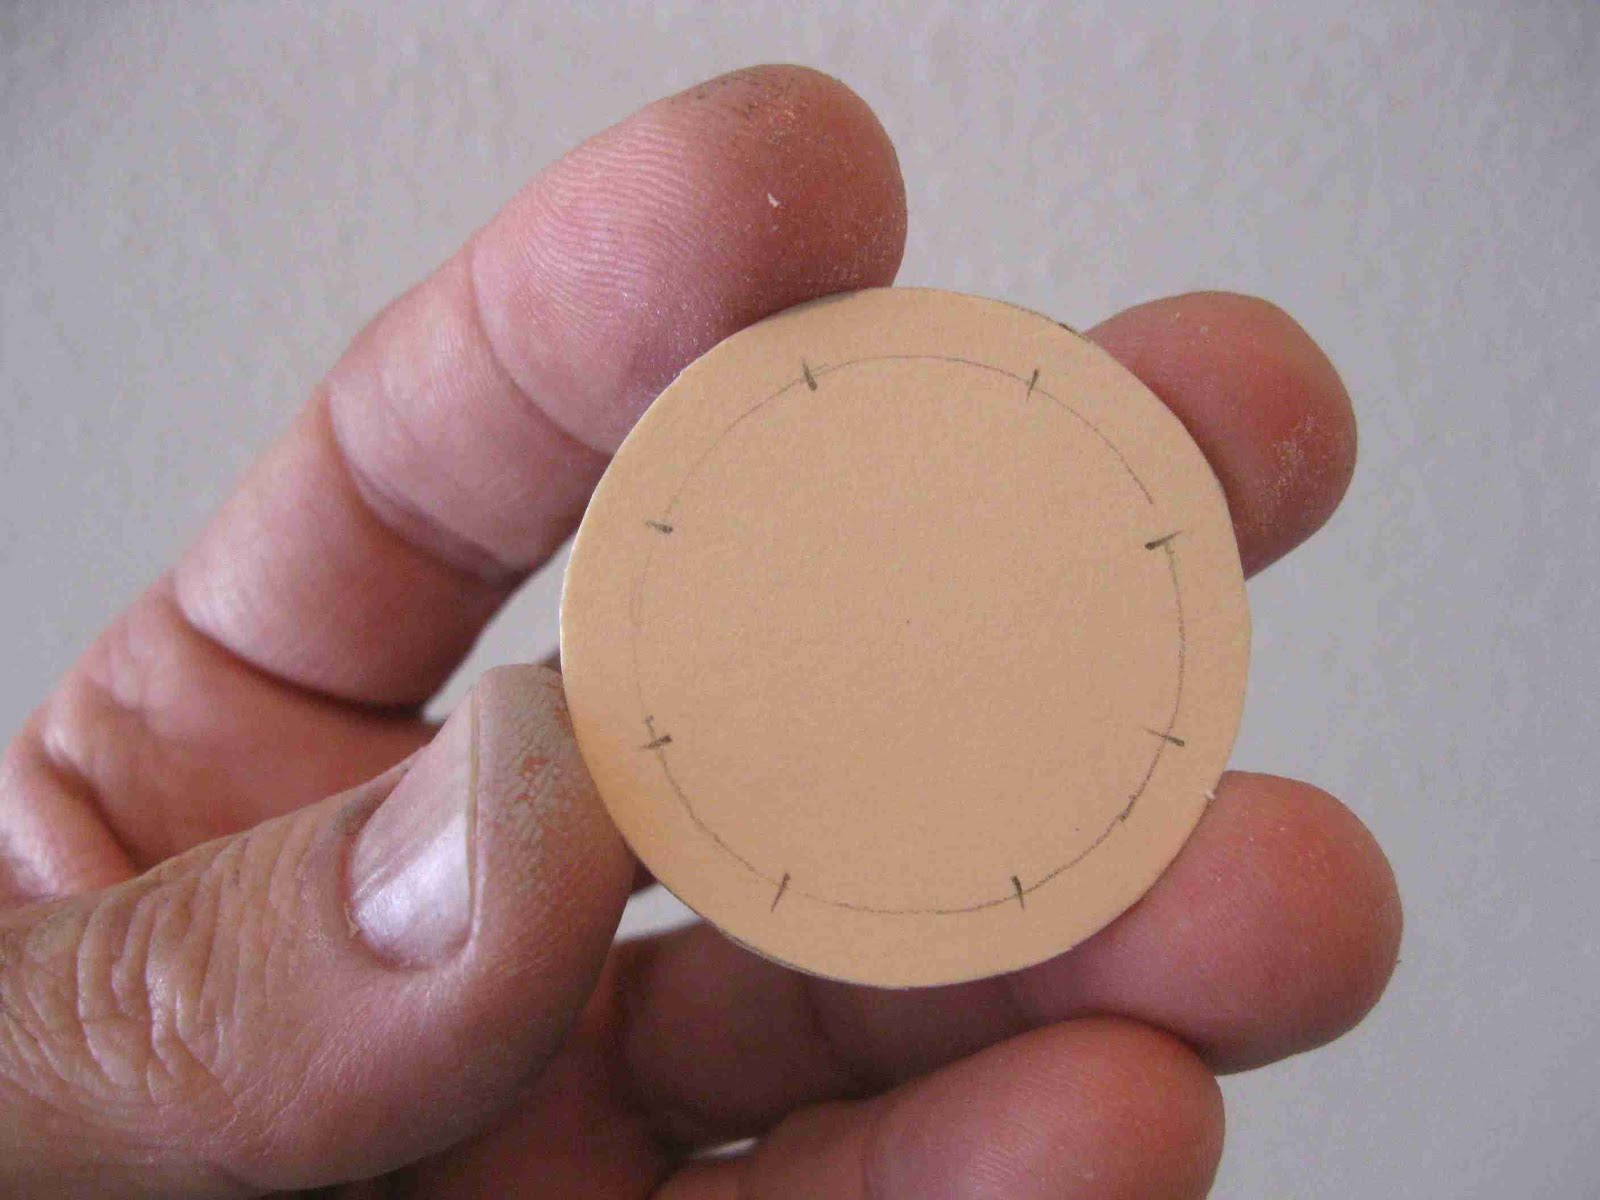
A small pencil mark was made at the center of the fin. Another reference tick mark was made at the middle of one motor tube.

The engine mount was removed.
A ring of glue was applied inside the tube just below where the upper plywood ring would end up.
The engine mount was slid in place.

TIP: About 1/4" out (before the engine mount tubes were even with the BT-60 mainframe) the motor mount was twisted until the tick marks lined up.
By twisting the mount (at the last moment) that inside bead of glue is evened out into a smoother fillet.

Inserting the mount and twisting into position does take some planning.
Don't use too much glue inside the tube. Use enough to allow the mount to be slid into position. White glue shrinks and a large bead of glue might "pucker" a ring around the body tube where the glue was inside.

Check to see the tubes are even. The back side of a ruler was pressed on both ends to be sure.


Some more white glue was added at the rear joints.

Thursday, April 19, 2012

Launch! Schoolyard, April 18, 2012

Because of launch cancellations and work, I haven't been able to attend a group launch this month. Time to head to the schoolyard.


The Centuri NOMAD clone was first up with an A8-3.
This isn't the newly released Semroc Nomad, mine was built from a clone kit bought on EBay. The Semroc kit has balsa fins, this one has the thick fibre fins like the original Centuri version.

The Semroc web page says it got to 200' with the A8-3.
Recovery was fine except for a snap-back nick in the nose cone shoulder.


The Quest STRIKER AGM flew to 300' with and Estes B6-4.
Great flight, I made a point of catching this one before it could hit the ground and break another fin.


My best flight of the morning was the Centuri VULCAN clone.

This was a re-build after a recent catastrophic B6-2 engine blew open the body at the nose cone joint.
Today's flight was near perfect, getting much better altitude than I would have expected. Near apogee there was a little tailwag, but not much considering what I've read about before.


The old reliable Hot Rod Rockets BELL BOTTOM flew to an estimated 550' with a 13mm A3-4.
Streamer recovery brought it right back within 50' of the pad.


Also flown:Carded downscale MMX MISSILE TOE. Straight up to 125' and straight down with nose blow recovery.

Ranger Clone Build Part 28 Baffle Plate Install

I may have mentioned a few posts back:
This is a single "baffle" plate. It doesn't protect the parachutes from the ejection charge.
It's there to prevent the parachutes (and wadding) from traveling back to the rear of the model during acceleration. The single plate also gives you a place to attach the shock cord.

The Semroc Ranger instructions have you glue the plate 4" from the top of the model.
I decided to go a little deeper at 4 1/2" from the top of the tube.
I felt a little more room was needed for the wadding, parachutes and nose block.

I've laced the loose end of the shock cord back into one of the holes and out the back below the coupler. This will keep it out of the way when gluing in the plate assembly.


I didn't use any glue yet. The coupler fit was tighter than I would have liked.
It was pushed into place using a ruler. This way I knew it was at the 4 1/2" depth I wanted.

After it was in place, a fillet was applied drop by drop using the rounded end of a 1/4" diameter dowel.


After the fillet dried, the shock cord was pulled forward using the end of a bent coat hanger wire.

Wednesday, April 18, 2012

New Quest Water Rockets

From the Quest Website HERE

Available in June, 2012
Quest Water Rockets are the perfect low-cost flying rocket without the hassles of traditional solid propellant rockets! There's no fire danger (the rocket fuel is water) and no HazMat fees to ship them!
There's no-cost per launch - You can fly them over and over.

YOU control the flight performance by varying amount of fuel and pressure.
Flies to over 200 feet!
You supply a PET soda bottle - 24 oz, 1 liter, or 2 liter

Included in this Class Pack are the supplies you'll need to build six complete water rockets (except you supply the PET bottles).
You get:
6 pre-cut Rigid Foam Fin Sets
6 translucent molded nozzles
6 Foam Recovery bumpers
Color assembly and use instructions
Includes complete Launch System.
You'll also need a standard bicycle pump with a pressure gauge.

Our unique Rigid Foam Fin system requires a "Low-Temp" Hot Melt glue gun. Students assemble the pre-cut and slotted fins, then apply the Hot Melt glue to the outside of each fin joint - this assures a perfect fin alignment every time!

This water rocket launcher is adapted from the standard Quest model rocket launcher.
The "tilt-stake" looks to be joined to the same leg that had the tilt adjustment on the regular launcher.

Ranger Clone Build Part 27 Single Baffle Plate


Cut a slot for the 1/4" wide shock cord attachment.

Apply a glue coat to both sides of the disk and let dry.
The glue coat helps protect the card stock from the ejection charges.


Center and glue the disk to the coupler and let dry.
If you cut the disk out on the pencil line it should be slightly larger than the coupler. Sand the disk until the edges are even with the sides of the coupler.

Test fit the coupler in a scrap piece of BT-60 and sand until you get a slip fit.
Fillet the inside joint of the disk and coupler.

Tuesday, April 17, 2012

Ranger Clone Build Part 26 Single Baffle Plate

Trace around your coupler onto heavy card stock.
I'm using a very thick mat board material using in picture framing

TIP: Ask for scrap mat board at a framing store. They usually have smaller center pieces left over from custom framing orders. You can buy it for next to nothing or if they have a lot - it's free! Perfect for centering rings and baffle disks as shown here.

Cut the circle out with sharp scissors on the pencil line. If the edge isn't perfect, don't worry about it. It'll be round later when sanded to the coupler edge.


Mark a circle around the outside about 3/16" in. Use the edge of the disk as a pencil depth guide.
Mark the circle in half, quarters then eighths.


Use those marks to punch eight holes with a 1/4 hole punch. The mat board is thick but the hole punch will still go through it.

The smaller center holes were made with my rotary punch. My standard hole punch wouldn't reach the center.

Ranger Clone Build Part 25 Black Body Stripe


There is one black stripe running up the body from the side of the lowest black block to the right of the single black fin.

It's the same width as the upper payload section stripes, just over 5/8" wide.

Notice I've made a small 45 degree cut in the corner. This will lay over the rounded
yellow fin tip.


The stripe is layed down using my aluminum angle to be sure it is running straight up the body.

Notice the overlap of the angled corner cut in the black tape. This helps define the color separation at the fin tip.
The angle cut lets you overlap the tape onto the black paint. In time, all vinyl tapes can shrink so overlap it slightly so you'll always have coverage.


Lay a 1/4" strip around the body tube over the vertical stripe.
That rough end can be taken off with sandpaper on a block.