Showing posts with label E Sidekick. Show all posts

Monday, January 13, 2020

Estes Sidekick #7287 Build, Finished


On the upper left, the engine retainer was glued on using the Becon Fabri-Tac glue. It is perfect for plastic to Kraft tube joints.
This model was built for Estes. The fins are glued only at the ring positions. It would be hard to mask to match the face card illustration if I didn't paint the fins separately off the model.
The decal "KICK" fits a little tight if trying to match the face card picture placement.
It's a good looking model. Nice to see Estes producing a cluster kit again.

Sunday, January 12, 2020

Estes Sidekick #7287 Build, Part 7, Decal Color Touch-up


From the last post - 
The color match is close, but not exact. The flame decal is a little lighter than the nose cone paint.

TIP: Some of the orange paint was sprayed into a small plastic cup.
A Q-tip was dipped in the wet paint. Before rolling on the decal, the excess paint was wiped off on a paper towel.

Some of the orange paint was rolled over the top of the flame decal darkening it slightly. Now the decal fade better matches the nose cone color.


TIP: Some orange paint was also rolled over the edge of the tube above the flame area. The area above the black paint was hit with a Sharpie.

Continuing the color over the tube edge makes it look almost seamless when the nose cone is inserted.

Saturday, January 11, 2020

Estes Sidekick #7287 Build, Part 6, Upper Flame Decal

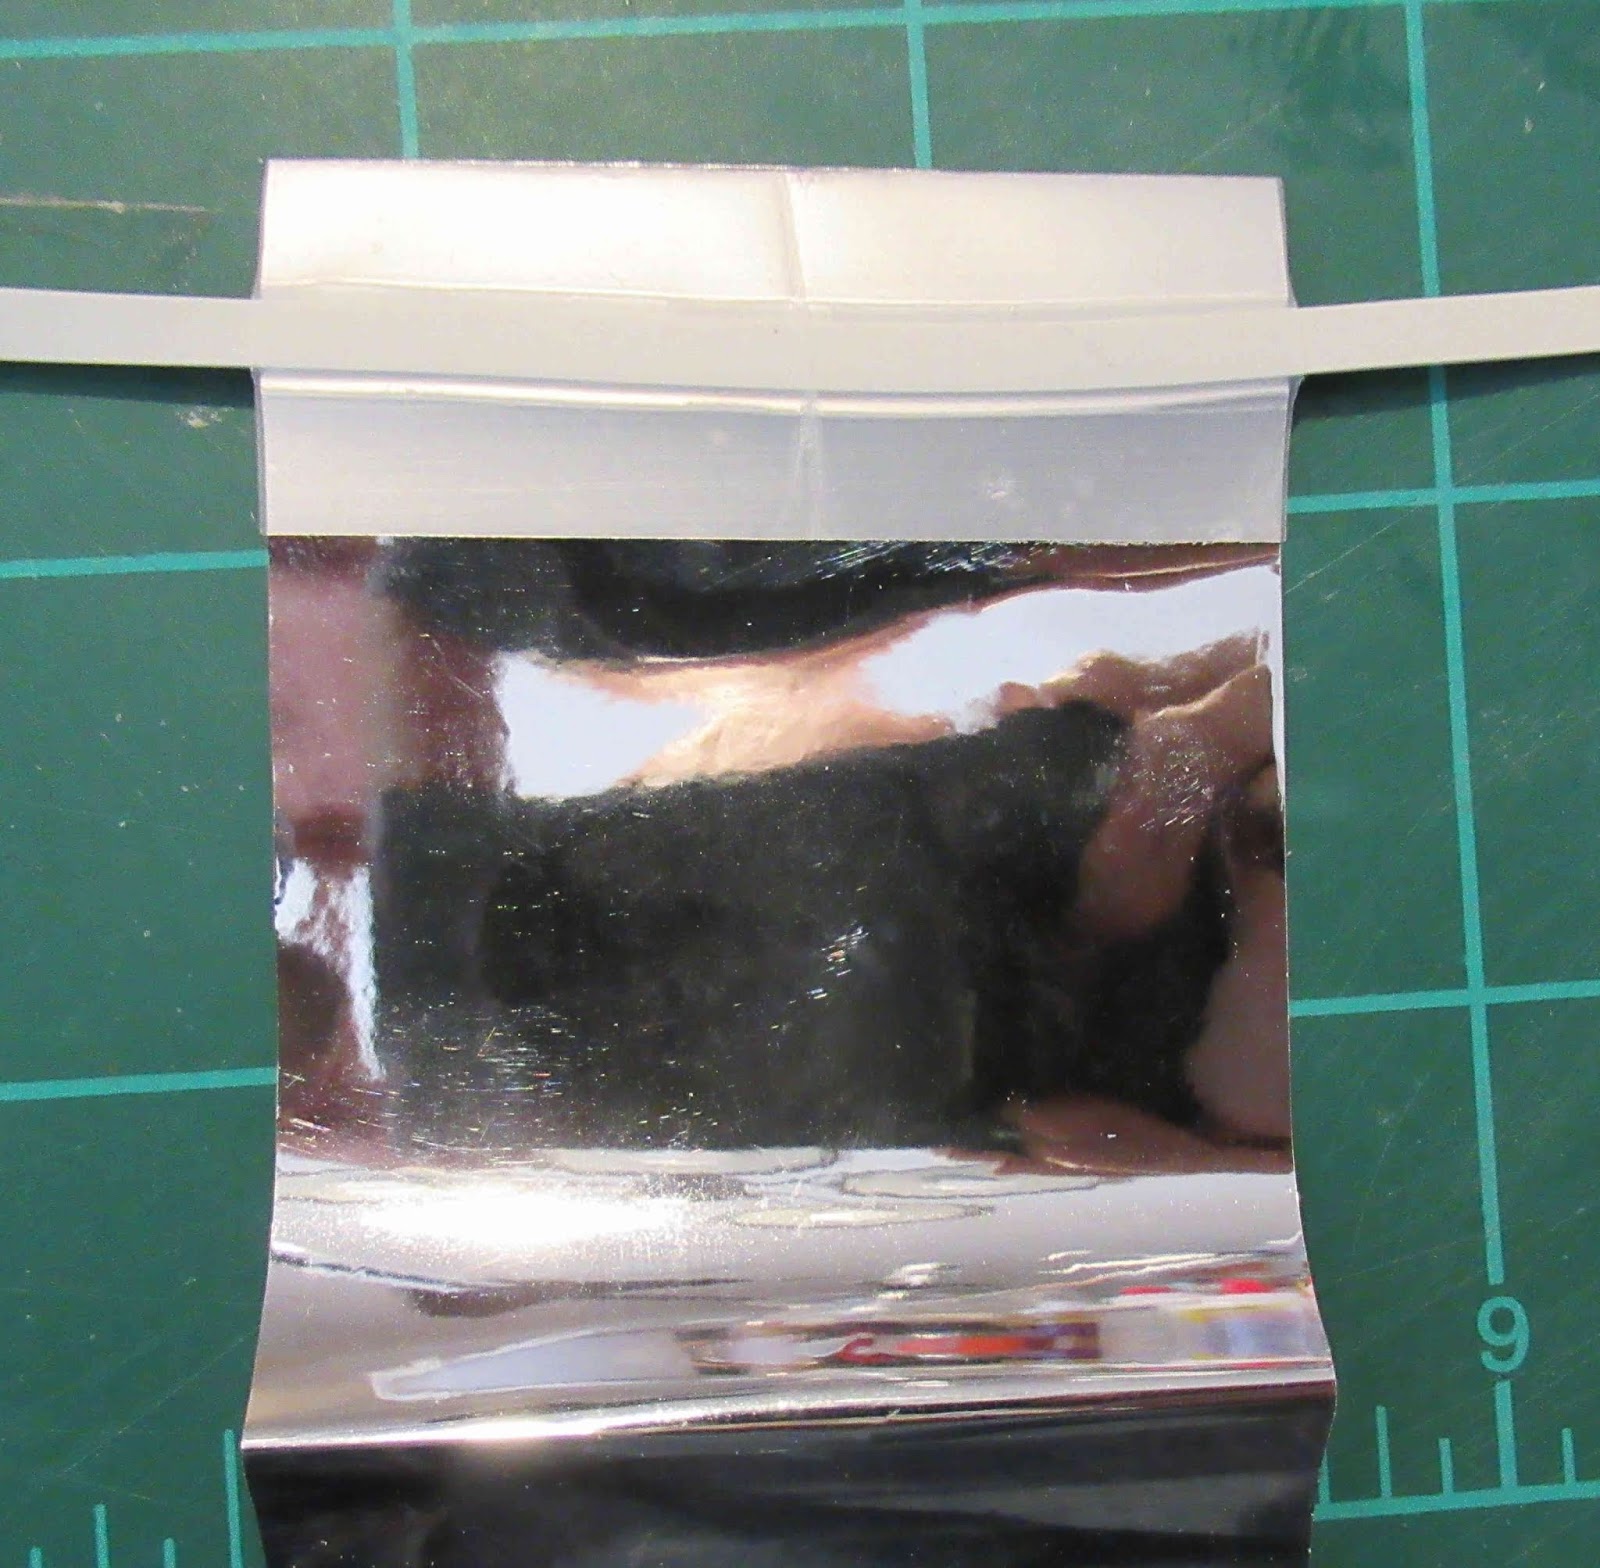
The second set of decals that Estes sent were a darker, richer shade of orange. I wanted the NC paint to match the orange in the decal.

Remember, under the flame decal will be black paint. Even with the white undercoat under the orange ink on the decal, it can be a tricky match. The nose cones were set in a scrap piece of white BT-20.
On the left is a test of my orange paint on the white plastic nose cone. The top of the decal beside it shows the sprayed orange on the NC is too light.
On the right - To darken the NC orange I sprayed some red first. The orange overcoat followed and the color was much closer, just a bit darker. This was a color test, I only sprayed the lower half of the nose cone.


The flame decals are two piece and go on the sides of the tubes leaving the center and sides clear.

There is a black border around the flames. I didn't want a black line between the nose cone orange and the flames below it.
The decal was set a little high with the black border line above the edge of the body tubes.


After the decals dried, the overhanging black line was trimmed off using a razor blade.

Be sure to seal the top edges with a wipe of Future clear acrylic applied with a Q-tip. This will prevent the decal edges from tearing and peeling back.

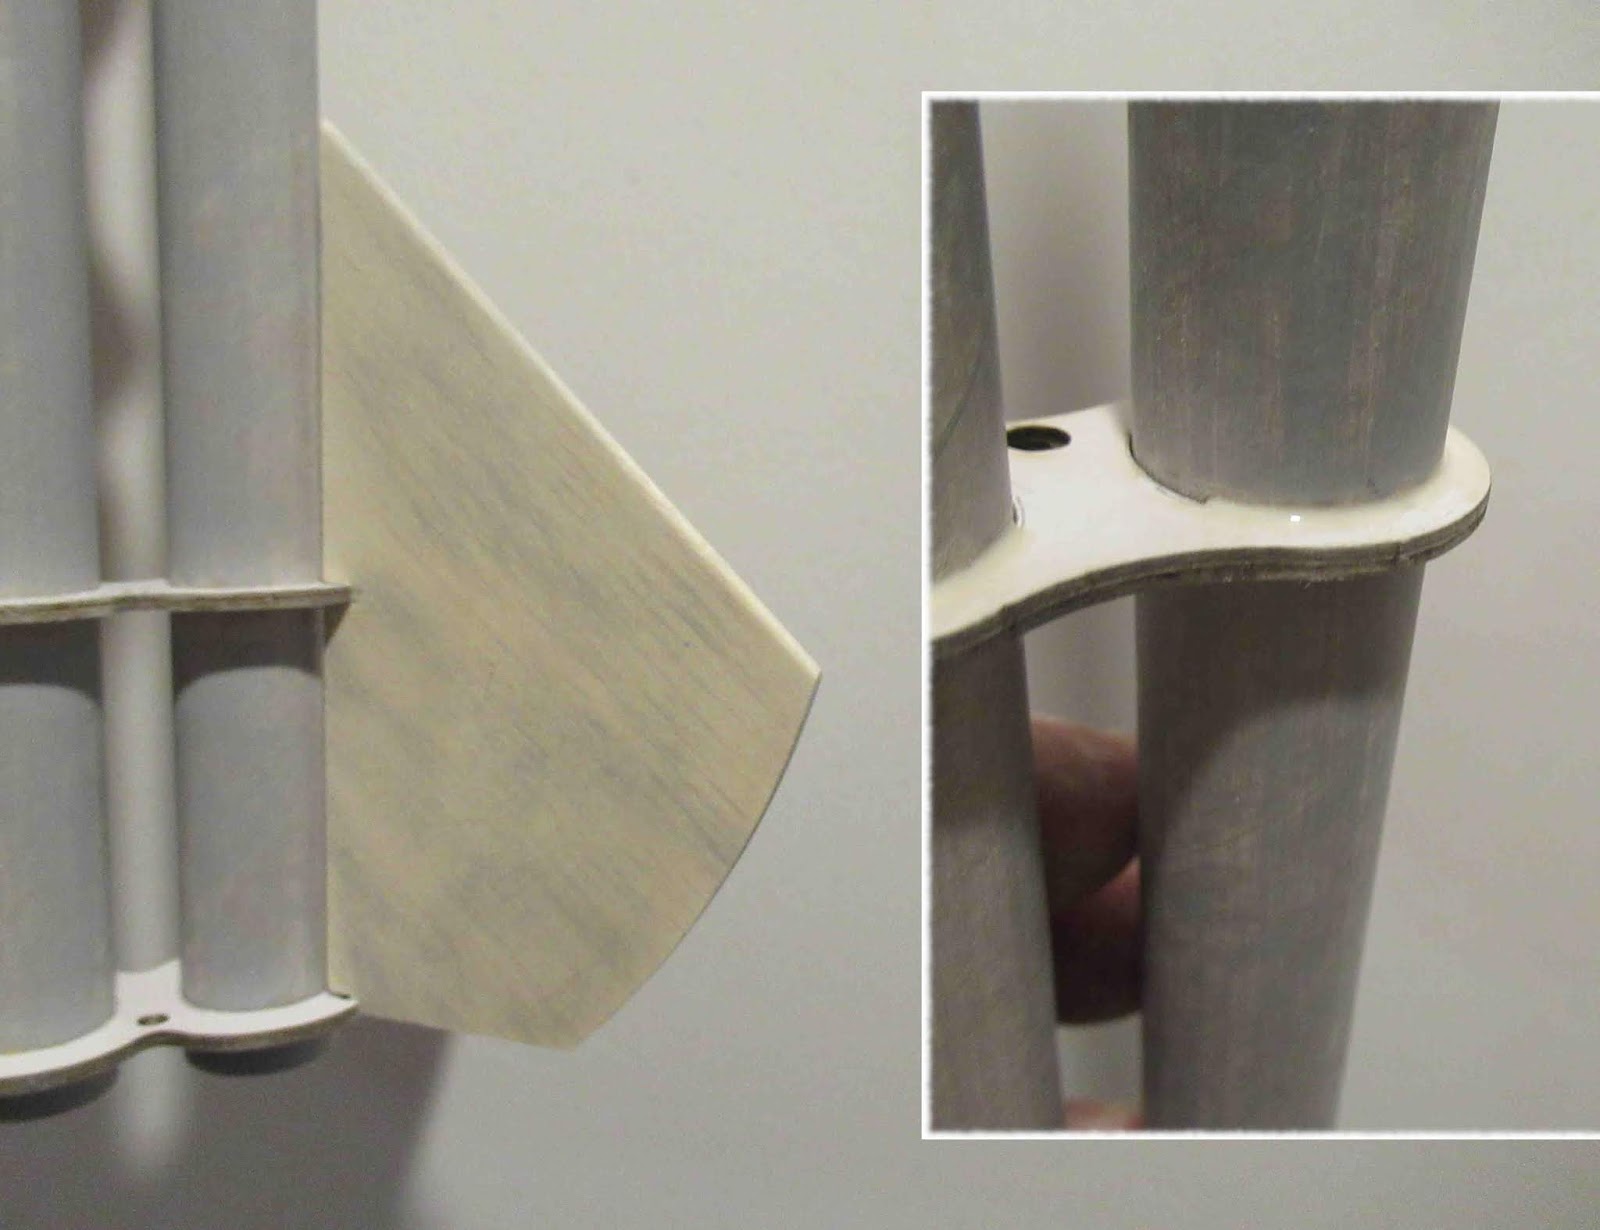
Here's how the two decals lie around the body.

The flame on the left (upper in the picture) tube is longer, the one on the right is shorter.

The view from the side showing the gap between the two decals.

Thursday, January 9, 2020

Estes Sidekick #7287 Build, Part 5, Paint, Shock Cords & Streamers


The black paint was scraped off the low end to glue on the engine retaining rings. (I really should have masked off the gluing areas!) I used the Beacon Fabri-Tac glue here for a strong bond between plastic and the Kraft tubes.


The shock cord was tied off to the nose cone using a square knot.

TIP: instead of cutting off the loose end, stuff it into the slot under the shoulder eyelet.
This shows how the rolled loop of masking tape sits on the back of the fin for spraying. The root edges are butted up against each other to keep the paint off.

The way I'm building it, I have to spray one side and let it dry for two days. The fin is flipped over and the other side is sprayed.


The streamer is taped onto the shock cord with clear tape.

I like to set the streamer down on my work table and center the shock cord on top. The tape is dispensed oversize so it the ends can be held with my fingers. It is centered and pressed in place.


The overhand is carefully cut off with scissors.

Wednesday, January 8, 2020

Estes Sidekick #7287 Build, Part 4, Gluing The Centering Rings

This build is being done for Estes, so it should match the face card paint pattern. I thought it would be tough to mask the orange and yellow fins after they are glued on, so these will be slid into the centering rings after painting.

They are larger fins and won't stand up on their root edges for spraying. The fins were held down to a sheet of cardboard. Under the fin is a roll of masking tape. This raises the flat fin over the card board so the edges get color without the wet paint on the edges sticking to the back board.


The position of the centering rings is important, they have to fit the notches cut into the root edges of the fins.

Masking tape was wrapped around the tubes to draw a pencil line at the gluing locations.

Before sanding off some primer/filler for a good glue bond, the fin was slipped into the notches to double check the pencil line rings from the previous step.

Fillets were added, but I didn't apply the glue near the tight center. It would be hard to smooth out the fillet with the tubes so close together.

Tuesday, January 7, 2020

Estes Sidekick #7287 Build, Part 3, More Ring Prep and Tri-Fold Mounts


The launch rod hole was rounded using a sharpened dowel. Press lightly and rotate the dowel.


The outside edges were sealed with some medium CA. After it dried  the edges were sanded smooth.


For an easier, cleaner fit over the body tubes, the interior of the rings was burnished with a smooth, sharpened dowel.


A Tri-fold shock cord mount needs to be FLAT in a small diameter BT-20 tube. Notice the angled pencil marks. The shock cord is initially glued on the mount at an angle. After it is folded twice you aren't dealing with a double rubber thickness plus the stacked layers of a folded mount.

Monday, January 6, 2020

Estes Sidekick #7287 Build, Part 2, Prepping The Rings


The rings are glued together making three thick figure 8 rings.

I used my #11 blade to carefully and cleanly remove the launch rod holes.
Be aware of the launch rod holes being in line throughout the build.
I applied glue to one side of the ring set and smoothed it out with a Q-tip. Be sure the glue covers all the way to the edges, all the way around.

To insure alignment, the glued doubled rings were slid over the BT-20 tubes. Don't glue the centering rings onto the tubes!


Some 400 grit was wrapped around a finger.
The inside of the rings was lightly sanded.


The outside of the rings was also sanded to remove the ash from the laser cutting.

Sunday, January 5, 2020

Estes Sidekick #7287, Build Part 1, Parts


Estes hasn't produced a cluster kit in a while.
This one is different, two parallel tubes and two streamers for recovery.

Estes does recommend using their Pro Series II Launch Controller for reliable cluster ignition.
The fins on this one have a large surface area. This might help with a vertical launch if only one engine ignites.


Parts look good! It's a little like two 2 fin nose cone models side by side.
Pictured above is a pre-production kit. Everything was fine, except the orange in the decals was a bit light. The decal register was also a little off. Estes has improved decals coming for the kit release. 


Lots of figure eight centering rings. Note the small holes near the center of the "8". These are used in place of launch lugs, sliding right down the launch rod.

Two of the new screw-on engine retaining rings
Two shiny chrome streamers.