Tuesday, May 21, 2013

Quest Raptor Build Finished


What a sharp design! It's a bigger than you might think, almost as big as the Quest Aerospace One.
Thanks to Scott (Rokitflite on YORF) for the great design.
I agree with JeffyJeep on TRF, you are better off painting this one beforehand in sub-assemblies then glue it all together. It would be a tough mask otherwise.


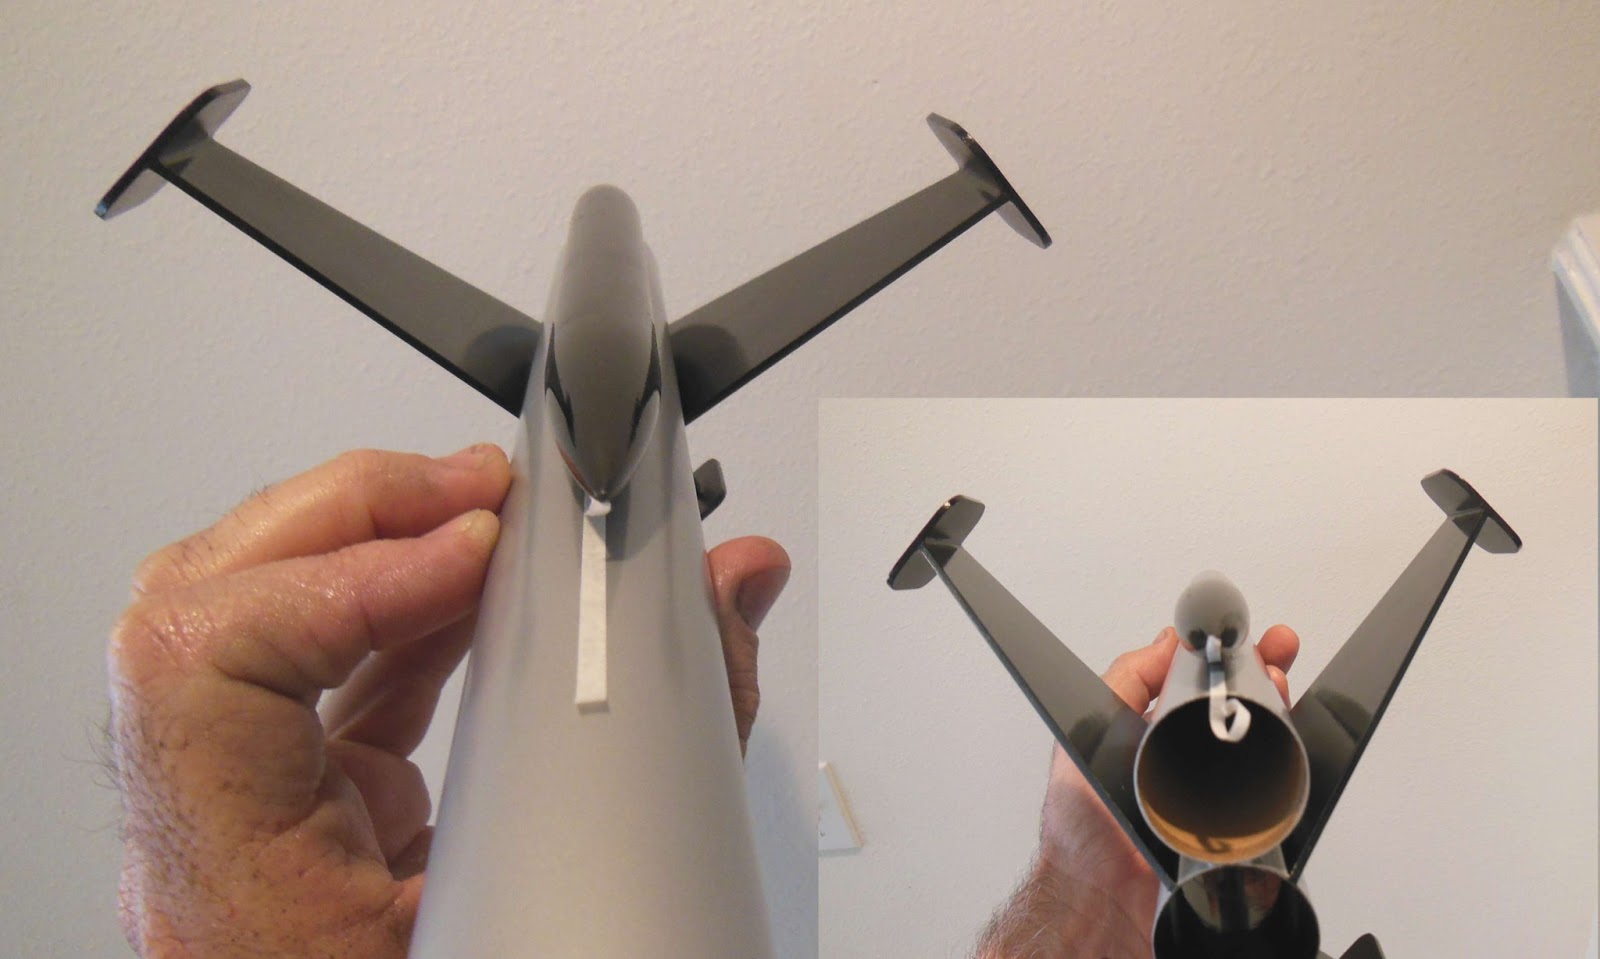
Be careful when gluing on the fin unit. You'll be tempted to glue the fins on backward.
The outside edges and red pads face forward!
Use the double glue technique on both the fin unit and underside tank.

I was a little disappointed with the decals. The eight piece canopy would be too hard to place and space evenly. Other decals had print transferred from the instruction sheet on them.

The kit face card says it could be flown with an A6-4 engine, but I wouldn't chance it!
I'll fly it first with a B6-4, but this is really a C6-5 bird.

Monday, May 20, 2013

Quest Raptor Build Part 21 Loose Ends

The shock cord was tied to the nose cone shoulder lug with a Duncan Loop knot. See the knot instructions HERE
This is my favorite knot for tying a shock cord to a screw eye or lug.
Both of the line ends face down making less chance for the end to get caught between the shoulder and body tube.

The supplied shock cord was only about 18" long so I'll add more length to it.
The parachute will be clipped on to a loop in the shock cord about 1/3 the way down from the nose cone.


I forgot about the launch lug!
The lug will be sprayed aluminum. It's sitting on three toothpicks for a small spraying handle.
I'll have to sand off the lug paint and scrape the body tube where it will be glued.

Quest Raptor Build Part 20 Nose Cone Canopy Decal


All the decals had a clear overcoat except for the canopy decal. When put in the water, this decal would separate into eight separate pieces!

I thought the decal was too large anyway so I cut out a new one from my roll of Contact Paper Blackboard material.
My canopy was a little smaller with simpler cuts.

To be sure it was centered when sticking down the eight pieces a strip was stuck down the center from the nose cone tip to the shoulder.

All the pieces were set down on either side.


Here's the finished canopy.
This is easier to do than you might think.
I was happy with the results.

Sunday, May 19, 2013

Quest Raptor Build Part 19 Decals

Be very careful when cutting out the decals! There is some white type that is almost invisible against the white backing paper. Maybe that's why some kit decals are printed on a blue backing sheet.

Most decals went on easily, there were a few I didn't know where to place.
Unless I'm building a model for a manufacturer, I rarely put on company name decals like "Quest" or "Estes".
The TM letters were cut off the BIG Raptor name decal.
The word "Starcruiser" was cut off the big "QMR7" wing decal. I felt it was crowding the long rear wing elevon/No Step decal.
I left off a few others, this model is decal intensive. The design stands on it's own without that many BIG decals.

The decals were packed next to the instructions with no backing sheet.
Some of the ink from the instruction sheet had transferred onto the decals.

I was hoping the ink would come off when the decals were soaking but it didn't.
I ended up laying down the decals and lightly scraping off the transferred ink. It's not perfect but better than it would be if I left it as is.


There was one small "DO NOT TOUCH" decal. I checked the copy with a magnifying glass.
Here's what the small type said:

DO NOT TOUCH
Quest Starcruiser
Do not touch this rocket. 
This includes any sales people any kind. 
Only specific authorized personnel 
including Bill Stine and friends

Saturday, May 18, 2013

Quest Raptor Build Part 18, Assembly

This shows the tube masks used for a better glue bond.

The tape strips are used for alignment, an extension outside of the tube masks. Keep the masking alignment strips towards the outside and away from the gluing area.
Here's how the underside tank was glued and aligned.
Main picture is the front, the inset is from the back.

Simply line up the two strips of tape and the tank should be directly over the glue line. Still, sight from the front and back to double check straightness.


Even without decals, this is a great design. It should turn heads at a club launch.

The fins are large but being swept forward they should recover without damage.

Quest Raptor Build Part 17, Assembly

This model was painted before gluing on the fin unit and tank assemblies.
You don't have a pencil line to glue onto and it's hard to see the masked glue area of exposed tubing.

Strips of masking tape were cut and laid down outside of the "naked" tube lines. More strips were set inside the intake tube. All I have to do now is apply glue and line up the tape strips.

The fin and tank assemblies were set in place using the "double glue" method. You'll want these two assemblies to grab but still be able to adjust them.

After the glue dried a drop of thin CA glue was allowed to run down the joint.

I also added an end fillet of white glue.
This was smoothed out with a Q-Tip swab. You'd never get a fingertip in there to smooth out the glue.

I'm a little surprised how many of these cotton swabs I use now.
They are very handy for removing excess glue. I also used them to press down the edges of the tape masks. There is no chance of scarring balsa with the soft end swabs.

Thursday, May 16, 2013

Clear Coating Aluminum Paint - TIP


I've brought up this clear coat before - Americana Acrylic Sealer / Finisher - Gloss.
It's available at Michaels Crafts.

I've never had great success with Future floor finish.
This clear coat can be sprayed on thick (almost wet) and doesn't "craze" a finish.


Take a look at the two body tubes from the Quest Raptor build.
(I'm building two kits at a time.)

The upper body tube has been sprayed with the Americana clear coat.
The lower tube is just the Rustoleum 2X Aluminum without any clear acrylic coat.

The upper tube is shinier and almost looks wet.
You do have to spray the clear coat a little thicker than normal to get this result.

TIP: Always wait at least a day for paint to dry before masking for the second color.
Always wait at least a day for final color paint to dry before clear coating.

TIPS: If you ever unhappy with a gloss finish, a FLAT clear coat can hide many mistakes.

MORE TIPS: This Americana Acrylic Sealer Gloss coat helps hide mistakes on a gloss model.
If you have orange peel (roughness and bumps) on your final gloss color coats -
Let dry and LIGHTLY wet sand with 400 grit.
Don't sand to surface , just knock the tops off the orange peel bumps.
Respray with a (thick, but not enough to run) coat of the Gloss Clear Acrylic Americana.
Repeat wet sanding and re-spray if needed.
With every wet sand and re-spraying the surface will be smoother and shinier!