Thursday, November 19, 2015

Estes Honest John, #7240 Build, Part 5, Fin Gluing

Here's how I set the glue down on the outside laminate pieces.
I wanted good coverage but not so much that the laminations could slip out of alignment when set under weight when drying.

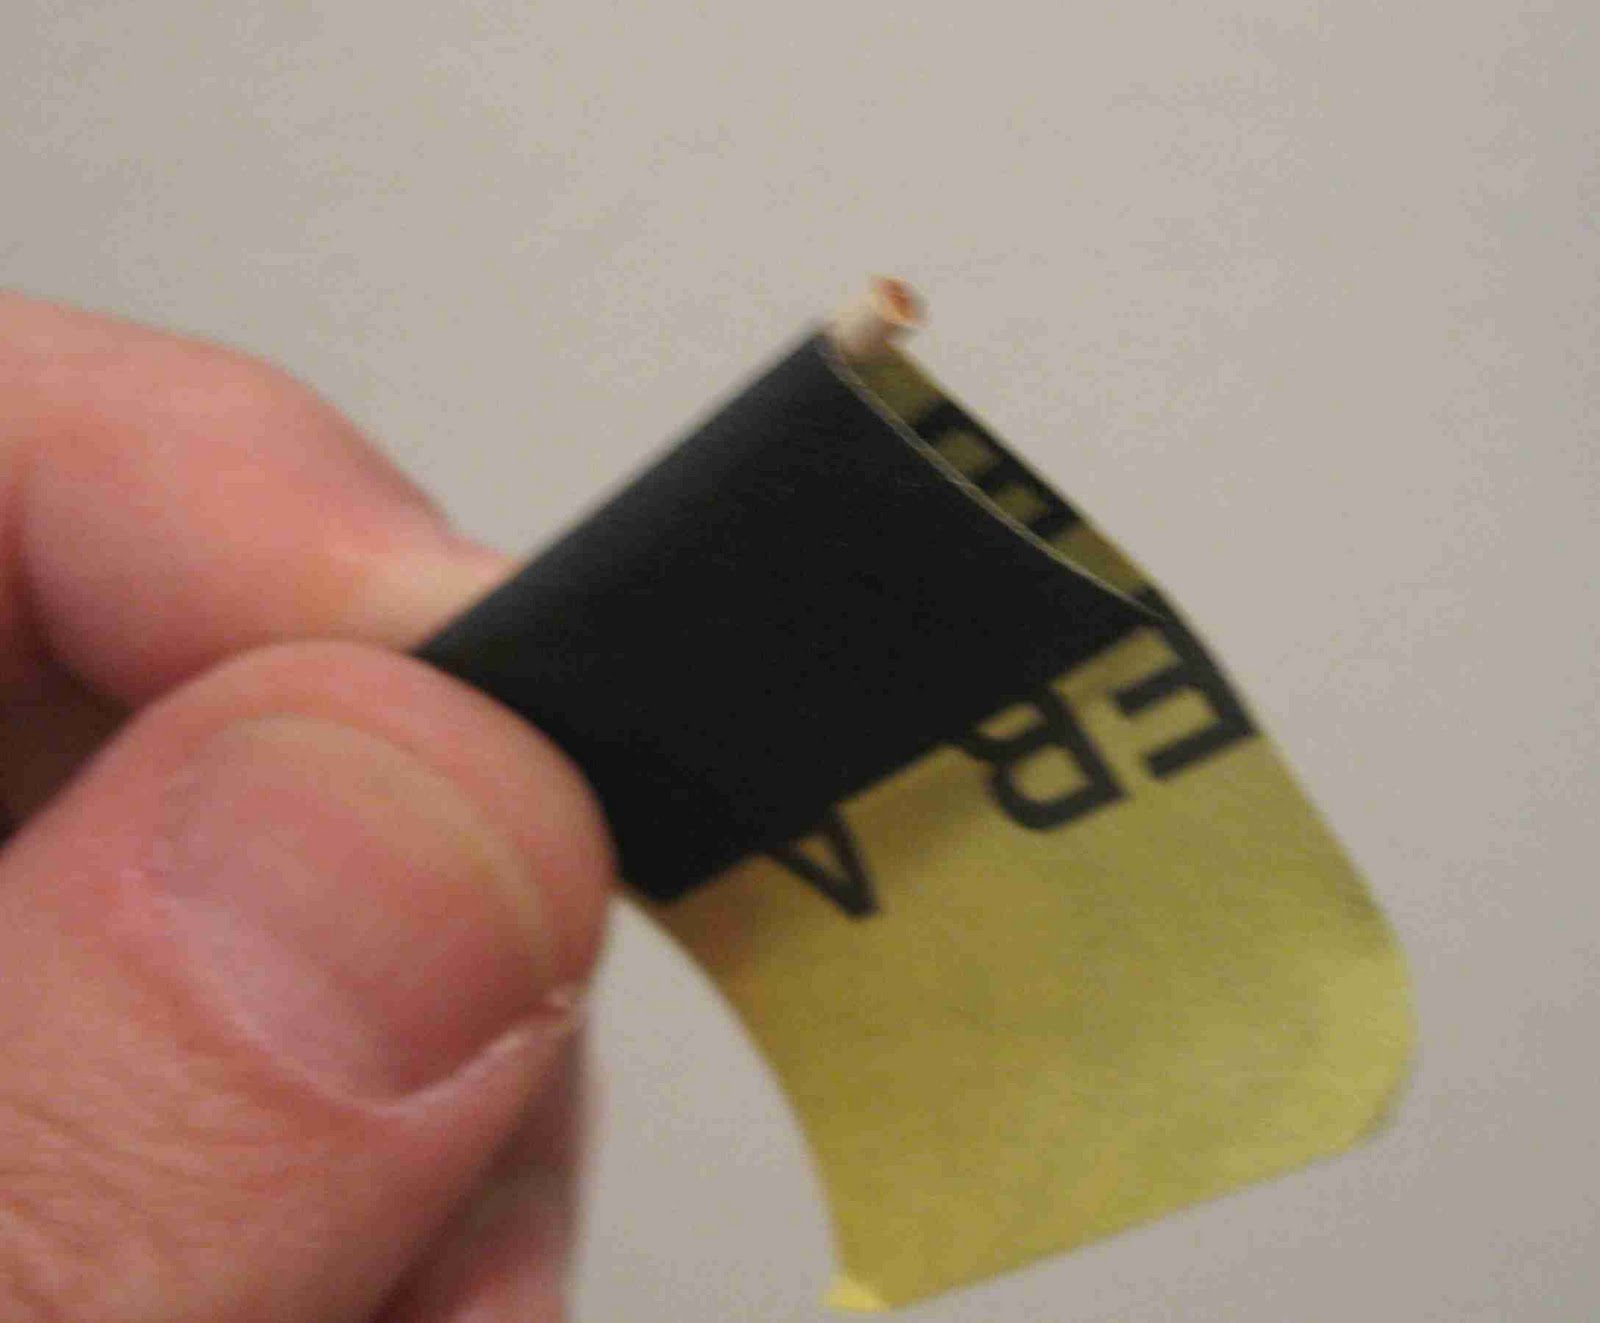
EDIT: After painting I noticed some very slight lifting on the outside laminate on one fin side. Use enough glue to guarantee full adhesion. After the glue was applied as in the picture, smooth it out before bonding to the center core piece.


While the glue was still wet, the fin pieces were set against the tail cone. I was trying to see if I could coax a curvature into the root edge.
While the fins were being pressed into the tail cone the glue was warping the outside laminates away from the center piece.
I knew I had to get this assembly into a heavy book soon, before the glue started to set up.


I found this interesting -
There is a slight gap between the root edge and the recessed band on the tail cone. You don't see this gap in the instruction drawings.

Wednesday, November 18, 2015

Estes Honest John, #7240 Build, Part 4, Fin Assembly

I'm not sanding the fin root edge here, I set the fin on my flat sanding block so you can see the curvature on the root edge. The sanding block was just a handy flat surface to show the slight curve on the root edge.

Normally I sand off the blackened laser cut edges. Don't sand all the fin edges until after all the laminations are glued together.

The only edges that should be sanded for now are the center lines of the outside lamination halves.
On the left is the top and bottom outside pieces before sanding the inside edges.
On the right is the edges after sanding.
Again - lightly sand only the center lines of the outside lamination pieces for a tighter fitting center joint.


I glued the outside halves together with CA glue.


After that quickly dried, the glued edge and flat surfaces were sanded smooth for a better flat gluing surface.

TIP: Sanding In A Tight Angle

Normally I would sand a rounded fillet area with sandpaper over a Q-tip for a cushion.
If you have a very tight inside curve to sand, the Q-tip might be too wide.
Here's how to get sandpaper into a tight rounded edge without folding a crease into it.


On the Quest AS-1 Escort build I had to sand some filler over root edge fillets.
I didn't want a sharp folded sandpaper edge to scar the balsa.
400 grit sandpaper will get creases in it when "bowed" too tightly.


Roll the paper under a dowel in the heel of your hand, the same way I've shown when pre-rolling a shroud, nozzle or adapter.


Do this again with a smaller dowel or toothpick rolling it into a smaller rounded "edge."
Try to get a smooth, tighter "U" shape. Remove the toothpick or dowel before sanding


Now you can sand into the root edge with a cushioned rounded piece of sandpaper. You'll have less chance of scarring the balsa now that the sandpaper has a smooth, rounded sanding surface.

Tuesday, November 17, 2015

Estes Honest John, #7240 Build, Part 3, Tail Cone


The instructions are vague about how to cut the fin slots, just a knife and some arrows.
Instead of trying to cut around the corners with a knife tip, I rolled the blade back and forth underneath the rounded end.
Please note: I'm not carving away the entire raised rib. I'm just working around the rounded ends
Then cut the long sides. It's pretty easy to cut down the raised rib.


Most of the slots cut clean except for one.
The inset picture shows the slot with the rough edges.


The slots were cleaned up using a flat file.
Don't do what I did, I opened up the slots a little too wide. The center TTW tab of the laminated fins is only 1/16" thick.

Composite engine to Black Powder Staging?

From the October 11 N.E.F.A.R. launch, I posted this picture and copy: 
I did a double take when I read the name on Scott Border's Ascender. Clever and funny.
The booster was a composite F51, the second stage was a black powder F15-8.
Perfect flight with a long pause before second stage ignition.


In the post comments, Lester Anderson asked:
"Did Mr. Scott Border offer up any information how he made that staging possible? I have never heard of someone staging a composite engine to a black powder one."

At the November 14 N.E.F.A.R. launch I asked Warren Scott Borders how it was done.
Warren said he cuts down the delay as far down as possible on the Cesoroni booster. Some extra loose black powder is added into the cap. Vent holes are punched into the booster to help upper stage ignition.

According to Warren, he's had great success using this method. Delays on composite engines are routinely shortened using a delay drill tool. 

Monday, November 16, 2015

Finished SR-71 Blackbird Auction Ending Soon


The Ebay auction for the finished SR-71 Blackbird finishes up Monday night at around 9:00 p.m. EST.
To see it, CLICK HERE                         Thanks for bidding and supporting the blog! 

Estes Honest John, #7240 Build, Part 2, Tail Cone


The ends have to be cut off the tail cone.
The instructions show a hobby knife being used. You can use a knife but I have better results with a fine tooth hobby saw.


The inside flash has to be removed for the centering rings to fit in the tail cone.
Remove the edge by shaving it off with a knife. Make small cuts.


Round off the inside edges with 220 grit wrapped around the engine mount tube.
The engine mount tube is a thick walled BT-50 size.