Sunday, May 16, 2021

Estes Antar #7310 Build, Part 11, Nose Cone Tip Mask

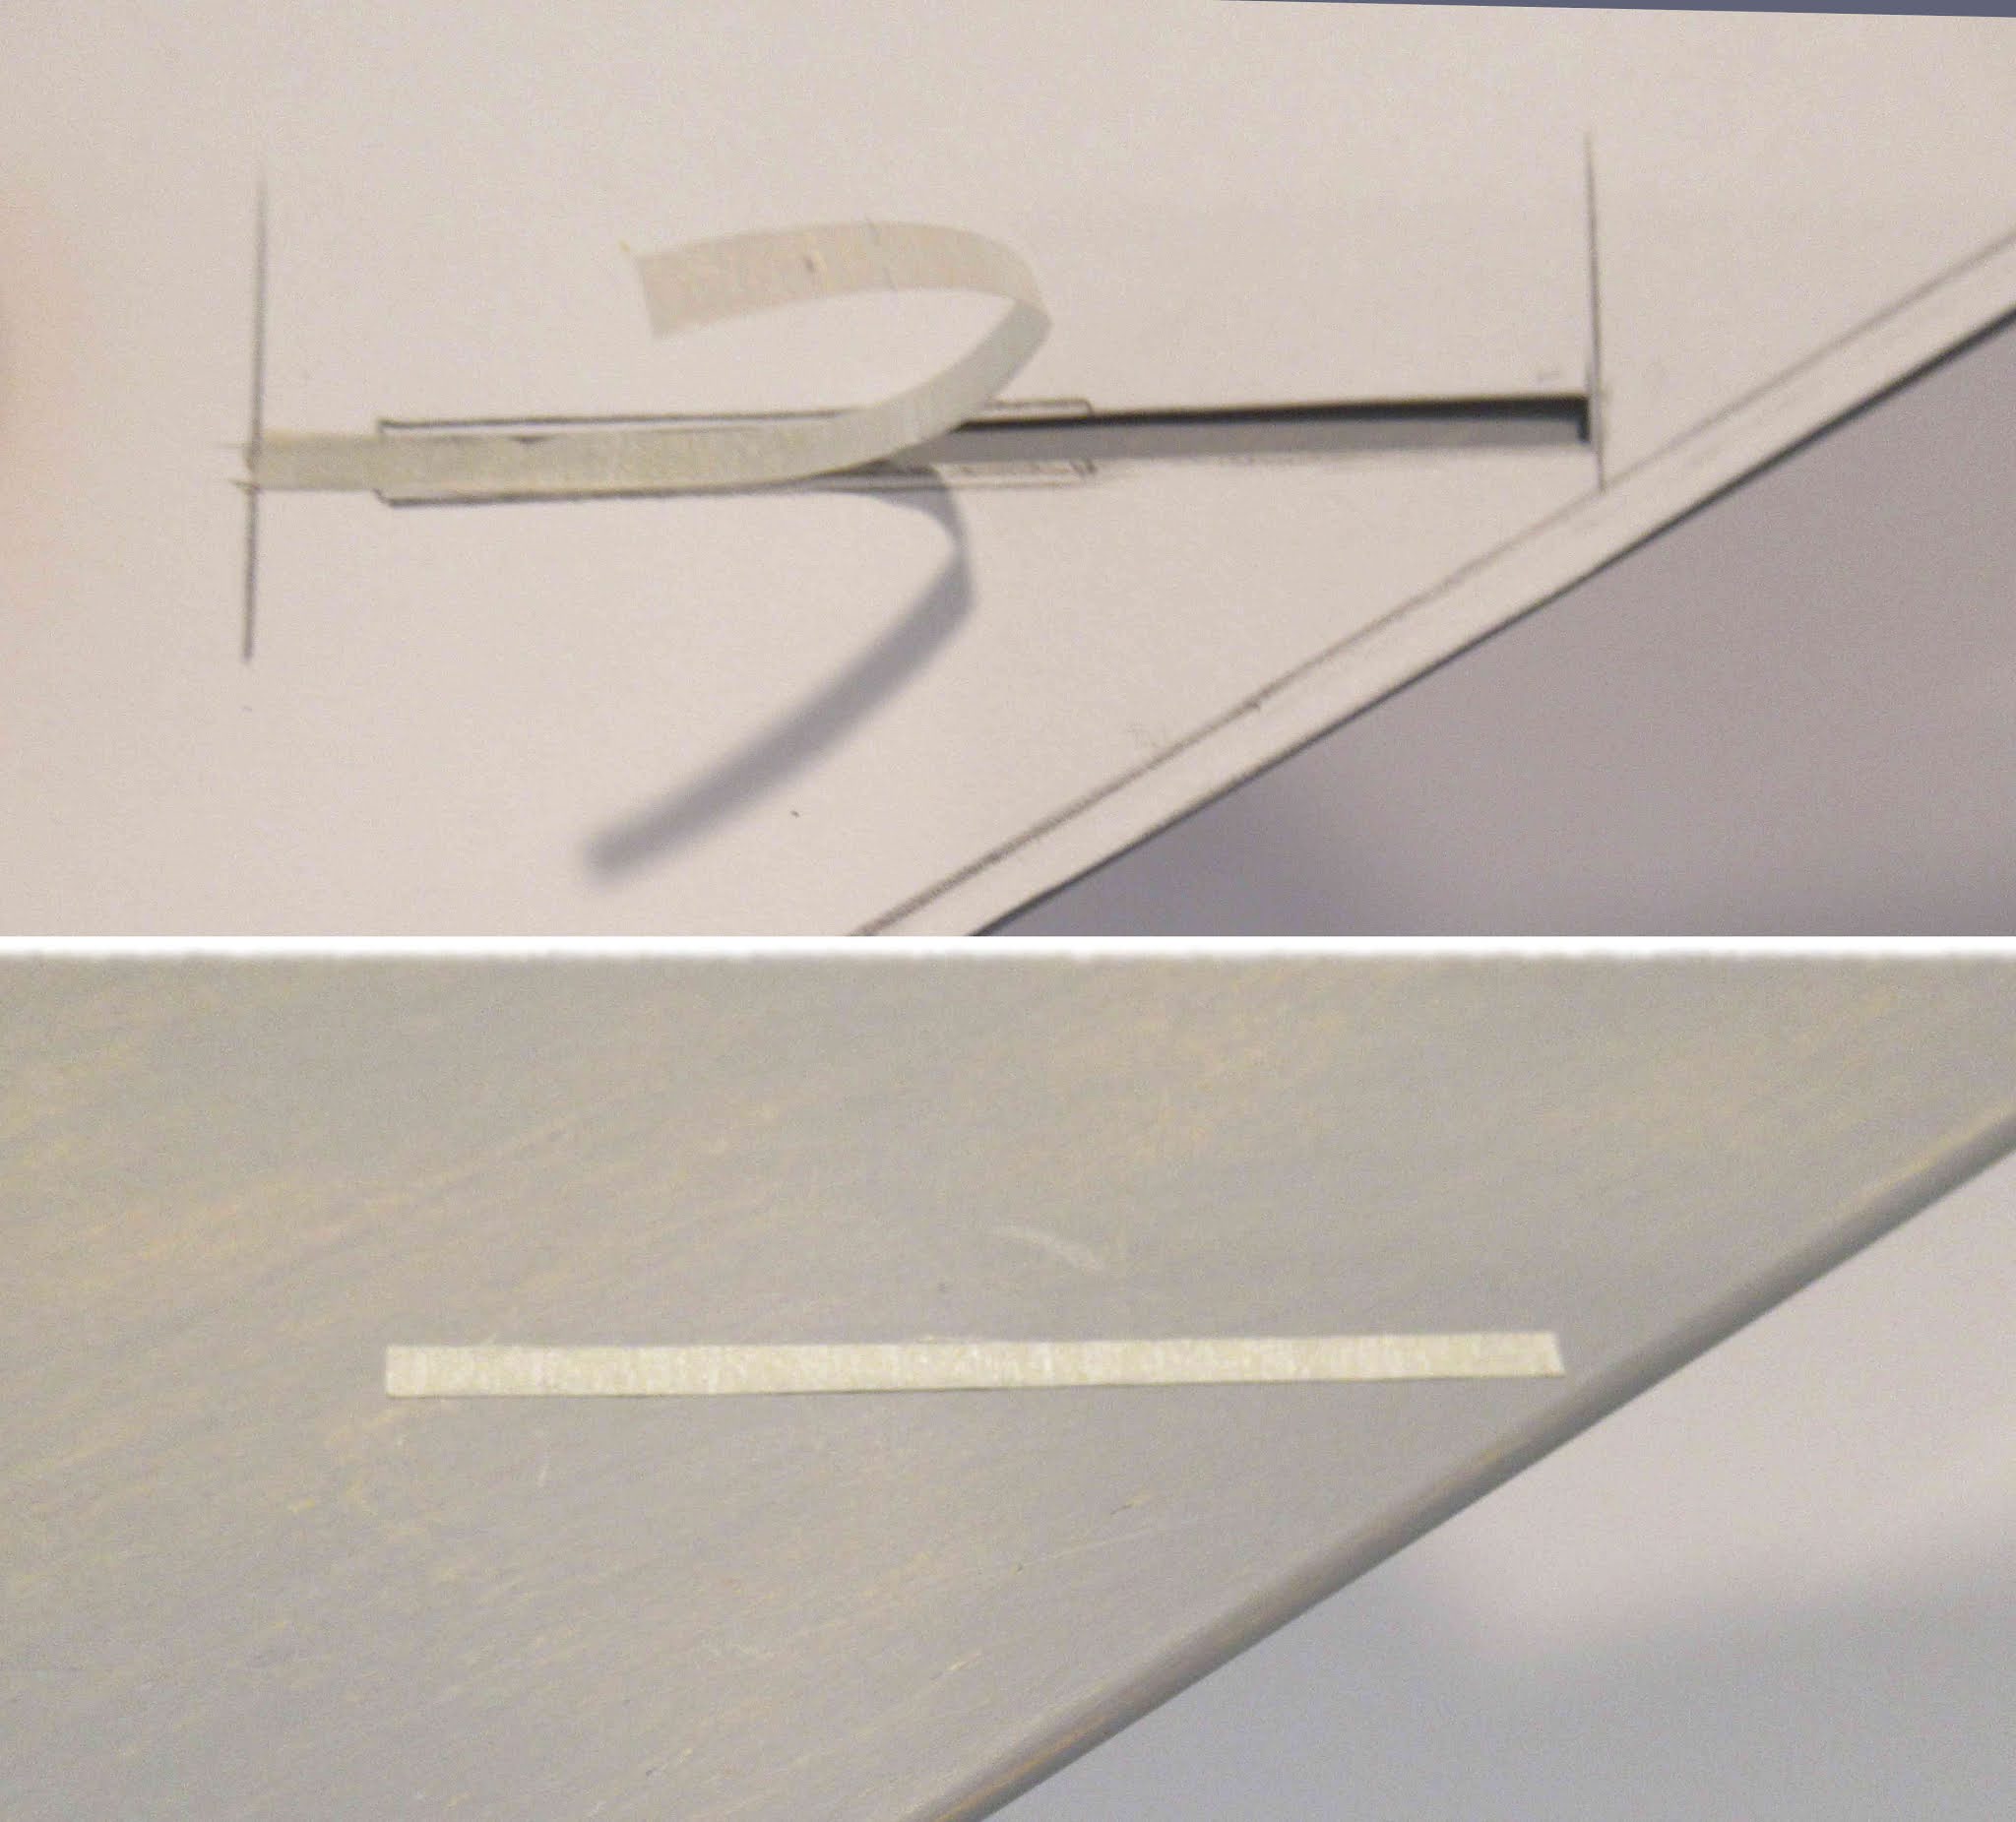
On the left is the nose cone tip decal. It is an arc to fit the nose cone tip taper.

On the right side was my first attempt. I painted the silver too low. The decal wouldn't meet and didn't cover up the silver/white mask line.
The silver had to be sanded down and the mask repeated in the right location.
Wrap the arc decal around the nose cone tip before painting to find the correct height.


The instructions don't tell you how far down the silver mask goes.
I found the right depth to be 15/16". 

This should set the red arc decal width right over the mask line.


I cut an arc out of marked Scotch tape. This could take a few tries to get the line smooth.


Look close to see a few pencil marks going around the nose cone tip to set the tape edge on. 

On the right is the mask in place ready for spraying. The area below the mask also needs to be blocked off.

Saturday, May 15, 2021

Estes Antar #7310 Build, Part 10, K Piece Mask


If you want to mask the gluing line for the root edge of the K pieces -
The ANTAR templates for the masking and decal placement are available now for Patreon members.
Email me at: oddlrockets@bellsouth.net 
and ask for the Antar templates.

The wing masking template has this masking rectangle. Cut out the rectangle.


Set the template on the wing.
Cut a strip of masking tape and set it inside the cut out strip. 


Leave this masking strip on the wing  as you spray the white and hunter green.
For me, it's easier to mask the wings and K piece separately then glue on the K pieces after painting.


Some masking tape was placed around the inside of the tail end to keep the paint out. A rolled up paper towel fills the low end mask.

The body got an initial spray of gloss white. The white paint shows any rough fillets or glue blobs to be sanded smooth with 400 grit before the finish coats.

Friday, May 14, 2021

Estes Antar #7310 Build, Part 9, Wing & Fin Gluing


Notice the pencil mark on the tube edge. I like to continue the fin alignment lines over the edge when the fin is even with the tube and covers the pencil line.


Notice the fin fillet. 
TIP: On a long fillet like this, I only do half of the length at a time. Smoothing too long a line of glue causes it to build up under your fingertip and increase the width of the fillet.

Do about half of the fillet, smooth with a fingertip. Then do the other half of the fillet.


The wings are large, I'd recommend using the "double-glue" technique.
The two fins on the underside are set at an angle using the supplied template.


I found I needed to tape the template in place to coax the fins to the correct angle.

Thursday, May 13, 2021

Estes Antar #7310 Build, Part 8, Filler/Primer & Fin Marking Guide


Whoa, that's a lot of balsa! I was building four kits.

This is right after shooting the CWF filled balsa with Duplicolor Filler/Primer. 


This was pretty good balsa, the filler/primer didn't need much sanding.

Look close and you can almost see the slot fill lines.


The provided fin marking guide matched up perfectly! 

On the right I've sanded the filler/primer down the fin root edge lines for better adhesion. Sand off the primer to the body tube surface. There is no need to sand into the tube. Sand until you see the brown tube peeking through the gray paint. 


TIP: Round off the corners on the assembly jig where it could contact a fin fillet.

Wednesday, May 12, 2021

Estes Antar #7310 Build, Part 7, Nose Cone Weight


The two clay squares were weighed and came in at little over 1/2 oz.
You'll have to widen the hole in the base of the nose cone shoulder to get all the clay weight in.
Initially open the hole with you knife. Widen and round out the hole with 220 grit wrapped round a dowel.

The first pat of clay was molded into a tall cone. When this is dropped in it should fall into the nose cone tip.


You'll need a long dowel to tamp the clay all the way forward.

After the first pat of clay is pushed forward and the base flat, 
The second clay piece is inserted and pressed into place.

Check against a bright light to get the clay evenly in place.

Tuesday, May 11, 2021

Estes Antar #7310 Build, Part 6, Wing Prep


Before gluing the long "I" and one of the "H" pieces together - 
I like to sand the leading edge of the I piece round. I find it easier to sand and feather in the rounded leading edge of the H piece after they are joined.

Be sure to use a strait edge when lining up the pieces for gluing.
You may have to sand the ends for the best fit.

The upper joint is after sanding to fit.
The lower pieces show a gap that will be sanded for a better fit.
I traced the wing and the open slot to make a masking template.
If you wish, you can build as the instructions show by removing the rectangle and gluing the K piece tab into the slot. I decided to fill the slots and glue on the K pieces after the wing had been masked and painted. The complex mask would be easier this way.

On the right, some tighter fitting filler pieces have been cut and glued into the slots. You don't really have to remove the slot pieces. Leave them in place and rub some wood glue into the burnt slot edges. I was trying to get the laser cut lines narrower for an easier fill. 


On the left I'm cutting the tabs off the K pieces using a straightedge.

On the right side of the picture - 
The K piece tab has been sanded flat to the root edge.
Piece on the left is before sanding. On the right is after sanding.

Monday, May 10, 2021

Estes Antar #7310 Build, Part 5, Some Parts Prep

The launch lug is cut in two for two 1" long sections.
These lugs were made of stiff material and didn't crush when cut with a new razor blade. If the lugs feel like they are folding under pressure from the blade, you might want to slip in a dowel for support.


There are laser cut slots for the triangular part K detail pieces.
After looking at the complex mask, I decided to glue them in place and fill the cut lines.
The tab will be cut off the "K" pieces and glued on the wing after they have been painted. You'll have to mask a strip on the wing so the glue will stick.


As usual, the laser cut edges will have to be squared up with a block. This balsa is 1/8" thick so the wedge cut of the laser is apparent. 
The molding seams on the nose cone are pretty clean.
First, sand the high seams.
Here I've marked the low recess seam areas with pencil. The seams got a bead of medium super glue and was allowed to dry. A filler bead of CA will take quite a while to dry. Set the nose cone horizontal while drying so the glue can't run.
Sand the raised glue bead with 220 grit followed by 400 grit.

The trick to smoothing the seams on a plastic nose cone is to keep the curvature round. You don't want to over sand and end up with flat sides.