Thursday, April 13, 2023

Estes Klingon Battle Cruiser, #1274, Step 23, Gluing On The Drive Units


With the model turned on its side,
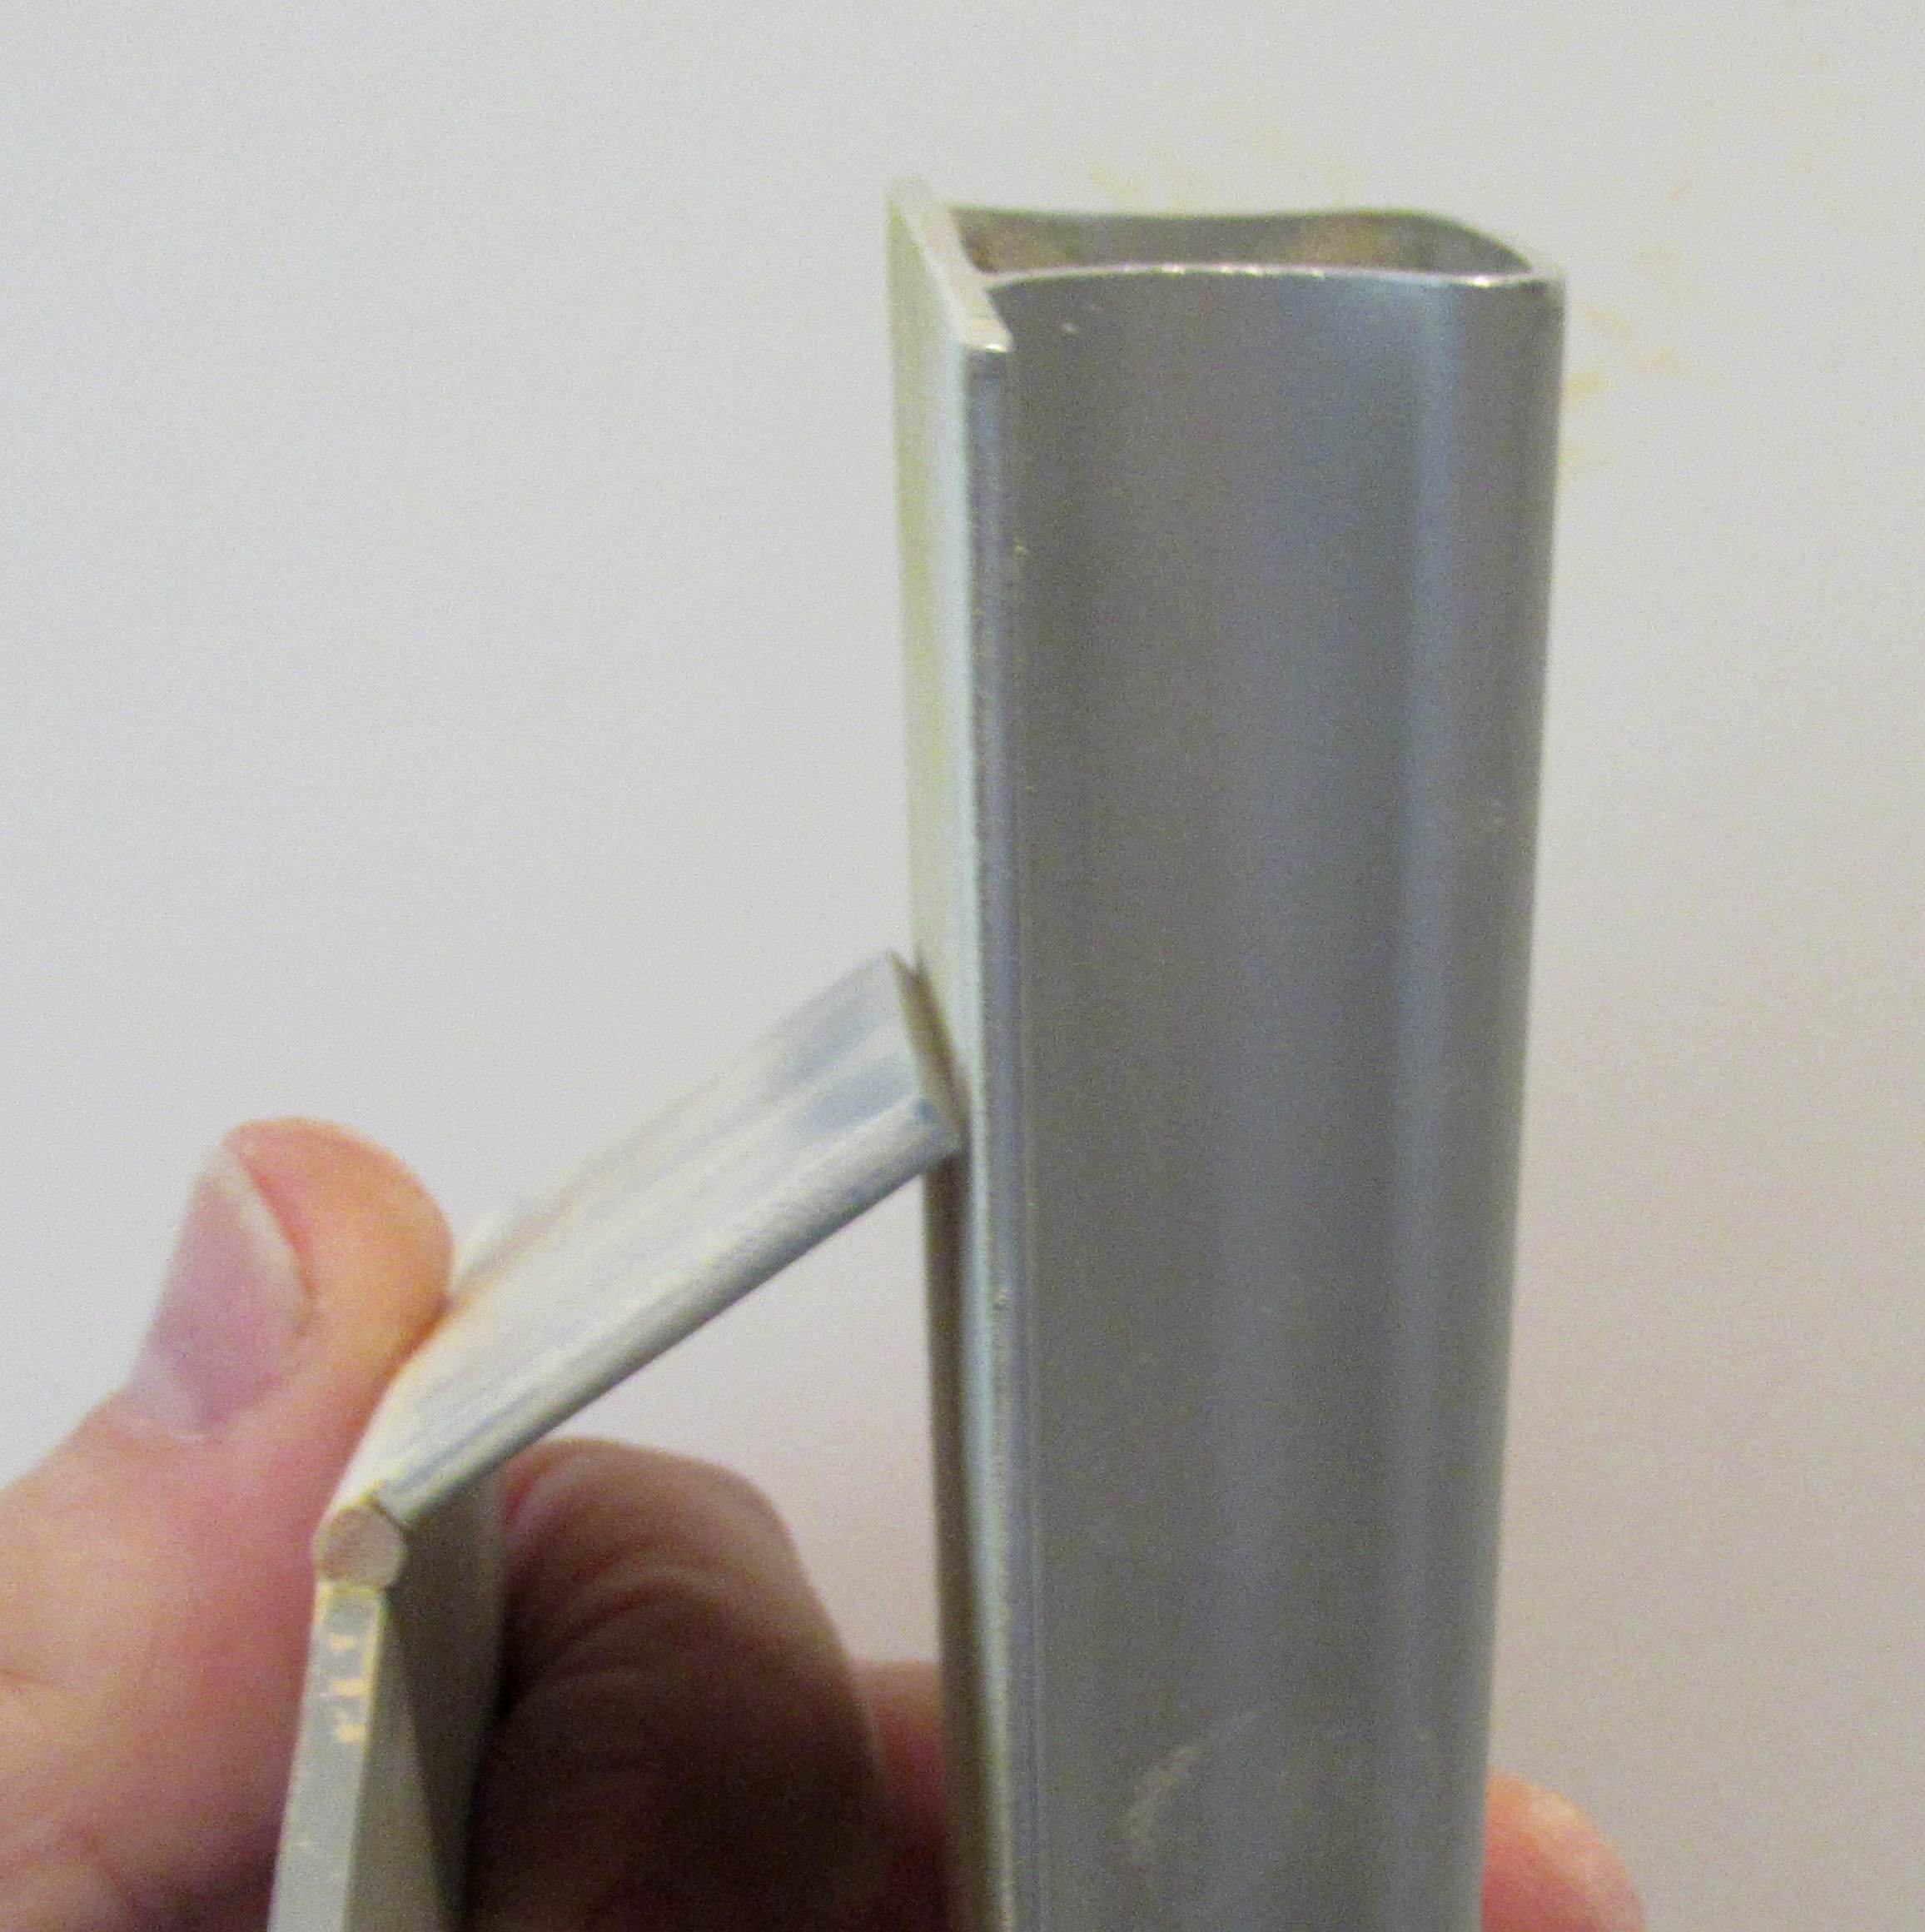
Here's the angle I sanded the wing extension to fit into the slot on the top of the drive units.

Mentioned earlier - I'm gluing the wing tips into the slots on the drive units. The instructions have you glue them under the edge of the wing. I felt my method would give a stronger joint.

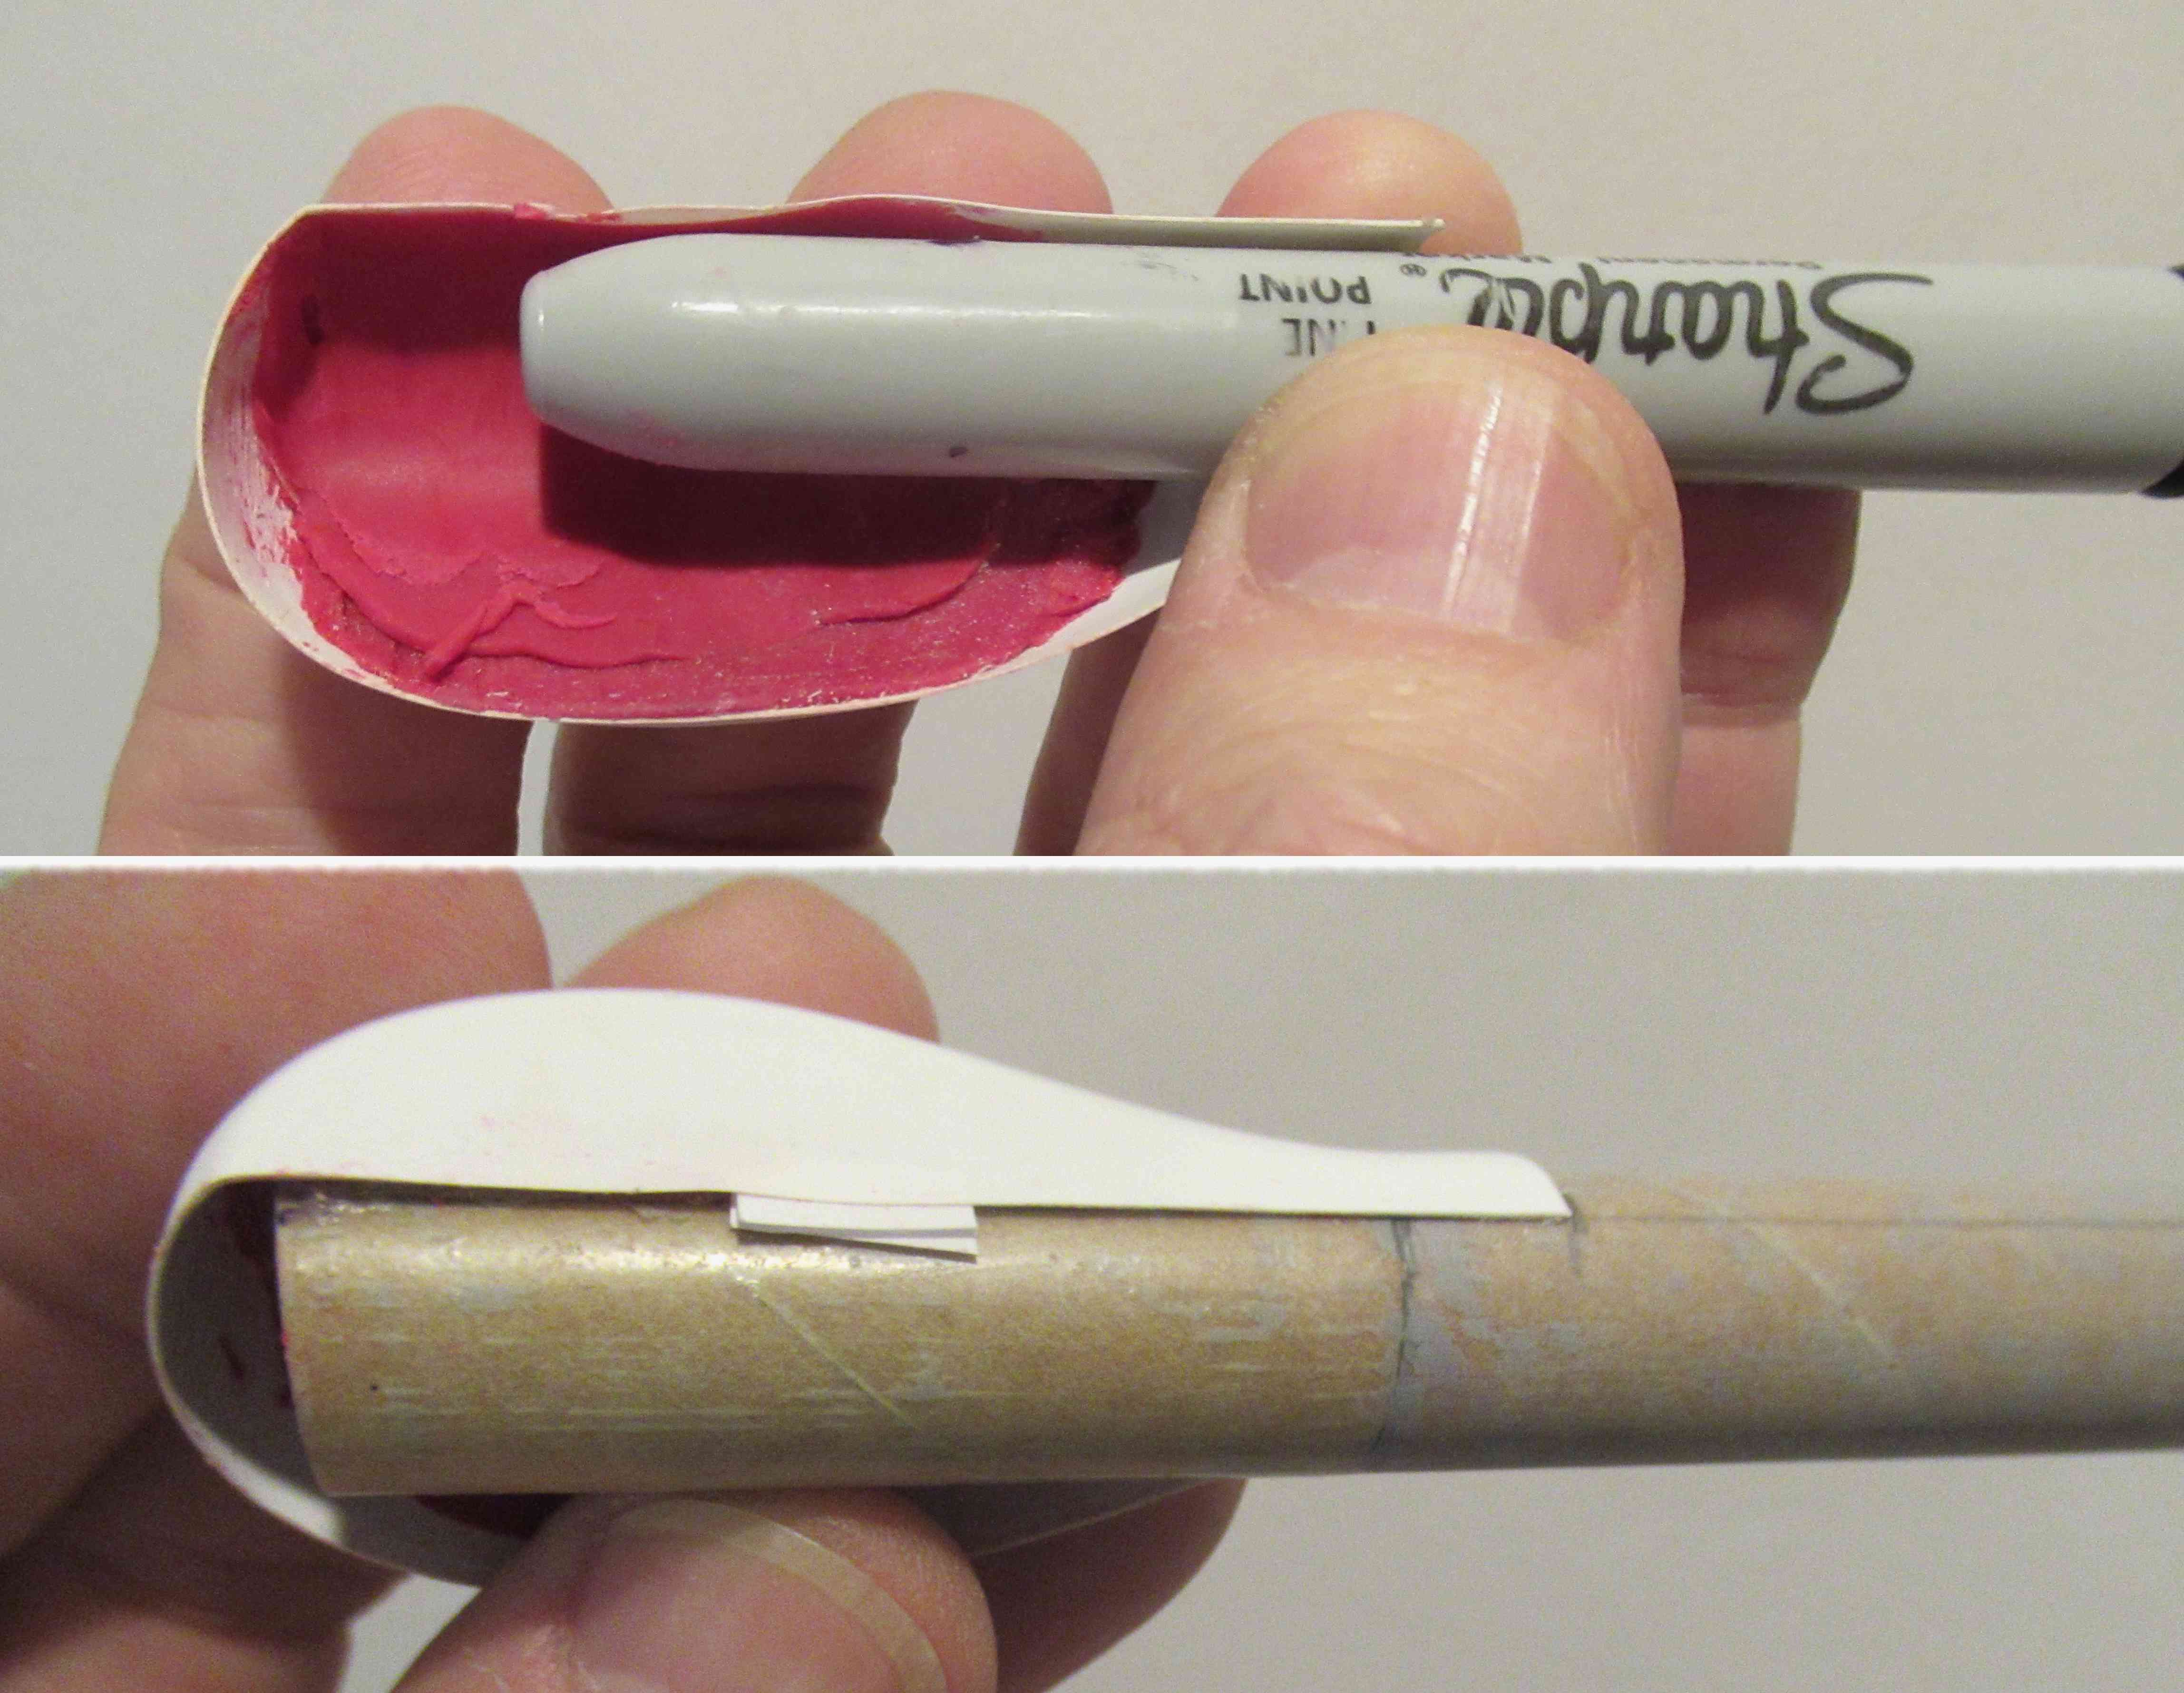
The exposed tube inside the drive unit was roughed up with some 400 grit wrapped around a Q-tip.
This will also flatten out the round tube side giving a larger glue contact area.

Here's the fit of the top of the drive unit. 
The tip edge of the tapered wing goes into the straight slot of the plastic. 


Use the side of the of the pylon template to set the angle.


Be sure to use the "double glue" technique on this joint. You'll want a good initial grab.

Some tape will help hold the angle as the glue dries.

Wednesday, April 12, 2023

Estes Klingon Battle Cruiser, #1274, Step 22, Gluing On The Card Stock Engineering Hull Top

Oh Boy - you need three hands to pull this off!

The cardstock was dry fitted many times. You have to double check all sides to make sure it is evenly spaced.
Look close, you can see a pencil line traced on the outside of the long straight fold. That gave me a guide line to sand off the filler/primer (under the tab glue area) for a better glue bond.

With the glue tabs folded underneath - I noticed the piece wanted to raise up off the wing surface.

To prevent some of the rise, I glued the rear small tabs down onto the underside. The rear tab area is flat against the wing anyway.
Tweezers held the glued tab closed as it dried. 


TIP: Don't try to glue the entire card stock top all at once!
You will be better off gluing in sections. 

First - The front of the lip was glued to the balsa edge underneath about halfway down on both sides. After it dries, this lets you lift the "shell" and apply glue to the underside tabs. for the next glue step 
Second - Apply a line of glue to the tabs under the sides.
When gluing card stock, you don't need a lot of glue! More glue takes longer to dry. A (full tab coverage) skin of glue grabs and dries quicker.

It's a balance. Enough glue for lining up and working time, but no so much glue that will make the cardstock pucker when dried.        More on this step tomorrow - 

Tuesday, April 11, 2023

Estes Klingon Battle Cruiser, #1274, Step 21, Fitting The Warp Drives


Here's a place where I didn't follow the instructions.
You are directed to sand an angle on the outside of the wing edges, then glue the drive on the other side. I did some dry fitting and this didn't give you a very wide gluing surface. .

I was concerned - the warp drives would be the first things to break off on a hard landing.
I preferred to have the open "slot" on the warp drive assembly hidden on the inside less to fill.

Instead of sanding the angle on the side as shown above, 
I sanded an angle on the bottom. You can see the parts contact in the inset picture before the angle was sanded.


Here's the angle I used, 
The block is almost parallel to the bottom face of the wing.


Here's my new fit - 
No gaps at the top or bottom of the joint.
This will be very little to fill.

Monday, April 10, 2023

Estes Klingon Battle Cruiser, #1274, Step 20, Wing Gluing? Gotcha!


Here's where I screwed up!

The instructions show a slight down dihedral here at the right center illustration. 


I thought the center tips (here pictured towards the front) should be touching. There is no reference to this in the instructions.

The low tips of the front and rear hanger bulkheads touch the wing face in the rear.

With the front tips touching at the top centerline and the root edges down their pencil lines, there is very little dihedral angle on the wing sides.
The only reference is on the last page showing the decal placement.
My model doesn't have this much down angle on the wing sides.

GOTCHA: To get more of a down dihedral -
You would have to have a gap between the center wing tips over the body tube. 
The long root edges of the fins might have to be glued a little below the pencil lines on the body tube.

Sunday, April 9, 2023

Estes Klingon Battle Cruiser, #1274, Step 19, The Small Detail Pieces


These detail pieces are small!
These are sanded down to 1/16" thickness. 

Sanding the sides at an angle is not easy.
Now to fill the grain - 


CWF was applied and sanded.

Then stuck down onto masking tape and shot with filler/primer.

The piece on the far right has the primer sanded down to the surface. 


The pieces were set in place and traced with pencil.
Primer was scraped off and the details glued on.

Saturday, April 8, 2023

Estes Klingon Battle Cruiser, #1274, Step 18, Engineering Hull Prep


The engineering hull top is a curved piece of cardstock.
Gluing flaps are folded underneath the exposed top. I burnished mine with a Sharpie pen barrel.


A close up shows the broken edges at the card stock fold.


A rub of medium CA glue was applied with a Q-tip. This hardens the fuzzy edge so you can sand it square with a sanding block.


The hold down tics are smoothed down with a sanding block.
I did some dry fits and found the cardstock front  wouldn't follow the curvature of the vacu-formed hanger deck piece.

A curve was pressed in the same way I curve a card stock shroud. 
Set the card stock over the soft heel of your hand. Press and roll the Sharpie barrel over the card stock. You should get a curved top. 


A dry fit - 
much better.

Friday, April 7, 2023

Estes Klingon Battle Cruiser, #1274, Step 17, Nose Assemblies


The primary hull halves (nose section) plastic was pretty thin.
It takes a bit of forming to get the clay weight so the BT-5 tube will fit.


There was some distortion on the flat top. I used a piece of cardstock to raise the dip in the edge.


Here's the two sides glued together.
The seam ridge seemed unsightly to me.

But, the top seam overlap joint is covered up by the primary hull top piece.

You have to cut a small recess into the rear so it will fit over the joint step.
I used a small rat tail file to make the notch.