Saturday, September 30, 2023

Estes Black Brant XII, Kit # 9723 Build, Part 16, Gluing Up The Engine Mount


The centering rings were loose on the 29mm engine mount tube. I built up the inside edge of the ring with a small bead of wood glue. Let it dry.
Check the fit. If it ends up too tight, you can sand the glue edge with 400 grit.

The black retainer ring was also loose. I wrapped some masking tape around the tube to hold it in while the low plastic fin can was slid in place.

When all is glued up, the black retainer ring is even with the bottom of the white plastic fin can.


Fillets were applied using a drop of glue on the end of a Q-tip.

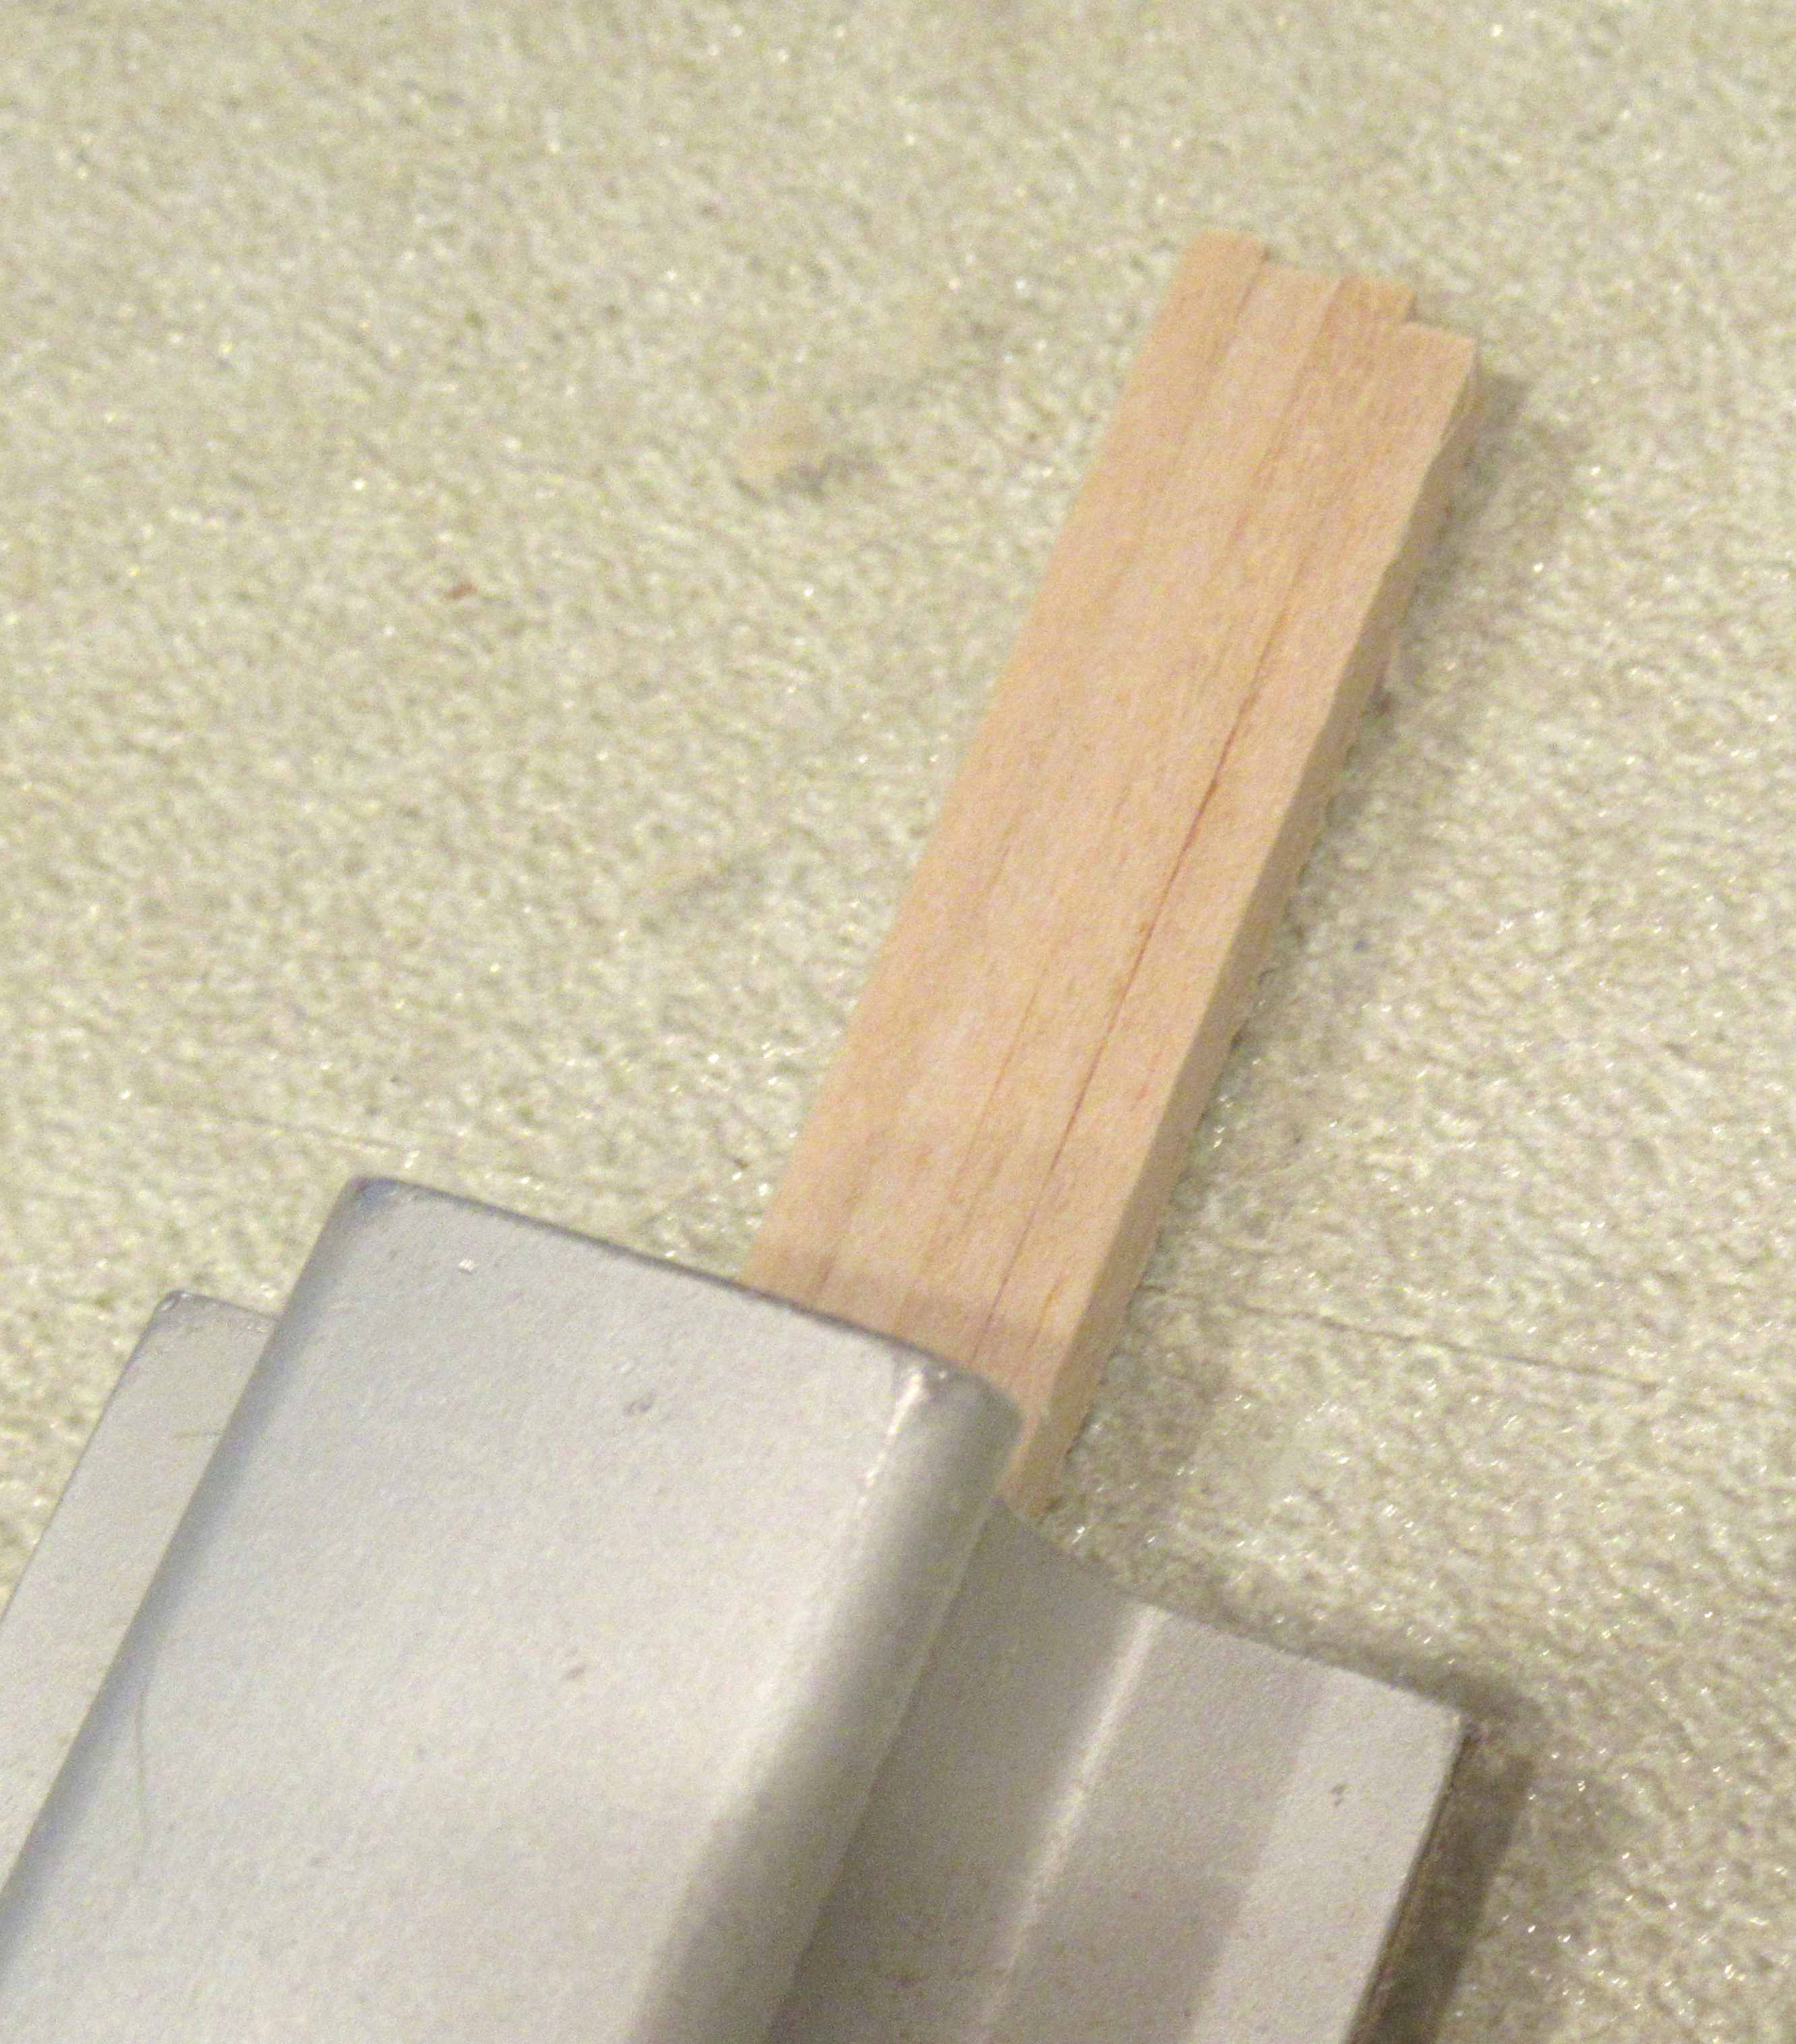
Tubing, cardstock rings and balsa fins are glued on with wood glue.
Plastic parts are glued onto everything else with two part epoxy.

Friday, September 29, 2023

Estes Black Brant XII, Kit # 9723 Build, Part 15, Shaping The Hatch Detail


After the bottom curvature is sanded in,

Do the top curve keeping the height consistent from side to side.


Sand the front angle using 400 grit on a block.

Sand the side and back angles in.


Here's a finished hatch piece ready for filler.

I'd recommend filling the balsa grain before gluing unto the model.

Thursday, September 28, 2023

Estes Black Brant XII, Kit # 9723 Build, Part 14, Detail Hatch


Use the extended lines on the full size drawing and transfer them onto the balsa detail pieces.


The same as the long tunnels, 
Draw a pencil line down the center.

Using a rounded end dowel,
Press a "starter" trench into the balsa. The slight rut will help keep the piece straight on the body tube. 


Wrap some 220 grit around the tube and sand in a straight line up and down.

On the right side picture, you can see the sanded curve in the underside. There is still some of the flat bottom left. Sand until the curve is complete from side to side.


Here's a good fit of the hatch piece against the body tube.

Wednesday, September 27, 2023

Estes Black Brant XII, Kit # 9723 Build, Part 13, Tunnel Fit To Tube


You should sand a curve into the bottom face of the tunnel for a tighter fit against the body upper tube. 
Start by drawing a pencil line down the center from end to end.


TIP: Press a "starter" curve down the center pencil line using a rounded dowel end. This slight indentation will help you keep the sanded underside curve straight.


TIP:
One trick to getting a good fit on a tunnel is to wrap sandpaper around a smaller tube than the one it will end up on. Example - If the tunnel will be glued to a BT-60 tube, sand the bottom curve with sandpaper wrapped around a BT-55 tube. 


Here's the before and after fit of the bottom of the tunnel.


The outside of the tunnel was rounded off using 220 grit on a  sanding block for the rough shaping. 
400 grit rolled under my fingers finished off the rounding.

Tuesday, September 26, 2023

Estes Black Brant XII, Kit # 9723 Build, Part 12, Kit Tunnel Replacement


The kit directs you to glue two lengths of a balsa strip for the long length of the single tunnel. 
I didn't like the idea of forming a long, narrow butt-join piece. When sanding to shape, it could break at the small glue joint.


TIP: You might find it easier to shape a single piece tunnel. I cut a new one piece tunnel - 1/8" thick X 13 3/16"long.


Here are four new tunnels cut from 1/8" thick balsa.

I'm gang sanding all four at the same time for a consistent start shape.


Use the round end of the laser cut tunnel piece as a template to shape the replacement piece.

Rough cut with a knife, then round with your sanding block.

Monday, September 25, 2023

Estes Black Brant XII, Kit # 9723 Build, Part 11, Second Stage Fin Shaping

I know these are out of order - That's just my kit build style -

The bottom of Page 7 has the overhead view showing the taper from the root edge to the outside edge.
It's up to you - on this "flight" version build, I didn't sand this taper. The raised center line won't be as apparent on a thinner fin.


If you want to shape this profile:
This root edge to outside edge taper (shown above) should be formed before sanding the diamond profile shown below.


Here's how the second stage fins look after shaping with the sanding block.

Notice the glued lamination lines that show when the taper is sanded in. It's another good reference to help judge the thickness while sanding.


Whoops! Be careful near the root end tips. 
I had one fin tip break off down the grain line.

Sunday, September 24, 2023

Estes Black Brant XII, Kit # 9723 Build, Part 10, Cutting The Fin Slots


Mentioned earlier,
Check the fit of the fin slots with scrap balsa left over from the balsa sheets. Note the low fins are thicker than the 2nd stage fins.


The molded third stage fins fit into the highest slots. If the slots were cleanly cut, the fin tabs will almost snap into a tight fit.


The blow molded parts are cut apart and the ends cut off.

TIP: To be sure I was cutting on the correct lines, I drew a black line using a fine point Sharpie. Look close at the bottom of Page 3 and double check before cutting.


Square up the rough cuts with a block.

TIP: Round the edges for a smoother slide (less wear) in the body tubes.