Thursday, September 20, 2012

Nike Tomahawk Build Part 12 Adapter Seam Fill

Some may wonder why I didn't do a "but seam" with an internal glue tab on this shroud.
I find that works better on larger shrouds. the smaller shrouds get the overlapping wrap glue tab.

One advantage of the double thickness shroud is you can sand a little into the cardstock without it getting too thin.

Some CWF was applied over the shroud overlap and a low area on the lower shroud. This CWF wasn't thinned, it was used straight from the tub.


The thicker CWF sticks better and dries harder than the thin CWF you'd use to fill balsa grain.

This is the adapter after two coats of primer and sanding, then the CWF to fill the bump of the seam overlap.


The four sided nail file was perfect for sanding the sides of the adapters.

It's almost like a small sanding block for tighter areas.


The high side of the shroud seams were sanded down a bit and left rough paper.

Medium CA was applied using a Q-tip, then sanded glass smooth with 400 grit.

AVI Nike Tomahawk Build Part 11 Adapter Sand and Fill


To make the mat board rings easier to sand, they got a coat of medium CA applied with a Q-tip.

This hardens the rings and helps fill any cracks and seams.


The rings were sanded to the outside diameter of the two shrouds.

Keep an eye on the black border lines. I knew I was getting too close when I started sanding off the lines.


The first coat of primer has been applied.

The card stock and rings are still rough but that will sand smooth with some 400 grit sandpaper.

Wednesday, September 19, 2012

AVI Nike Tomahawk Build Part 10 Gluing Shrouds

The laminated mats were cut just outside the penciled (final) diameter to allow for a custom fit to the shrouds. The rings aren't glued to the 20mm tube. Just slide them down dry.

A line of white glue was set inside the edge of the upper shroud and the shroud slid onto the rings.

When the shroud made contact with the rings it was turned to even out the internal glue fillet.


After the upper glue had dried, the lower assembly was glued on the bottom of the rings.


Here's the finished assembly before sanding the central rings to size and filling the shroud joints.

AVI Nike Tomahawk Build Part 9 Lower Adapter


This is how the adapter dry fits together.
The two center (ring) pieces are the thick mat board.

The two mat board squares were glued together with white glue.
Plenty of clothespins held them together when drying.

Notice the rings are on the 20mm tube. This helps keep them in line and perpendicular to the tube center line.


The low end of the adapter needed an interior support ring.
The shroud is already over the 35mm coupler.
The inside ring was pressed in place and a glue fillet applied.


This is the lower half of the adapter assembly slid into the 35mm tube.

Tuesday, September 18, 2012

Open Rocket Version 12.09 Available!

A note from Open Rocket developer Sampo Niskanen:

Hi,
After way too long time, the next version of OpenRocket (12.09) is finally released.
This contains a huge number of improvements from a
large range of contributors. The biggest improvements is initial 3D support (thanks to Bill Kuker) and component presets (thanks to Kevin Ruland and Doug Pedrick).

Other new features include:
- Custom expressions in simulations
- Printing for centering ring and clustered centering ring components
- Support simple arithmetic in dimension entry
- Support deploying recovery device at stage separation
- Support for fractional inches (1/64) for unit length
- Added preference for windspeed units separately
- Added “most recently used files” in File Menu
- Improved printed accuracy in fin marking guide
- Calibration rulers added to printed templates
- Translations in Czech and Polish, numerous updates

A corresponding release for Android will follow shortly.

Cheers, Sampo N.

You can download the latest (Free!) version of Open Rocket at:
http://openrocket.sourceforge.net/

AVI Nike Tomahawk Build Part 8 Adapter Shrouds


When gluing the shrouds together, put the tabs on opposite sides.
This way you won't have a lump on one side.


This is the low shroud upside down on the 35mm tube.

TIP: Let the glued shrouds set up over the tube ends so they dry in a better circular shape.

After drying, that low (inside shroud) overhang is sanded off and flush with the outside shroud.


Here's what the lower shroud looks like turned in the correct orientation.
The interior "step" is on the inside bottom, opposite of the upper shroud.

The fit was very tight over the 35mm tube.

I wrapped some 400 grit around a Sharpie barrel and sanded just the step ridge until I got a good, friction fit over the tube. (The shroud is upside down in the picture.)

Notice the sandpaper is only on the inside edge ridge, not on the upper edge.

Monday, September 17, 2012

Launch! Schoolyard, September 16, 2012

With my work schedule I wouldn't be at any club launches this month.
I headed over to the Soccer field for a 7:30 a.m. launch.


The 13mm CORN-ROC hadn't flown in a while.
(You can find this lightweight Styrofoam corn cobs at Michael's Craft store this time of year) The A10-3t gave it a good, labored ride.
If I were to build it again, it would have a BT-20 internal tube. The small parachute is a very tight fit. It did eject, but wouldn't open up. I caught this one, no damage.

Next was the 13mm Art Applewhite PINWHEEL with an A10-0t engine inside.
I know it's spinning on the way up, but hard to tell looking up through the smoke.
It did spin on the way down!


The original Odd'l Rockets SQUATTY BODY prototype was in the air with an Estes A8-3.
Perfect flight with a little bounce on the grass when it landed.


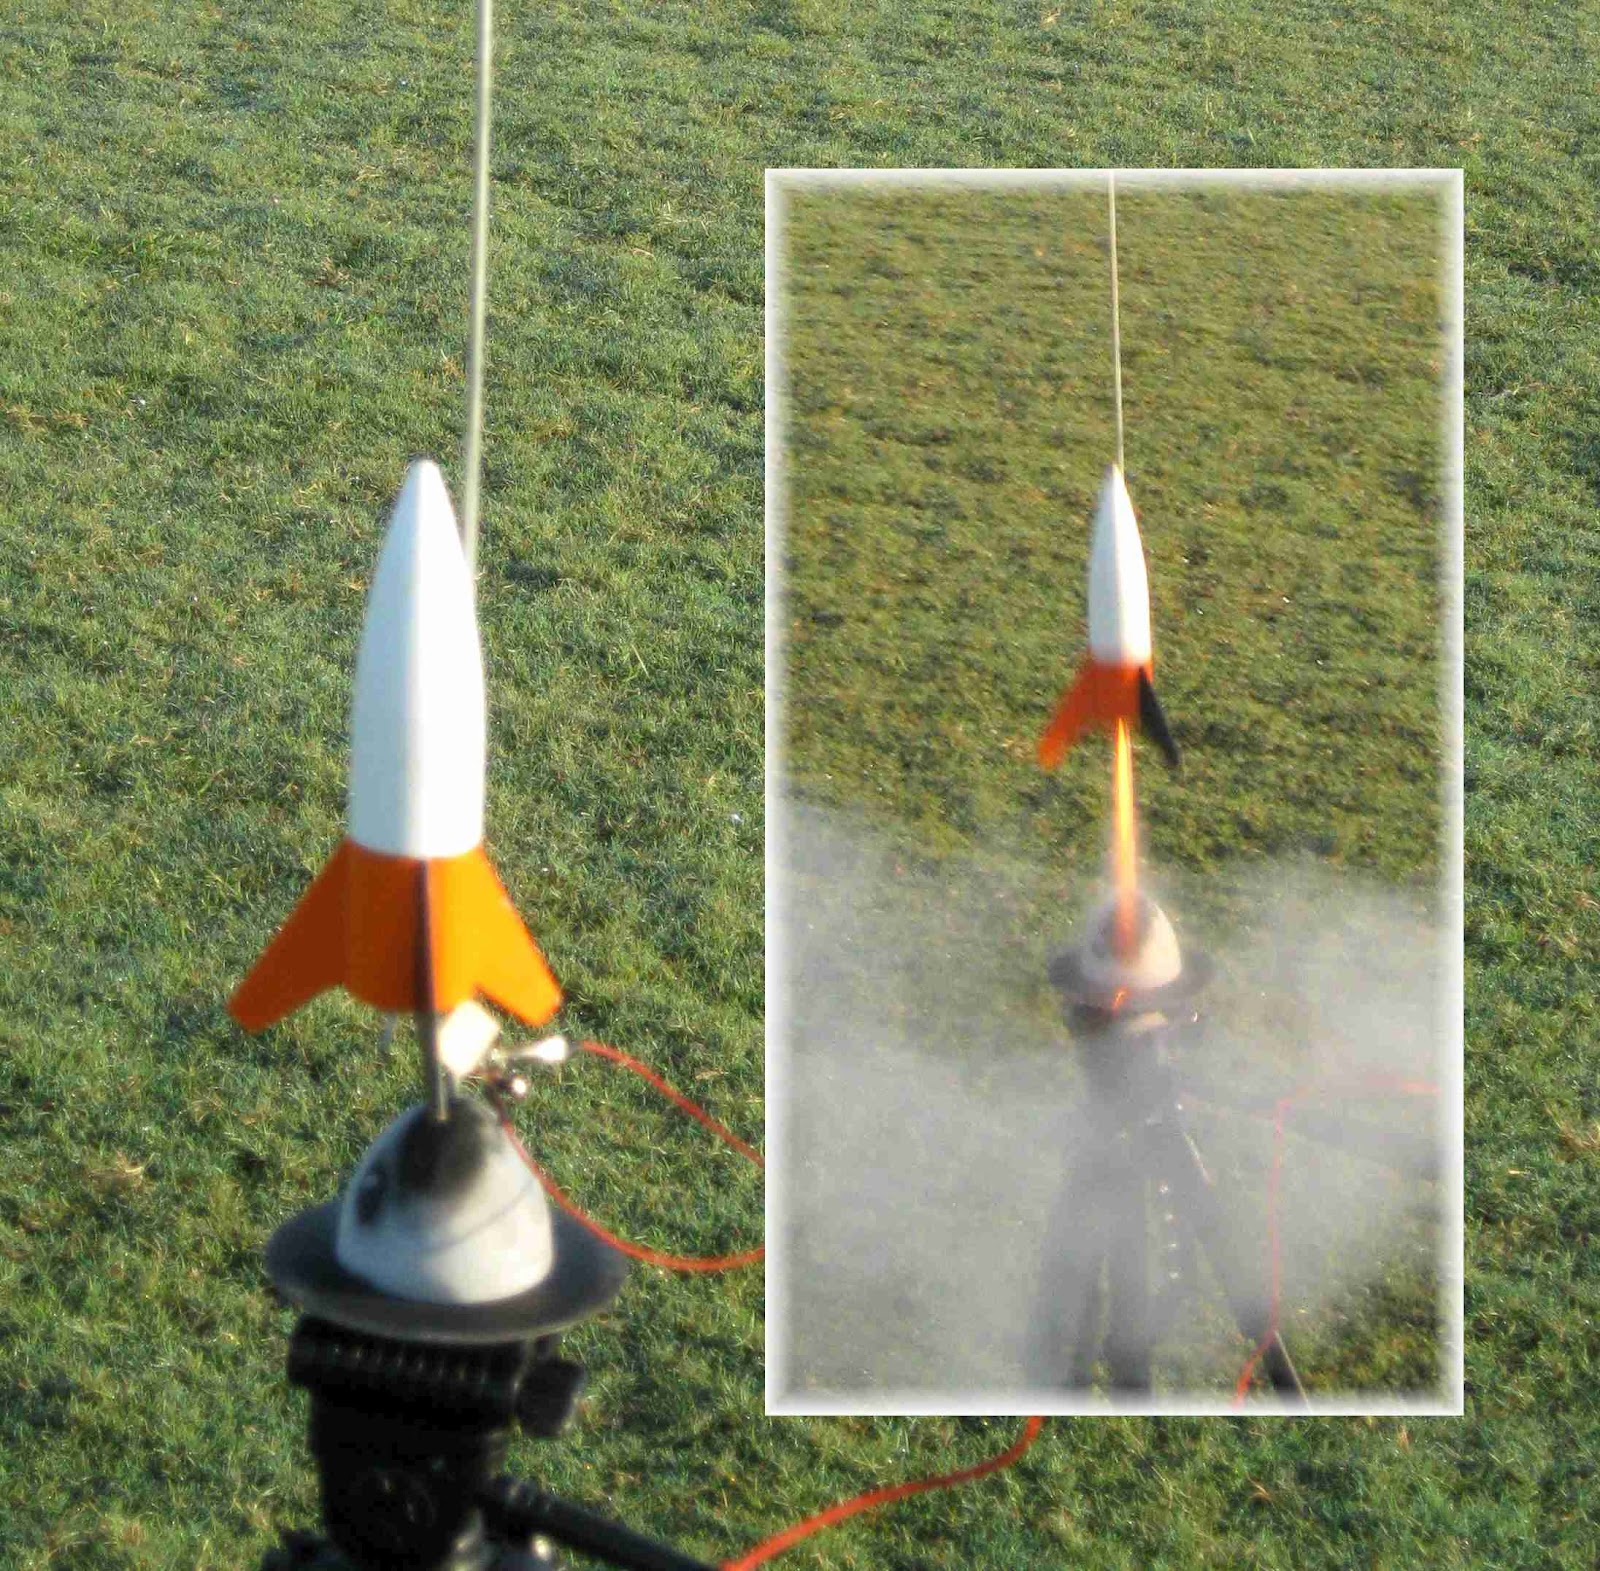
My best launch of the morning was the Quest TOMAHAWK with and Estes B6-4.
The air scoop on the bottom makes it do a slow roll on the way up.

I aired out the Quest parachute before flight and it opened easily at ejection.


Another Odd'l Rockets kit, the CYCLONE was launched.
(This is the same model you see in the Apogee catalog page.)

In this small field I'm afraid to go bigger than the 1/2A3-2t!
I made a short whistle on the way up.
At ejection it took a short moment to start spinning. But then the upper section was almost a blur! Upper section duration was probably 25 seconds.
Be careful with this one, it'll spin, hang and drift in the slightest wind.


Even with a few construction snafus, the Quest AS-1 ESCORT is a favorite.
I'm starting into a Quest A6-4 bulk pack of engines.
As expected, loud and sooty!

There's not much room for the wadding and parachute. I tend to pack some wadding in the lower section and then one sheet around the parachute.