Showing posts with label ASP Corporal. Show all posts

Sunday, June 21, 2020

ASP MMX Micro Corporal Build, Finished


Another good addition to the Micro-Maxx Fleet!
These are always good "first launch of the day" rockets.
Small and still a good challenge.

Saturday, June 20, 2020

ASP MMX Micro Corporal Build, Part 8, Paint & Decals


The model gets an overall shot of gloss white paint. No masking!

The painting wand is a plain 1/4" diameter dowel.


Here's how the instructions show the decal placement.


The roll pattern decal on the upper section doesn't extend the whole length of the upper tube as shown in the drawing above.


This shows cutting the low end of the decal -

The top side should be cut close to the print so there won't be any clear overhang over the nose cone seam gap.

Friday, June 19, 2020

ASP MMX Micro Corporal Build, Part 7, Streamer & A Fix

I find it easier to lay the Kevlar line over the center of the streamer then tape the line in place.  This holds the streamer and line still while placing a piece of Scotch tape over the Kevlar.

It's hard to see, but the tape is placed while on the tip of the blade. This keeps fingerprints and skin oil off the sticky side of the tape.


It's hard to get the shock cord into a small body tube.

TIP: Use some long tweezers to get the line inside.


I looked down the body tube and realized on tunnel was glued on crooked.

I carefully cut it off the body tube with a single edge razor blade. It was glued back on straight, filleted, sanded and painted.

Thursday, June 18, 2020

ASP MMX Micro Corporal Build, Part 6, Tunnel & Launch Lug Gluing


You can still use the plastic angle to glue on two opposite long tunnels, or tunnels 1 and 3. After 1 & 3 are in place, the smaller 2 & 4 will be too close to use the angle reference. 


I used the Beacon Fabri-tac again. Some small beads of glue squeezed out and were carefully removed with a single edge razor blade.


This shows the pool of medium CA used for the "drag" fillets.

The Q-Tips are close at hand to quickly soak up any extra glue.


Here's the tunnel fillets being applied by dragging the CA toothpick down the fillet joint.

Evening out the CA glue and picking up any excess. Once CA glue hits the cotton tip the Q-Tip is thrown away. It quickly hardens and can't be used a second time.


The launch lug looks big on the model.
It is glue beside on of the smaller tunnels so the launch rod can easily slide through.

Wednesday, June 17, 2020

ASP MMX Micro Corporal Build, Part 5, Fin Gluing


A wrap around fin marking guide is on the instruction sheet. It wrapped and matched up! A rare thing.

The kit supplies a small plastic angle to draw pencil lines down the body tube.


The fins overhang the rear of the body tube by 1/8"


I extended the pencil lines over the back edge of the tube for easier alignment as the fins would be covering the rear of the pencil lines.

I used a very small amount of Beacon Fabri-Tac to tack the fins in place.

I wouldn't normally use CA glue for fillets, they can become brittle over time. I couldn't think of another available option.


A drop of CA was set on a scrap piece of cardboard. A toothpick tip was dipped in the wet pool of glue. The glue was transferred to the root edge, dragging the glue bead down the root edge.

Any excess glue was picked up quickly with a Q-tip.

Monday, June 15, 2020

ASP MMX Micro Corporal Build, Part 4, Engine Block, Coupler & Nose Weight


1/4" is cut off a coupler for an engine block.

The Kevlar shock cord is tied around the engine block.


Mark the other longer coupler at 3/4".
With a thin dowel, apply some glue inside the end of the long tube.
Push the engine block into the tube (and glue) up to the pencil line on the coupler. Remove the coupler.

Feed the loose end of the shock cord through the shorter coupler.
The split shot nose weight is tied to the other end of the shock cord.


The lead weight could slide down and through the coupler tube. The instructions recommend epoxy to set the nose weight at the top of the coupler.

Sunday, June 14, 2020

ASP MMX Micro Corporal Build, Part 3, Tunnels & Tubes


The tunnels are made from small, half-round plastic strips.

After they are cut to length, the ends are rounded. Check the end roundness from both sides against a darker background, here my fingertip.

There are four tunnels, two long, two short.
I kept the tunnels stuck down to a piece of tape so I couldn't lose them.


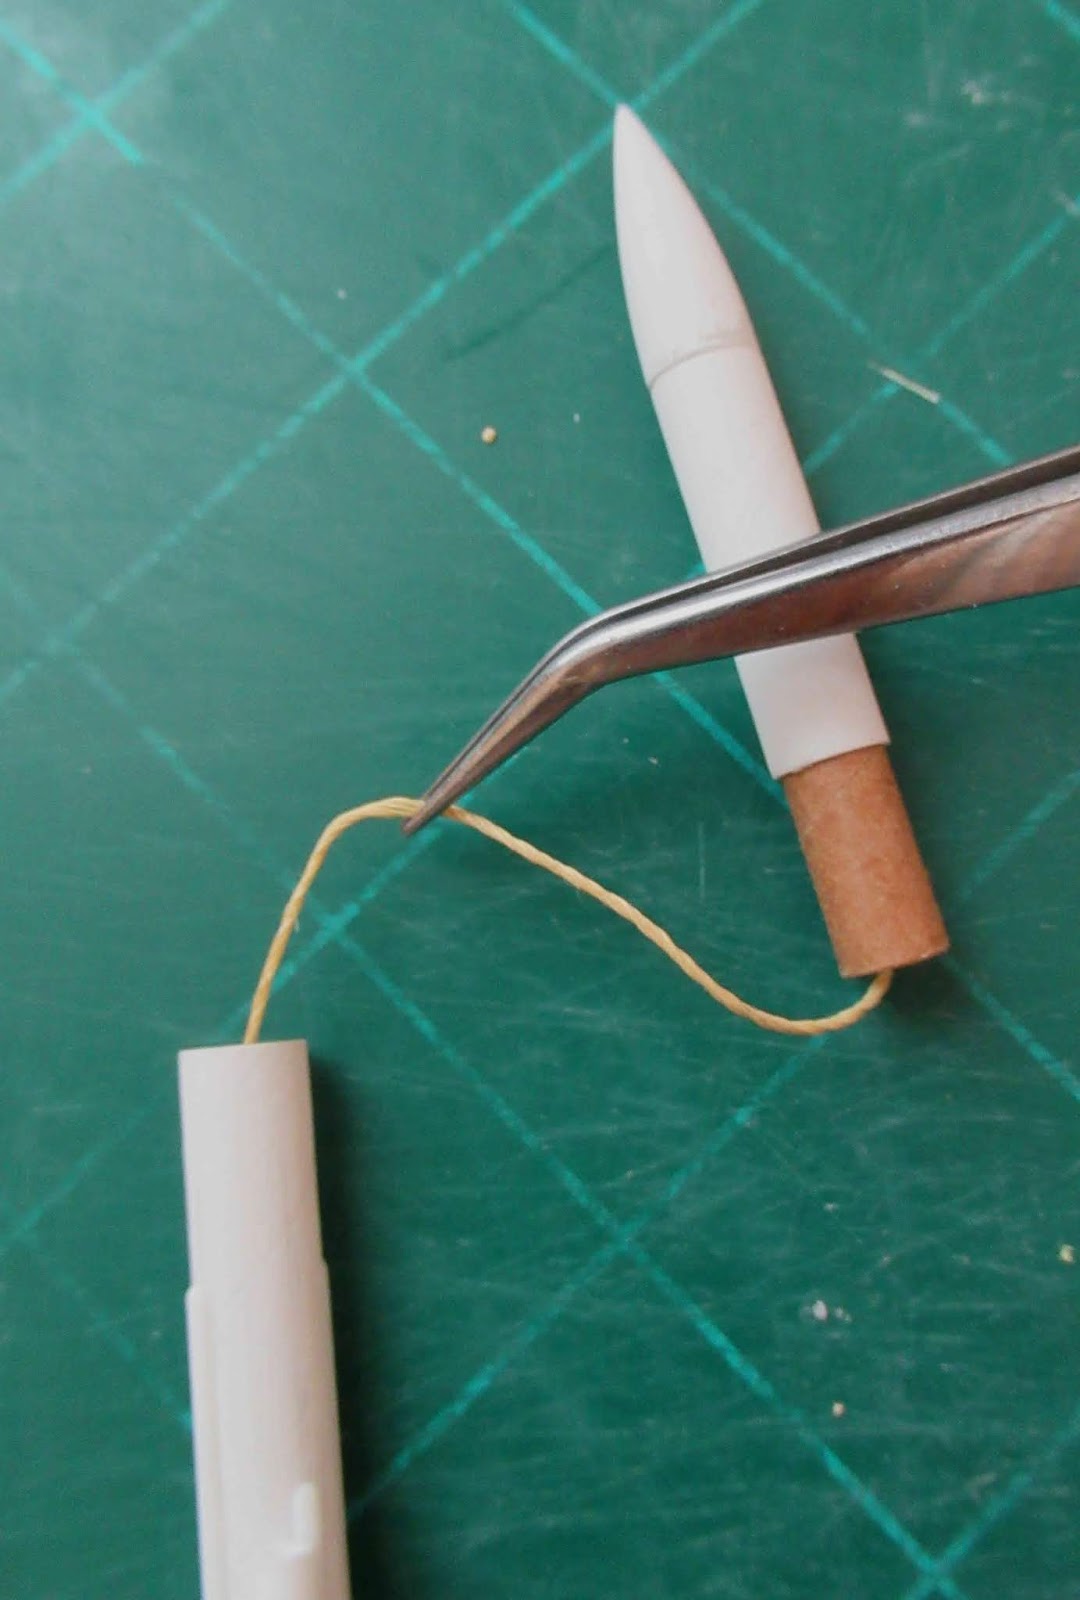
One end of the plastic launch lug tube was rough cut. Not a big deal, a few light twists with a blade tip cleaned it up. You don't want to have a rocket get snagged on the launch rod.


Just the end edge of the tubes got a swipe of medium CA glue.
No real reason to coat the inside, these tubes are strong.


The dried CA edge got squared up with some 400 grit on a block.

The CA coat and sand simply makes for a better flat fit against the nose cone and upper tube.

Saturday, August 2, 2014

ASP Corporal Finished


This is a good looking model, the trim really sets it off with clean sharp lines.
I was impressed by how well the upper roll pattern fit, a perfect match.
The 1/16" basswood fins are closer to scale thickness and much stronger than balsa.
The shiny orange Mylar 12" parachute is eight sided.

I'm curious to see how it flys with the small fins. The clay weight in the upper section should keep it stable.
Recommended engines are a Quest A6-4 and Estes A8-3, B6-4 and C6-7.
I don't think the A6-4 is a good match for this one. The extra second of delay might put it nose down at ejection. I might go with a C6-5 instead of the C6-7.

Friday, August 1, 2014

ASP Corporal Build, Part 13, Vinyl Trim Between Fins


I didn't cut out the "lower decal" template.
I extended the outside borders with pencil lines and used as a guide to cut the vinyl squares. The template and black vinyl were both taped down for cutting.


Set the first piece down below the launch lug.

Set the vinyl square down with your knife blade.
One side was set down into the root edge.

All four of my cut rectangles were a little wide.

I cut the excess width off using a straightedge and sharp knife.
Cut just the vinyl and not into the paint in the root edge.


Lay down both lower rectangles, the second one opposite the launch lug side.
Set the two upper rectangles in line with the lower two.

The picture at the right shows the excess trim edge being lifted.

Thursday, July 31, 2014

ASP Corporal Build, Part 12, Vinyl Trim


It took two tries to get the wrap in line so don't press anything down until you are sure.

You'll have to peel back the starting edge to finish off the end.


The wrap was set down fairly tight around the tube, I was concerned it might not match up at the end.

The roll pattern matched up perfectly!

Wednesday, July 30, 2014

ASP Corporal Build, Part 11, White Paint & Trim


After the primer, the model was shot with Rustoleum 2X Gloss white.
With Florida Summer humidity, It took three days to dry.

Wet sanding with 400 grit followed and the heavier finish coat.


I rarely work with vinyl trim. I'm going to take my time with the upper body roll pattern wrap, it's a "one shot".
Here's how it sits on the upper section with the small squares at the bottom.


To apply the vinyl, you peel off the heavy back layer.
You have to peel this off, back onto itself so you don't lift the black vinyl.

Don't touch the sticky vinyl or allow any dirt to get on it.


With the opaque white positioning layer it would be hard to line up along the body tube edge.
I cut off the excess along the bottom of the squares with scissors.

Tuesday, July 29, 2014

ASP Corporal Build, Part 10, Fins and Tunnels

With a fin overhanging the tube end by 5/8", a piece of paper was taped around the tube to line up the front ends of the fins.

Beside the root edge of the fin you can see the sanded white gluing area.

All four fins were glued onto the tube and the alignment paper removed.

The tunnels glue directly above the fins.
New lines were extended down the tube and the primer sanded off.
There is a "gotcha" in the instructions. 
The instruction copy says the front of the smaller tunnels are 4 5/8" from the front of the long tube.
The illustration says the front of the tunnel is 7" from the front of the tube.
Looking at the illustration and face card drawing I glued them 4 5/8" from the top of the tube.


Here's how the model looks now with all the fins and tunnels glued on.
It looks larger than it is. The model is BT-50 based and 19" tall.

Painting should be easy, it's all white.

Sunday, July 27, 2014

ASP Corporal Build, Part 9, Primer and Fin Placement


After the two launch lugs were glued in place, both got Titebond M&TG fillets.

Look close at the upper section.
There is a ring where the dried glue shrunk and pulled in the body tube.
It's subtle and won't show up when the white color coat goes on.


The fin placement lines were penciled on then the primer areas sanded for a better bond. I just had to sand until the white tube showed through.

The fin lines were extended around onto the back edge of the tube.


These fins overhang the rear of the tube by 5/8".
I didn't seal the root and didn't want a rough exposed edge.

One quick fix is to lay a bead of white glue and let it dry.
Sand the glued end bead with 400 grit before gluing the fins on the body tube.

Saturday, July 26, 2014

ASP Corporal Build, Part 8, Engine Mount Gluing


It's hard to see in the picture but there was a small crease on one end of the tube.
If I glue a fin over it, it will strengthen the tube and hide the crease.

When marking the fin lines, I purposely set the tube crease on a fin position line.

This is another thin BT-50 tube. To protect it from crimping a 2" long, 50 sized coupler was cut.
A glue line was set up in the tube at about the middle of the coupler final position.
The coupler was pushed into place using the engine mount.
The engine mount was removed.
More glue was spread in the tube and the mount slid in place.

TIP: It's easier to line up the engine hook when a pencil line is drawn down the body tube, this time in line with the lower launch lug.