The nose cone canopy is painted blue. Blue is a good choice, the model needed a third small accent color.
The "canopy" is recessed which will help in cutting the mask.
Two pieces of Scotch tape were laid over the canopy area at an angle from front to rear.
The lower edge of the tape sits right on the edge of the raised bubble.
This was the only way I could get the tape to sit flat over the edges of the recess curve.
A new tip was broken off of my break-off blade knife.
The mask edge was cut using the raised edge of the recess. Rest the blade tip on the edge and follow around it trying to make a smooth a cut as possible.
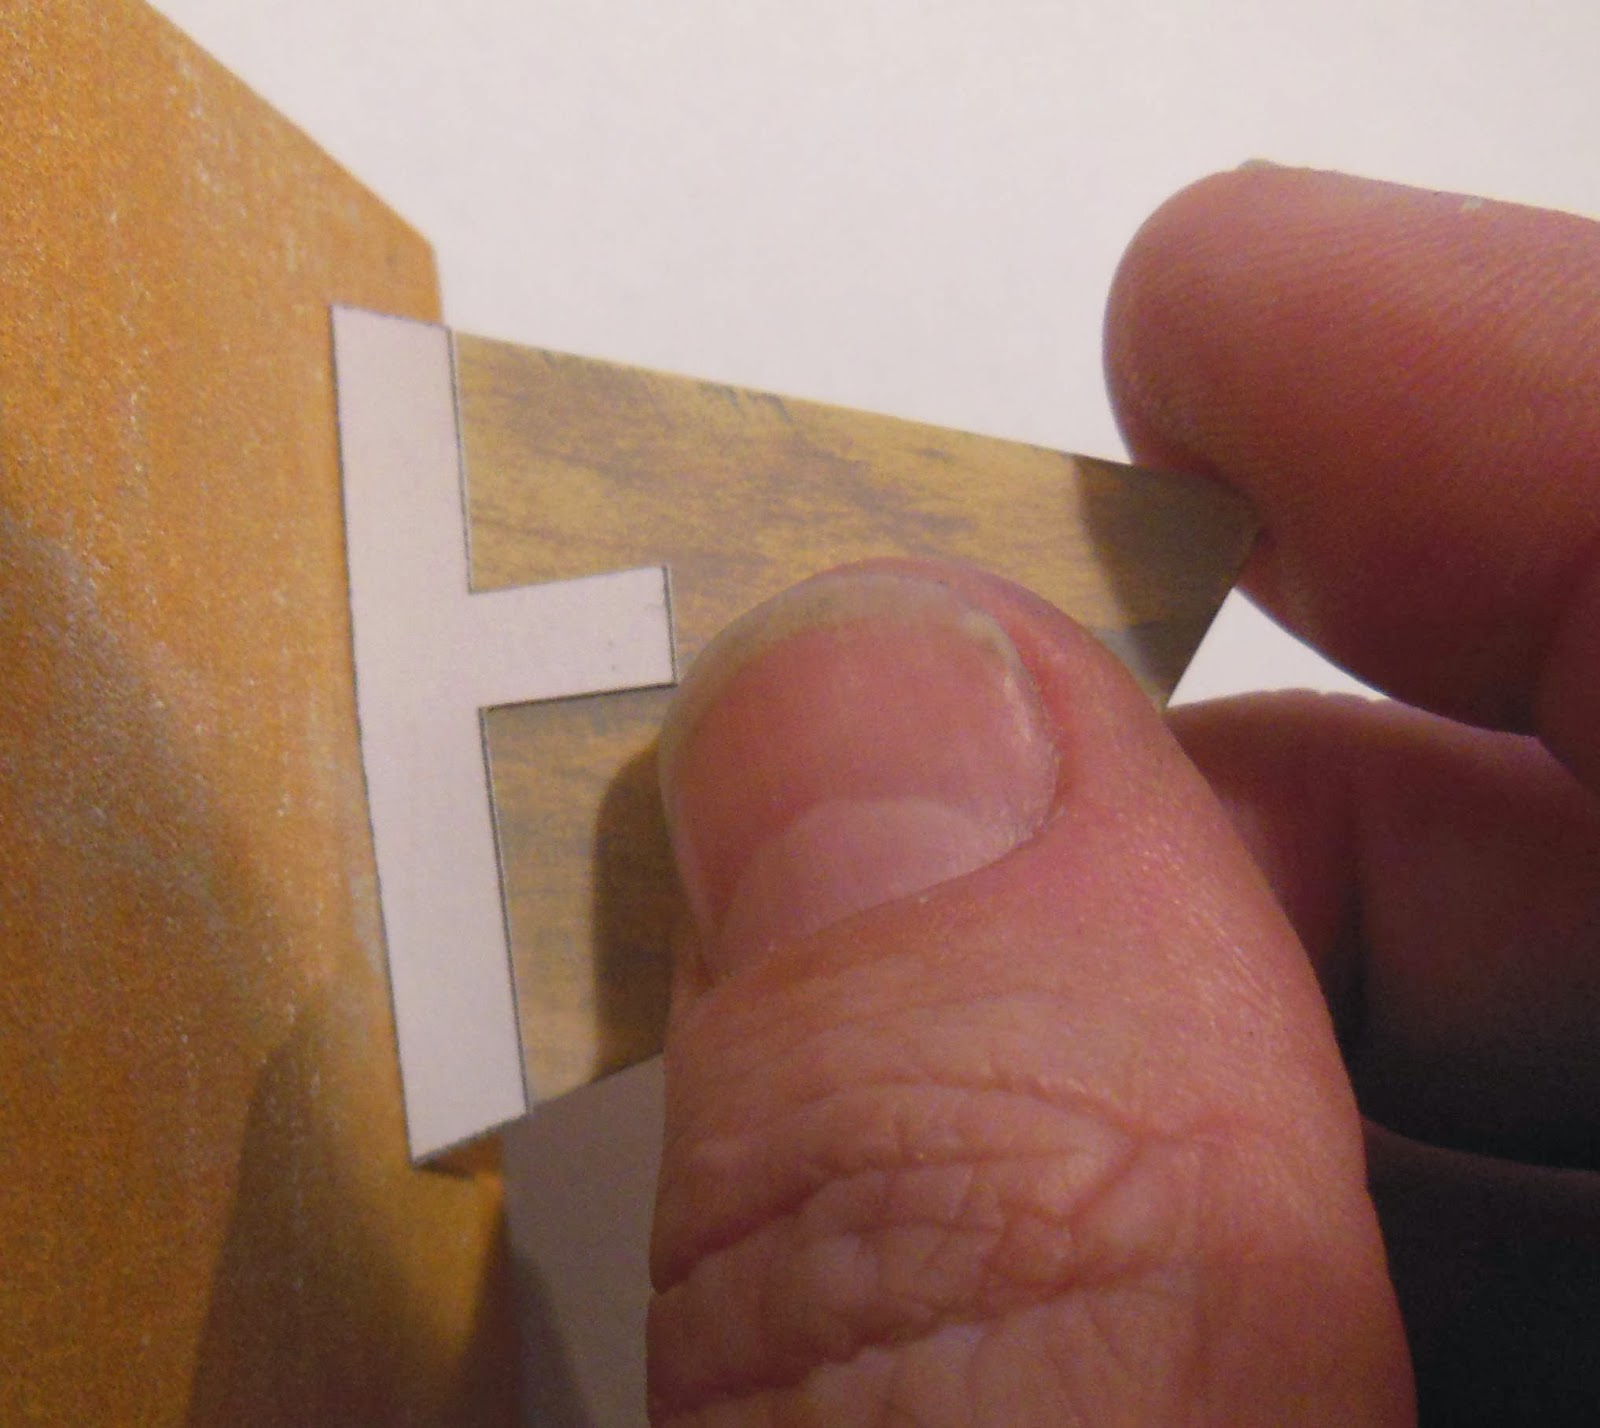
Here's how the center looked when pulled up.
The cut curved edge of the tape wasn't great, that's what the mask will look like after spraying. I'll cut it again.
Thursday, November 21, 2013
Wednesday, November 20, 2013
FlisKits Tartar Build Part 12, Lower Fin Cover Wraps
With some of the water based CWF filler exposed most glues will be absorbed for a good bond.
Again I'm using a glue stick, perfect for gluing these pieces in place.
It's not as messy as white glue and allows for some repositioning before it dries.
While applying the glue stick I use the tip of a dowel to hold the smaller piece down. This keeps glue off your fingers and leaves less to clean up later.
The cover piece was pressed against my sanding block to even up the root edges.
I'm not sanding here, just being sure the card stock edge is flush with the root edge of the balsa fin.
Pick up any glue that may have squeezed out when pressing down the cover piece. I used a rounded point dowel.
The finished fin, side and root edge views.
As the instructions say:
"This wrap serves two purposes. First as a decoration to mimic that seen on the actual missile. More importantly, it serves to strengthen the fin at the trailing edge where the grain geometry makes the fin extra weak in this area."
These fins are now very strong. Looking ahead, the low side of the root edge isn't even glue to the tail cone.
Tuesday, November 19, 2013
Estes Xarconian Cruiser Build Part 26B, Decals
Look at the instruction sheet below the model in the picture.
I couldn't figure out why the instructions had you set the black intake decal so far forward.
At the instruction position you could easily see the end of the black decal inside the intake tube. I set it farther back inside the tube.
The curve from the decal better matches the curved lines of the intake tube.

After setting the first long intake decal down, a wrap of masking tape was set around the tube at the tip end. This gives me something to line up the other decal tip.
Sight down from the front to make sure both decals are straight and evenly spaced.
The wing and rudder decals are the most difficult to place.
Set the decals down dry to get an idea of the spacing along the leading edges. Note: These decals don't really match the curves of the leading edges!
All four decals are long and thin. Have a soft brush handy and be ready to keep the decals wet when re-positioning.
From the previous X. Cruiser post - another change:
I didn't use the largest wing decals. They were just too big filling up most of the wing area.
These smaller decals were meant to be used under the wing. I just thought they looked better. Less is more.
I couldn't figure out why the instructions had you set the black intake decal so far forward.
At the instruction position you could easily see the end of the black decal inside the intake tube. I set it farther back inside the tube.
The curve from the decal better matches the curved lines of the intake tube.
After setting the first long intake decal down, a wrap of masking tape was set around the tube at the tip end. This gives me something to line up the other decal tip.
Sight down from the front to make sure both decals are straight and evenly spaced.
Set the decals down dry to get an idea of the spacing along the leading edges. Note: These decals don't really match the curves of the leading edges!
All four decals are long and thin. Have a soft brush handy and be ready to keep the decals wet when re-positioning.
From the previous X. Cruiser post - another change:
I didn't use the largest wing decals. They were just too big filling up most of the wing area.
These smaller decals were meant to be used under the wing. I just thought they looked better. Less is more.
Pigasus Tweaks
Here's how the PIGASUS model has looked for two years and __ flights.
I knew it needed a little more detail and the wings needed more feathers.

A little rouge on the cheeks and a shadow on the ear. More feather lines were added to the wings. (In the kit the wing shape will better match the outline of the overlay.)
Pigasus now has a few visual upgrades and is closer to becoming a new Odd'l Rockets kit!
I knew it needed a little more detail and the wings needed more feathers.
A little rouge on the cheeks and a shadow on the ear. More feather lines were added to the wings. (In the kit the wing shape will better match the outline of the overlay.)
Pigasus now has a few visual upgrades and is closer to becoming a new Odd'l Rockets kit!
Monday, November 18, 2013
Estes Xarconian Cruiser Build Part 26A, Decal Fix
On the left is the first try at the X. Cruiser decals.
I'd already used the smaller logo spots on the top off the wing.
I pieced together parts of the larger decals and made the Xarconian EE decal on the left.
Looking at the model it needed something more.
I had already scanned the larger wing decals and reduced them down to the smaller size used on the upper wing. These were printed out on decal paper and applied, shown on the right. DONE!
New Estes Kits for 2014
Bob Sanford (Initiator101 on YORF) posted the inside cover from the latest issue of Sport Rocketry.
The Cobra has a classic Estes space ship look using the old Orion style nose cone.
Out of the four rockets shown, the Orange Crush is the only E2X or Easy 2 Xecute.
The Dark Silver uses the Odyssey nose cone. The fins have dowels extending from the leading edges to the body tube. The fin pods have elaborate rear rings on them.
The blue Conquest model reminds me of some Shrox designs only thinner with wings that trail far back.
After all of the releases from 2013, I'm glad to see new builder's kits outnumber the RTF and E2X.
The Cobra has a classic Estes space ship look using the old Orion style nose cone.
Out of the four rockets shown, the Orange Crush is the only E2X or Easy 2 Xecute.
The Dark Silver uses the Odyssey nose cone. The fins have dowels extending from the leading edges to the body tube. The fin pods have elaborate rear rings on them.
The blue Conquest model reminds me of some Shrox designs only thinner with wings that trail far back.
After all of the releases from 2013, I'm glad to see new builder's kits outnumber the RTF and E2X.
Sunday, November 17, 2013
Estes Xarconian Cruiser Build Part 25, Decals
These kit decals took one full minute of soaking before they started to release from the backing paper.
I let them sit for another minute on a paper towel before they slid easily enough from the backing.
The decals stuck well and the clear edges almost disappear after they dry.
TIP: When cutting out the decals, don't cut too close to the edge especially on those with the long thin tails. It'll be easier to position if the decal ends have more clear edge "body".
TIP: At the inside of the "V" decal, round off the inside point to prevent tearing.
I'd always felt these kit decals were too much, some of them too large.
This decal goes on the rear of the intake tubes.
Three arc bands were cut off to position the decal closer to the rear of the tube.
Here's how they ended up. In this case, less is more.
Below is the instructions showing the suggested decal position. Those three extra bands weren't needed.

Another change -
I reversed the decal under the front of the body tube.
The arc on the decal is the same as the masked line. I thought it fit the flow of the curved mask better.
I let them sit for another minute on a paper towel before they slid easily enough from the backing.
The decals stuck well and the clear edges almost disappear after they dry.
TIP: When cutting out the decals, don't cut too close to the edge especially on those with the long thin tails. It'll be easier to position if the decal ends have more clear edge "body".
TIP: At the inside of the "V" decal, round off the inside point to prevent tearing.
I'd always felt these kit decals were too much, some of them too large.
This decal goes on the rear of the intake tubes.
Three arc bands were cut off to position the decal closer to the rear of the tube.
Here's how they ended up. In this case, less is more.
Below is the instructions showing the suggested decal position. Those three extra bands weren't needed.
Another change -
I reversed the decal under the front of the body tube.
The arc on the decal is the same as the masked line. I thought it fit the flow of the curved mask better.
Subscribe to:
Posts (Atom)