Monday, January 16, 2017

Estes Solar Warrior (#3225) Build, Paint Fix, TIP

I put together two Estes Solar Warrior kits at the same time. On one, the upper section was sprayed purple. On the other, metallic red. The purple went on fine. The metallic red was another story.

Just to one side of the upper fins was a raised area. The paint was lifting and wrinkled.
I didn't get a picture of it before, it didn't occur to me at the time it could have been a blog post.
The lifted paint blob was shaved off with a knife and the edges lightly sanded with 400 grit.


Some Duplicolor Filler/Primer was sprayed into a small cup.
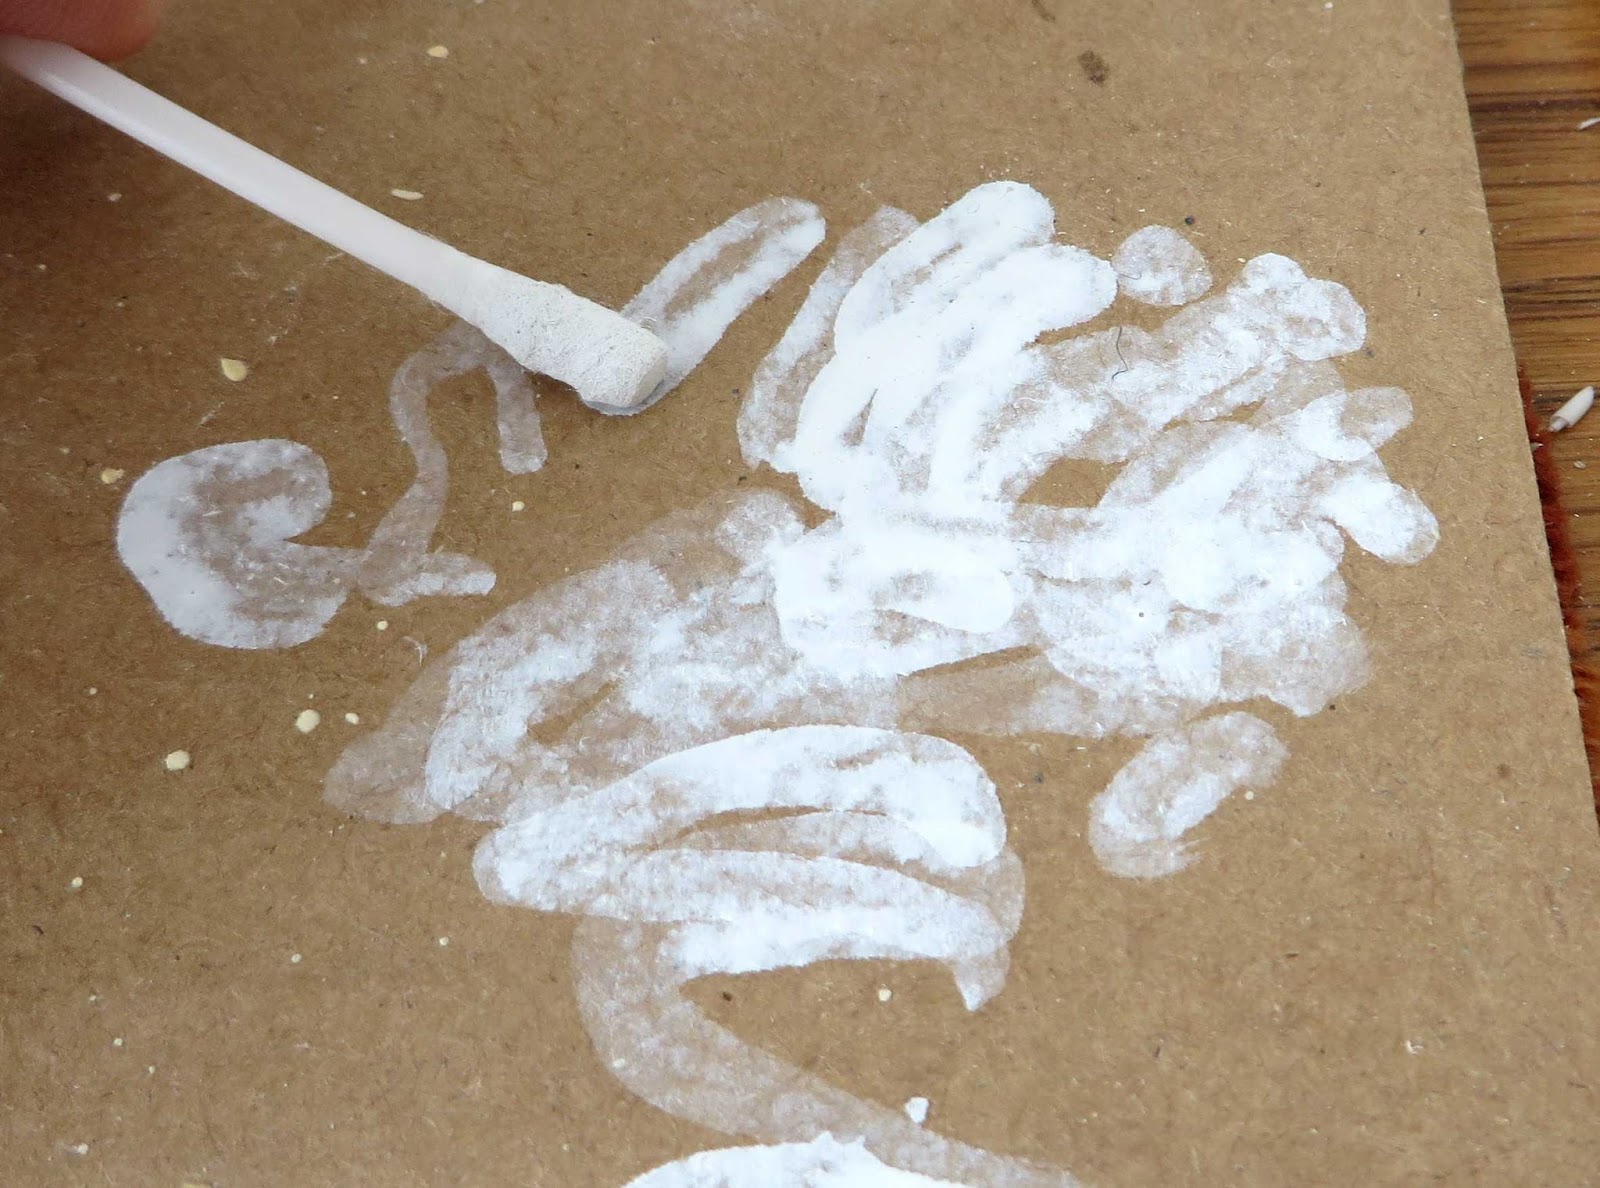
A Q-tip was dipped into the primer and dabbed onto the rough spot.
Dabbing on the primer a little thick was the equivalent of three or four separate coats. That should be enough to fill the low area.


On the left is the primer/filler sanded to the surface of the red paint.

Some gloss white was dabbed over the area for an undercoat. That was sanded and another application of white followed.
The mask was interesting. This Rustoleum red metallic is pretty forgiving when used as a touch-up.

Scotch tape was set into the root edge fillets. A mask of the same color won't be noticeable when stuck in a fillet area.
Notice how the masking tape edges at the top and bottom are lifted. This lets the paint "feather in" to the color underneath.
After the mask was lifted and the paint totally dry, some polishing compound was applied over the blended area (under the lifted tape) to match up the gloss.

When doing this kind of touch-up, spray straight over the area. Make no effort to spray under the lifted tape. The whole idea is to spray the touch-up area then polish out the paint over spray afterwards.
This touch-up isn't perfect but much better than what it was before. Nobody else would notice unless you showed them.

Sunday, January 15, 2017

Estes Solar Warrior (#3225) Build, Part 14, Decals


This is a simple mask, simply cover the lower body below the smaller fins.
The instructions suggest Dark Blue, I decided to use the same Purple I used on the Wizard build. The second build will use Metallic Red.

Here's where the wrap decal separates the two colors.
There is a raised paint ridge after the mask was removed. This ridge will show up under the thin decal wrap.
TIP: I masked off either side of the paint ridge so I could sand it down a bit. The tape protects the finish and only allows you to sand down the area between the two tape wraps.
I should add, sanding the ridge down slightly will dull the paint, but when the decal is set over it the gloss clear coat (on the decal) will shine any dulled paint.


You'll have to cut the decals out close to the printed edges.

Be careful the chevrons on the fin cap decals are going up!
It's very easy to place the decals upside down.


The inside edges of the fins get mirrored decals.
Center the decals and make sure the spacing is the same at the bottom and root edges. The black border line is close.

Saturday, January 14, 2017

Estes Solar Warrior (#3225) Build, Part 13, White Touch Up

Getting paint in all the nooks and corners was tough on this one.
I missed a few spots around the fit tip covers. (see third picture)
For fin edges like this I can touch up without spraying the entire model again.

A small snack sized Baggie was pressed into a small plastic cup.
Some paint was sprayed into the baggie, four quick shots close to the cup.


Dip a Q-tip into the paint puddle in the baggie.
Wipe off the excess on some scrap.


Roll, don't brush the paint loaded Q-tip over the light paint area.
You might have to go back for a second coat.

I wouldn't recommend touch-ups like this on a large, flat area.
This works best on edges and inside corners.

Estes Solar Warrior (#3225) Build, Part 12, First White Paint


This rarely happens to me, but I did get two small bugs landing in the paint!
Now a big deal, these will be sanded off before any more paint is sprayed.
I've started to sand down any rough spots and bugs.
Most of the time is spent taking down some of the fillet ridges and any glue blobs.

Enlarge the picture to take a better look at the upper fins. The light reflection shows how little paint is sanded off - just knock off the tops. You don't have to sand to the surface here.

There is a lot of inside angles, fin fillets and fin plate fillets to sand smooth before the next white coats are sprayed.

The engine nozzle was painted off the model in a Metallic Black paint.

Friday, January 13, 2017

Estes Solar Warrior (#3225) Build, Part 11, Engine Mount

Set the engine mount assembly on the side of the model at the depth it will end up.

Beneath the mount is a glue glue applying dowel. The top end of the dowel is set where the glue ring will go. The dowel tip is set just below the upper centering ring of the engine mount. The rear of the dowel is marked at the end of the body tube.
This way the glue ring will be set down slightly below the final upper ring position.

Apply a ring of glue around the tip of the dowel.
Set the dowel inside the main tube up to the pencil mark.
Roll the glue around the inside of the tube. Add more glue and Repeat until you have a glue ring all the way around.
Use the nozzle to set the mount depth in place. Be sure the engine hook is in line with the launch lug.
The top of the nozzle shoulder should but up against the low engine mount centering ring.
Remove the nozzle.


After it dries, slide a painting dowel (with 24mm casing) into the engine mount.

Here the model is ready for the white paint. Tape pieces are set on the inside rim of the body tube. The engine mount tube is also masked off.

Centuri Professional Firing Panel

This is the launch controller I wanted back in the early 1970s.
The Centuri Professional Firing Panel - CLICK HERE

It had an aluminum case, a safety key that turned and a red arming light. This wasn't just a "controller", it was a FIRING PANEL!
But . . . at $14.95, I could buy a few rockets and engines. It wasn't a necessity, I already had working Centuri and Estes controllers.

These pictures were posted on the Yahoo! Old Rockets group by ez2cdave. Thanks Dave!
From the outside the controller looks simple and sturdy. You can see the black "crackle" finish on the aluminum case. 

Opened up, there's not much there. For $14.95 I was expecting more! These were probably assembled by hand, one at a time.

On the left of the brown cord is a strain relief knot inside the casing.


ez2cdave also posted the first page of the Centuri instructions.

Thursday, January 12, 2017

Estes Solar Warrior (#3225) Build, Part 10, Fin Alignmment


A wrap of paper was used to make sure the base of the upper fins were in line around the tube.


The aluminum angle was used to be sure the upper and lower fins were in line. Just don't set the edge of the angle into any glue along the root edges.


The single 3/16" launch lug is centered between two fins, 6" from the end of the body tube.


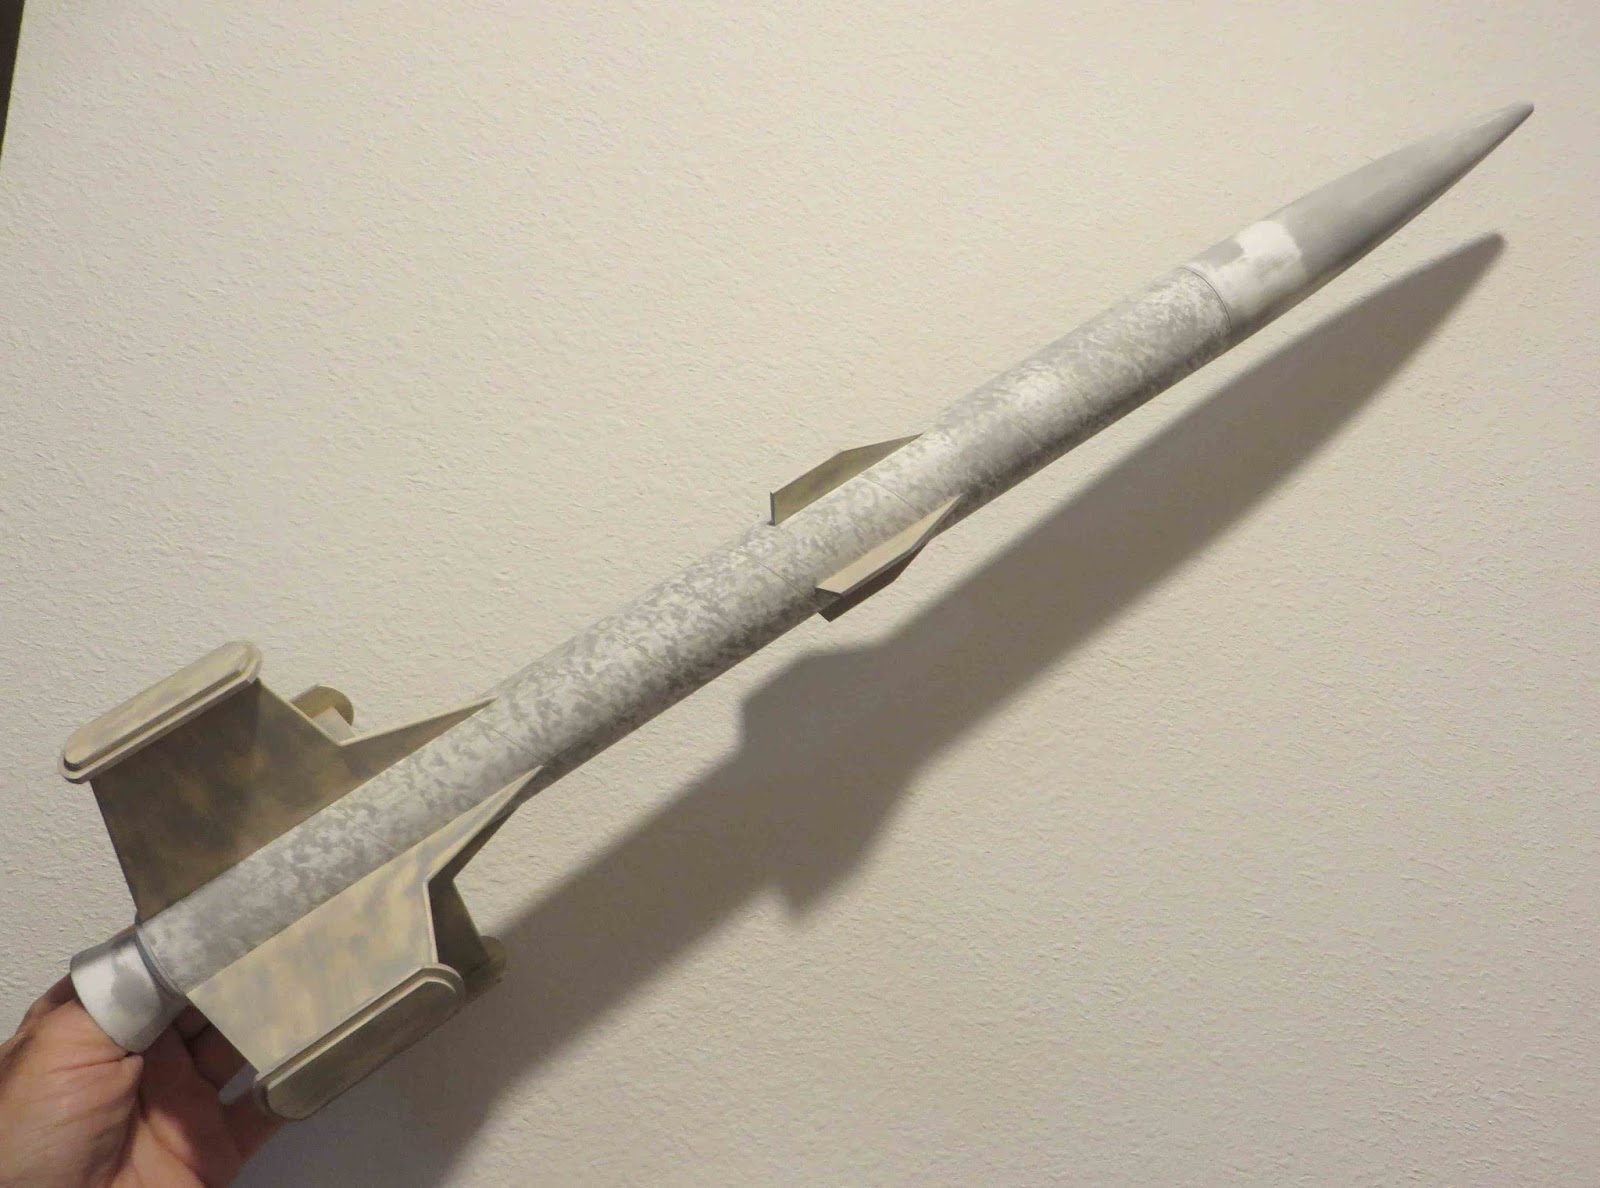
Here's how the model looks with the tail cone slipped in place and before fin fillets were applied.