Monday, August 5, 2024

Enerjet by Aerotech, Astrobee D Build, Part 9, Forward Lug Rail Fastener


From the remaining lug rail material,
Cut a piece to 1.31" long.

Sand the ends square.

These are the bolts that glue onto the forward lug rail.

They are small, 
I'd recommend keeping them in a small zip-lock bag.

Shown in the picture below,
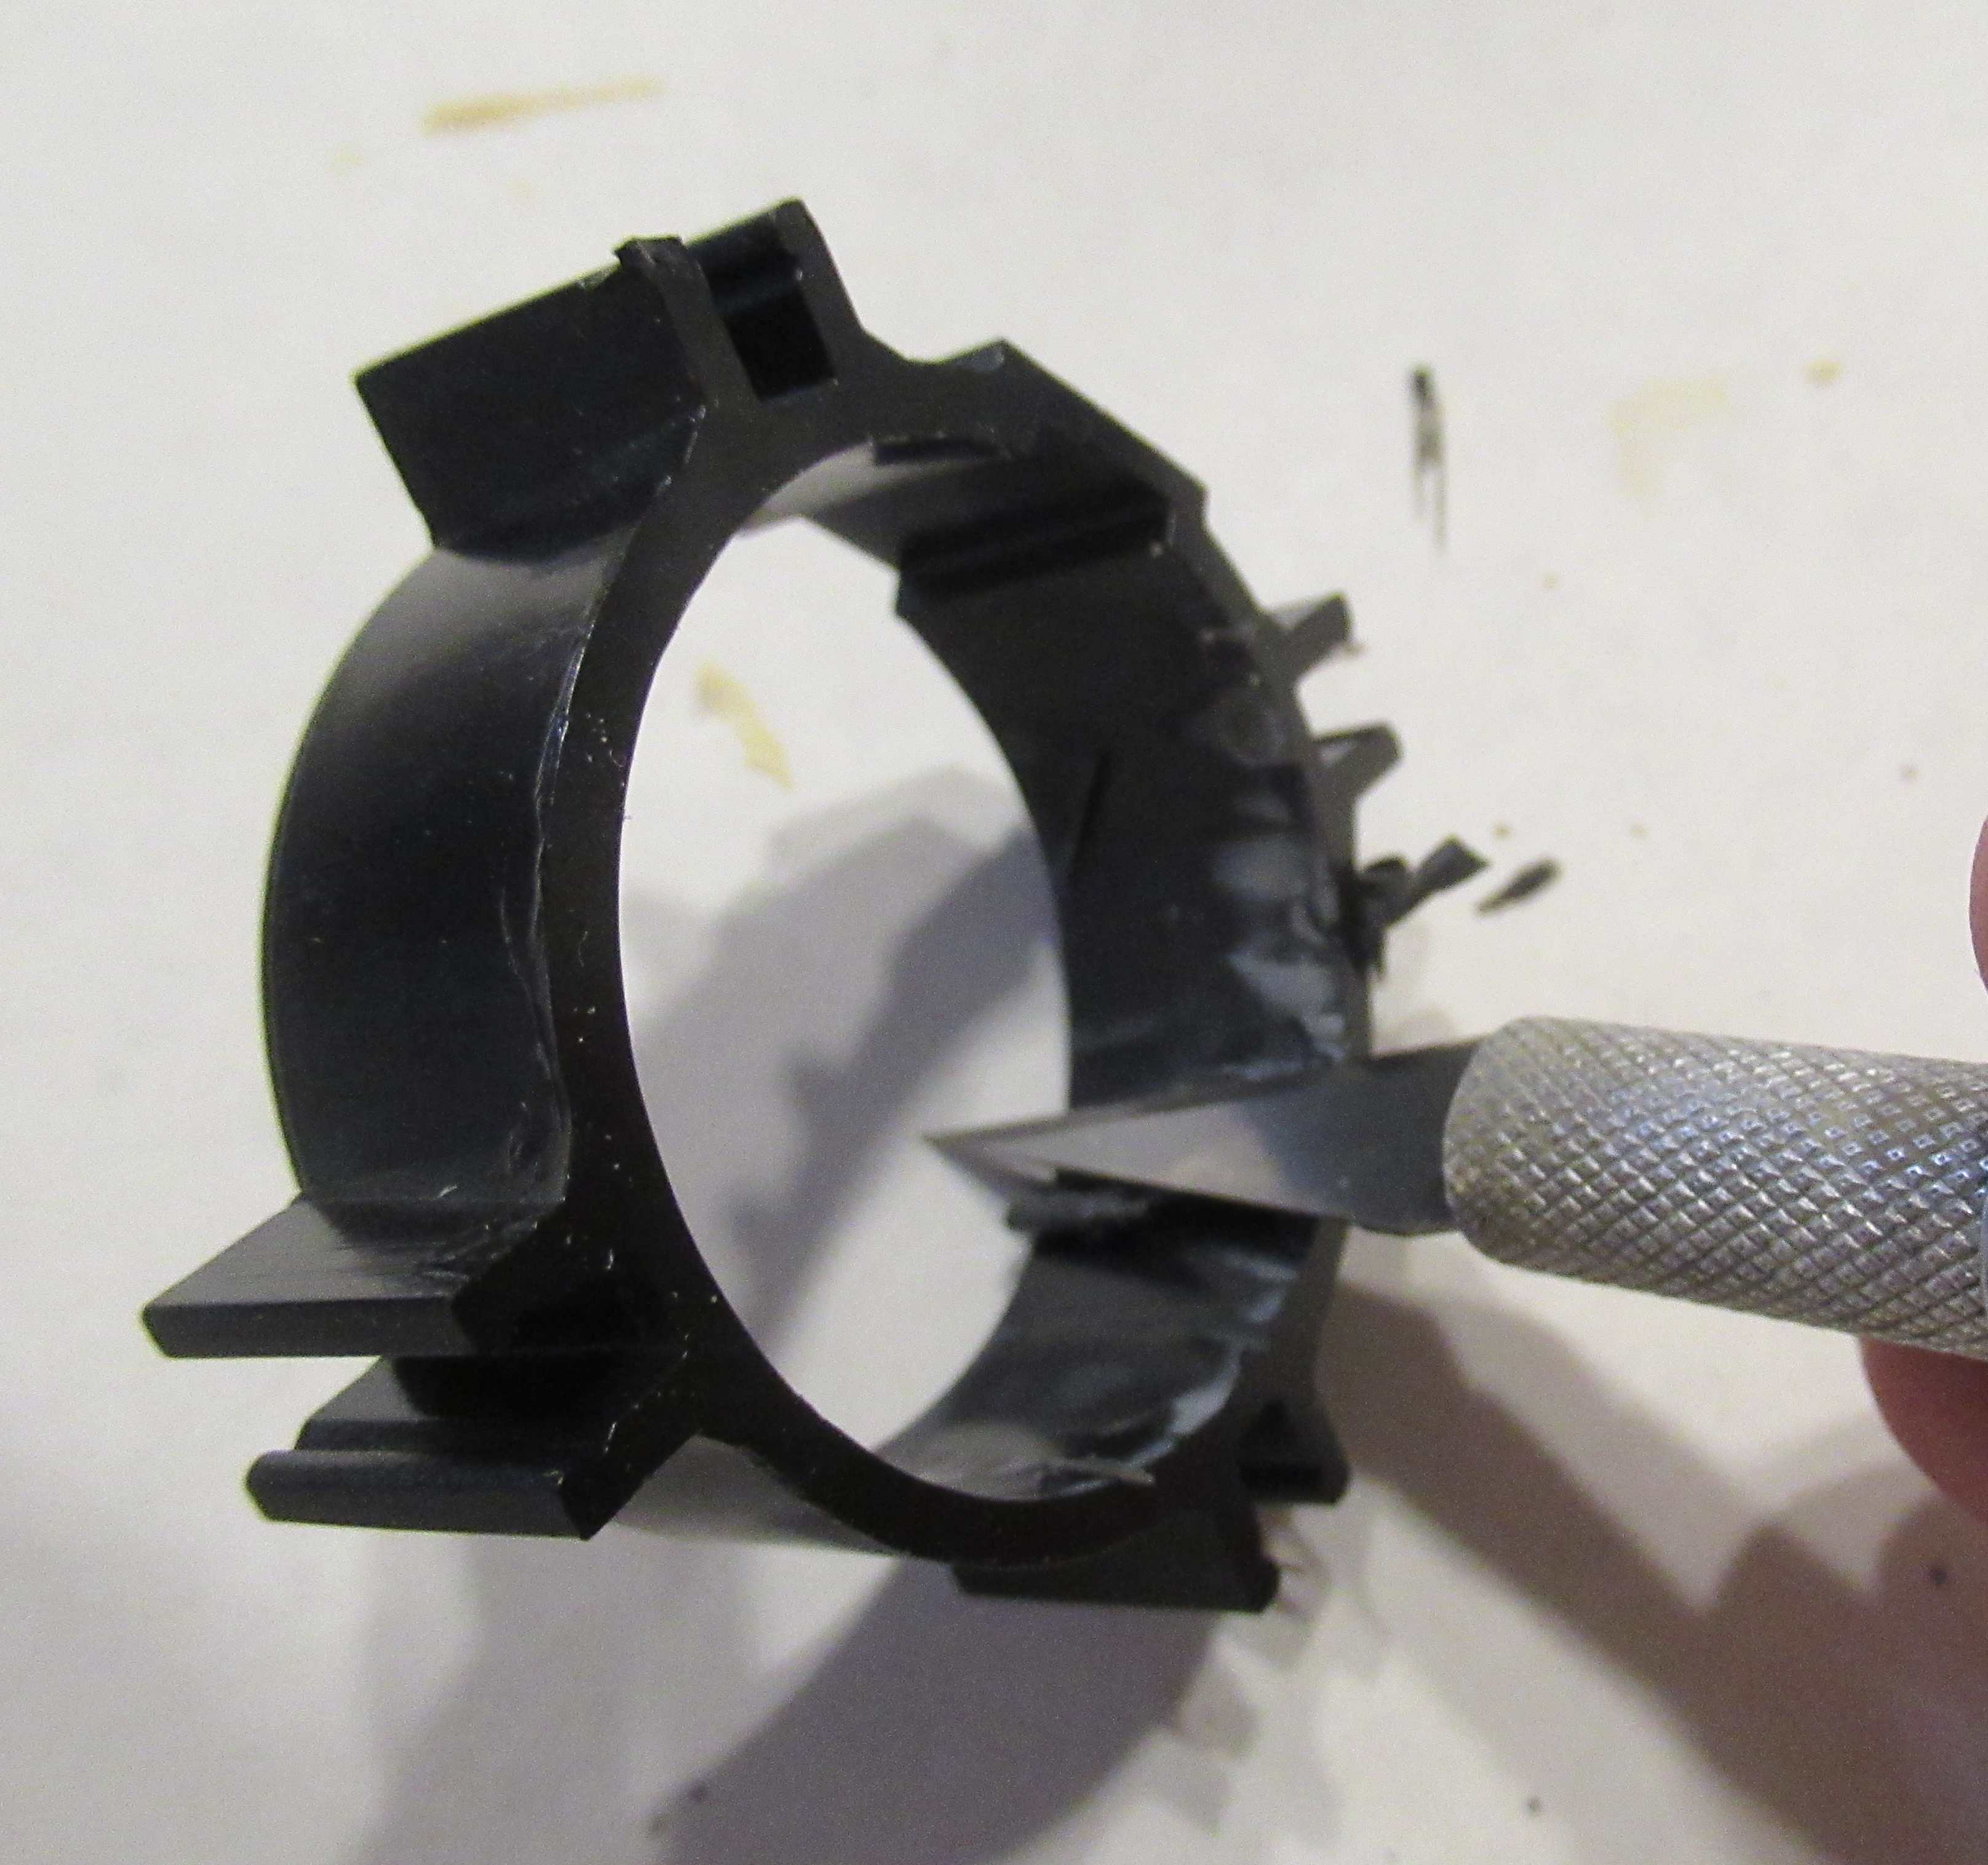
Cut, don't twist off the molding trees.
Notice I first cut off the thin tree side. Cut a little long, sand to the round edge.


You'll find it easier to sand the open side of the bolts round with the larger molding tree to hold onto.

After you sand the open side round, you can cut the bolt head off the larger tree side. Cut a little wide
More in the next post -

Sunday, August 4, 2024

Enerjet by Aerotech, Astrobee D Build, Part 8, Launch Lug Rail


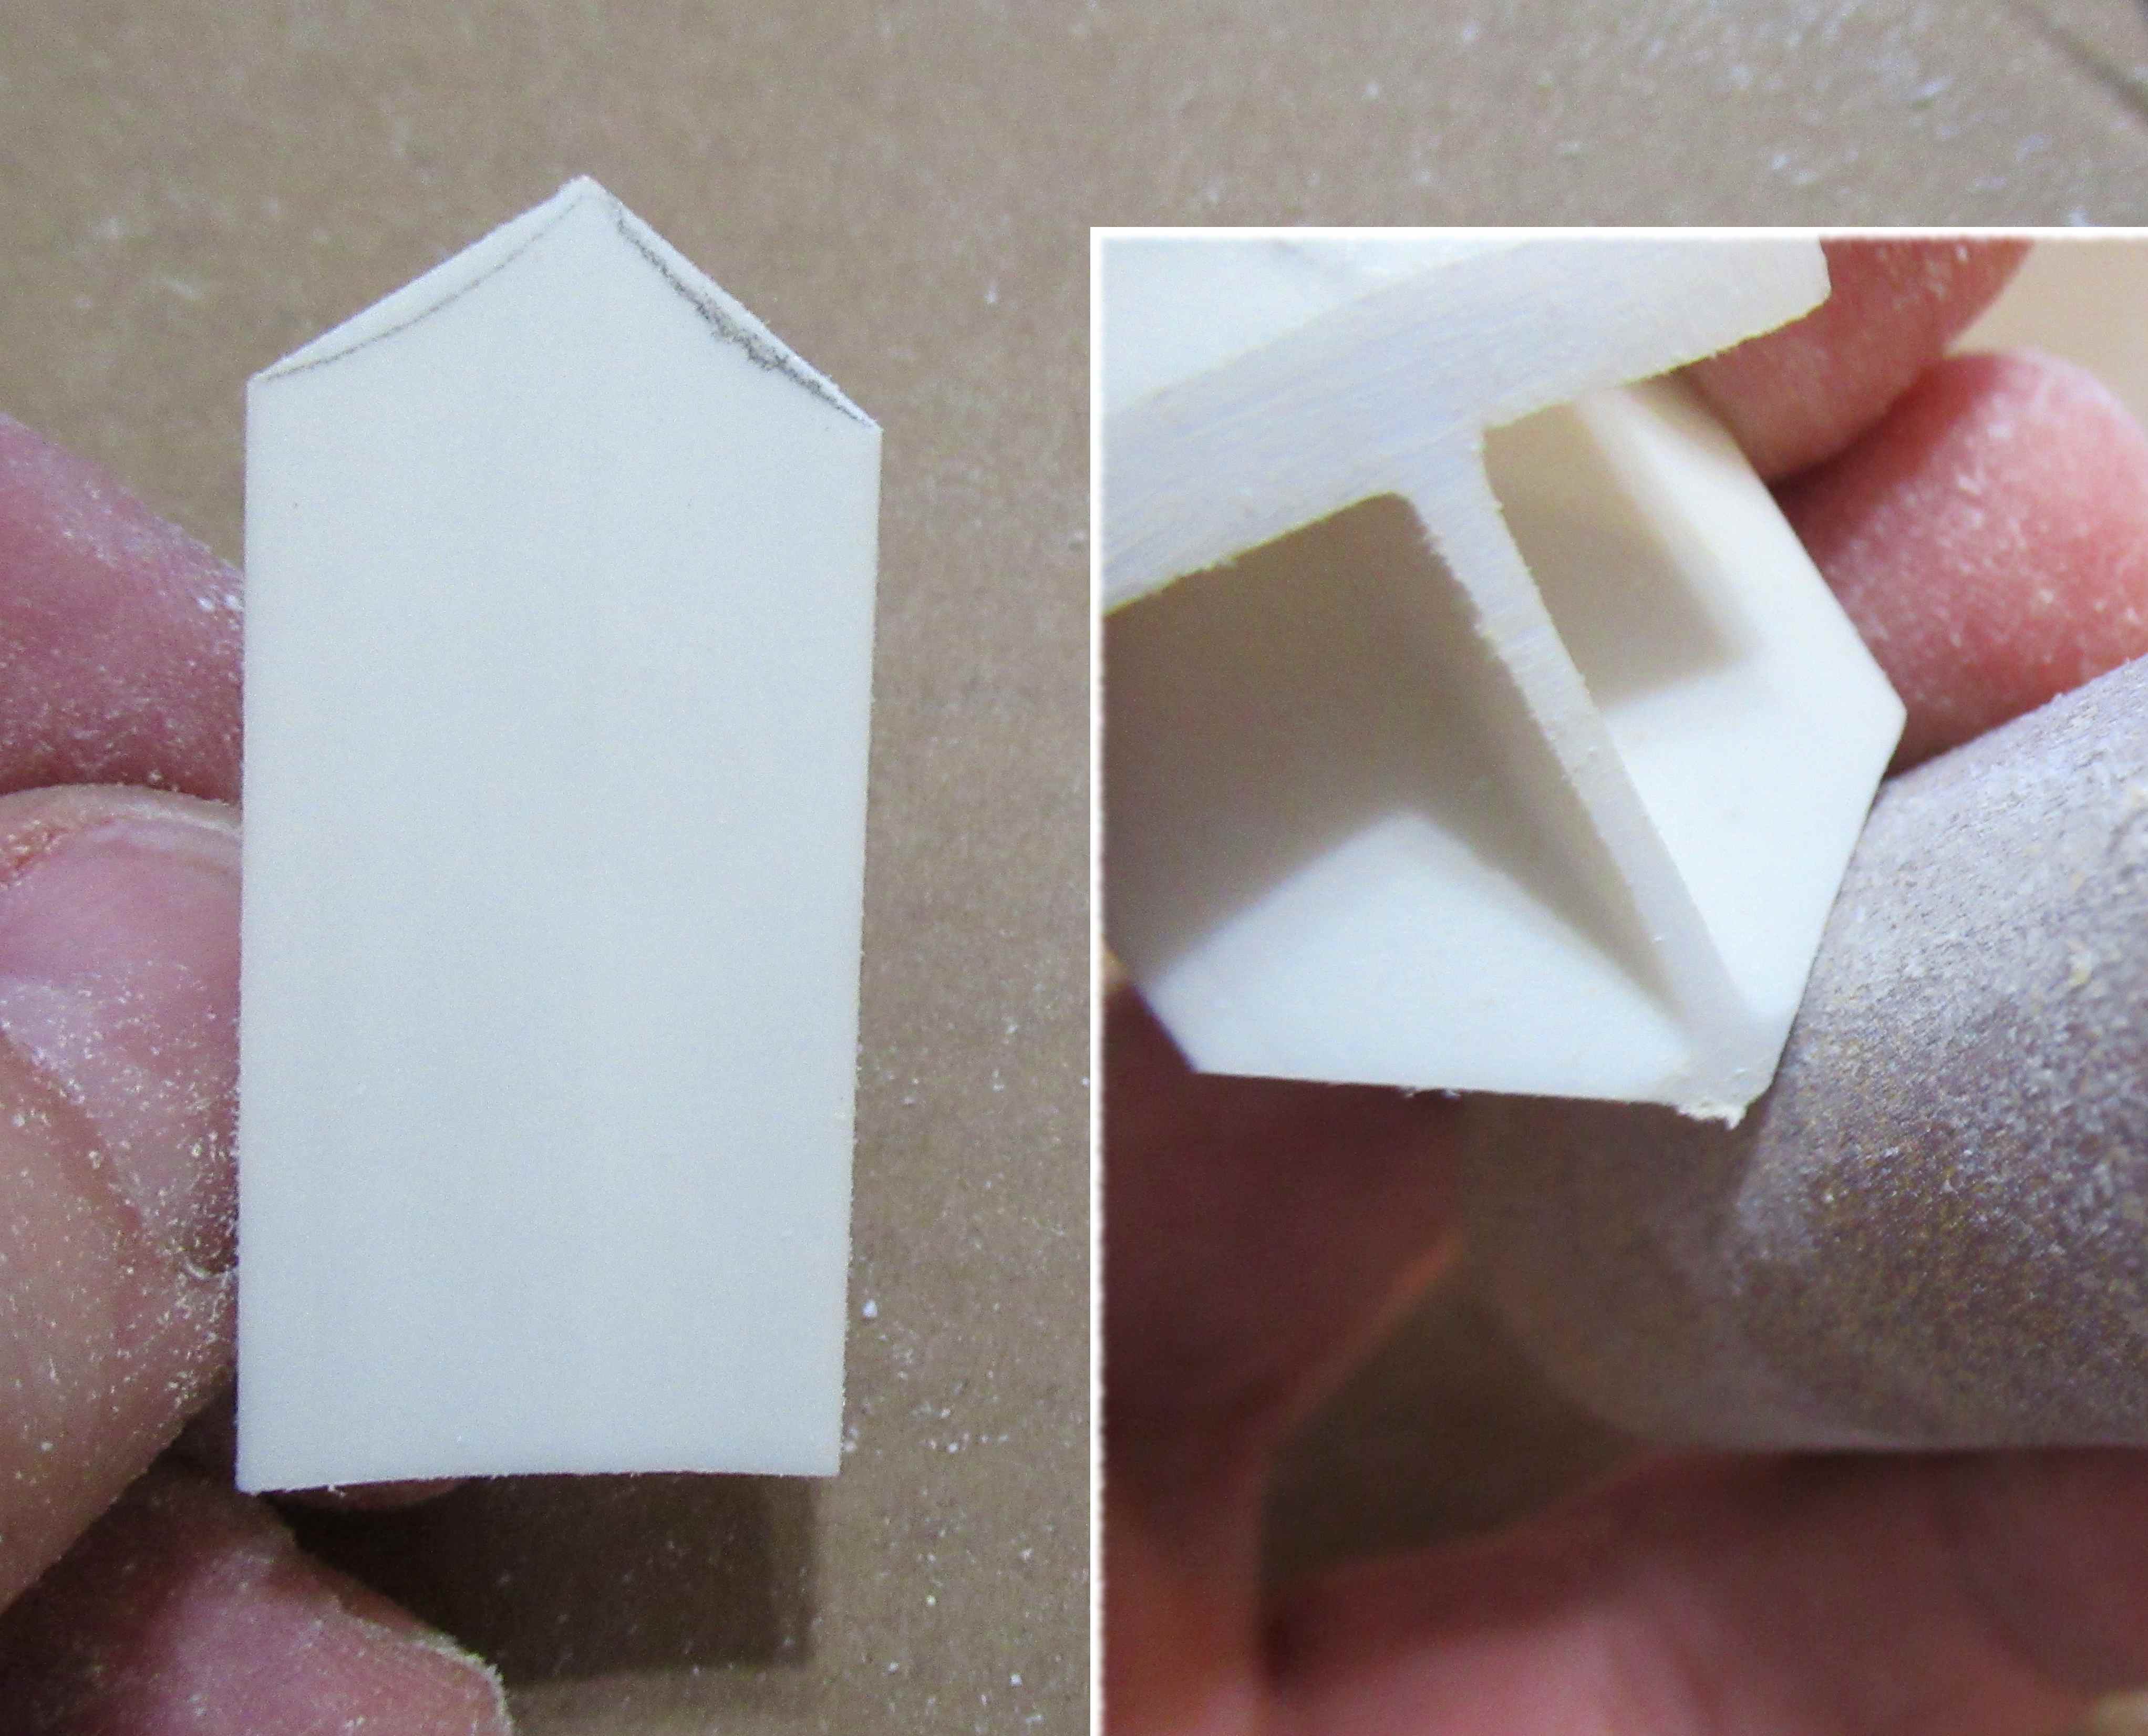
Sand a consistent angle from the smaller top plate, down the middle bar and onto the lower plate. 

Some of that "skin" left under the top plate will have to be lightly filed off.


Defining the rounded taper on the lower plate, I wrapped sandpaper around a 24mm engine casing.

Notice the pencil marks over the front end.

Rubbing some pencil gives you a high contrast surface while sanding. You can better see the width of the sanded edge.


Here's the completed piece ready for the gold paint.


 As it always seems to go - 

Paint shows imperfections. I had to sand some of the mold marks and rough leading edges. More gold paint to come.

Saturday, August 3, 2024

Enerjet by Aerotech, Astrobee D Build, Part 7, Launch Lug Rail


Here's where we are - 

The front angle has been block sanded. It is still a little long.

The top and bottom front (arrow points) are cut with a hobby knife. 

Looking at the bottom - 

Some of that curve will happen automatically from the curvature of the bottom plate. I found I had to sand a bit more to define the curve.

I used a piece of 220 grit wrapped around a spent 24mm engine casing. After the 220 grit I followed with 400 grit.


The bottom after sanding in the front curves.
 

Friday, August 2, 2024

Enerjet by Aerotech, Astrobee D Build, Part 6, Launch Lug Rail

A "T" shaped length of plastic is supplied to make the scale launch lugs. This is one of the more difficult steps in the build.
The instructions say to use either a knife or razor saw to cut two pieces 1 15/16" long. I tried a knife but you might have better luck using a fine point razor saw. 

I cut my two lug pieces a little longer than directed and sanded to the correct length using a block.


On a separate piece of paper, a bottom and top template is supplied.

Set the back end of the template even with the rear of the lug pieces and trace the cuts with a pencil.

Notice the bottom pencil line has a chevron shaped curve. Some of the curve happens automatically because the bottom of the lug is curved to fit the body tube.


Again, I cut a little long and will sand to the correct length and shape.

The front angle is cut with a razor saw.

Thursday, August 1, 2024

Enerjet by Aerotech, Astrobee D Build, Part 5, Engine Mount & Upper Tube Bulkhead

Gotta' love instructions when they get things right!
Something I've been harping about for years -
1. Use a Square Knot to tie a shock cord to the screw eye. A "Granny knot" can slip!
2. Do not put cement on a knot! Cement (glues) will weaken the shock cord.


The ejection baffle is glued into the top end of the tube. In the last post the 1/4" slits were cut in the top of the tube.

The second centering ring is glued onto the top of the ejection baffle.

The screw eye is screwed into the hole in the top of the ejection baffle.

The shock cord is tied to the screw eye with a square knot.


Jumping ahead to the Upper Body Prep and Assembly:

The screw eye is turned into the bulkhead plate.
Be sure not to screw in too far. Leave a bit of the threads still visible. If you screw in too far, the screw eye won't hold.


Tie on the second shock cord with a square knot.

The plate is glued onto the coupler with the screw eye facing down.


I applied a wood glue fillet on the inside joint using a Q-tip taped to a dowel.

Wednesday, July 31, 2024

Enerjet by Aerotech, Astrobee D Build, Part 4, Engine Mount


The fin-lock centering rings are a tight fit on the engine mount tube.

I scraped the inside walls with a #11 blade until I got a good fit.
These rings are molded to fit tightly but I didn't want to distort the engine mount tube.


Here's a dry fit, no glue yet.
This kit no longer includes an engine hook or thrust ring (engine block) A revision sheet explains the changes and which steps to skip.

Pay attention to the positions of the rings. 
From the rear edge of the engine mount tube:
At 1 1/2" is the front edge of the rear fin-lock ring.
At 3 9/16" is the rear edge of the forward fin-lock ring.

With the rings slid in place, make sure both the rings are in line and the fin tab fits into the notches in the fin-lock rings.


You are instructed to make four 1/4" cuts, spaced 90 degrees in the top of the tube. This allows the baffle shoulder to slide into the top of the tube.

Mark the cuts with pencil first.
You can get closer to a 90 degree spacing using a single edge razor blade.


No ejection wadding is needed on Enerjet by Aerotech rockets.

The permanent cooling mesh is stretched out to 6" in length.
Insert it into the front end of the tube.

Tuesday, July 30, 2024

Enerjet by Aerotech, Astrobee D Build, Part 3, Fin Prep


I'd recommend taping off the outside half of the fins. It's easy to scratch the fin face with the sanding block when sanding down the nub. 


Notice I'm using my thumb as a "bumper" so I can focus the sanding just the nub.

Earlier I mentioned one side of all four fins has a recessed nub. Just sand down the raised side of the nub.


On the left you can see the area that needs to be filled.

If you don't have Tamiya putty, 
You can use a bead of medium Super Glue. The medium glue "beads" and won't run as easily. I pick up this CA glue at the Dollar Tree store.


On the left is the CA glue bead. Be patient, it will take a while to dry.

Sand with 220 grit on a block and follow with 400 grit.

On the right is the finished fill. Run a fingernail over the hard clear fill to see if there are any dips. You may have to do a second application.