Monday, April 15, 2019

Quest AS-1 Escort Build, Part 12, Prep and Undercoats

The nose cone is too loose in the body tube.
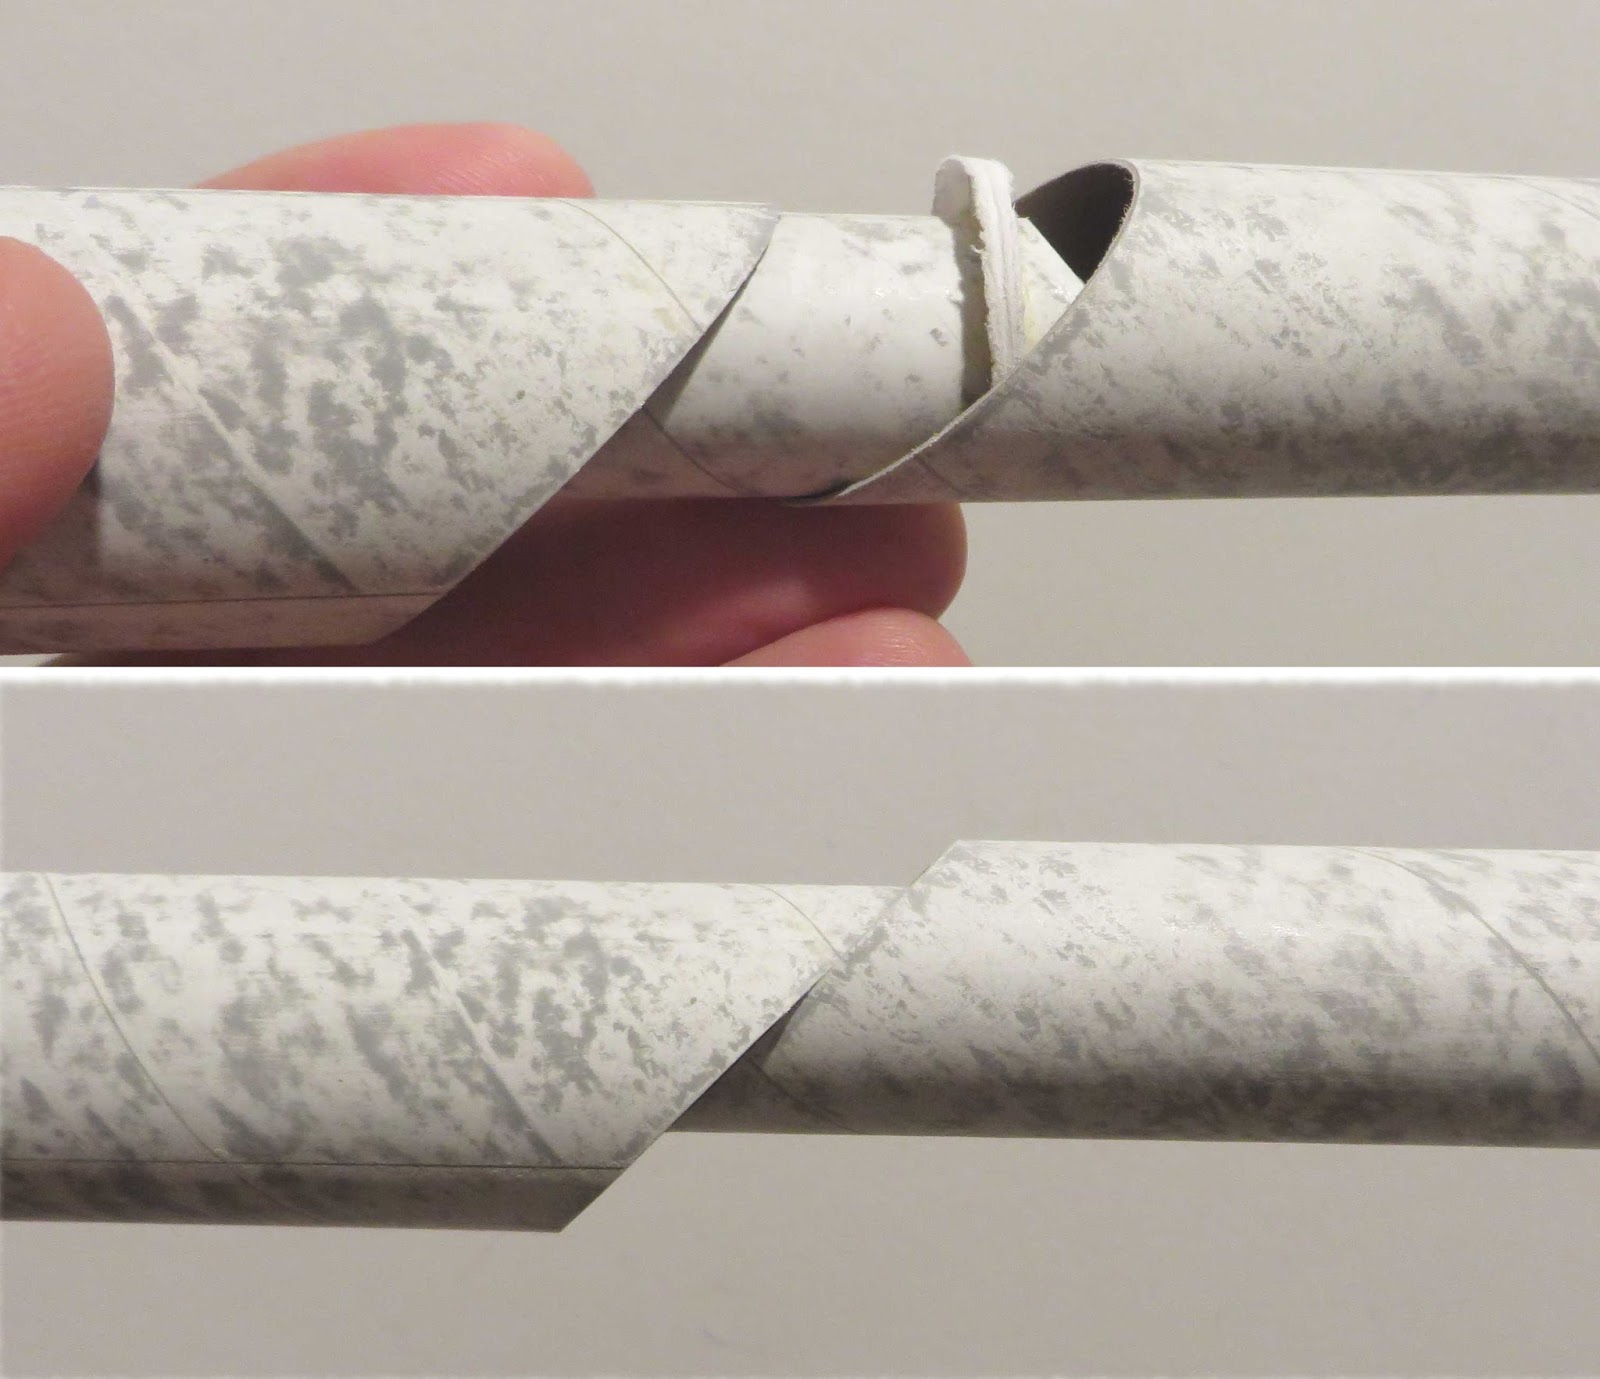
TIP: You can do masking tape wraps or you can build up some "ribs" for a better fit.
I applied a drop of medium CA glue to the nose cone shoulder. The wet glue was dragged in a straight line down the shoulder with an X-acto blade.
Apply a small drop and form the line with the knife tip. Thicker CA takes a while to dry. Set the nose cone horizontally for each single line to dry. Super glues will run! Do one line and set it aside to dry.
I did three lines spaced evenly around the nose cone shoulder. If the lines make the fit too tight they can be easily sanded down.
It's not perfect, just a different technique.


White undercoats were sanded. I sanded a bit too far.
I went back and touched up with some paint sprayed in a cup. A Q-tip "brush" was used to roll on the paint.

The first Rusto Metallic Silver was sprayed. Go light with the metallic paints and build it up over a few coats.
There was a small dip in a rear fin. White Squadron Putty was set in and sanded smooth.


The Rusto Metallic Silver dried smooth on all the body and fins.
On the plastic nose cone it crinkled up.

More sanding and primer were used before spraying it with silver again.

Sunday, April 14, 2019

Saturn V Parachutes

I've noticed some vendors selling printed Saturn V style parachutes.

Three parachutes, two for the main body, one for the upper body. I can understand why some purists want everything close to "scale".

Younger builders may not realize, these were the only three parachutes used, for the command module splashdown.

An email from Brian Coyle:
"There were 8 chutes on the Apollo capsules- 2 drogue, 3 pilot, and 3 mains. ;)"

(From wiki)
The ELS consisted of two drouge parachutes with mortars, three main parachutes, three pilot parachutes to deploy the mains, three inflation bags for uprighting the capsule if necessary, a sea recovery cable, a dye marker, and a swimmer umbilical.

You can see the small white pilot chutes above the large canopies. This is what we saw watching the Live splashdown news coverage. I (like most others) remember seeing the three main parachutes.

Quest AS-1 Escort Build, Part 11, Wing Tip Tubes


The wing tip tube (launch lugs) ends are cut at a 45 degree angle.

TIP: I drew the angle on my cutting board so the angle would be consistent on both cuts.
Use a new, sharp razor blade to cut launch lugs.

After the cut, sand and even up the edge.

Sanding launch lugs are like filing fingernails, there is usually a thin Mylar skin that folds over and into the lug.
Pick the skin out with a toothpick and sand off with some 400 grit.


Here's how the lug should look after sanding off the rolled over Mylar wrap.


The tip tubes are glued and centered onto the outside edge of the wings.

Saturday, April 13, 2019

Quest AS-1 Escort Build, Part 9, Tube Joining


After sanding the gap cap, the tubes are dry fitted.
The two 45 degree cut tubes should fit together.


Here's what I don't understand.

GOTCHA: The center tube has an angle cut - that ends up inside the upper tube.
There's no reason for this interior angle. If it is trimmed back you'll have more room for the parachute.
I did a tape wrap for a cutting edge guide and took the tip off about 1/8" above the gap cap .


On the left is the "pinch hold" while the glue dries.

The inset picture shows the alignment of the center lines. Look down the tubes to make sure they are in line.


A drop of glue was squeezed in from the top of the upper tube to fillet the gap cap joint.

Friday, April 12, 2019

Quest AS-1 Escort Build, Part 8, Fin Fill and Tube Gluing


The front edge of the two piece fins have a visible break.
Some CWF is set on the seam.


The inset picture shows sandpaper wrapped around a Q-tip stick.
This was used to round off the filler corner.
On the left is after the filler/primer was sanded down.


GOTCHA: The instructions say to mark the center tube at 1/4" and 4" from the rear for applying the glue line. The glue area should really be at 1/8" and 5".
For easier alignment, extend the centerline mark onto the engine mount tube.


The center engine tube is glue to the inside top of the rear tube.
Use your centerline marks to place the tubes in line. Double check the rear to be sure everything is centered.

Thursday, April 11, 2019

Diorama Skills


And you think the Mercury Redstone tower is too much work?
Looking for some inspiration? Check out this diorama video: CLICK HERE
The motorized tracks are pretty amazing.


This might give some insight on how a Red Max diorama could be made. (See, I did tie it back to rocketry.)

Quest AS-1 Escort Build, Part 7, Gap Caps?


The gap caps are needed so the ejection charge doesn't blow out the back between the offset tubes.
GOTCHA: These are printed on 110 lb. cardstock. While this thickness might work, I would rather have them as thick as a regular centering ring.
I did two more laminations of 110 lb. cardstock.
I was making two models at the same time, two sets are shown.


These are hard to cut out, Quest does supply an extras.
TIP: Cut out the centers first, then the outside lines. Trust me, it's easier this way, if you were to cut the outside line first you have nothing to hold onto when cutting out the center.
Pick and use the better of the two cut caps.


Apply a line of glue 1/8" from the short end of the angle cut center tube.
Oops! I glued the gap ring on upside down. It makes more sense to glue it inward. (See pic below)  Shrox designs are different than anything else out there. Pay attention!
Here's how the ring should be glued on!

The ring edges look thick. This was after sanding down the edges to fit in the forward tube. I left the thick rolled over edge for a wider gluing surface. The rolled edge will be inside, no one will see it.