Monday, October 19, 2020

That New Blog Format!!!!

I've been complaining about how difficult it is to input pictures and text in the new blog interface.

It's taken me a few weeks of trial and error to figure this much out.

Here's some of the hoops I have to go through to make the pages. 

First thing you have to do is go to HTML and get rid of the two paragraph command symbols. 

Otherwise, you get double spacing (shown above) every time you hit the ENTER key
Now return to the COMPOSE view.

Add some pictures, size and temporarily position them on the left or right sides.
Now, try to add copy to the side of the first picture:

If there isn't much copy needed, the software sticks in a big space gap before the next picture is seen. I usually try to close it up for a better visual flow.
I set the cursor to the last word of copy, in this case, it's the word "flow". 
Hit delete a few times and the next picture should walk up below this  copy. Like this:


But, the cursor and the next copy block ends up below, down here, not at the right side of the second picture. You can't place the cursor and set copy to the side of the picture.
So . . . go back up to the second picture, click on it and move it to the right side (shown below). 

I
(The "I" above represents the cursor - you can now add copy.) 
We have fooled the software!
After all the new text is entered, 
Click on the picture again and shift it to the left, which is where I wanted it in the first place, the result shown below:


"The "I" above represents the cursor - you can now add copy.
After all the new text is entered, 
Click on the picture again and shift it to the left, which is where I wanted it in the first place."


Now the copy from the previous step should shift to the right side and the picture will be on the left.

These are the steps I now have to go through to input every single picture and text.
Sure, I could go the easier route - Center every picture and center all text underneath each picture. Letting the blog software handle all the spacing leaves a lot of open gaps.
I like it to be more visually interesting. I find myself swearing at the software a little too often.

SAVE often, check the PREVIEW to see what it looks like - 
Then make more adjustments - What You See Is Not What You Get.
Setting up a blog page before wasn't simple, but now it's stupid.

I almost forgot - 
After everything is on the page, go into HTML again and delete all the "Div" commands at the end of your text. If you don't you'll have another big gap at the bottom before the Labels and Comment areas.

L.A.S.E.R. Launch, Groveland FL, October 18, 2020

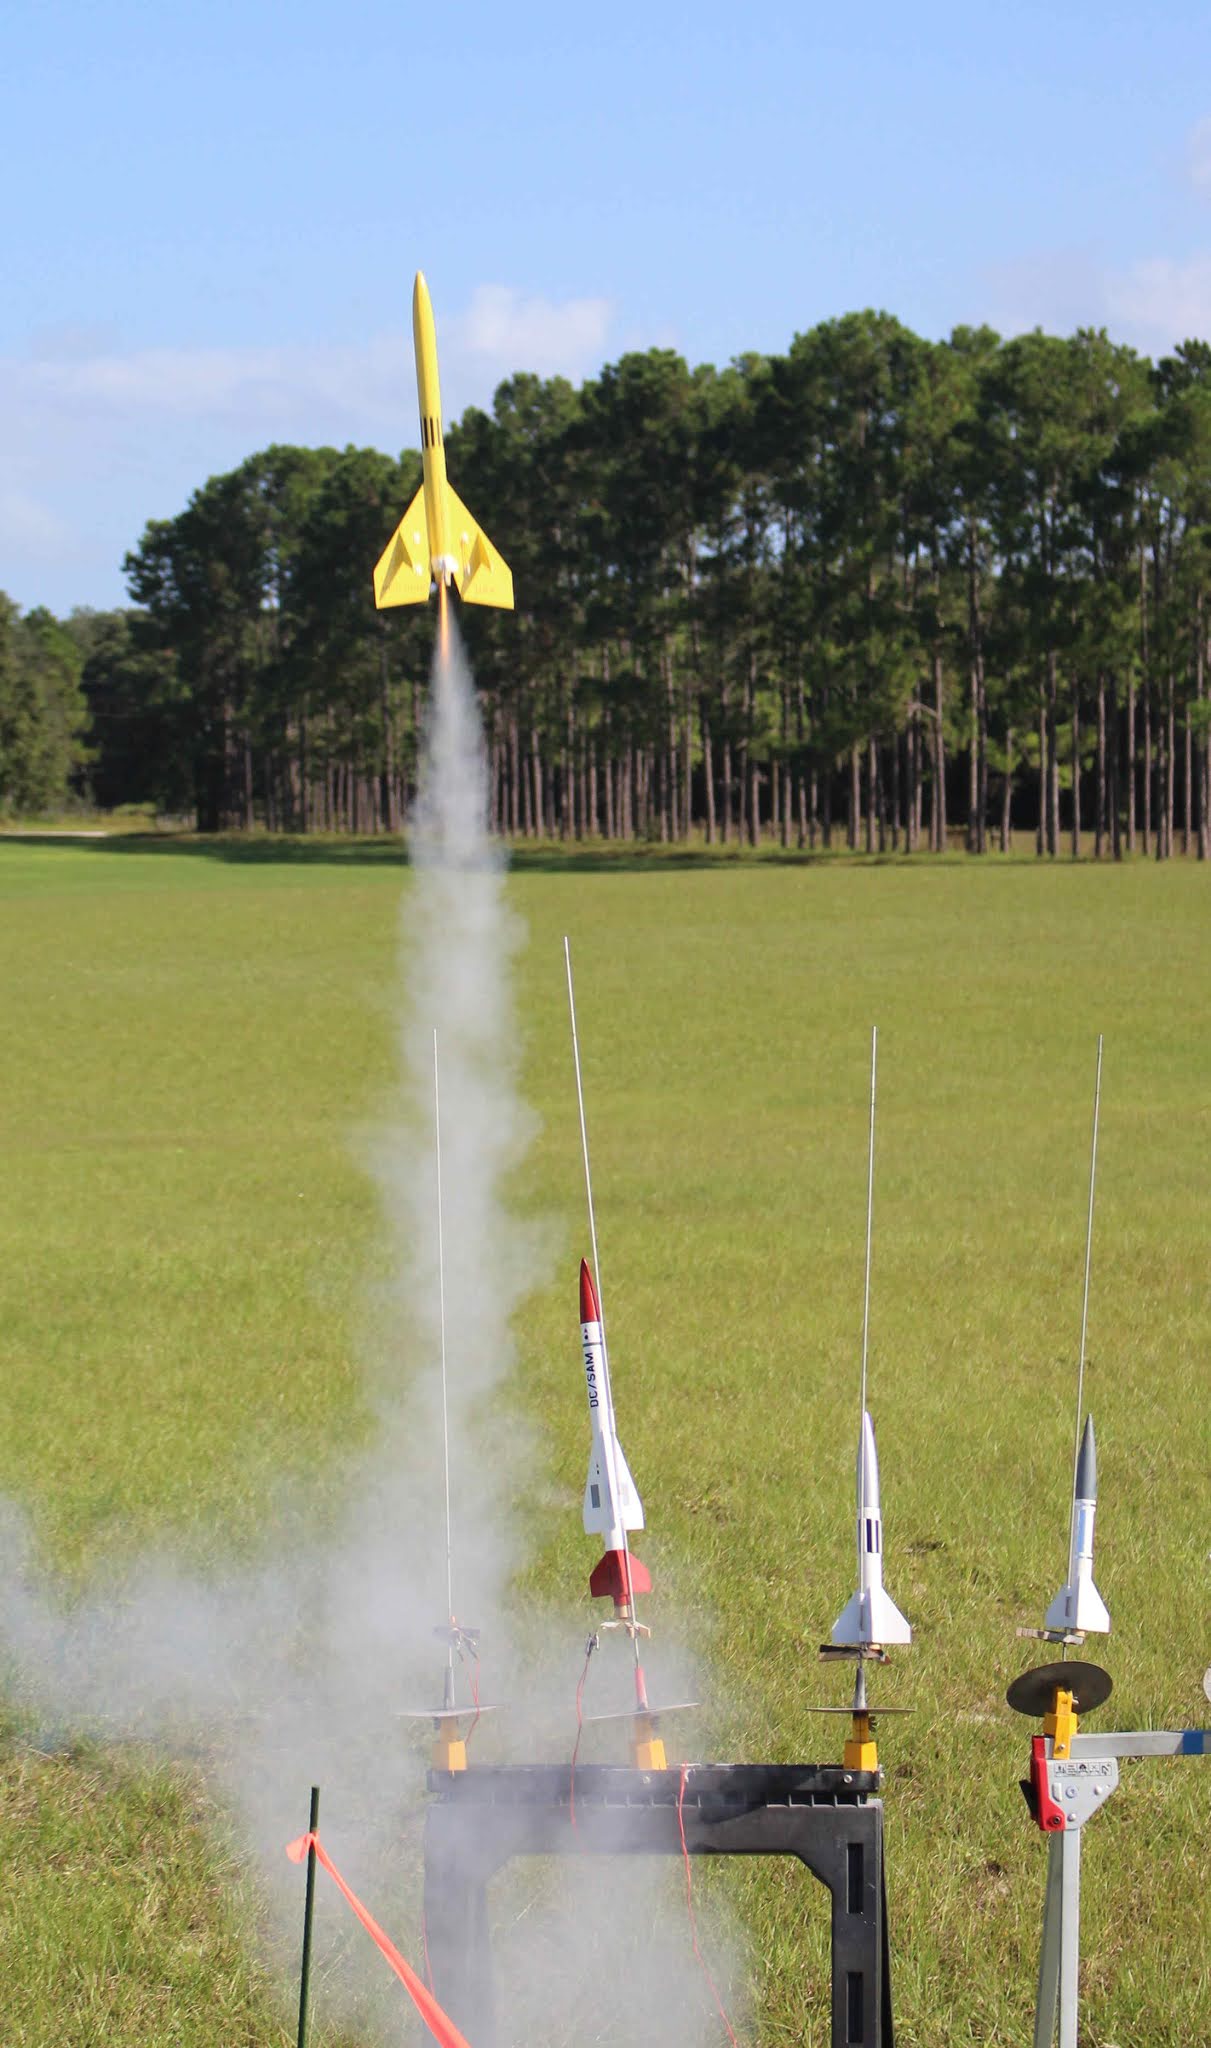
I knew there was going to be some wind gusts, so I prepped smaller models, some with streamers.
I got to the Groveland launch site at 9:30 a.m., launching had started about 30 minutes earlier.


Jim Lytle converted his Odd'l Rockets Sputnik to a Corona Virus!
He had a stable flight with an A10-3t.


My Semroc MMX MARS LANDER was stable on it's first launch at the soccer field, but today flew erratic after catching a gust of wind. It only got about 15 feet up. No damage.

For Halloween, I broke out last years BONES design. An A10-3t got it to 200 feet.


At apogee, the eight inch parachute opened. It touched down, hanging  over the side of the mid power launcher.


Lonnie Buchanon finally reached Level 2 of the Estes Aerospace Club by successfully launching his EAC Viper clone.
This Viper was built to use 18mm engines. 
Congrats Lonnie! Now where did you leave those iron-on thrust bars?


David Hofmann flew his Patriot Saturn V (C-5) with a E12-4 engine. David has the  launch controller in his right hand and phone (filming the launch) in his left. 


This is how you land an R/C boost glider!

After a few lazy circles, club president Mike Meridith brought the Frank Burke design in close to his chair. 


My Estes TAZZ corkscrewed on the way up on it's C6-5 boost.
The engine pod ejected and the Tazz helicoptered in. I would guess the altitude to be about 500'.

To the far right are two of Lonnie's Presto rockets. With anything larger than a B6 engine - "Presto" they vanish.

Here's the landing of a final test launch of a new Odd'l Rockets kit, Bruce Levison's CORKSCREW. An Estes C6-5 got it to an estimated 650'.

The body tube was shortened which increased the corkscrew effect through the ejection of the tie-dye streamer.
Landing - I almost got a hole in one on the nearby miniature gold course. 


My Estes STARLINER (now being built on the blog) had a first launch with an 1/2 A3-2t motor. Not a great altitude, maybe 150'. 

The small chute didn't eject all the way, it was melted into a "hillbilly hat".


My best launch of the day was a Semroc POINT using a Estes C6-3.
Very stable and a bit noisy during boost. Altitude was around 325'. 
"Build it - Watch it fly - And wonder why!" 
I always hated that slogan from the Centuri catalog. 
I used one of my long lead Q2G2 igniters to make the micro clip connection easier.

The rigid body "chute" slowed the descent with no damage when picked up.

Six launches, one melted parachute. The humidity gets lower after about the middle of October making a full launch day bearable.

Sunday, October 18, 2020

Estes Starliner #0863 Build, Part 2, Engine Mount

There are three centering rings on the engine mount, the engine tube is longer than a standard 13mm kit, at 3" long. This length gives support under the wing.

The rear ring is slotted to allow movement of the engine hook. notice the angle of the razor blade. Cutting at this angle should give you the correct slot position when it is glued up.


Cut  the two sides, about 1/8" wide.
The picture on the right shows the cut angles after some shaving of the sides with the single edge razor blade.


The rear ring is glued flush with the engine mount tube.

TIP: Slide the centering ring into the end of a BT-20 (outside tube) to keep the ends down as the glue dries.
Cut a shallow notch in the middle ring for an easier fit over the top of the engine hook. I marked it with pencil to make it easier to see in the picture.

I used a sharpened dowel to rub down the raised burr on the inside of the ring.

Saturday, October 17, 2020

Estes Starliner #0863 Build, Part 1, Parts


Here's how the Starliner looked in the 1982 Estes Catalog.
Probably the most complex Mini-Brute model from the early 1980s.

To get a complete background on the kit, 
I suggest you stop by Gerry Fortin's Seated Dime website: CLICK HERE


Here's all the parts - This will be a spare parts build.
The model design is interesting, it could be considered a difficult build. 
The wing is inset into a long slot in the BT-20 body tube.
One side of the engine mount centering rings are sanded flat to fit the angled wing dihedral.
The vertical rudder fin assemblies interlock into slots in the wings. There is some angle sanding of the intake root edges to fit the curvature of the body tube. The elevator fin root edges are also sanded at an angle.
This 13mm engine model is smaller, so it used 1/16" thick balsa. 

Decals aren't shown, they will have to be drawn up later.

Friday, October 16, 2020

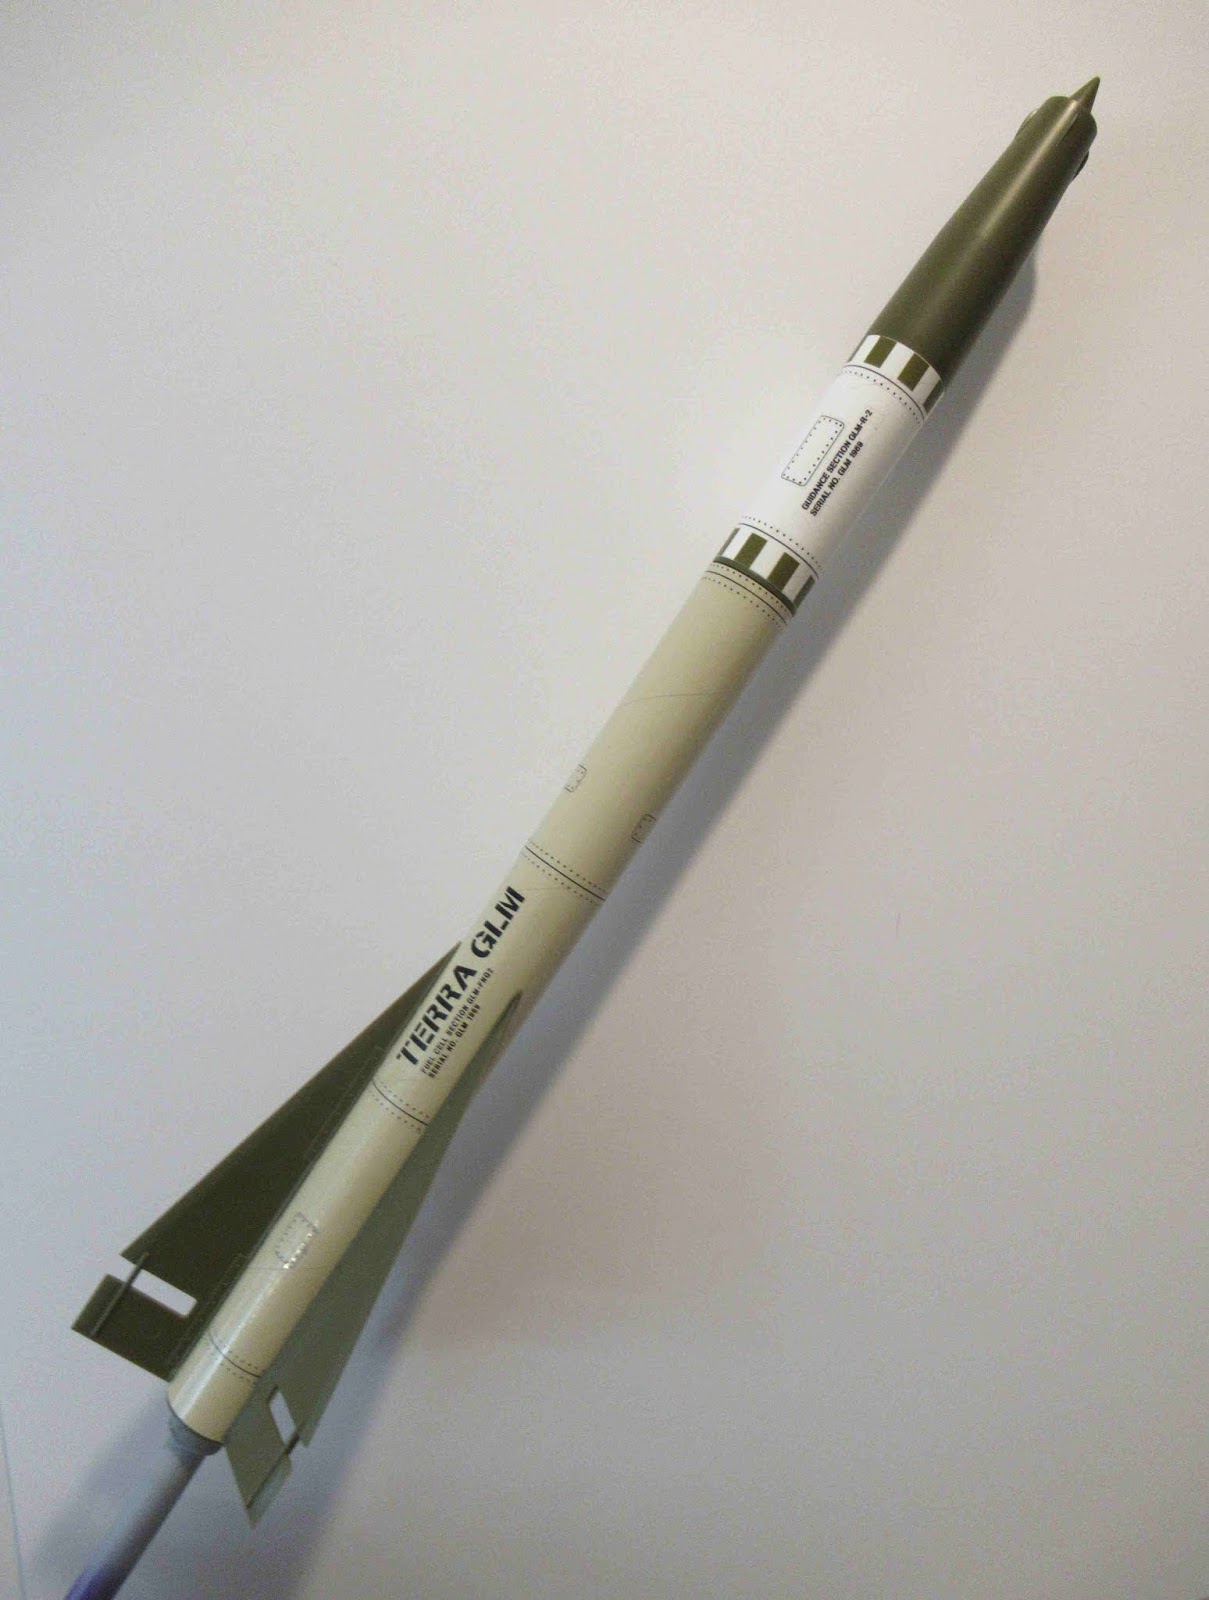
Estes Terra GLM #7292 Build, Finished


I really like the heavy walled tube on this kit.
It's considered a "Beginner" kit, but there is still some construction involved.
The colored body tube wrap is very well applied.
The new ramjet nose cone looks pretty sharp.

Thursday, October 15, 2020

Estes Terra GLM #7292 Build, Part 5, Decal Stickers


The sticker "decal" edges are pre-cut. The borders seem a little wide. The fold in the picture shows how wide they are.

I re-cut the border edges closer to the prints.


The instructions show the stickers being added after the fins are glued in place.
TIP: I prefer to place the wrap stickers first, then glue the fins on. It's easier to do the bolt line strips in one long piece instead of cutting them to length around the fin edges.

The masking tape wrap gives me a alignment line for the sticker edge.


After the strip is in place, cut thru the strip over the fin slot.

TIP: Cut through the center of the strip, don't trim off the overhang. Let the overhang fold in when the fin tab is pressed into the slot. You'll get a tighter fit of the fin with the folded in sticker ends.

Wednesday, October 14, 2020

Estes Terra GLM #7292 Build, Part 4, Fins, Nose Weight & Nose Cone Fit


The three fins fit well into the pre-cut slots in the body.

TIP: You can glue the fins on now, but it's easier to apply the bolt strip stickers as a wrap, first in one piece. Place it as a single strip, instead of in three separate pieces. The stickers are shown in the next post.


TIP: The instructions always say to make "snakes" out of the clay nose weight.
Instead of chasing the clay snake around the inside of the nose cone with a dowel, cut the clay into small pieces and roll those into little  balls. Drop them into the hole in the NC shoulder a few at a time. Press in with a dowel tip.


The nose cone fit was loose.

TIP: I built up the inside wall with more of the Beacon Fabri-Tac. A bead of glue was applied and smoothed with a finger. After that dried the nose cone was dry fitted. More glue was added until a better fit was obtained.