Monday, October 18, 2021

Estes Vesta Intruder #7312 Build, Part 7, Vane Gluing & Two Fixes

Here you can see the filler/primer scraped off down the pencil lines.
After I scrape the filler/primer, I usually have to re-draw the pencil lines.

The top of the vanes are even with the top of the body tube.

On the bottom end, one vane ended up short!


I had to cut out another one.
Here's the new one, taped down for a shot of filler/primer.


The supplied launch lug is cut in half - 
But it turned out to be a bit longer than the laser cut balsa standoff.

The lugs were trimmed down to match up to the standoff length.

Sunday, October 17, 2021

Estes Vesta Intruder #7312 Build, Part 6, Filler/Primer, Vane Gluing


Here's all the CWF filled balsa and launch lug. Everything is set down on tape with the sticky side up. All root edges are butted up against each other to keep the filler/primer spray out.

That's a lot of balsa!


The tube marking guide wrap matched up! 

In the picture below left -
I set the long vanes in position with no glue yet. I made a pencil mark below the end of the vane tip. I followed by scraping off the filler/primer down to the width of the vane glue line, just inside that short pencil mark.

I used my aluminum angle to extend the pencil lines all the way down the tube. 

I also extend the line over the top edge of the tube. The fins will cover the pencil lines - I can still see the edge tip of the pencil line.


You can also use the aluminum angle to be sure the long vanes are running straight down the tube.

Saturday, October 16, 2021

Estes Vesta Intruder #7312 Build, Part 5, Engine Vanes


There is a glue fillet around the centering ring/engine tube joint. 
For the vane corner to fit over the fillet I sanded the corner down just a little.

The slot for the vanes tab was a bit tight so they were trimmed down for a good friction fit.


The vanes are small - 
A controlled thin bead of glue was applied to the root edge. For easier positioning, I used long tweezers to set the vane tab in the centering ring slot.

I didn't set the vanes side by side, but spaced out the initial pieces. They are close together and if all were in place it would be difficult to apply some glue fillets.

Glue was applied with a toothpick and the excess picked up with a Q-tip. 


Here you can see how close the vanes are, not much room to apply fillets.
I still had to add the last fillets when all the vanes were in place - but it was easier to do some of them before when there was room.

Notice the outside corners of the vanes. These will extend a bit over the tube edge. The picture shows a dry fit.

Thursday, October 14, 2021

Estes Vesta Intruder #7312 Build, Part 4, Engine Vanes


The small hold down tics can be sanded off using some 400 grit wrapped around a used engine casing.

A dry fit showed the slots might need some widening or removal of the tics.
The fit of the rear centering ring was a bit tight around the BT-50 engine mount tube. 
Some 400 grit was wrapped around a D engine casing and the hole widened a bit.


I like to seal the exposed edges of the vanes with some white glue. This gives them a rounded edge and a smoother final look without the spray paint soaking in.
Note I am only making a glue bead on the outside exposed edges, not on the root edges.

On the right a bead of glue has been applied. Smooth out the sides evenly with a finger but try to keep a raised round bead of glue. Let dry.


Run a fingertip over the dried edge and you could feel some rough areas and high spots.

Lightly sand the glue bead with some 400 grit.

Estes Vesta Intruder #7312 Build, Part 3, Fin Prepping

The fins and fin side pieces have squared sides.
The picture on the left shows the wedge burn that will need to be squared up. This is very important on fin root edges so they will glue on straight.

On the right is one of the fin side pieces. These glue on the sides of three fins or every other of the six fins.
You can sand the sides using sandpaper wrapped around a used engine casing.

The picture might imply the edge is rounded, but it remains square. I was trying to show the sanding tool.


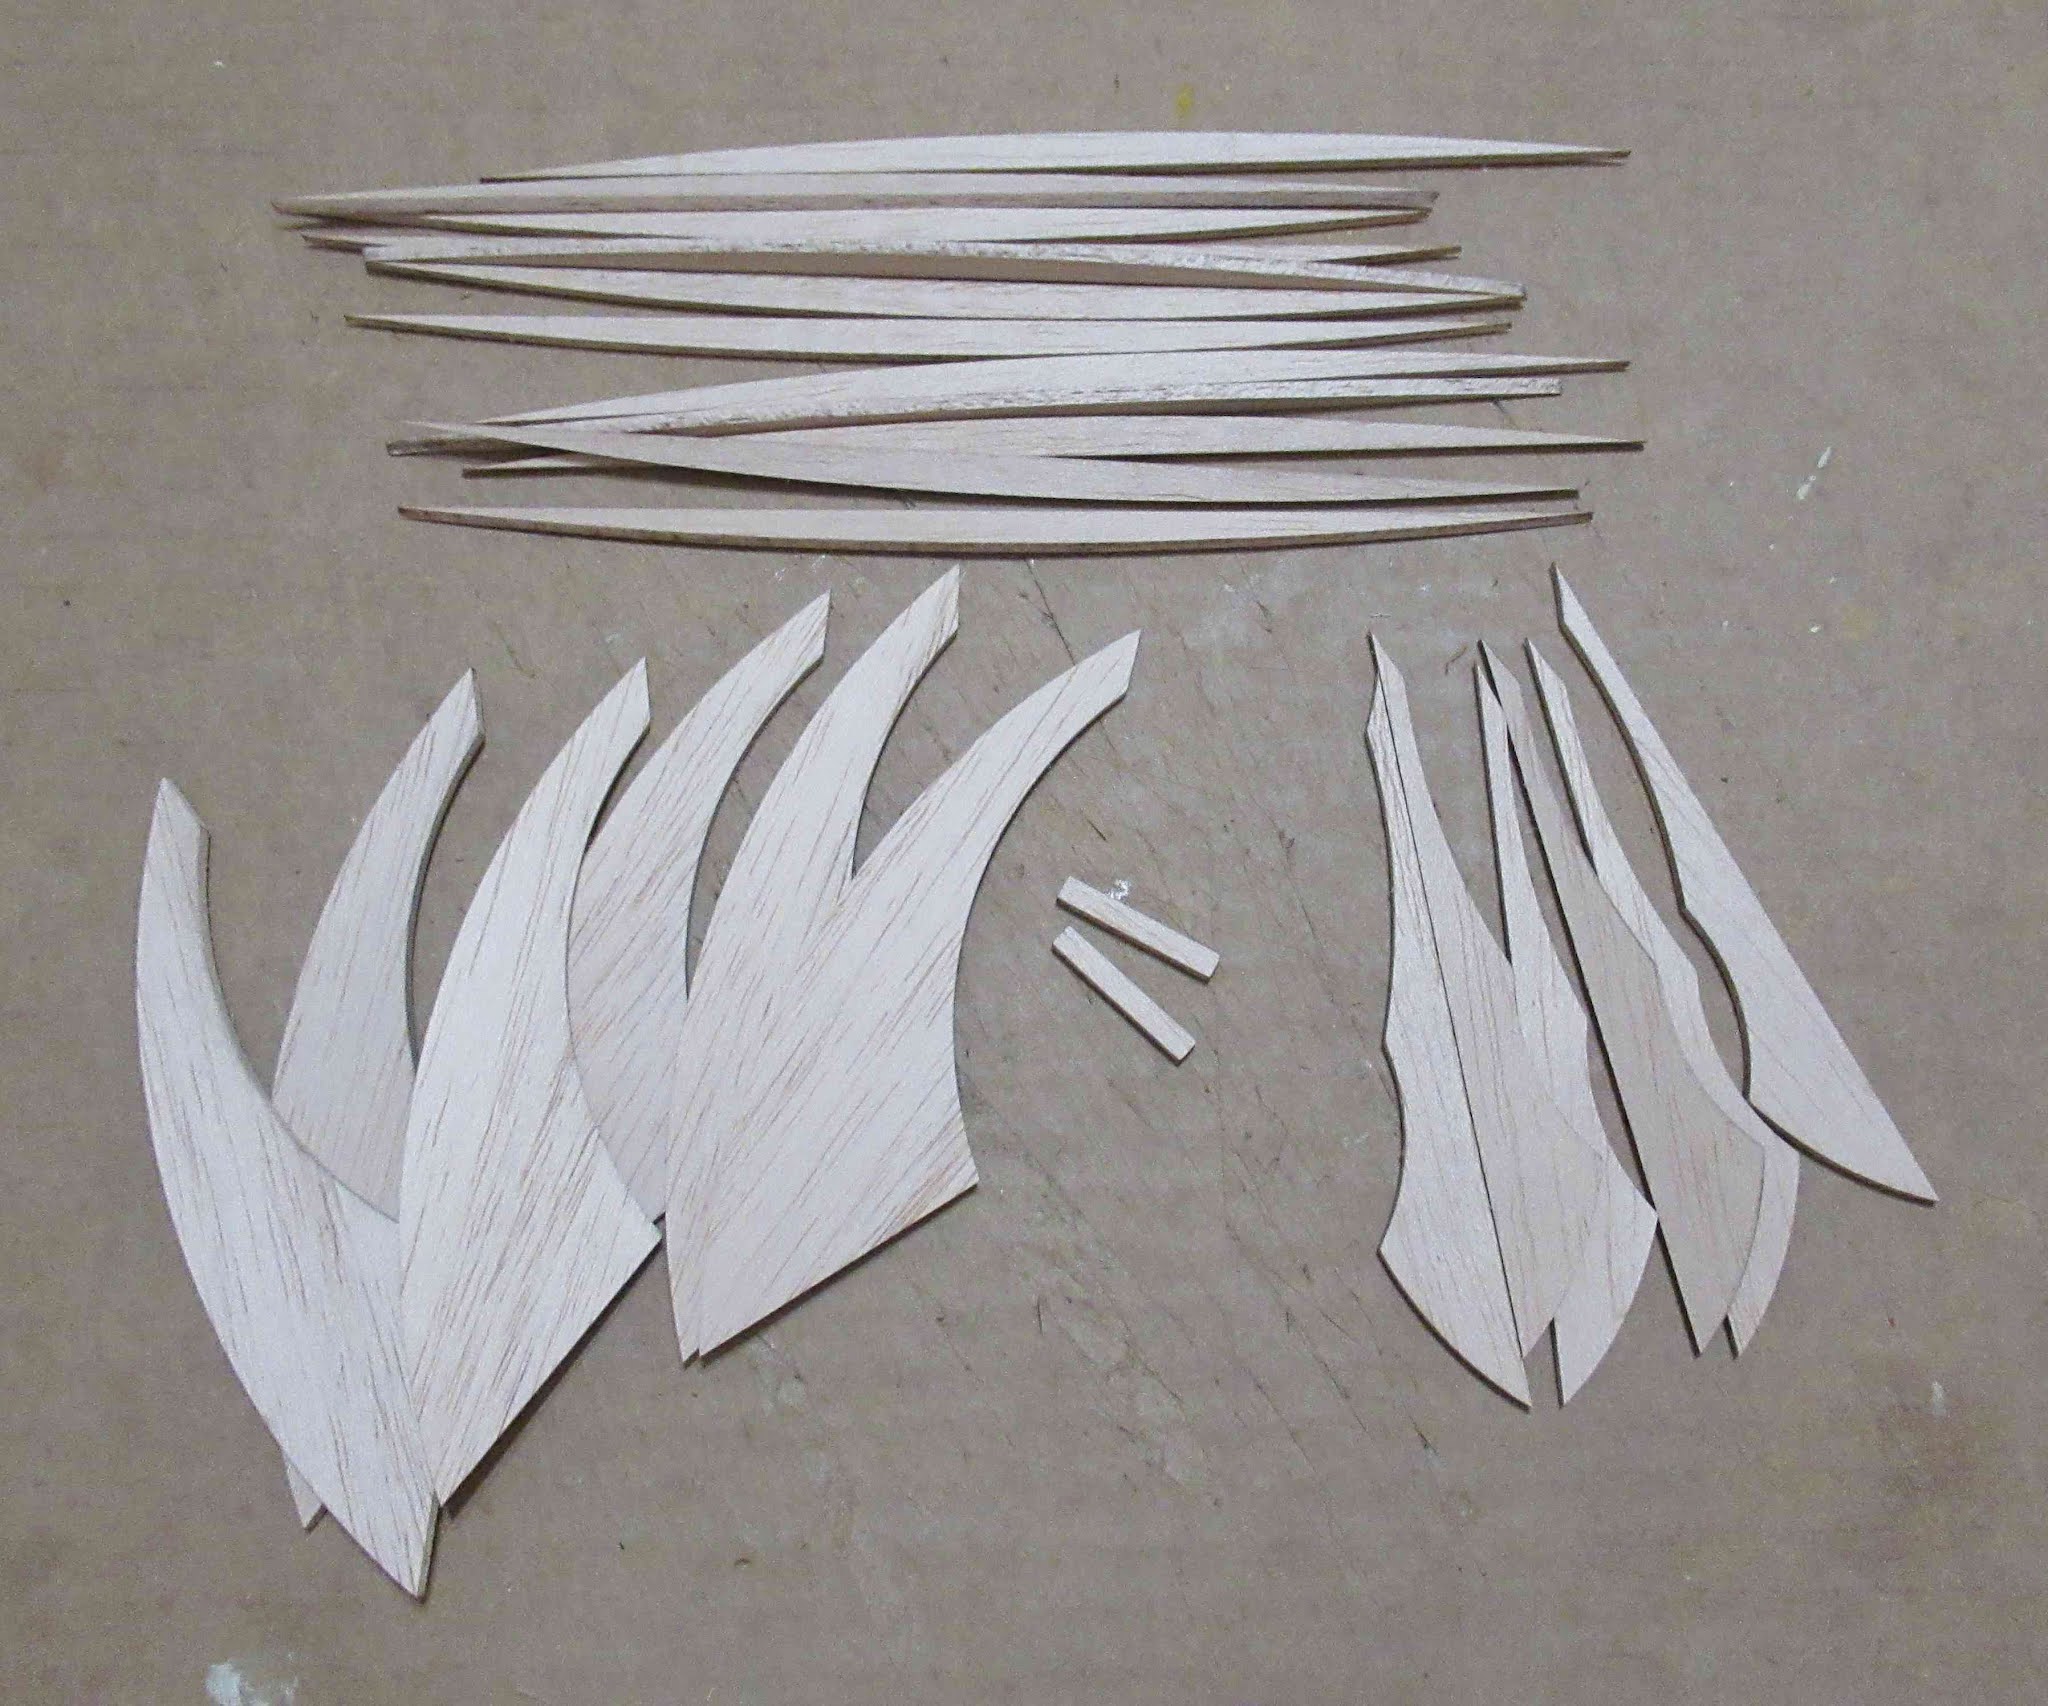
Here's all the balsa pieces to fill -

Twelve upper vanes,
six fins,
two launch lug standoffs, 
six fin side pieces.
(Sang: "And a rocket stuck in a pear tree.")

26 pieces in total!

The thick cardstock engine vane pieces can be cleaned up with a white eraser.
It's not necessary, but I like to clean them up.

The inset picture shows the "after".


Sometimes it's easier to judge the shape of a rounded leading edge by looking at the root edge.
This is a the before and after of one of the 12 upper vanes.

Wednesday, October 13, 2021

Estes Vesta Intruder #7312 Build, Part 2, Vane Piece Fix


The two models I built were pre-production kits.
In one of the kits, the forward crescent vanes were burnt a little short. Maybe the laser cutter wasn't dialed in yet.

Some new vanes would have to be cut.

On many kits there is extra balsa on the outside edges.

I simply traced around one of the good crescent pieces and cut out some new pieces. 
This is nothing new - When I started in rocketry we traced patterns and cut out fins. No die-cutting, no laser cutting.


The Vesta Intruder has twelve (count 'em twelve) vane pieces.

This will lead to some extra work as I round, fill and prime before gluing onto the body tube.

Tuesday, October 12, 2021

Estes Vesta Intruder #7312 Build, Part 1, Parts


Here's the front and back of the kit box. The graphics look good. 
It looks like Estes is using that new font throughout the product line packaging.

All the parts - 


The parts of interest:
The tall (four raised canopy) nose cone is about as long as the body tube.
Two pats of clay weight.
Laser cut card stock fin overlays.
The second 3/32" thick balsa sheet contains the fin side surround pieces and upper body crescents.


I really like the Alien decal font used in the alternative Estes logo. 
Why is the second "E" in ESTES different?
Silly aliens.