Friday, December 16, 2022

Estes Maxi-Brute Honest John (Kit #1269) Background

This was one of those kits I always wanted but never ordered. It's ideal for building since there is damage to the original kit box and might not be of value to a collector.

I picked this one up at the November R..O.C.K. launch from vendor Tom Tweit.
Tom had a price of $30.00 on the box. He discounted it because there was some damage to the box and centering rings. The rest of the kit, including the vacu-form fins, body tube and large nose cone looked like new.

This was one of the Estes Maxi Brutes, their larger D12-3 powered kits. The other two kits were the Pershing 1A and the V2, introduced in the 1974 catalog. The Honest John was added in 1975. That year, the Estes Saturn V and Saturn 1B both got the Maxi-Brute moniker.


Here's the specs:
37" tall, 2.6" diameter, 14 oz. weight.
Recommended Engine: D12-3


Here's one side of the original box. 
In the first picture above, I was able to comfortably put all the pieces in a different box. To get everything to fit in the smaller box, I simply cut the large vacu-form fin sheets in half. The original box was thrown away.


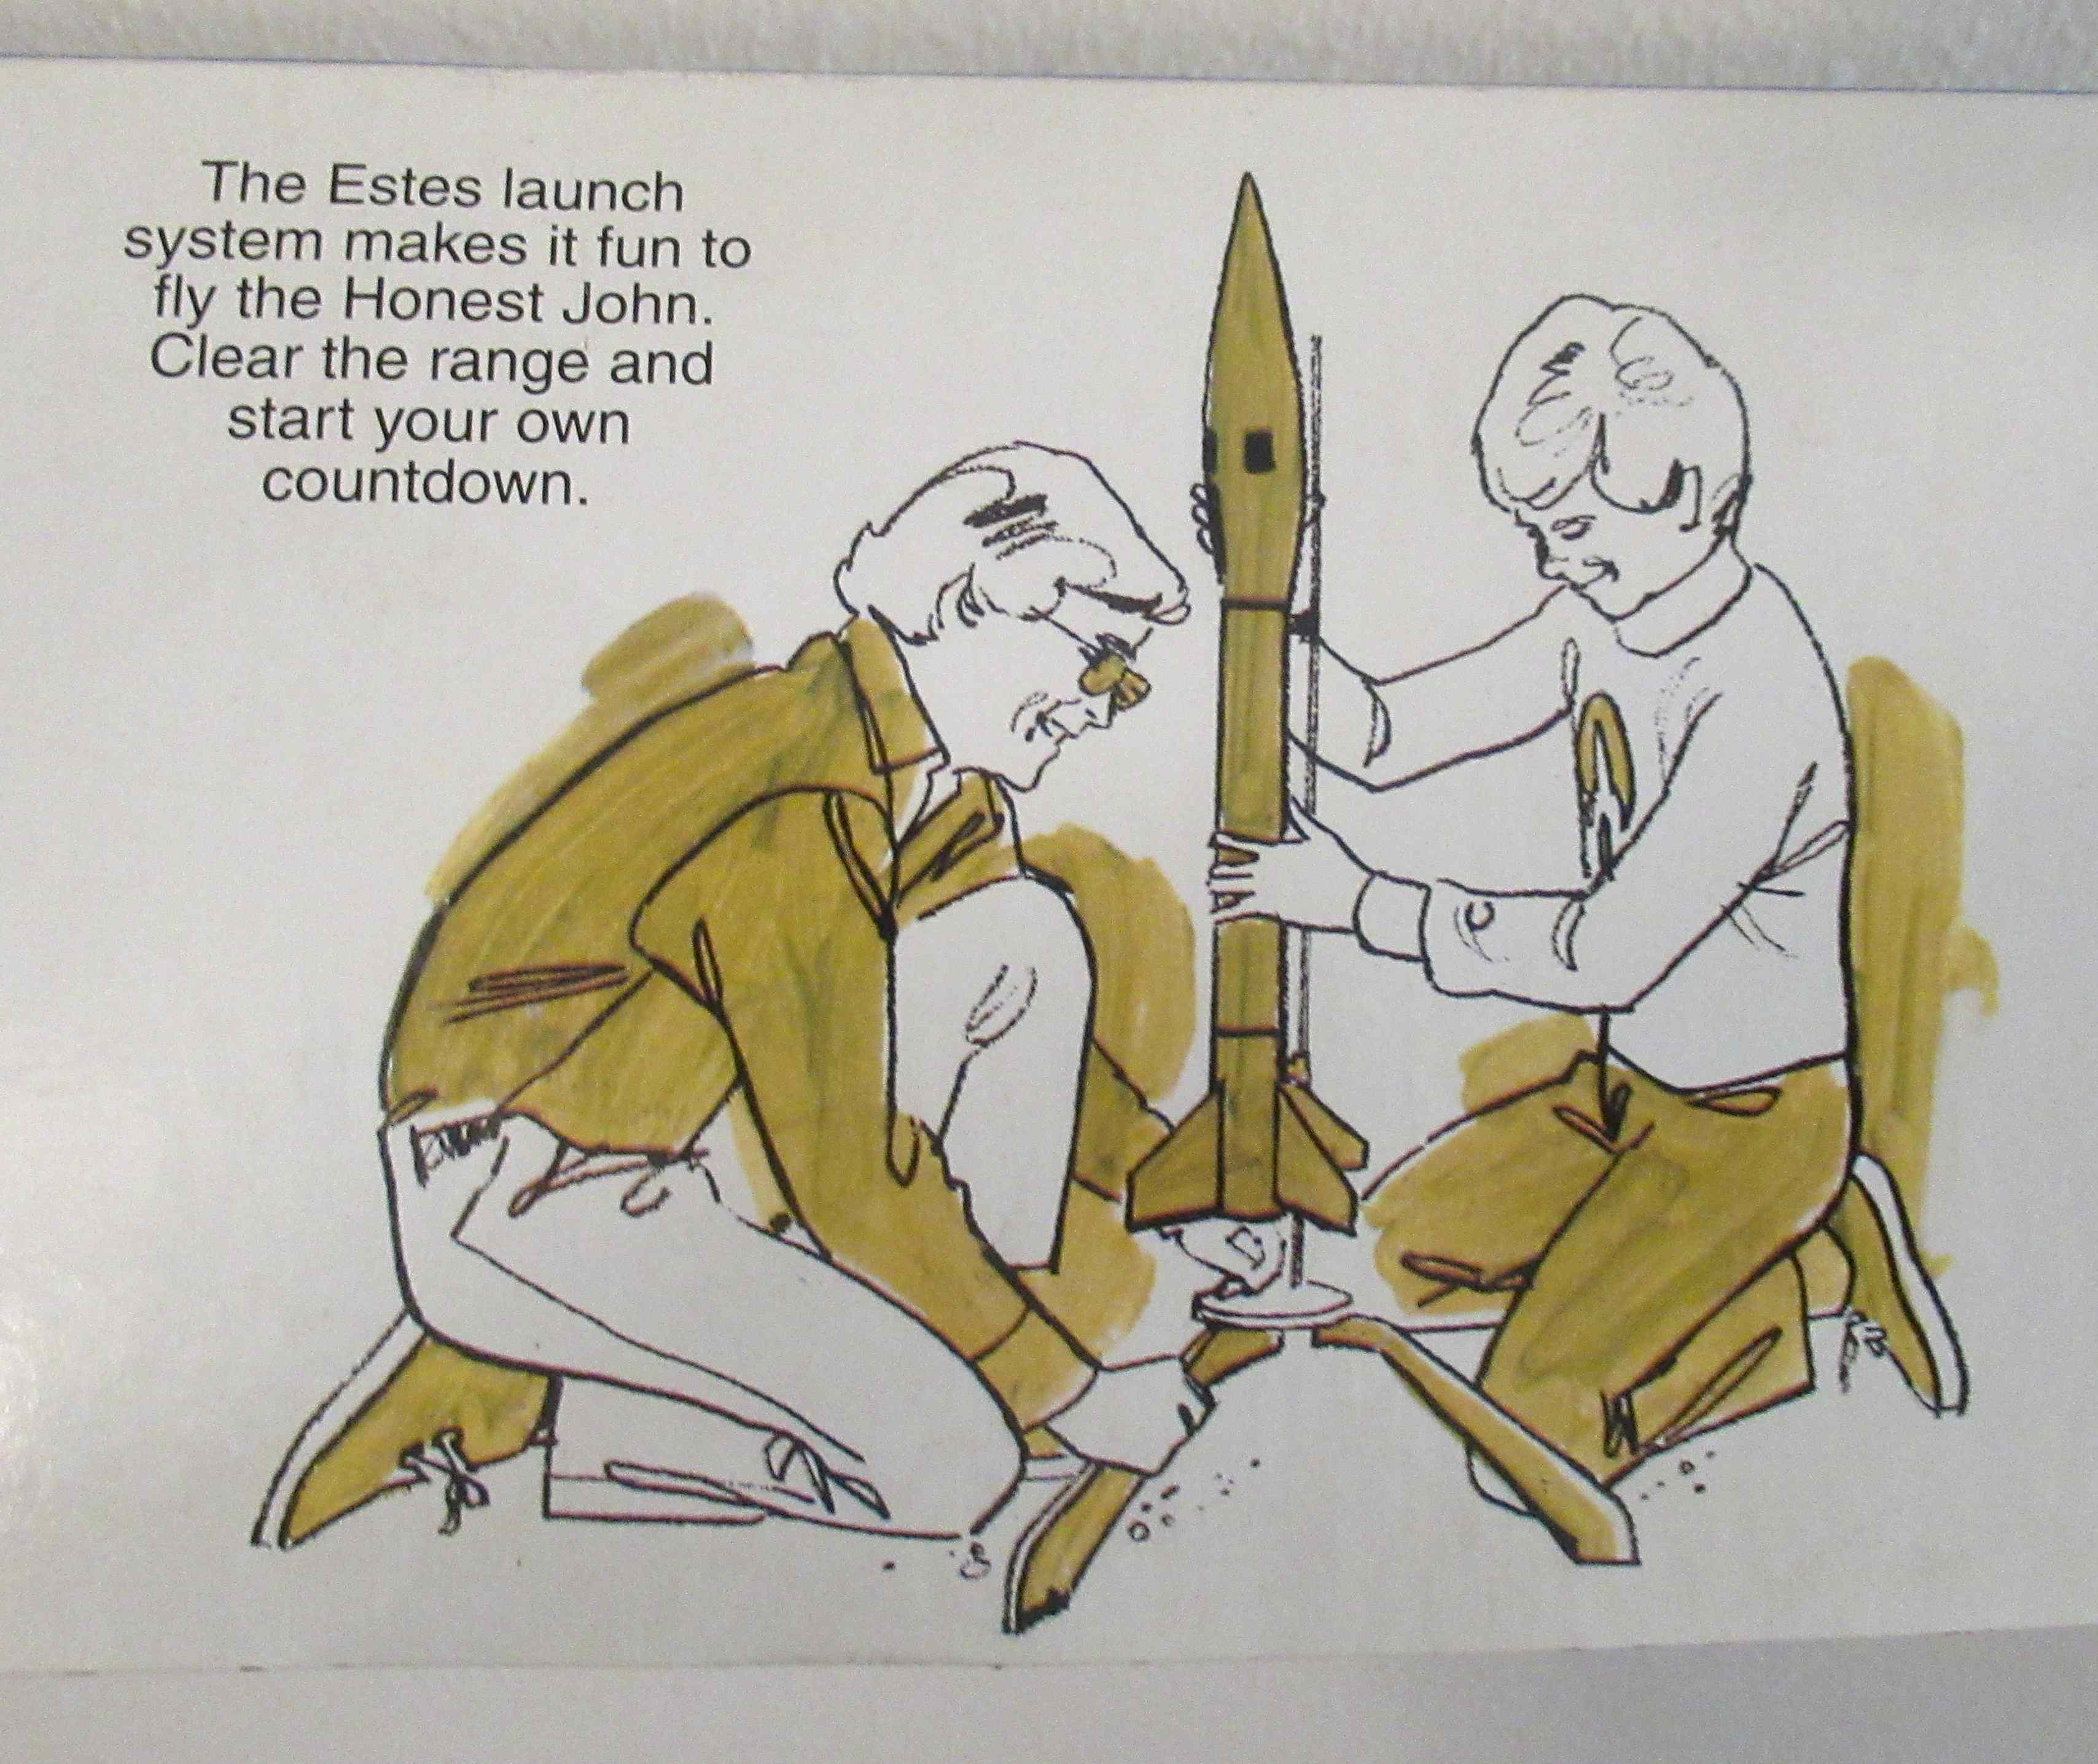
Check out the illustration on the side of the box.
"The Estes Launch System makes it fun to fly . . . "

Estes Launch System? 
That's a Centuri LIA-100 Heavy Duty Launcher!

Thursday, December 15, 2022

Super Glue (and other things) In Low Power Rocketry? TIPS, Part 2

Mentioned yesterday:
On Forums and Facebook, I often see questions about construction and finishing.
What usually follows are recommendations from other "Newbies" who may only have experience building two or three rockets.
I never claim my methods are better than others. But, I've had decades of experience in Model Rocket construction. The following ideas are presented for consideration.

SPRAY PAINT
 
We've all seen the post: "What happened? My paint wrinkled!"
Ideally, spray paint should be used in warmer temperatures and lower humidity.
Whatever brand you choose, READ THE CAN for temperature and re-coat time recommendations.
Usually you can only re-coat within the first hour or then after 48 hours.

Paint formulations have changed since the 1960s. You can't just re-coat whenever. 
Not all brands or colors are compatible.
For the best luck, use the same brands of paint. If you have questions, test compatibility on some scrap before spraying your model.

Shown here is my current "go-to" spray paint - Ace Premium Enamel. I have gotten rid of the Rustoleum 2X spray paints - except for their metallics which have been good.

MASKING LINES
"I hate painting. My mask lines always leak."
There's nothing more discouraging than getting a ragged paint line after you spent hours assembling and sanding your rocket.

The model surfaces and root edge glue fillets have to be smooth and clean for the tape edges to seal for a sharp line mask.
You probably won't get a sharp mask using brown tape meant for house painting. You'll get much better lines using the more expensive Tamiya tape. 
If you are cheap like me, you can use Scotch tape.
Scotch tape is clear and hard to see when set down on the model. Lay down a strip of tape on glass and mark down the center line with a wide point Sharpie. Let the ink dry and wipe over with a paper towel  to remove excess ink. (Excess ink can wipe off and transfer onto your model) Cut down the middle of the long ink line with a straightedge and you'll have two clean, new mask edges to use.

Wednesday, December 14, 2022

Super Glue (and other things) In Low Power Rocketry? TIPS, Part 1

On Forums and Facebook, I often see questions about construction and finishing.
What usually follows are recommendations from other "Newbies" who may only have experience building two or three rockets.
I never claim my methods are better than others. But, I've had decades of experience in Model Rocket construction. The following ideas are presented for consideration.

SUPER GLUES (CA)
"I tack on fins with Super Glue then follow up with wood glue fillets."
There is a problem - That initial CA glue will seal the root edges of the fins and the wood glue fillets won't be able to soak into the balsa or body tube! 
Wood glues have to be absorbed into the surfaces that are being bonded together.
If you are impatient, try using less wood glue when initially setting the fin on the body tube. A little less glue will dry a bit faster and not effect the strength of the fillets that follow.
CA Glue may initially stick, but can get brittle over time. Fins and launch lugs can pop off during boost or landing.

CA glues do have a place in Low Power Rocketry - 
I use it to seal the ends of body tubes - just about 1/4" down around the inside surfaces. Apply with a Q-tip. Let dry and sand with 400 grit to smooth.
I also use CA Glue to fill mold seams on plastic nose cones. Run a then bead down the recessed seam. Let dry and sand with a block. Be careful! That bead of CA Glue will run and drip! Do one side at a time and set the nose cone up on it's side with the glue line facing up until dry.

WATER SLIDE DECALS
"I dread water slide decals. They always grab in the wrong spot."
Like most builders, I would add a small drop of dish washing soap to the decal soak water. 
The dish soap is supposed to lubricate and allow the decal to be repositioned after transfer on the model. It sounds like a great idea!
On YORF, Micromeister brought up a good point. That dish soap could break down the adhesion layer on the back of the water slide decalI've had "moments" with Micromeister, but he makes a good point. Somewhere in the past, the drop of dish soap idea was published and passed on.

Now I don't use a drop if soap in my soak water. I rub water on the surface of the model, then slide on the decal. The water underneath the decal allows for slide repositioning.
Model surfaces should be smooth, glossy (and a little wet) for water slide decal transfers.

Tuesday, December 13, 2022

Starting Your Own Model Rocket Company? Part 2

STANDARDIZE Where you can! 
Go with Estes tubes and nose cones (standard "BT" diameters) that are easier to source. 
My earliest kits used some Centuri diameter tubes. Many of those are not being produced now. At present I can't get Centuri ST-18 tubes for the Pigasus and Little Green Man kits.
Another example: Don't design every kit with different length launch lugs. On smaller models use 1/8" x 1 1/2" launch lugs. Larger models go with 3/16" x 2" launch lugs.
Standardize your engine mount designs. Where you can, use one design in different kits. 

Be ready - That custom order of 3,000 Raise Springs you just received aren't right! Oh boy - You get to call the vendor and politely say they are unacceptable and you aren't paying for them.
Odd'l Rockets Ceramic Blast Deflectors are no longer being produced. Half of the final order were poorly molded and couldn't be sold.
These type of things happen to every kitchen table kit vendor.

COPYRIGHTS
Copyright your kit instructions. If you don't, somebody will scan them, print it and make money off your designs when you are gone! As an entertainer, my original material was stolen few times. Thieves are always surprised (and can get pretty angry) when shown Copyright ownership.  
Odd'l Rockets like the Estes Birdie and Cyclone kits are produced by written permission. If you clone an OOP kit, get written permission before production and always give full credit to the original designers and producers. 

BOTTOM LINE
Bagging the first 100 kits can be fun. After that it becomes a job!
Don't expect to make a huge profit. I couldn't pay all the bills from rocket kit sales alone. 
Don't expect the product distribution of an Estes or Quest/Aerotech. You can dream big, but it takes a lot to jump into a major distributor network.  
You get into kit production because you really like the hobby. 
After 13 years of kit production, it remains a fun sideline.

Monday, December 12, 2022

Starting Your Own Model Rocket Company? Part 1

These next two posts are not meant to discourage. Many have a dream to produce and sell a model rocket kit. Here are some points to think about.

Occasionally I get an email from someone who has a design that: 
"We should produce! Everybody at our club launches say they like it.
It could be a great Odd'l Rockets kit, it would surely sell and we could split the profits!" 

I'm tempted to email back:
"Does this fit my product line? What is different or "Odd" about your design? 
I can appreciate the time it took to design and fly your model.
You might want to consider producing the kit yourself."

Split the profits? That's a lot of work from my end -
Designing and test launching is just a part of kit production. There is also  a time investment drawing up instructions, part orders, cutting tubes, bagging kits, boxing and mailing. 

Before you bag a kit there are CONSIDERATIONS: 
$$ A Business License
$$ Register with the State
$$ Get a LLC (Limited Liability Company)
$$ Talk with a CPA about Tax considerations

Before BUYING KIT SUPPLIES:
Specialty parts suppliers can disappear. Custom, proprietary parts are harder to find.
After Carl (Semroc) passed away, many inexpensive Semroc and Centuri based parts were gone. 
If Balsa Machining Service were to stop selling tubes, nose cones and laser cut balsa, Odd'l Rockets will probably be gone too!
Start with the Estes BT standard and available tube diameters. 
More tomorrow - 

Sunday, December 11, 2022

Estes Blue Origin New Shepard Build, Finished


This was a good challenge, getting the tunnel fillets smooth.
Positioning that first upper tunnel top piece is critical for correct placement of the feather decals.
My kit was a pre-production model, I haven't seen the final released kit. Mentioned in the previous post, the fins are larger and nose weight has been added.
A historic, sport scale model.
 

Saturday, December 10, 2022

Estes Blue Origin New Shepard Build, Part 11, Old & New Kit Versions


On this blog, I was building the original version of the kit that was pulled because of some stability issues. I haven't seen the revised version of the kit.
According to messages from Ron (Ronz Rocketz), who has the new version of the kit:
A pat of nose weight clay is included.
These usually weigh around .25 oz.
Here's a picture of the old kit fin.
Ron wrote the fin root edge is still 2" tall.

FIN SPAN:
The original kit fin span (measured from the root edge to the outside edge) is 1 3/8".
See EDIT below - Ron said the new kit fin span is 2". That seems pretty wide but might be necessary when the airstream is spread out by the wide diameter nose cone.
In another comment, Metalhead1986 said the fin span is 2 3/32".  
EDIT: Ron agreed with Metalheads fin span. The correct fin span measurement is 2 3/32". 

If you have the new version of the builders kit, double check the fin span measurement for me and please leave a comment below.