Wednesday, January 24, 2024

Don't You Hate It When This Happens?


You'd think after all the years I've been masking models and baseboards, I wouldn't see this happen!

Don't you hate when a rip starts and you have to toss a few inches of tape?

Wednesday, January 17, 2024

Laser Cut Guitar Bracing

How did we ever get by before laser cut fins? 
I once thought laser cut parts only applied to rocket and wooden ship kits.
 

The picture shows the internal bracing of a new design guitar.
Fancy guitar inlays cavities (cutting a well-fitting recess) were once "gouged" out using a Dremel and a dental bit. Lasers now cut the ebony or rosewood fingerboards for inlays.

From a Martin guitar Facebook post:
Where legendary Martin tone and innovation meet. The new GPCE Inception features skeletonized scalloped bracing and sonic channels inside the body for increased resonance and superior tone. Go behind the design with the Martin team to learn more: CLICK HERE

Monday, January 15, 2024

Fillers Results, Part 2

The final results were somewhat predictable with a few surprises.
After light sanding the "fillers" all pieces got a white undercoat and light sanding. This was followed up by gloss red enamel.
   

On the left is the sprayed raw balsa, no sealer or filler.
The paint soaked in and dried with a dull flat finish. The balsa grain is very obvious.

On the right is the wood glue coat balsa. 
The grain is still evident, not filled. But - 
The wood glue did "seal" the wood. The paint didn't soak into the wood and dried to a decent gloss sheen. 


On the left side is the CWF filled balsa. There is still some grain and the pores are raised slightly. The final gloss is not as shiny as the wood glue test piece above.

On the right is the piece hit with filler/primer only. There is still some slight grain seen. The filler/primer does seal the wood and the gloss red is a little shinier than the wood glue coated piece.


The clear winner is this final piece using one coat of CWF and sanding, followed by filler/primer and sanding. 

The CWF fills 80% of the wood grain. A single follow up spraying of filler/primer and sanding fills any remaining grain.
This test piece is the smoothest with the best gloss.

This is how I normally fill balsa pieces. It's a simple two step process. One brushed coat of CWF and sanding, one spray of filler/primer and sanding.  
Everyone has their own methods, do what works for you. I doubt I will change, I've used and developed my practice of CWF and F/P for years now.

Sunday, January 14, 2024

Fillers Results, Part 1

On occasion I see a forum post where a newbie recommends his method for filling balsa.
Some use white or wood glue claiming it fills the balsa. Others have used the Brodak sanding sealers.
In the late 1960s Estes recommended Sanding Sealer. Centuri said to use Balsa Fillercoat. I used sanding sealer and occasionally balsa fillercoat. You can't find sanding sealer in hobby shops anymore. If you do find it, the cost seems prohibitive. Pactra and Midwest has discontinued their sanding sealers and balsa fillercoats. Brodak sealer seems to be out of production.

I've read about CA )Super Glues being used to seal and fill balsa grain. I've yet to use CA for this. I tend to fill the balsa wood grain off the model. A CA fill would seal the root edges preventing wood glue from soaking into the balsa, compromising the glue bond.

When I got back into the hobby in 2009, sanding sealer was difficult to find. Elmer's Fill N' Finish (now named Carpenter's Wood Filler or CWF) was the talk of the forums. I adopted this filler on my rocket builds. 

In these two posts I took some scrap balsa and tried various methods to seal and fill balsa grain. This is not a complete test, I've not included the Brodak, Erockets sealer or CA methods. Papering fins is a discussion for another day. 
     
Five pieces of balsa were tested. I tried to pick out wood pieces that had some consistent density and grain depth. After filling, all pieces will get white undercoats and a final red color.


The first piece (not shown here) will be raw balsa, no filler. 
The second piece (not shown here) got a coat of wood glue and light sanding.

Third piece was raw balsa piece that only got one spray of Duplicolor Filler/Primer. After it dried it got a light sanding with 400 grit.


The fourth piece (not shown here) got one coat of brushed, thinned CWF and sanding.

This fifth balsa piece got a coat of thinned CWF and sanding.
This was followed by a spray of filler/primer and sanding.

Friday, January 12, 2024

Old Estes Postcards


If you were a Rocketeer in the late 1960s and early 1970s, you'll recognize these postcards.
In the barn at my Grandparents ranch, my Sister found a large metal drum full of my old comic books. These postcards were in with the comics.
In total, I counted 39 postcards. Five or more of each, only one of the Estes building.


I had entered the Design Of The Month a few times. Some cards were personalized. In addition to this postcard, I did get other letter correspondence from Avona O'Leary. She must have been responsible for all the last names that started with a "M".

I thought I had a real Bill Simon autograph. I had three of these. After comparing the signatures, I could see they were printed.

Sometimes a postcard was included with an order. You could also send a note and ask for a complete set. I must have done that a few times.

Thursday, January 11, 2024

Estes Great Goblin, #9724 Build, Part 26, Tying It Up & Finished


The shock cord was tied to the nose cone base with a square knot. The SC tail was pushed into the hole in the shoulder base. This keeps the shock cord end out of the way when sliding the nose cone into the body tube.
The loop knots in the shroud lines were tied to the base of the nose cone using a Kevlar line.


Here's the finished build.
The Goblin name and Bat decals are on both sides of the fin to the left in the picture.
The 3s are on opposite sides of the middle fin.
The Goblin character decal are on both sides of the far right side fin.


A close up look at the fins -


From the single black fin side.


From the rear with the retainer ring in place.

The LONG nose cone.

Each build took approximately 12 1/2 hours.
That includes construction, filling balsa and body tube seams, finishing and decals. The total time doesn't include waiting for the paint to dry.

Wednesday, January 10, 2024

Estes Great Goblin, #9724 Build, Part 25, Decals

The original Goblin kit had the fin decal baselines parallel to the table top. This new kit pictures have the fin decals more parallel to the trailing edge of the fin.
Now, the "3" decal is set like a regular number 3. The original instructions had you set the "3" decal on it's side.
To see the original instructions and decal placement, go to Jim Z's: CLICK HERE

Some of these water slide decals are large. Rub some water on the body tube or fins before transferring the decals. The extra beads of water under the decal allows for easier positioning.
    
TIP: While it might be tempting to start with a big decal - Always start with a smaller decal. There are two ESTES logos. One can be used as a "test" to find the soaking time and to see how it slides off the backing.  If you mess up one of the tests, you still have that second decal to use on the model.

I don't usually apply logos on my personal builds. 
But, I'm placing these decals like the illustration on the box.

Before placing the black band that wraps around the body tube - 
You should place the ESTES decal. The black band is spaced and wrapped on above that. As with all decals, plan ahead for proper placement.
 
I like to put the ends seam towards the back in line with the launch lugs. Sometimes a kit wrap-around decal isn't long enough and the ends might not meet.
No problems here, there is about a 3/16" overlap.

Before soaking the decal, I dry fitted and found the right height for the wrap. A piece of masking tape was placed on the tube (not on the decal) for a height reference.


TIP:
When cutting out crazy shaped decals, try not to make any sharp inside angles. Round all corners, sharp inside cuts invite tears. While instructions may say: "Cut close to the image", you don't have to cut inside every nook and cranny. 


After blotting out the bubbles with a soft cloth, I use a cotton swab to roll out any remaining bubbles. Work from the center out to the edges.


The Bat and GOBLIN decals are separate on the decal sheet. This might make visual centering difficult. 

Start with the GOBLIN decal first. 
I found 1" above the trailing edge to be good spacing.
In this upscale kit, the bat is set a little to the right of the left side of the word Goblin.

Tuesday, January 9, 2024

Estes Great Goblin, #9724 Build, Part 24, Engine Retainer


I used 220 grit to roughen up the inside are of the engine retainer ring.

I'm always tempted to apply epoxy to the inside of the plastic ring - but - 
If you apply the glue to the outside of the motor mount tube you won't see or have to deal with epoxy squeezing out when the ring is pressed in place.

Push on the ring and turn it to spread out and even the epoxy glue.


I was curious before the ring was glued on -

The rocket rests on the trailing fin tips. There is some clearance under the retainer ring.


Here's my three Goblins - 
The original BT-55, D engine model is on the right.
On the left is a new Great Goblin almost ready for the decals.


Monday, January 8, 2024

Estes Great Goblin, #9724 Build, Part 23, The Black Fin


I spray in the patio area of my townhouse. The side walls are about seven feet tall and make a pretty good windbreak.

In one afternoon, I sprayed the single black fin on two models.
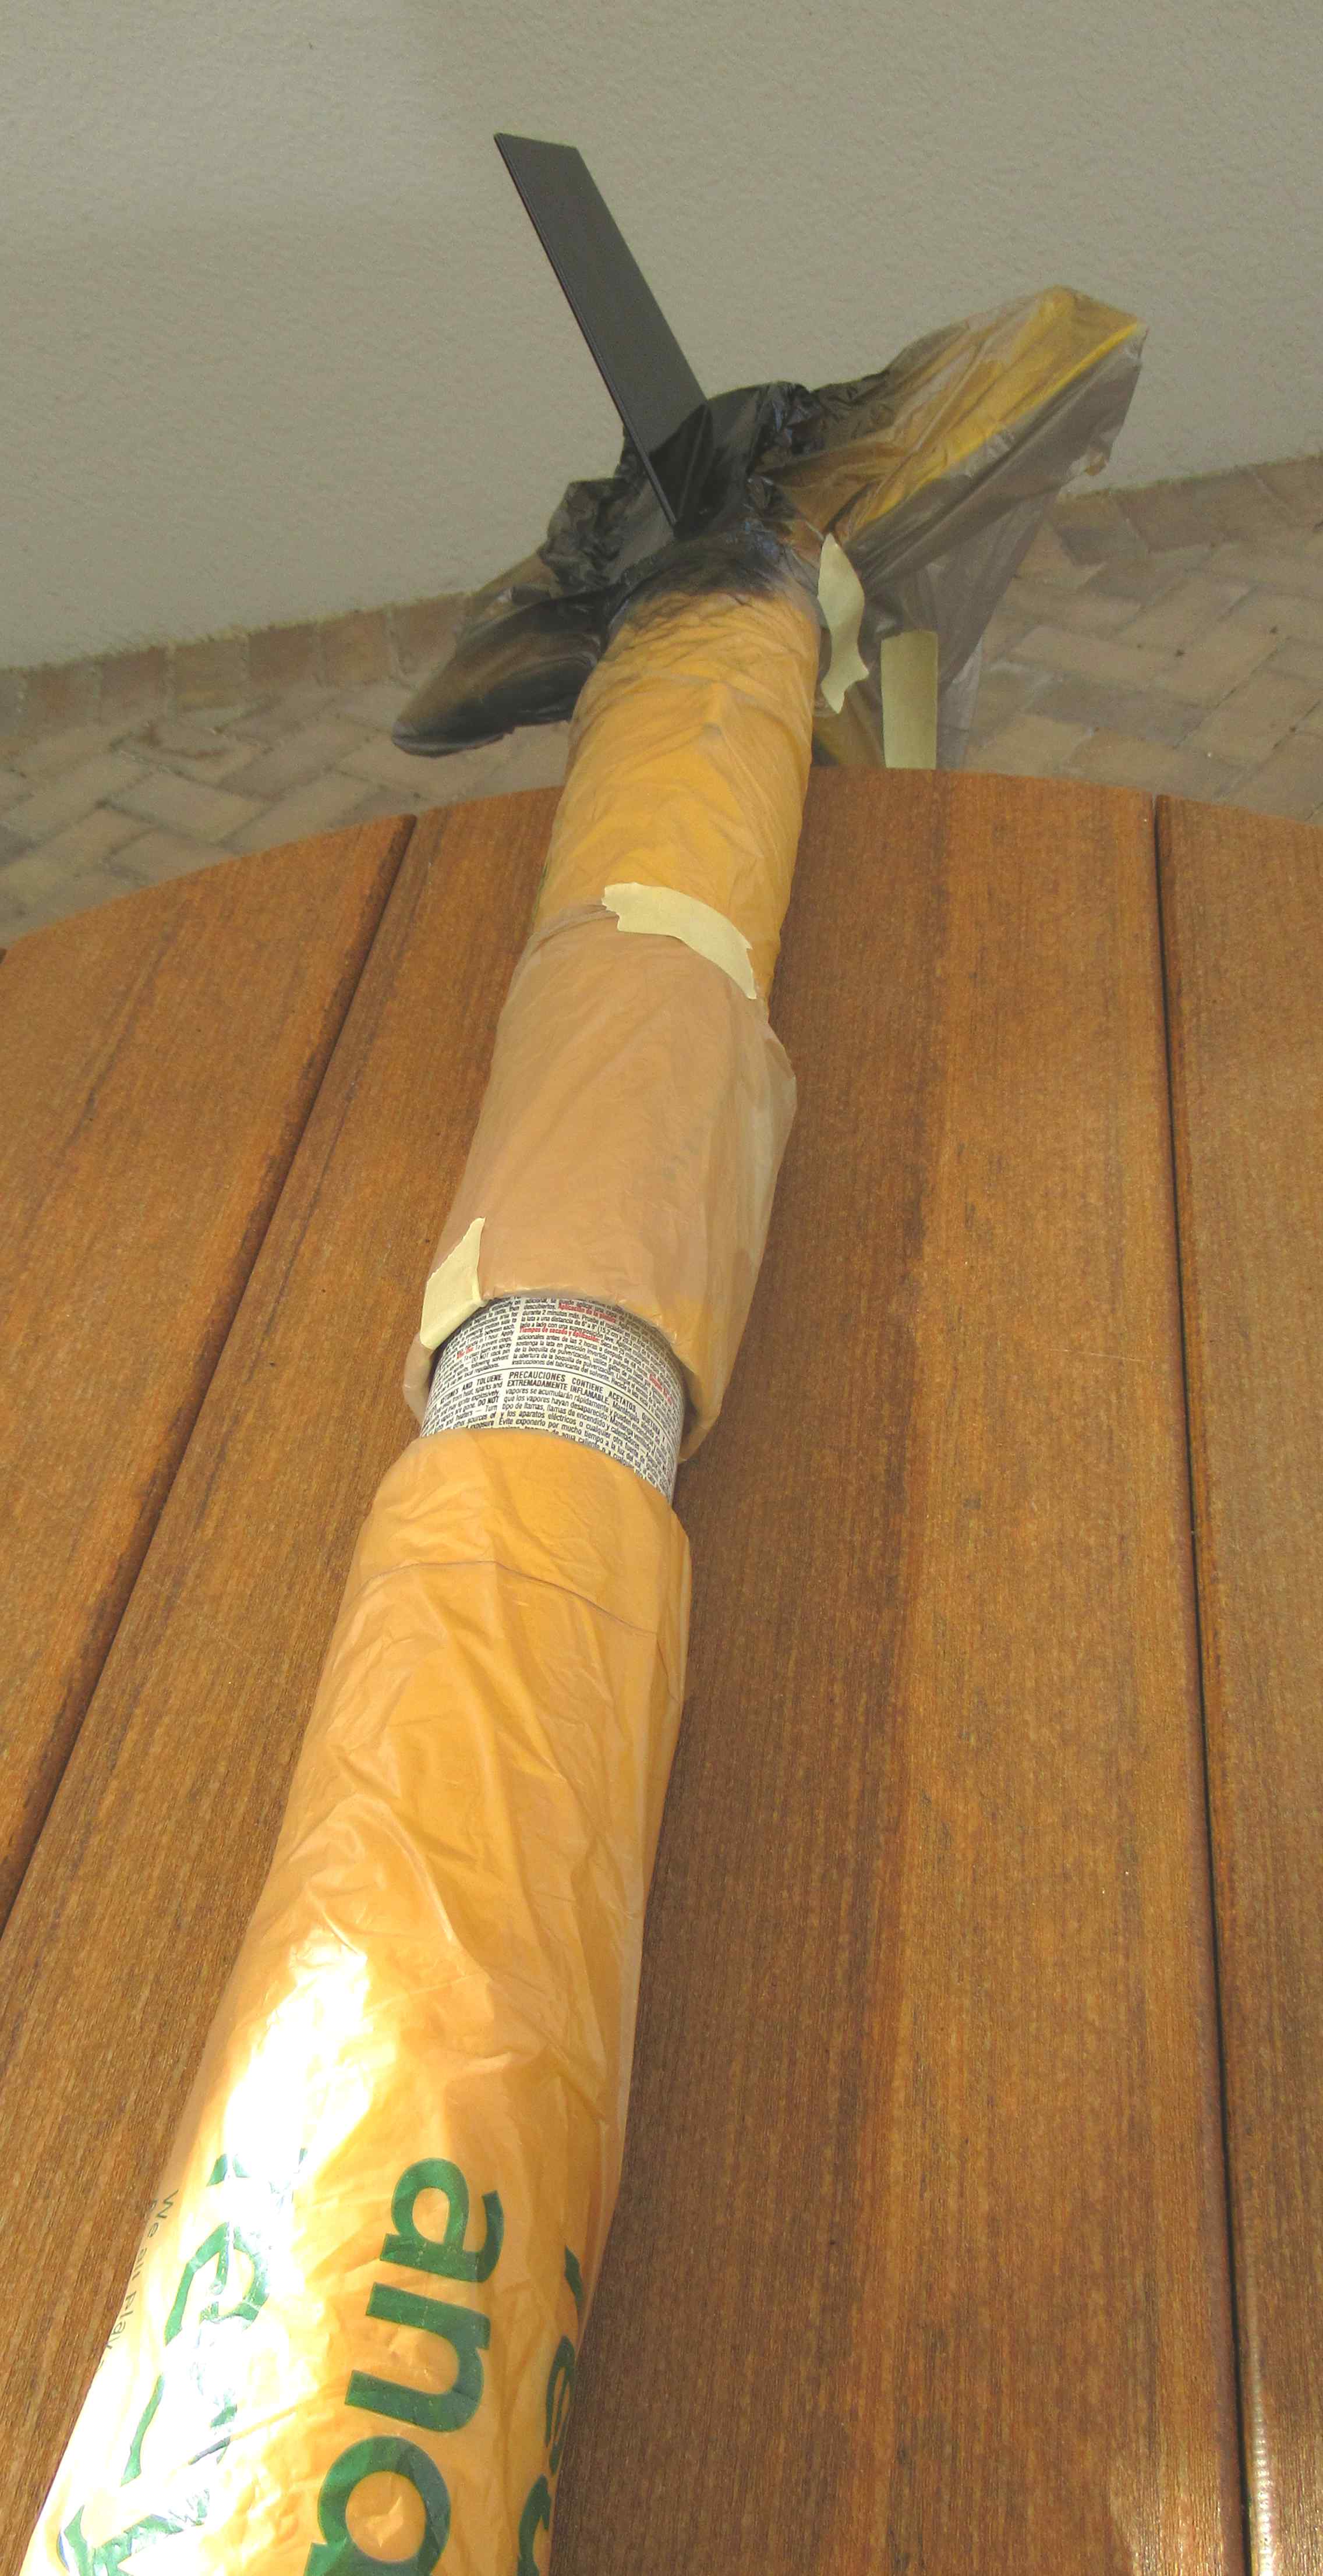
The fin area was hung over the edge of the table. Inside the the tube ends is a can of spray paint to keep the models weighted down and from rolling off the table.


On the left is the rounded root edge after the tape was lifted.
On the right is the same fin after "pushing" the paint edge back on itself. I don't scrape off the paint, but push it back into the black while the paint is still tacky.


On the left,
Not all the Scotch Tape masks have been lifted.
Notice the black paint smudges between the fin and launch lug line. These black marks were probably transferred off my painted fingers.

Polish out and remove the black marks with a magic sponge. The magic sponge can dull the gloss a bit. Bring it back with some polishing compound.


Here's another black smudge.
More rubbing with a damp Magic Sponge and fine polishing.

Sunday, January 7, 2024

Estes Great Goblin, #9724 Build, Part 22, Masking Off The Body


A slit was cut in a plastic grocery bag. 
This was slipped over the soon to be black fin.


Masking tape is set over the Scotch Tape strips and onto the plastic bag.

Another plastic bag was cut and wrapped around the upper end of the body tube leaving only the one fin exposed.


Before spraying I lightly sanded the orange peel a bit. This is your last chance at a final sanding. Don't go too deep, just knock off the tops.

Saturday, January 6, 2024

Estes Great Goblin, #9724 Build, Part 21, Masking One Black Fin


On the model, there are three yellow fins and one black fin. 
Decals go on the yellow fins.

Plan ahead as to which fin will be painted black.
Looking at the kit box art, the launch lugs aren't seen. We can assume the lugs are on the back side of the body. 
That black fin is also towards the back.


Here's my old Goblin upscale showing the black fin and the lower launch lug.
Everybody has their own techniques for masking. I use Scotch tape marked with a Sharpie pen so it's easier to see.

On the left is how many builders mask off a fin with a rounded leading edge. Where the fin tip leading edge meets the body tube you'll see square corners. 

On the right I've added two small strips of tape starting to "round" the paint line around the leading edge.


More pieces of tape are added until I get a good half round edge. It looks like there is 12 pieces of tape over the half circle mask.


Here's how the back end is rounded off. I don't use as many pieces of tape on the back.

Note the masking tape around the inside edge of the body tube. The exposed motor mount is masked off with a rolled up paper towel pressed into the recess area.

Friday, January 5, 2024

Estes Great Goblin, #9724 Build, Part 20, ACE Hardware Paint?

Why do they keep changing the spray formulas we become accustomed to?
   
I've been using the ACE Hardware Premium Enamel with good results. It reminded me the old formula Krylon.
The first cans I purchased had a spray nozzle shown on the left. Recently the nozzles have been changed and are now like the can on the right.

The paint formula also seems to be changed.


The new formula is thinner, more prone to runs. 
To prevent runs I had to increase the distance from the spray can to the model surface. 

The new thinner, somewhat transparent formula requires more paint to get an opaque, full color. 
If you happen to use light colors like the newer Ace yellow or orange - Be sure your white undercoats are a full, consistent white.
But, the new formula dries to a good gloss.


The yellow paint on the Great Goblin ended up looking a little darker than the color on the can cap.
On the left is the cardstock that was rolled up, keeping the paint out of the top of the body tube. It seems to have a little orange tint to it.

Thursday, January 4, 2024

Estes Great Goblin, #9724 Build, Part 19, Chute Ties & White Undercoats


One of the three rip stop nylon chutes was turned inside out. I flipped it around so it looked like the right side picture, with the white shroud lines on the inside.


I tied these up using my no tangle shroud lines. 
This technique allows the chute to fully open with no tangles when tied to the nose cone.

For a full explanation of No-Tangle Parachutes: CLICK HERE


I like to use painting wands. This motor mount required a larger dowel.
I had been hanging onto a broom handle for years. The diameter was around 1 1/8" and fits perfectly into the motor mount tube.


After spraying the white undercoat, the model was allowed to dry wedged into my patio chair.
It is difficult to get good paint coverage on a rocket this large. The body was not sprayed vertically. 
I'd recommend using a handle and spraying horizontally. After spraying, the model (still held horizontally) is slowly turned to prevent drips.

Wednesday, January 3, 2024

Estes Great Goblin, #9724 Build, Part 18, Spraying The Nose Cone


How do you hold onto a large nose cone to spray it black?

I carved and tapered a dowel to fit into the hole in the base of the shoulder. The tapered tip goes in about 1 1/2" and is a tight wedged fit.


The shoulder is masked off with a piece of 110 lb. cardstock.


Sanding down the gray filler/primer showed two notches in the nose cone. 
These are too deep to be filled by the filled/primer. I'll have to use a drop of medium CA and sanding.

Directly below the notches you can see what's left of the molding seam. The filler/primer did it's job.


No white undercoat is needed when black is the final color.
I got a pretty good gloss and reflection using the ACE Hardware premium enamel.

Tuesday, January 2, 2024

Estes Great Goblin, #9724 Build, Part 17, Masking Tube & White Undercoats


Here's the mask to keep the undercoat paint out of the tail end.

Masking tape (sticky side out) lines the inside of the 3" diameter body tube. 
A rolled up piece of paper towel is stuffed into the recessed area around the motor mount tube. A piece of tape helps hold this in position.


A piece of cardstock is rolled and slid into the upper end of the main airframe. This keeps the paint out of the inside wall of the tube. A few pieces of tape keep it tight in the tube.

White undercoats follow. 
You will need solid cover white undercoats if you are painting the Great Goblin a light color like the suggested yellow. Yellow spray paint is somewhat transparent.

The grain on a few fins showed through even after the CWF and gray filler/primer coats. This might require a few more white sprays, sanding between coats.