Showing posts with label S Mini Optima. Show all posts

Thursday, March 8, 2018

Semroc Mini Optima Finished


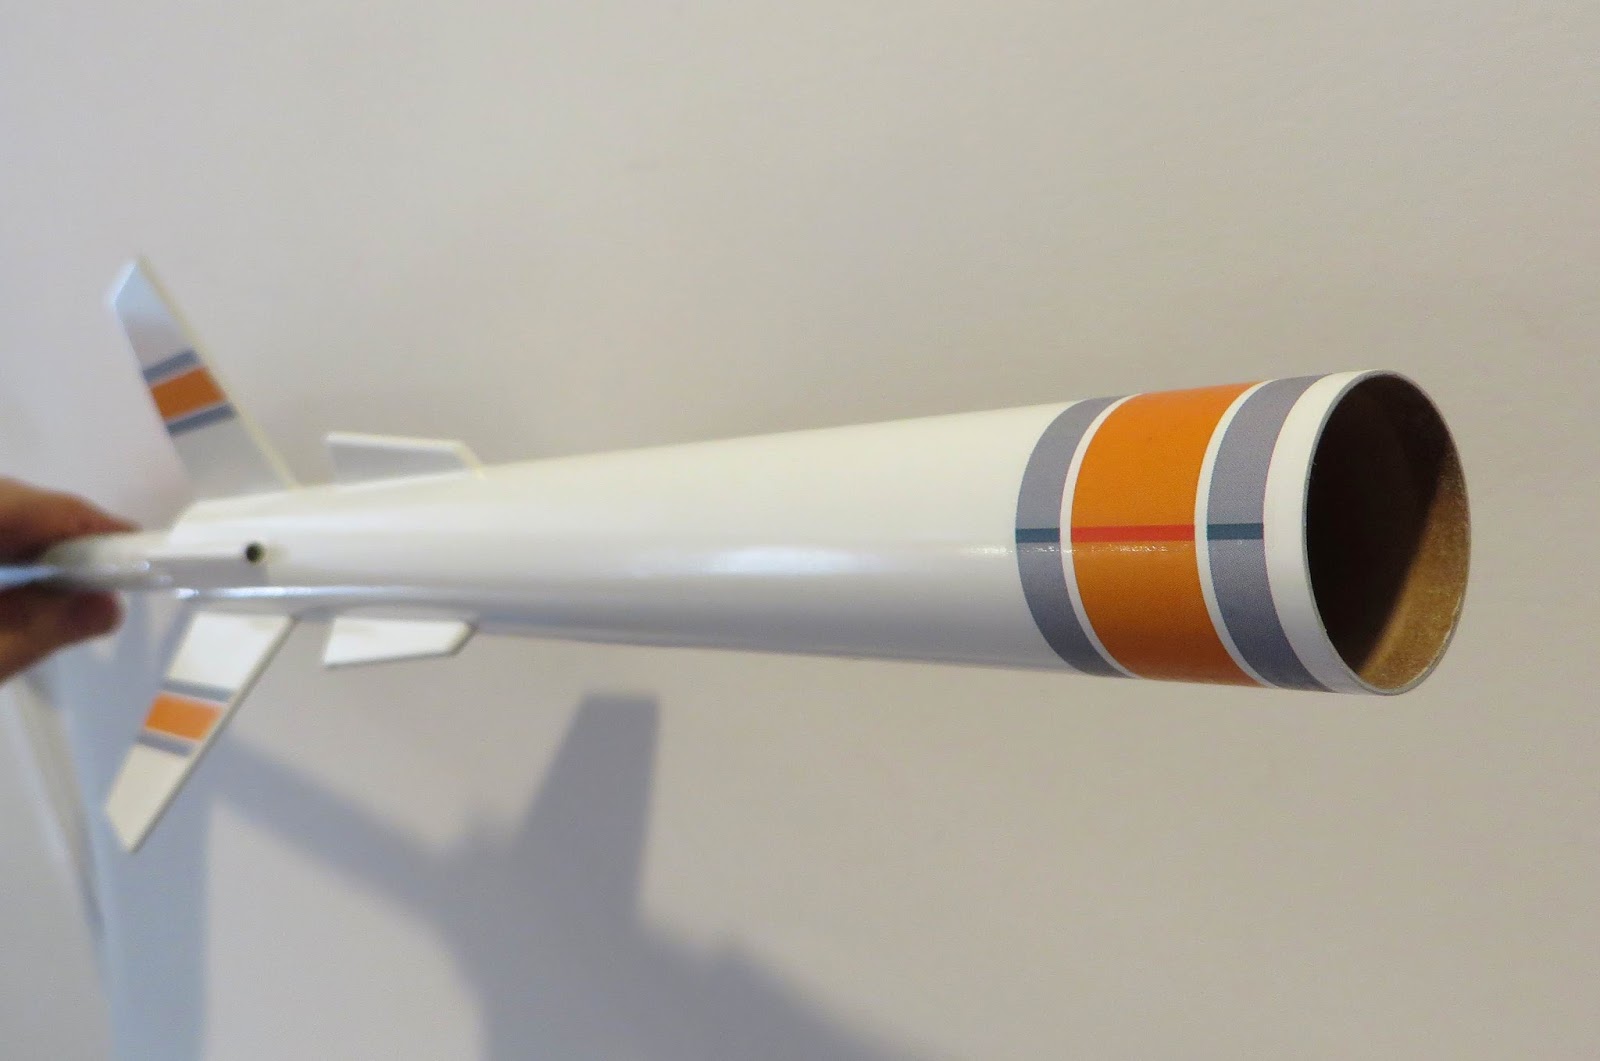
The original Estes Optima was a great design, whether big or small. It's a clean look.
This smaller version has many features you wouldn't notice from the outside.

The upper payload section ended up being painted with Rusto Metallic Black. I couldn't get a decent finish using the regular Rusto gloss black. The metallic finishes help hide any surface flaws.

Wednesday, March 7, 2018

Semroc Mini Optima Build, Part 10, Ends and Edges


One of the fin decals broke in two!
I kept the surface wet and was able to butt the ends together so the break couldn't be seen.
This will require a brush over of Future clear acrylic to close the break.


The leading and trailing edges of the decals got a wipe of Future clear.

The roll decal overlap also got some clear to seal up the edges.


I scrape the paint off the engine hook. Heck, it's going to flake off later anyway.
I use the backside of my hobby knife. You've got to be careful knocking off the paint so you don't scratch the engine mount tube paint.

A sharpened dowel is turned into both ends of the launch lug. This clears any paint and opens the lug end.
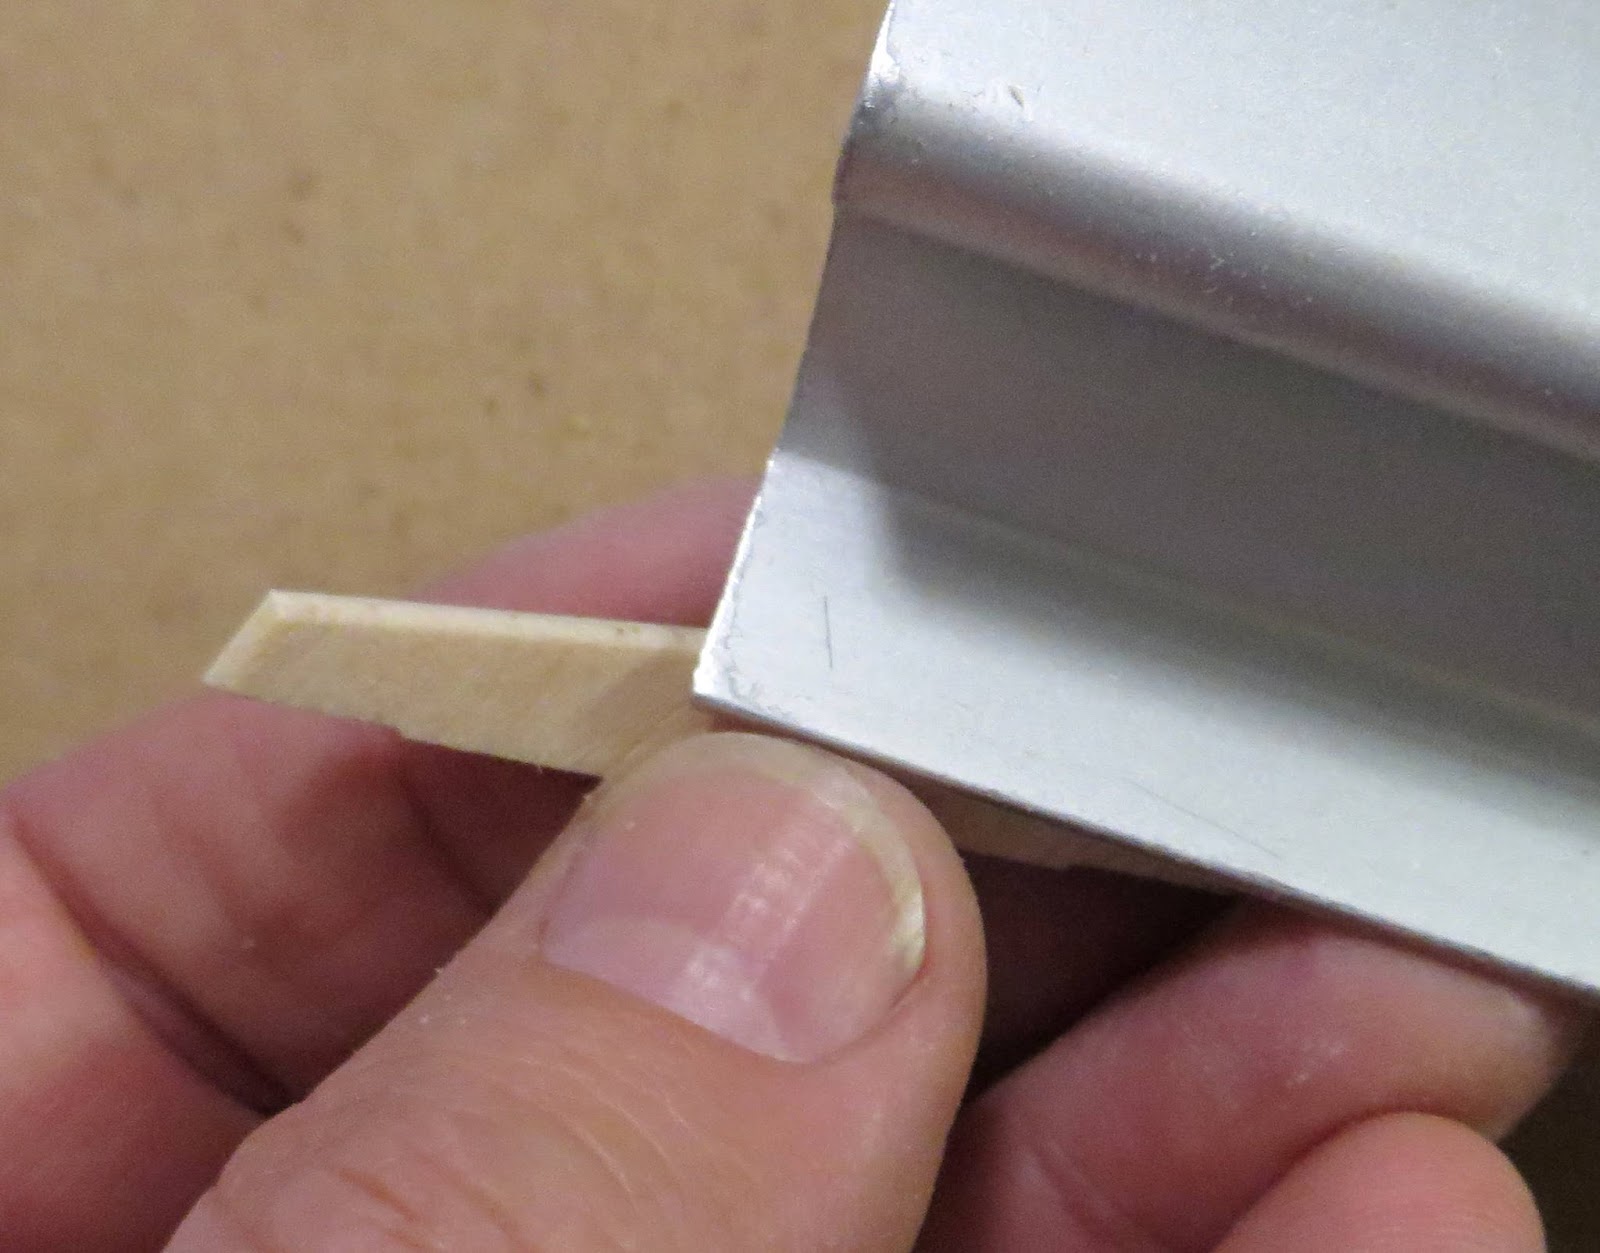
On the left is before, on the right is after the sharpened lug has cleared the rough paint edge.

Tuesday, March 6, 2018

Semroc Mini Optima Build, Part 9, Paint and Decals


TIP: Because of the simple color separation - don't tie up the shock cord yet, leave the upper payload section separate for the black paint.

This was the first model I used Duplicolor gloss white on. It doesn't cover as fast as the 2X Rustoleum. It was smooth but not quite as glossy as the Rusto 2X. It seemed to dry quicker than the Rusto. So far, so good with the new paint.


The fin decals pretty much center on the fin. The decals sit a little inside the rounded leading and trailing edges.


TIP: After the first fin decal is in place and dried, mark the distance from the root edge to the decal print on a scrap of square card stock.
Use this spacing template for all the remaining fin decal placement.


TIP: Start and finish the wrap decal directly above the launch lug. The overlap wont show when you take a pre-launch picture. The overlap will be hid behind the body tube when rocket is slid down the launch rod.

Monday, March 5, 2018

Semroc Mini Optima Build, Part 8, Fin Gluing and Alignment


Here's one of the best parts I've ever seen in a kit.

This Fin Template was included in all the Semroc "RTB" kits. It's laser cut from cardstock, fits the ST-10 tube and aligns either 3 or 4 finned rockets. A simple addition that assures the fins are evenly spaced. Fin slot alignment is good, using this template is better.


The smaller front fins glue into the forward slots and onto the insulator tube.

I used clothes pin clamps and strips of scrap balsa to line up both sets of fins.


Here's how the model looks now, long and sleek.

Saturday, March 3, 2018

Semroc Mini Optima Build, Part 7, Engine Mount Gluing


The front end of the engine mount is glued into the ST-9 insulator tube so the front white centering ring is recessed 1/16".


Roll the assembly on a flat surface to be sure the engine mount is in line.

The ST-9 insulator is slid into the ST-10 dry, no glue yet.

A bead of glue is set on the upper edge of the lower centering ring.
The assembly is slid in until the engine tube has 3/8" exposed. Be sure the engine hook is centered between the fin slots.


Here's another design feature - the insulator tube is under the upper slots giving you a good root edge gluing area.

Friday, March 2, 2018

Semroc Mini Optima Build, Part 6, Coupler Fit Adjustment

GOTCHA: The only problem in this kit was the loose fit of the coupler. This surprised me, most all Semroc parts have been better matched. I should have checked, they may have included a BT-50 coupler by mistake. A BT-50 coupler would be slightly smaller diameter than an ST-10 coupler.


It took a single wrap of 20 lb. copy paper for a slip fit.


A glue stick was used on the paper and it was rolled around the coupler.


The instructions say to glue the coupler 1/2" into the upper tube. I wanted a bit more exposed to join into the lower tube. I glued the coupler 3/8" into the upper tube leaving 5/8" out the back.

Before the glue sets up, roll both tubes on a flat surface to be sure they are lined up.


After the glue dried some medium CA glue was wiped onto the paper wrap. It was sanded smooth with 400 grit.

Thursday, March 1, 2018

Semroc Mini Optima Build, Part 5, Coupler Bulkhead


The hole in the plywood coupler bulkhead seemed small. I was concerned the screw eye might split it.

The hole was enlarged with a small rat tail file.
The instructions tell you to turn the screw eye in until the threads just disappear.
TIP: Don't turn it in beyond the threads or you'll have nothing gripping the screw eye in place. This bulkhead is only about 3/32" thick.

I added a glue fillet on the inside.


The bulkhead is glued just inside the edge of the black coupler. Positioned like this you can add a glue fillet.

Wednesday, February 28, 2018

Semroc Mini Optima Build, Part 4, Interior Tube and Fin Shaping


The top of the engine mount is glued into the insulator tube.
The upper white centering ring is recessed 1/16" inside the tube.


There are six fins on the rocket, on the left is the upper fin.
The lower fin has a fin tab that glues through the pre-cut fin slots and onto the engine mount tube.


The leading, outside and trailing edges of the fins are rounded.

Be careful when rounding the upper, smaller fins. The grain runs parallel to the small leading edge.

Tuesday, February 27, 2018

Semroc Mini Optima Build, Part 3, Engine Mount and Interior Tube


The white, slightly narrower ring goes to the top of the engine mount tube. This fits into the ST-9 insulating tube.

GOTCHA: The instruction drawing shows the ring just covering the upper bend of the engine hook, sitting even with the end of the tube
The ring actually sits lower down the tube than the illustration shows.


Here's the finished mount with the lower ST-10 brown ring in place. Notice there is no Kevlar line used in this model.
The interior tube works like an insulator protecting the main airframe tube (and paint) from the hot ejection charge. It is slightly narrower than the ST-10 main outside tube.

The shock cord mount is old style, attached through slits cut into the body tube.

I used my long tweezers to depress the body tube in between the two slits.


You'll find it easier to feed the line through from the top. Pick up the line with tweezers and pull it through.


A knot is tied on the short inside end.
After the shock cord is at the correct position, press the tube depression back out and lock the cord onto the tube.
I applied a little wood glue to the slit areas.

Monday, February 26, 2018

Semroc Mini Optima Build, Part 2, Cleaning Up Parts

The engine mount tube is slotted for the top bend of the engine hook. On the left is the pre-cut "slot" from the kit. It's really just a stab of an X-Acto knife. Pressing the upper bend of the engine hook into this stab hole could tear the tube.

TIP: To make a cleaner "squared off" slot, pierce one side of the slot. Use the dull back side of the knife blade (on right) on the outside ends of the slot to square them up. Flip the knife blade over to pierce then square up the other side.


Here's the finished slot. With the sides cleaned up it is probably stronger than the original knife pierce.
Two different centering rings are supplied. One fits the ST-10 main air frame tube. The white ring fits the ST-9 insulator tube.
The reason for the different sizes will be explained soon. The white ring on the right is slightly smaller diameter than the one on the left.


The burr on the inside of the rings was burnished down using the backside of a Sharpie pen.

Sunday, February 25, 2018

Semroc Mini Optima Build, Part 1, Parts


It's too bad Semroc is discontinuing the "Mini" line of kits. Carl McLawhorn (Semroc founder) called these his "Ready To Build" series.
There are some very clever features on these models.

Parts of very high quality. The only thing missing in this Mini kit are the sparkly orange and chrome trim bands. These are all there as orange and grey water slide decals.

The lower body tube has laser cut fin slots.
Body tubes are thicker walled Centuri style, ST-7 for the engine mount and an ST-10 for the main body tube.
The upper body is a payload section with a coupler and disk bulkhead connection. This model would be perfect for altimeter flights.

Parts of interest:
Two different sized centering rings. More on this later.
To the right is the coupler and bulkhead disk. The hole in the disk center is for the screw eye.
The long tube on the right is the insulating tube. It is an old style Centuri ST-9 and slides into the ST-10 tube.
In the center is the laser cut fin alignment tool. Notice there are fin slots for three and four fin kits. Some of the other Mini kits have four fins.

Saturday, February 24, 2018

Semroc Mini Optima Build Background


The Optima was a BIG model for Estes, available from 1990 - 1994.
2.6" diameter and almost four feet tall. D engine powered, it could reach 390 feet! 
A good demonstration model it featured chrome and metallic orange trim.


The same design was re-released as The Shadow in 1994 - 1996. The paint decor and decals were different.
The engine mount was adapted to fit the new (and short lived) E15 engines. E engine altitude was advertised at 550 feet.
This newer black and silver model was trimmed with a goofy blue name decal. For me it didn't have the appeal of the earlier Optima paint and trim.

The Semroc Mini Optima kit reflects the first paint scheme.