Showing posts with label FK Honest John. Show all posts

Friday, May 22, 2015

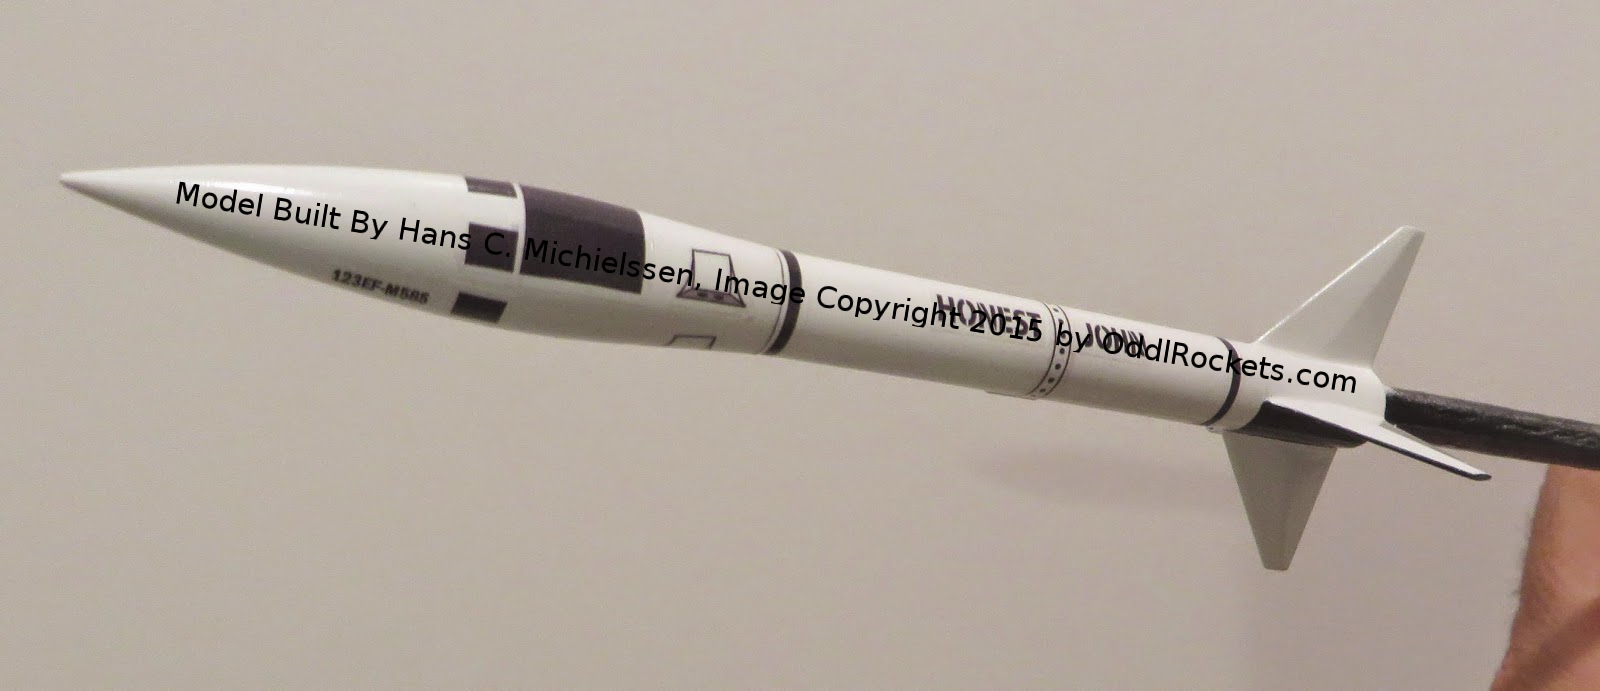
FlisKits Honest John Finished


On the left is my older Fliskit Honest John, it has 21 flights.

On the right is the new replacement.


Since the first Honest John build in 2010, my decals are turning out better.
The ink is darker and more dense.
I was hoping the nose cone decals would fit the diameter but they still had to be cut apart and set down individually. The spin rockets look better now.
In this kit, FlisKits doesn't include decals anymore.

Thursday, May 21, 2015

FlisKits Honest John Build, Part 8, Mask and Decals


Here's the mask for the black paint.
The same is repeated on the other side.


The body wrap decals were added.
This row of bolts starts right at the top of the lug standoff.

Set the band down and set it aside.
Trim with a razor blade after it completely dries.


TIP: When you can, set the decal overlaps on the launch lug side.
The overlaps will be out of sight when the rocket is placed on the launcher.
This is before and after lining up the lower black band.

FlisKits Honest John Build, Part 7, Decal Re-Draw

I drew up some decals the first time I made the MMX Honest John.
These were a downsize of the old Estes kit decals
I didn't space them accurately, there was a lot of cutting apart and moving separate pieces.

This time I did a paper wrap around the widest point of the older HoJo nose cone. This was divided into six sections for the roll pattern.
On the last build I used the spin rockets on the included decal sheet. This run of kits didn't include decals. I had to make some up.

On the left is a copy of the spin rockets from the Estes instructions.
This was traced and drawn to make it look a little more "3D".
It was reduced to the size of the decal on my old, finished HoJo.

Here's the redrawn decal sheet.
This was drawn up to look like the old Estes kit decals.
The flat side of the spin rockets got some grey shading.

EDIT: (Even doing the redraw I didn't get the nose cone roll pattern spacing right! I still had to cut them up and place the six squares separately.)

Wednesday, May 20, 2015

FlisKits Honest John Build, Part 6, Primer, Fin Gluing and Paint


The fins and lugs were stuck down on their root edges for a shot of primer.
The body tube was set on a dowel end for a primer coat.


The kit supplied marking guide ends didn't quite match up.

I made my own marking guide out of a wrap of paper, folded in quarters.


The body tube was sanded and roughed up where the fin root edges would glue.

I waited to glue the lower lug and standoff after doing the fin fillets. The lower lug would be in the way and make the fin fillets hard to do.


The first white coat showed some grain in the basswood fins.
This will take some fine sanding with 400 grit before the next white coat.

Tuesday, May 19, 2015

FlisKits Honest John Build, Part 5, Fin Shaping

Use a sanding block to shape these diamond shaped fins.

This the top edges first.
Don't thin it to a "razor edge", leave a little of the squared top.

With the edge black you can see how thick the edge is and make adjustments when sanding.

When sanding down the front edges you will automatically sand off and over the pencil line at the outside edge. This makes the outside edge thinner than the root edge which is how the actual fin taper is. On real rockets the diamond taper is thicker at the root edge and gets thinner towards the outside edge.

Sand some on one side, flip the fin over and sand the other side. Try to keep the tapered edge centered.


Sand the other side. In the picture, the bottom edge is now facing up.

On the left, notice how the center ridge ends up back on the center line.


Sand down the raised area on both sides of the fins connecting it all together.

Watch the diamond shape at the root edge trying to make it all flat up to the center raised ridge.
On the left there is still some ink on the edges.
On the right the ink was gently sanded off with some 400 grit.

Each fin takes about 10 minutes to shape.

Fin shaping takes practice and you probably won't get it right the first time. Practice on scrap wood, not on the fins supplied in the kit.
These HoJo kit fins are 1/16" basswood. Practice on thicker fins.

Sunday, May 17, 2015

FlisKits Honest John Build, Part 4, Fin Shaping

Glue the small launch lugs to the standoffs.

When setting parts this small it helps to use tweezers.
I found it easier using very little white glue. Once that dried, fillets were added.

There isn't any light laser cut lines down the centers of the fins.
You'll have to draw them on with pencil.


It's a little hard to punch the fins off the sheet.
Use a knife to cut through the hold down ticks.
To make the HoJo diamond shape fin taper -
It helps to blacken the edges of the fins. The ink on the leading and trailing edges makes it easier to gauge the thickness when sanding.

First coat the fin edges with some medium CA applied with a Q-tip.
This prevents the Sharpie ink from soaking into the wood. The ink stays outside the CA coat.
The Sharpie black ink is appled with a very quick swipe down the fin edge. Don't use a lot of ink.
The black ink will be sanded off as the fin is shaped.

Practice this and the upcoming fin shaping on scrap balsa or basswood. DON'T USE THE KIT FINS FOR PRACTICE!
Shaping fins is like making pancakes. You'll probably have to throw the first one out.
Fin Shaping continued next post . . . 

Saturday, May 16, 2015

FlisKits Honest John Build, Part 3, Engine Mount Kevlar


The MMX kit Kevlar seemed a little thin. I've had this thin cord burn through before. I replaced it with thicker Kevlar.

A simple overhand knot was pressed into the glue fillet.

The instructions suggest gluing the mount in so 1/8" of the tube sticks out the back. The engine already overhangs the tube by 1/8".
I decided to glue the engine mount tube flush with the end of main air frame tube.
With a friction fit this still gives you something to grab to remove the engine.


To glue the mount inside, it was set beside the main tube.

A applicator Q-tip was marked for a glue depth guide.

Friday, May 15, 2015

FlisKits Honest John Build, Part 2, Engine Mount


Here's the parts for the HoJo engine mount.

You'll need a MMX engine casing to place the engine block.


The engine block center is removed.
Be careful, it peels out like a Pillsbury flaky biscuit.


The engine casing extends out the back by 1/8".

I slid the engine block in place with no glue.
When it was in the right place, a fillet was added from the top using a Q-tip.


The centering rings are glued 1/8" from each end.

These are small and thin. Slide in place then apply glue fillets.
Smooth the fillets with a Q-tip.

Thursday, May 14, 2015

FlisKits Honest John Build, Part 1, Parts


I've built one of these before, it is one of my favorite MMX models.
A reliable, high flyer.

My first HoJo has over 20 flights and is showing it's age.

The kit parts are high quality.
The body tube is supplied long and will be cut to size.

I was surprised, decals are not included.
Not a deal breaker. I'll print my own decals like before.
It'll look like the old Estes kit in black and white with the name "Honest John" down the side.

Why do it in the non-scale Estes style?
Because it ticks certain people off and I find that funny.