Showing posts with label Fin Marking. Show all posts

Saturday, May 30, 2026

New Way Lunar Jumper Build, Part 7, Tube Marking


The fin marking guide matched up!
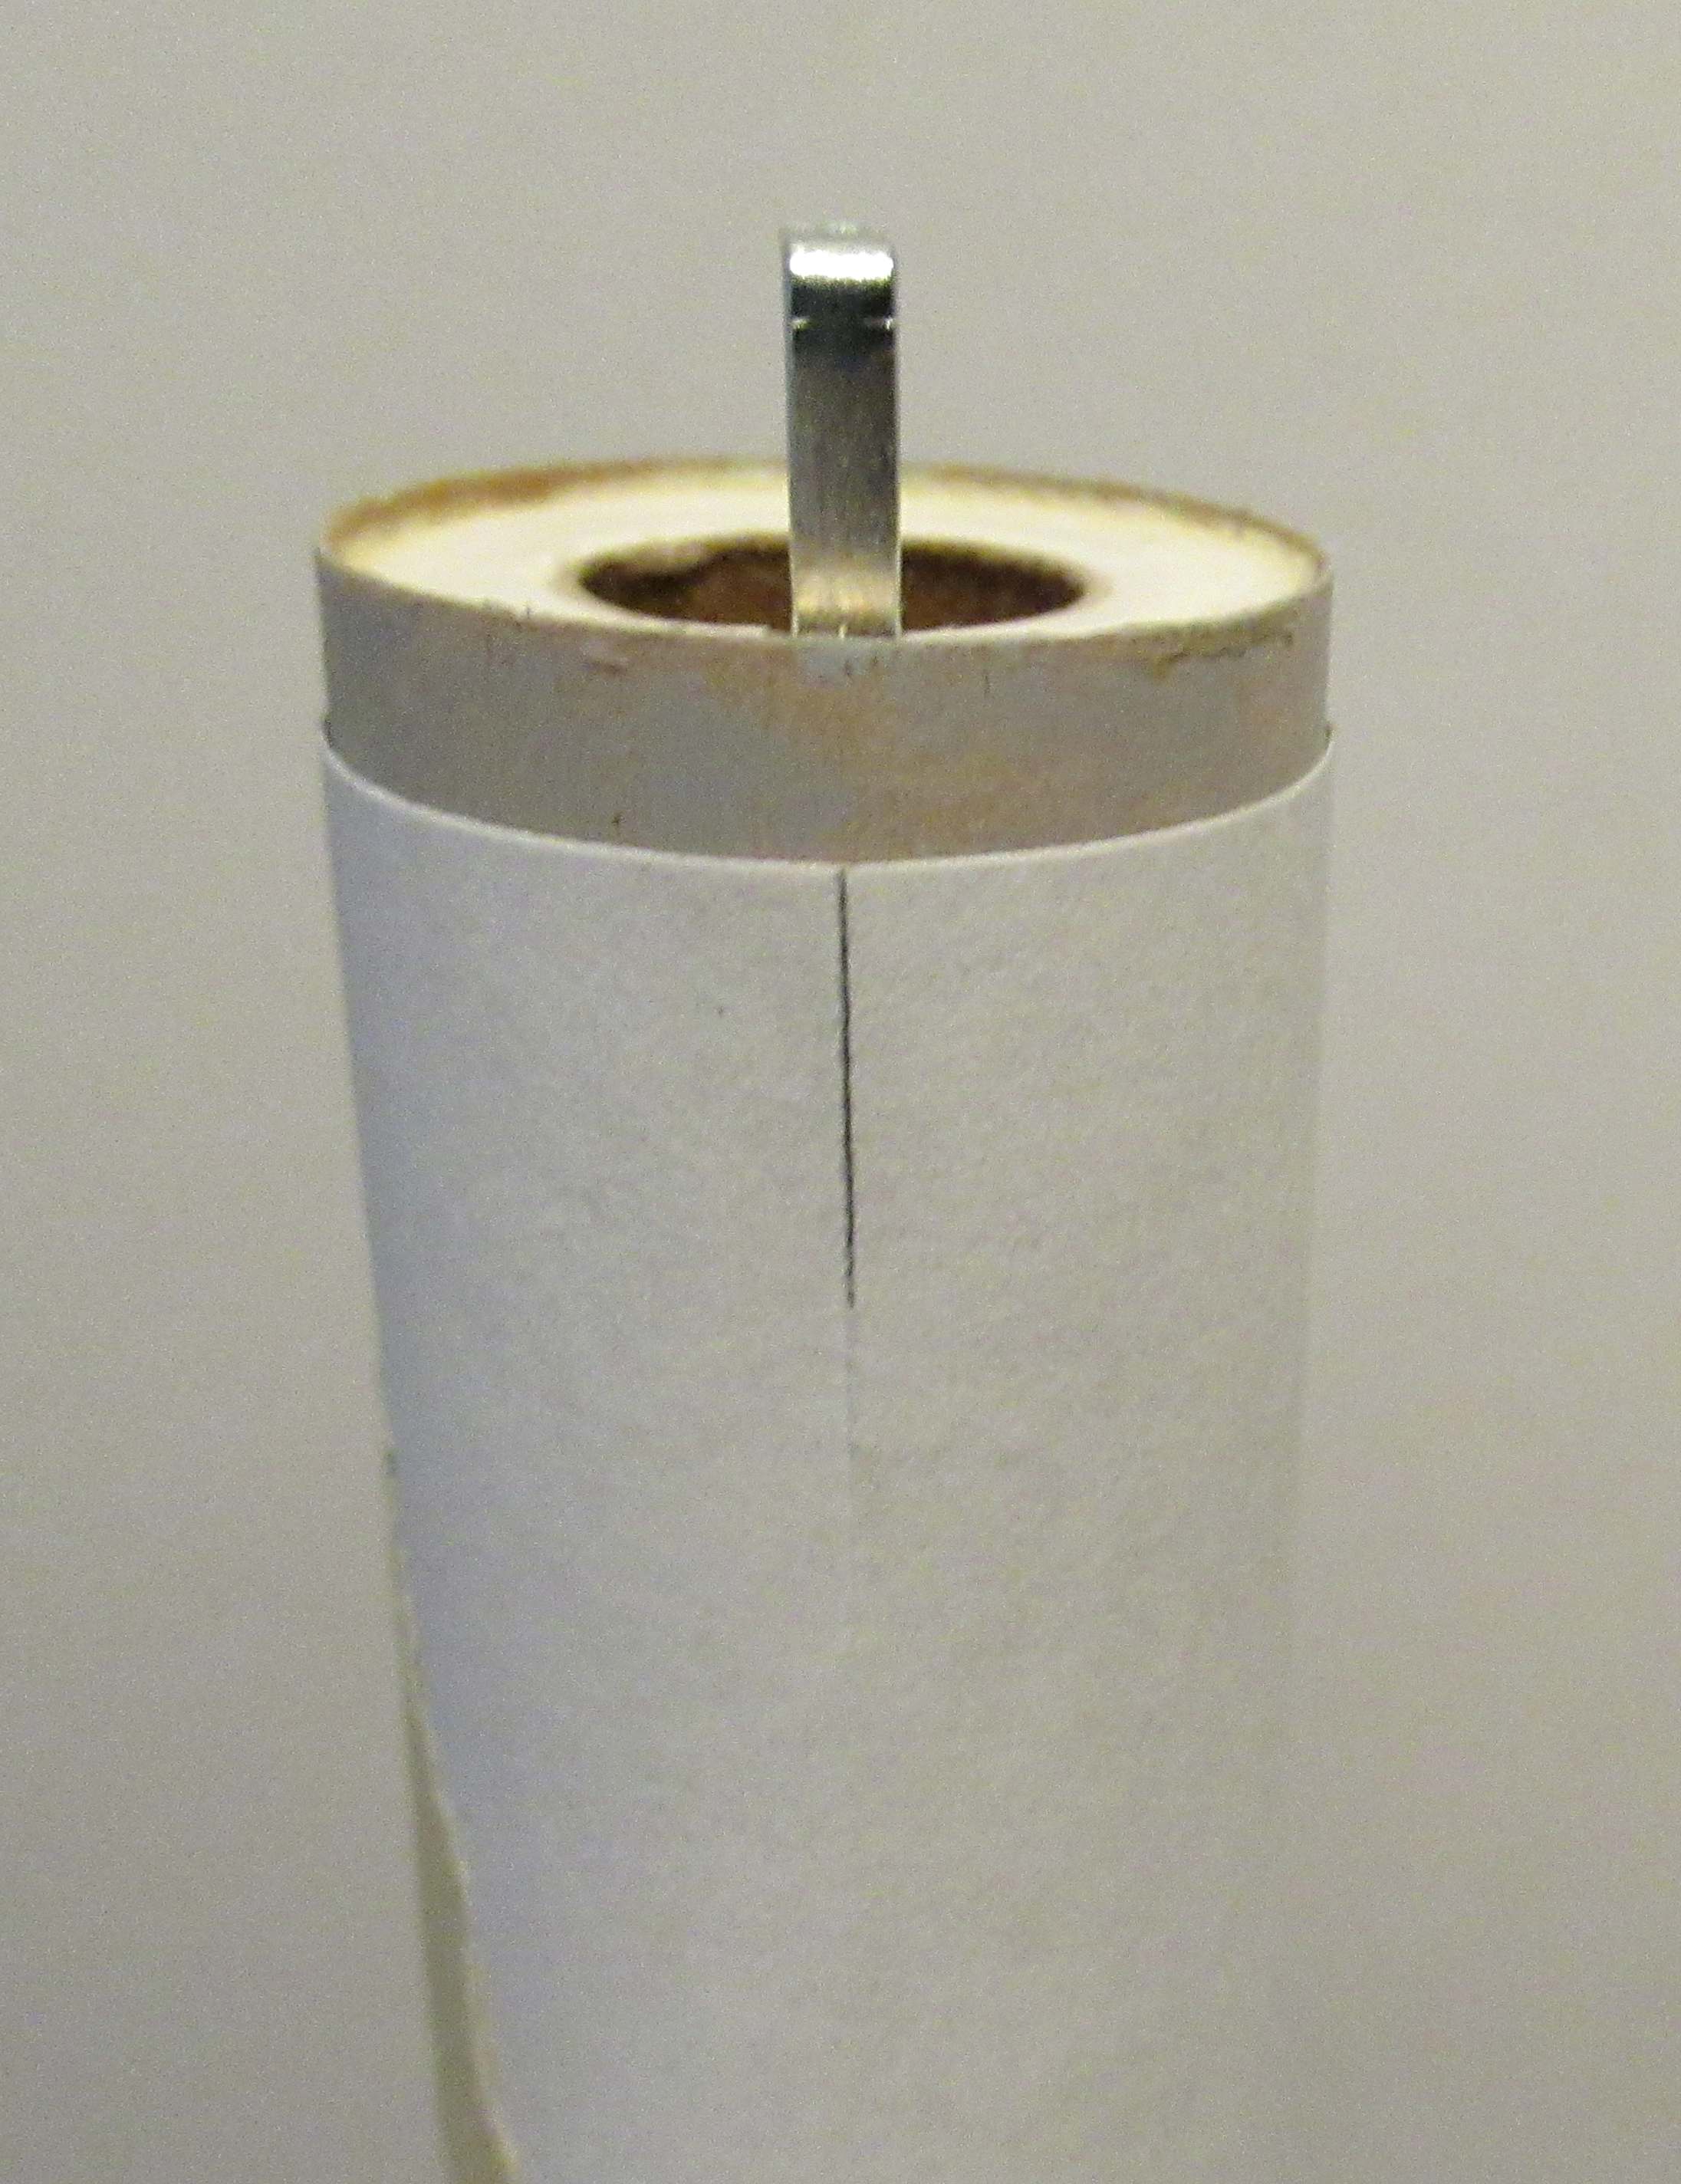
Mark the three fin lines and extend them the entire length of the tube.

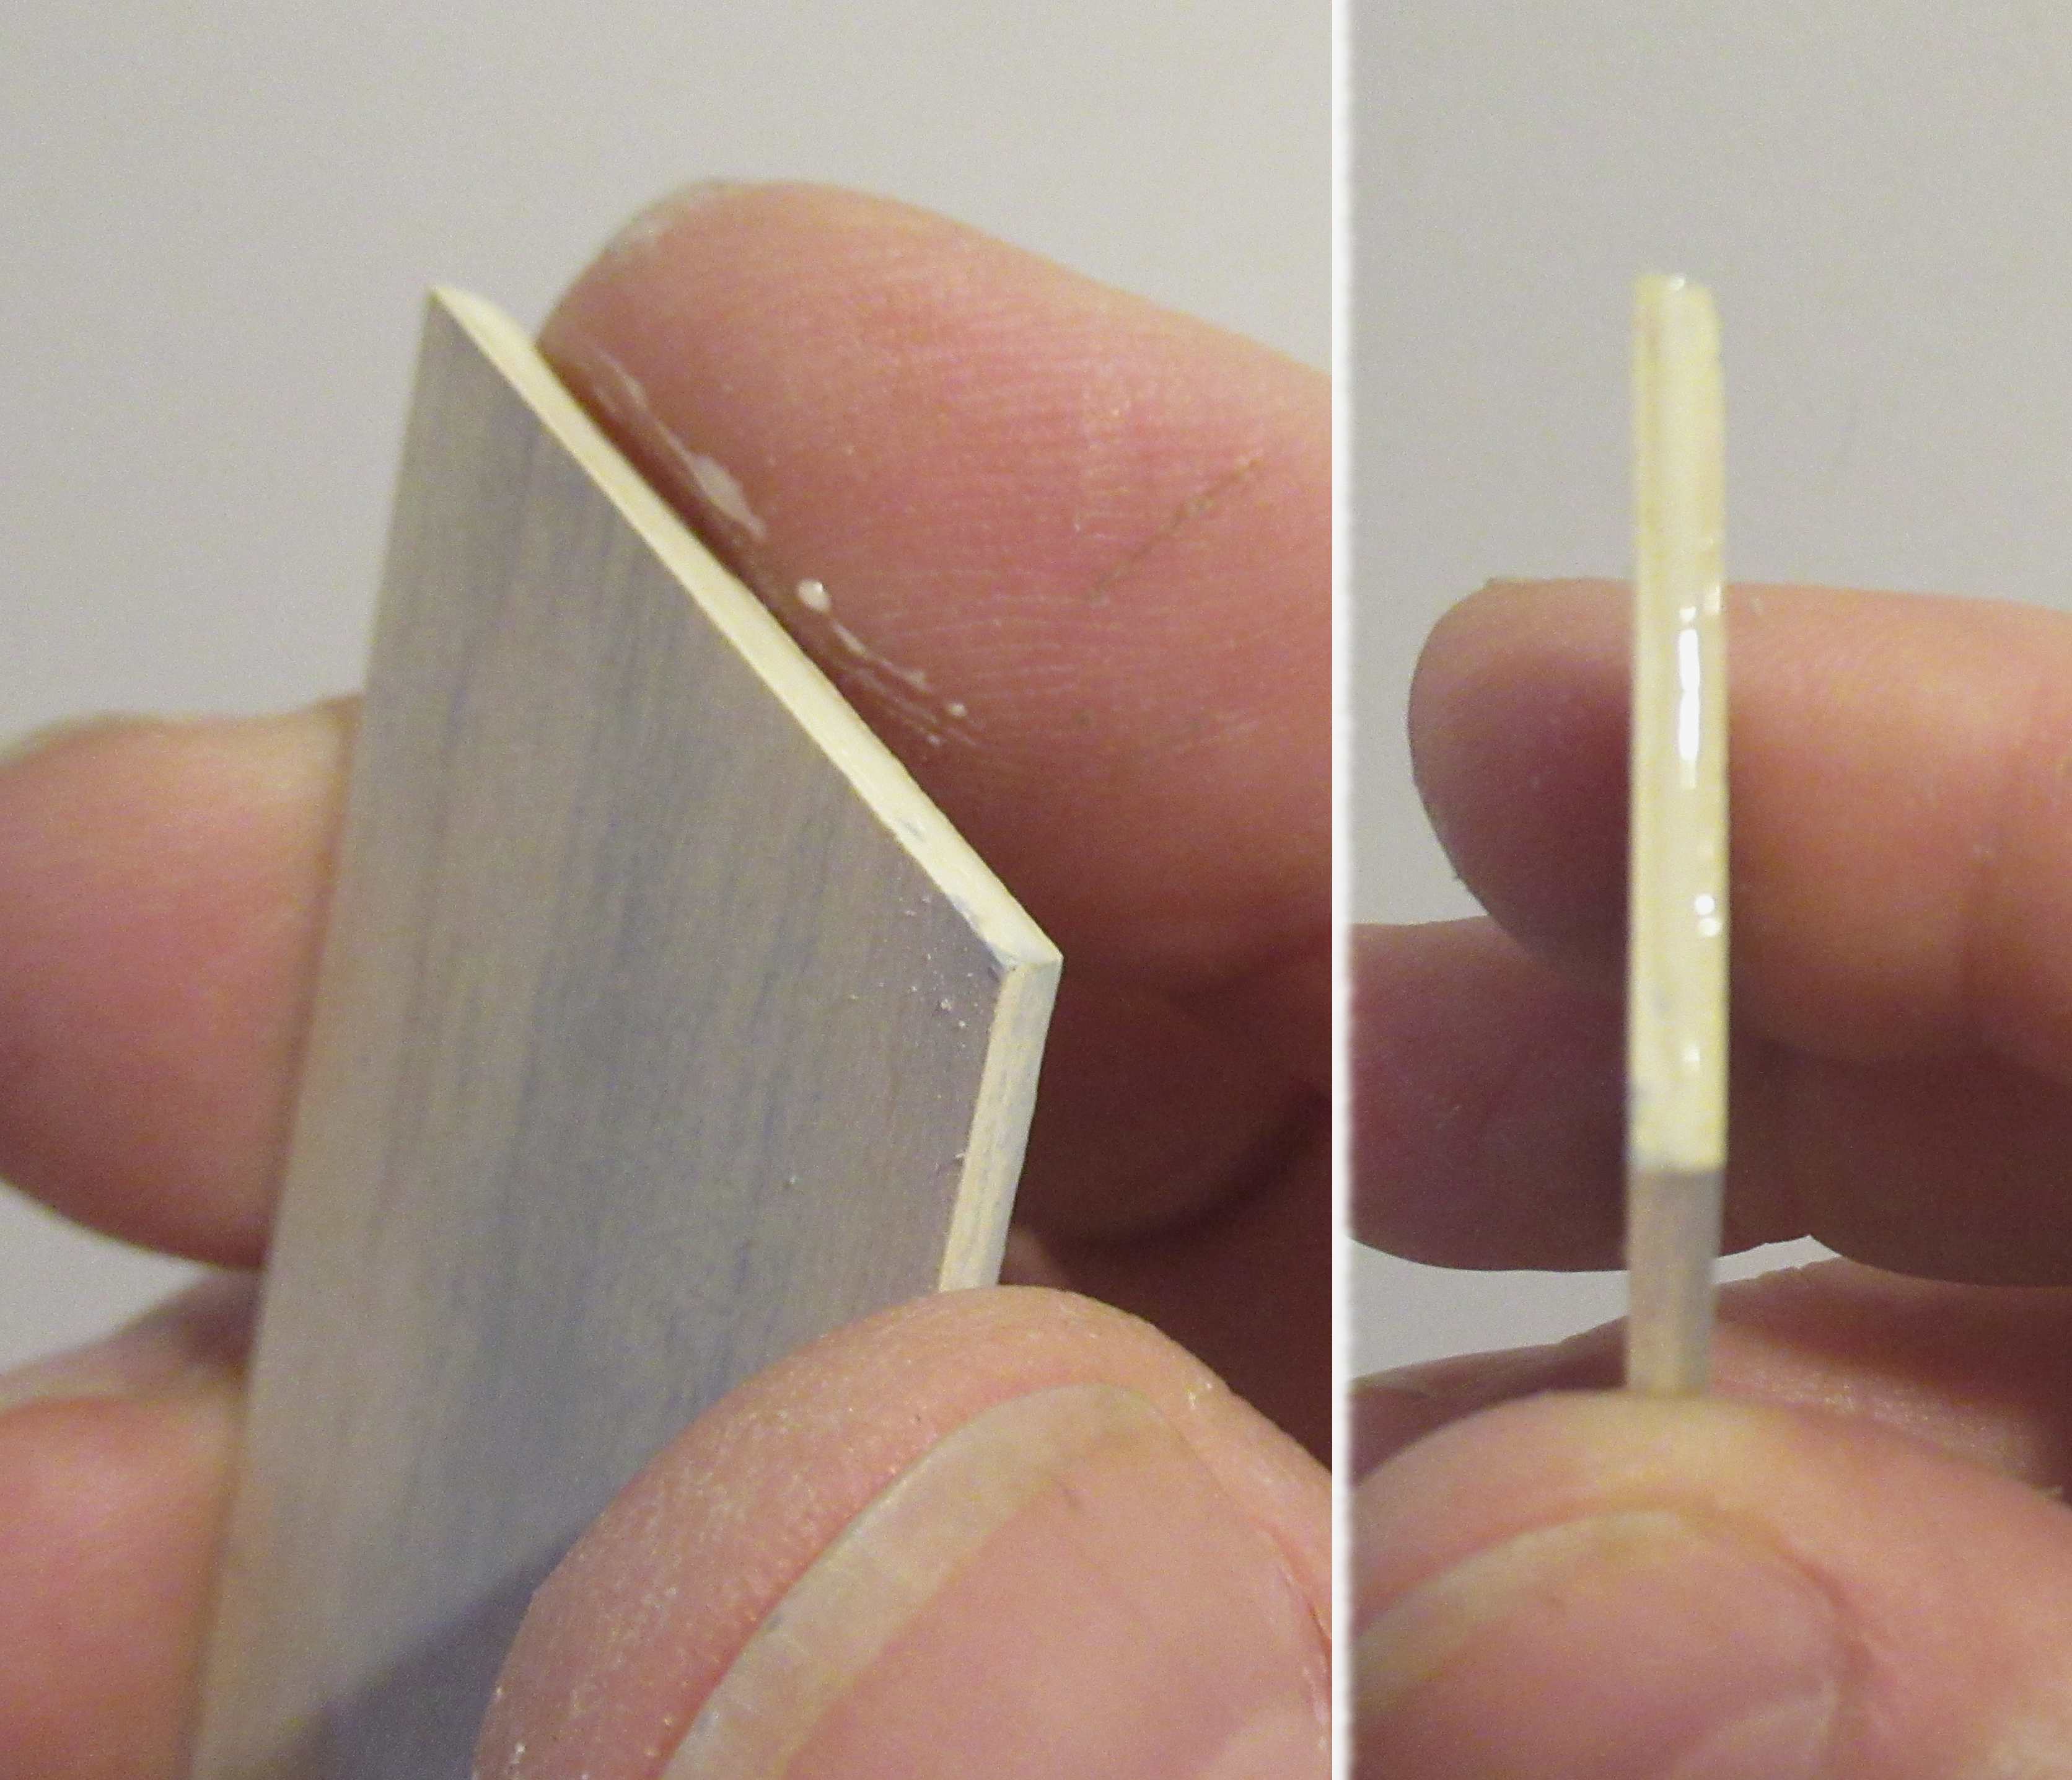
On the body tube, the root edge gluing line was scraped for better adhesion.


The small upper fins are glued in place.
The masking tape wrap helps line up the leading edges.


The short tube was slid over the upper rib fins, no glue yet. 
This applied pressure to hold the small fins in place as the glue dried.

I thought the upper tube would completely cover the outside edge so it wasn't filled and sealed earlier. There was bare balsa below. I applied some CWF and sanded.


The dowel joint got some CWF to fill the gap.
The first coat shrank a bit. After sanding a second application of CWF totally filled the joint.

Wednesday, March 5, 2025

Estes Star Seeker BT-50 Upscale (Tri-Pack) Kit #0866, Part 6, Gluing On The Dowel "Guns"


Two of the (mirrored) fin pieces were marked for the vertical fins, shown below.
The BT-5 smaller version was marked at 1".
The upscale markings are at 1.80".
Lay a bead of glue down the outside edge of the vertical fins for the dowel "gun" placement.

On the left, I'm running the side of my finger down the fillet, smoothing the bead and removing excess.

On the right is the even glue bead. This makes a cleaner glue joint with less glue "squeeze out". 


The dowels are set into the glue line. 
The rear of the dowel is even with the trailing edge of the fins.

After previously evening out the blue bead,
there is very little (if any) glue to smooth or remove from the joint.

Tuesday, March 4, 2025

Estes Star Seeker BT-50 Upscale (Tri-Pack) Kit #0866, Part 5, Gluing In The Engine Mount


The mount was glued into the BT-50 tube with 1/4" of the mount tube exposed. 
Maybe I should have made the end of the tube flush with the end of the BT-50? Well, a little more room for the small chute.


The upper ring ends up in the glue ring. There isn't any glue on the lower ring - yet. 

The lower fillet was applied with small drops of glue on a Q-tip. A second Q-tip smoothed the fillet and removed excess glue.

Tuesday, February 18, 2025

Estes Star Seeker (Tri-Pack) Kit #0866, Part 3, Filling Seams & Gluing On Dowels


The body tube, dowels and launch lugs were CWF filled and sanded.
A dowel was slipped in for support while sanding.

A shot of filler/primer followed .
Here I'm sanding the filler/primer to surface with an old piece of 400 grit. Any filler/primer that might collect on the sandpaper can be cleaned off under running water with a soft brass wire brush.
Two of the four fins are marked 1" down from the top edge.
This is where the perpendicular fins will be glued on.

I found it easier to mark a 1" span on a scrap piece of cardboard, then set the fins on the pencil lines.


Here's the first try at the 1" long dowels.
Looking at the instruction drawings, I could tell they were too short. There are no launch lug or dowel lengths listed in the instruction parts list.

Here's the longer 1 1/4" dowels.
I now have the feeling the dowels should be a smaller diameter. Oh well, I'm going with what I've cut.
(Edit: The dowel diameter I used was 3/32" diameter)

Thursday, December 19, 2024

Estes Constellation Build Part 13, Fin Prep


Before spraying a white coat to check for flaws, a small bit of the root edge was masked off.
This was to keep some of the fillet area clear for a stronger glue joint.


After a light coat of gloss white the tape was removed.
You can see the fillet area is clear of white paint.


The pencil fin lines on the body tube were roughed up with 220 grit on a block.
After sanding off the lines they were drawn on again.

Saturday, October 12, 2024

Estes Star Stryker Build, #3206, Part 4, Joining Tubes & Fin Marking - Gotcha!


I sand the ends of the clear retainer ring with 400 grit to clean up the edges.
Here's the yellow coupler / engine block.
A line of glue is set inside the tube and the block is slid in until it rests against the top ben of the hook. 

Before gluing the long upper tube over the coupler - 
Slide the tube over the coupler (dry). Turn the tube until you get the best match of the two tube ends. Mark the position with pencil. 
Set a line of glue in the upper tube - slide over the coupler and turn so the pencil marks line up.

GOTCHA: The tube marking guide is printed a little wide to fit over the engine hook and retainer ring.
I marked the tube then rotated the guide to check the fin spacing against the next set of marks. It was off no matter how many times I turned the paper guide.

I went to payloadbay.com and printed off a new five fin marking guide. On the right you can see the difference between the two guides. The payloadbay.com guide is on the left.


The payloadbay.com marking guide was printed to fit a BT-20 tube.
I wrapped it above the engine hook and marked for the fins. Extend the marks down the tube.

Thursday, May 9, 2024

Estes Condor #0807 Build, Part 12, Engine Mount Gluing & Wing Fins

The instructions have you glue on the wings before gluing in the engine mount. Ideally you want the engine mount on the same side of the launch lugs, perpendicular to the larger wings.

I glued the engine mount in first then set the marking guide with the engine mount in line with the launch lugs on the underside.

The engine mount was set beside the body tube to fins out the distance for the inside glue. I like to place set the glue ring a little below the top ring final position.

A dowel was marked. Glue was set in a ring around the top of the dowel.
Use the lower pencil mark on the dowel as a depth gauge for the inside glue. Roll the bead of glue around the inner wall of the tube.


The instructions have the lower ring even with the low end of the body tube.
I set the mount a bit farther in with the lower ring just inside the tube. This allowed a fillet on the recessed ring edge.


The fin marking guide was printed on the back side of the face card. I made one out of paper.

The two launch lugs are in line with the engine hook. 


The large wing fins are glued on.

Check their alignment visually by looking over and across the trailing edges.

Sunday, April 14, 2024

Estes Mini Bertha Clone, #TK-3, Part 7, Gluing On The Fins With No Wobble!

Well, I did it again! This is a missing, out of order post, 
It's an important one, showing how to get rid of standing wobble of four finned models. 
Here's post #7. I'll put them into correct order in a few days.


Extend the fin position lines under and onto the centering ring.

I also mark the intersection of the root edge and trailing edge on the fin itself. It gives me another alignment point.


I've scraped the glue lines for the four fins and the launch lug.
After scraping the pencil alignment lines are redrawn.


TIP: Four fin rockets can wobble when standing up on the fin tips. To fix this - 
Glue on three fins. The model might stand up by itself now, but can tip over.
Apply glue onto the root edge of the fourth fin.
Set the root edge on the pencil line.


While the fourth fin glue is still wet - You can slide the fourth fin up or down. 
Set the fin and check by standing the model on a tabletop. 
Pay attention to the last glued, fourth fin position. By making slight up and down movement on the fin down the alignment line you should find the spot where the model will stand on all four fins without wobbling.

Saturday, January 14, 2023

Estes BOSS Kit #7316, Build, Part 7, Forward Centering Rings

Sand off and sand flat the lowest facing 50/55 centering ring. A smooth, flat face will give you a better fit of the 12 small vanes against the ring.

After sanding, seal the smooth face with a light coat of wood glue and final smooth sanding.

The lower tube is marked for the fins,
the upper tube is marked for the 12 vanes.


Here's where the lower ring (smooth face is to the rear) will sit. Note the pencil lines for the vanes.


The gluing lines had any remaining filler/primer scraped off for a stronger glue bond.

Notice the extended pencil lines over and onto the green centering ring. With the vanes in place you'll be covering up the pencil lines. The extension of the lines gives you a straight line reference beyond the top of the vanes.


The upper ring is glued on even with the top of the BT-50 tube.

I use the flat surface of my sanding block to even up the two edges.

Wednesday, September 7, 2022

ASP Micro Sandia Sandhawk Build, Part 6, Fin Gluing


The launch lug diameter seems tiny!
I rolled my #11 blade tip to remove any burrs along the ends.


I don't normally use CA glue for rocket construction and Fabri-tac is a bit thick for gluing on the fins - a plastic to Kraft tube bond.

I set a drop of CA glue on cardboard. The root edge of the fin was drawn through the wet pool of glue and set on the pencil lines.


The left over length of coupler was slid into the rear of the body tube - no glue! The fin placement lines were extended down onto the coupler for easier visual alignment.

Place fins on opposite sides, look across the trailing edges to be sure they are in line.
Double check the fins to be sure there isn't any overhang.


After the fin is initially tacked in place -
Dip a sharpened toothpick into a drop of CA glue. Run the glued tip down the root edge making a fillet.

Pick up and remove the excess with a quick Q-tip wipe.

Sunday, September 4, 2022

ASP Micro Sandia Sandhawk Build, Part 3, Cutting Out The Fins


Underneath the four fins is the remaining fin plastic
There is enough fin material for eight fins!


- If you back them up end to end when doing the tracings.


Score the plastic and bend at the cut line to separate the pieces.
TIP: You can score the narrow tip a bit deeper than the rest of the fin sides so the break line remains straight.

The fins edges are cleaned up with 220 grit on a sanding block.


The instructions suggest the leading edges can be sharp. 
I rounded the leading edge and left the other sides square.


It helps to keep the small parts in a zippered baggie. 
These small pieces can end up anywhere!

Monday, April 18, 2022

Quest/Enerjet Big Dog, #Q5010, Build Part 2, Fin & Launch Lug Gluing

The fin marking guide in the instructions sheet didn't meet up when wrapped around the tube.
I have let Quest/Aerotech know and they are  correcting that error.

I went to payloadbay.com and then to "Tools". then "Fin Wrap Tool".
TIP: Even though the Quest website says the outside diameter is 1.97", I found a better fit when I entered 4 fins and 1.98" diameter.
The above picture shows the fins after a CWF fill, then a filler/primer coat and sanding.
Notice that near the the root edge the fin has the filler/primer sanded down to the CWF filler underneath. This gives a stronger bond of the glue fillets.

I had to go back and re-pencil in the alignment lines.

On the right are the four fins in place. 
Note the paper towel stuffed into the rear to keep the paint out.


The 3/16" diameter x 2 1/2" long launch lug is glued onto the body tube between two fins and 10" from the bottom of the tube.

Wednesday, February 23, 2022

ASP Ram B Build, Part 6, Engine Mount & Fin Root Edge Mask


I'm sending out Thursdays post a day early - I'm camping and their Internet doesn't work! Tomorrow I go to the Cape - Haven't been there in probably 15 years.


I checked the length of of the Kevlar line against the BT-50 and tied the loop below the top end of the body tube. I could have made it a little longer.
OOPS! I glued in the engine mount without checking the instructions. I thought I had read it to go 1/4" over the end of the body tube. I read the instructions later and saw the red tube should have been even with the end of the body tube. Fingers crossed, it should be stable. 
The four lower fins overhang the end of the body tube by 1/4". That's probably the measurement I saw when gluing in the engine mount.

The lower tick mark on the lower fin is at 1/4" to overhang the end of the tube.

The marks on the body are slightly inside the gluing area for the fins.


3/32" wide strips of masking tape are set on the fin lines to keep the filler primer off the tube for a stronger glue bond.

Tuesday, February 22, 2022

ASP Ram B Build, Part 4, Cutting Out The Fins


The supplied balsa sheet is 1/8" thick. Checking Alway's Rockets Of The World, the fins on the real rocket were very thin. I decided to compromise and go with a thinner, 3/32" balsa.
The instructions say to trace around the templates with a ball point pen. I wouldn't recommend using ink to trace the patterns, it's not a great habit to get into. Ink will bleed through the final colors of paint. 
TIPS: Never mark fin lines on a body tube with ink!

I used some of the scrap balsa left over from other kits. Some Estes kits leave you with a lot of balsa sides. 
Here I've traced around the template with a "safe" pencil. 


In this kit, the leading edges are rounded.
On the actual rocket, the leading edges are a knife edge.

Both the trailing edges and root edges are the same length. I mark the root edges with pencil to keep everything consistent.

Saturday, January 22, 2022

Quest/Enerjet Quad Runner Build #Q5016, Part 6, Fin Spacing Guide & Fin Gluing


GOTHCHA: Well, the Fin Marking Guide cut from the instruction sheet didn't fit, the ends didn't match up.

I went to payloadbay.com. then tools to find the fin marking guide link.


I first typed in the diameter of 1.97" but it printed a bit small.
1.98" diameter was a better size.

The picture on the right shows the correct fit.
Two 3/16" diameter launch lugs are supplied.
One is glued even with the low end of the body tube.

The upper lug is glued 8" from the top of the lower lug.
 
My first glue line is evened out by making a "V" with my thumb and index finger. Draw the "V" down the glue line making a even bead. 
The fins and body tube were filled with CWF and sanded. Filler/Primer was sprayed and sanded.

I set a fin next to the root edge glue line and mark below the top tip of the leading edge.
The tube is scraped, down to the bare tube for a stronger glue joint. 
Scrape almost to the top of the root edge length.

After scraping off the filler/primer, re-draw the fin lines with pencil and a aluminum angle.