Saturday, September 30, 2023

Estes Black Brant XII, Kit # 9723 Build, Part 16, Gluing Up The Engine Mount


The centering rings were loose on the 29mm engine mount tube. I built up the inside edge of the ring with a small bead of wood glue. Let it dry.
Check the fit. If it ends up too tight, you can sand the glue edge with 400 grit.

The black retainer ring was also loose. I wrapped some masking tape around the tube to hold it in while the low plastic fin can was slid in place.

When all is glued up, the black retainer ring is even with the bottom of the white plastic fin can.


Fillets were applied using a drop of glue on the end of a Q-tip.

Tubing, cardstock rings and balsa fins are glued on with wood glue.
Plastic parts are glued onto everything else with two part epoxy.

Friday, September 29, 2023

Estes Black Brant XII, Kit # 9723 Build, Part 15, Shaping The Hatch Detail


After the bottom curvature is sanded in,

Do the top curve keeping the height consistent from side to side.


Sand the front angle using 400 grit on a block.

Sand the side and back angles in.


Here's a finished hatch piece ready for filler.

I'd recommend filling the balsa grain before gluing unto the model.

Thursday, September 28, 2023

Estes Black Brant XII, Kit # 9723 Build, Part 14, Detail Hatch


Use the extended lines on the full size drawing and transfer them onto the balsa detail pieces.


The same as the long tunnels, 
Draw a pencil line down the center.

Using a rounded end dowel,
Press a "starter" trench into the balsa. The slight rut will help keep the piece straight on the body tube. 


Wrap some 220 grit around the tube and sand in a straight line up and down.

On the right side picture, you can see the sanded curve in the underside. There is still some of the flat bottom left. Sand until the curve is complete from side to side.


Here's a good fit of the hatch piece against the body tube.

Wednesday, September 27, 2023

Estes Black Brant XII, Kit # 9723 Build, Part 13, Tunnel Fit To Tube


You should sand a curve into the bottom face of the tunnel for a tighter fit against the body upper tube. 
Start by drawing a pencil line down the center from end to end.


TIP: Press a "starter" curve down the center pencil line using a rounded dowel end. This slight indentation will help you keep the sanded underside curve straight.


TIP:
One trick to getting a good fit on a tunnel is to wrap sandpaper around a smaller tube than the one it will end up on. Example - If the tunnel will be glued to a BT-60 tube, sand the bottom curve with sandpaper wrapped around a BT-55 tube. 


Here's the before and after fit of the bottom of the tunnel.


The outside of the tunnel was rounded off using 220 grit on a  sanding block for the rough shaping. 
400 grit rolled under my fingers finished off the rounding.

Tuesday, September 26, 2023

Estes Black Brant XII, Kit # 9723 Build, Part 12, Kit Tunnel Replacement


The kit directs you to glue two lengths of a balsa strip for the long length of the single tunnel. 
I didn't like the idea of forming a long, narrow butt-join piece. When sanding to shape, it could break at the small glue joint.


TIP: You might find it easier to shape a single piece tunnel. I cut a new one piece tunnel - 1/8" thick X 13 3/16"long.


Here are four new tunnels cut from 1/8" thick balsa.

I'm gang sanding all four at the same time for a consistent start shape.


Use the round end of the laser cut tunnel piece as a template to shape the replacement piece.

Rough cut with a knife, then round with your sanding block.

Monday, September 25, 2023

Estes Black Brant XII, Kit # 9723 Build, Part 11, Second Stage Fin Shaping

I know these are out of order - That's just my kit build style -

The bottom of Page 7 has the overhead view showing the taper from the root edge to the outside edge.
It's up to you - on this "flight" version build, I didn't sand this taper. The raised center line won't be as apparent on a thinner fin.


If you want to shape this profile:
This root edge to outside edge taper (shown above) should be formed before sanding the diamond profile shown below.


Here's how the second stage fins look after shaping with the sanding block.

Notice the glued lamination lines that show when the taper is sanded in. It's another good reference to help judge the thickness while sanding.


Whoops! Be careful near the root end tips. 
I had one fin tip break off down the grain line.

Sunday, September 24, 2023

Estes Black Brant XII, Kit # 9723 Build, Part 10, Cutting The Fin Slots


Mentioned earlier,
Check the fit of the fin slots with scrap balsa left over from the balsa sheets. Note the low fins are thicker than the 2nd stage fins.


The molded third stage fins fit into the highest slots. If the slots were cleanly cut, the fin tabs will almost snap into a tight fit.


The blow molded parts are cut apart and the ends cut off.

TIP: To be sure I was cutting on the correct lines, I drew a black line using a fine point Sharpie. Look close at the bottom of Page 3 and double check before cutting.


Square up the rough cuts with a block.

TIP: Round the edges for a smoother slide (less wear) in the body tubes.

Saturday, September 23, 2023

Estes Black Brant XII, Kit # 9723 Build, Part 9, Cutting The Fin Slots


The raised fin locations are cut off leaving a open slot for the central fin tabs.

Score down the sides, stopping at the rounded ends.
Use a new sharp blade. Don't try to cut through with a single pass. It will take a few passes to cut through the plastic.


Cut through the ends.
The raised rib should come off.


Here's what the rough cut fin slot will look like. It will need to be cleaned up for a good fit of the central fin tabs.


I did some squaring up of the lines using my aluminum angle.

Constantly check the fit of some scrap balsa, the same thickness as the TTW fin tabs.

Friday, September 22, 2023

Estes Black Brant XII, Kit # 9723 Build, Part 8, Shaping The Thick Fins


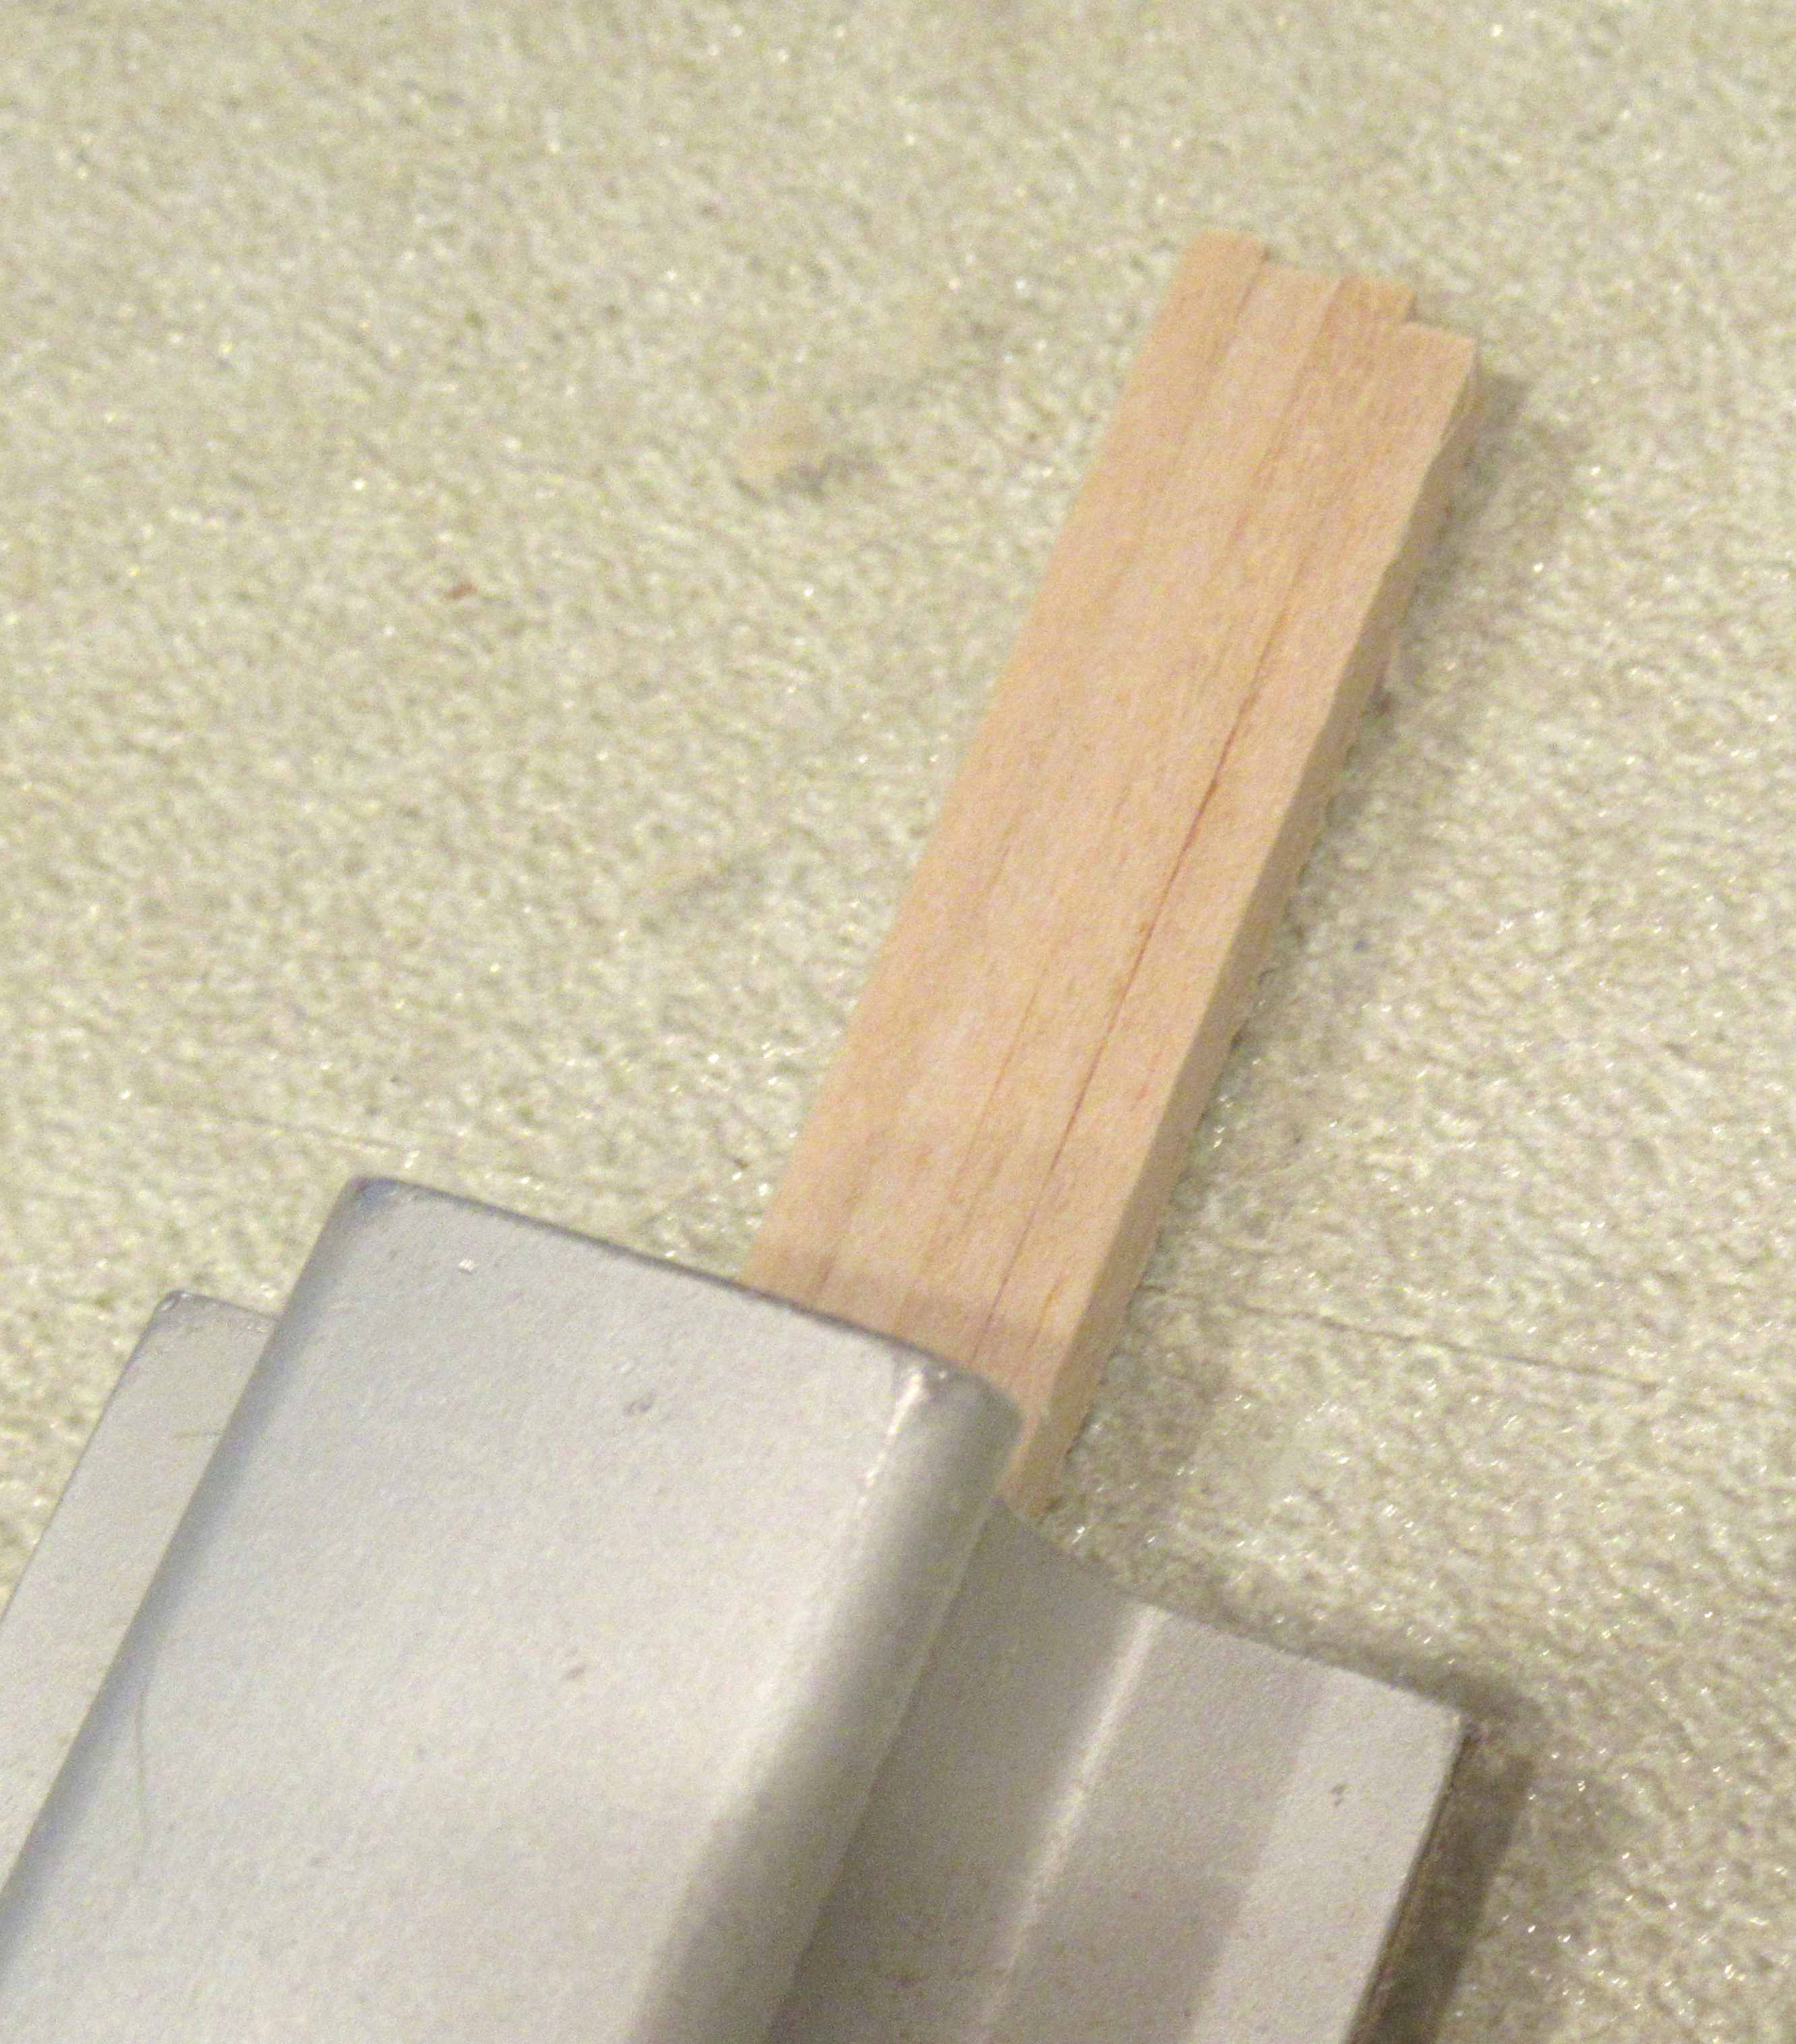
Here's how I start the taper - 
Get the leading edge width first, then work to the center line.

At the center balsa joint line, a piece of masking tape is set down the joint. This is just extra protection to prevent sanding too far down, over that balsa butt joint.

The width of the black ink line is not fully sanded to the final taper. Leave a little width. You'll probably end up sanding that width down a bit more when shaping to the center line.


The center tabbed layer shows thru when sanding. It is also used to judge the consistency of the taper.

Another view showing the initial sanding down of the sides.
Again, notice the masking tape down the outside two piece balsa  butt joint line.


Notice the masking tape edge is starting to be sanded. It's surprising how well the paper tape protects the high point of the fin - to a point. Be careful though, you can sand through the tape.
TRIVIA: I remember this technique of taping the fin from the old Estes Honest John kit, #K-27.


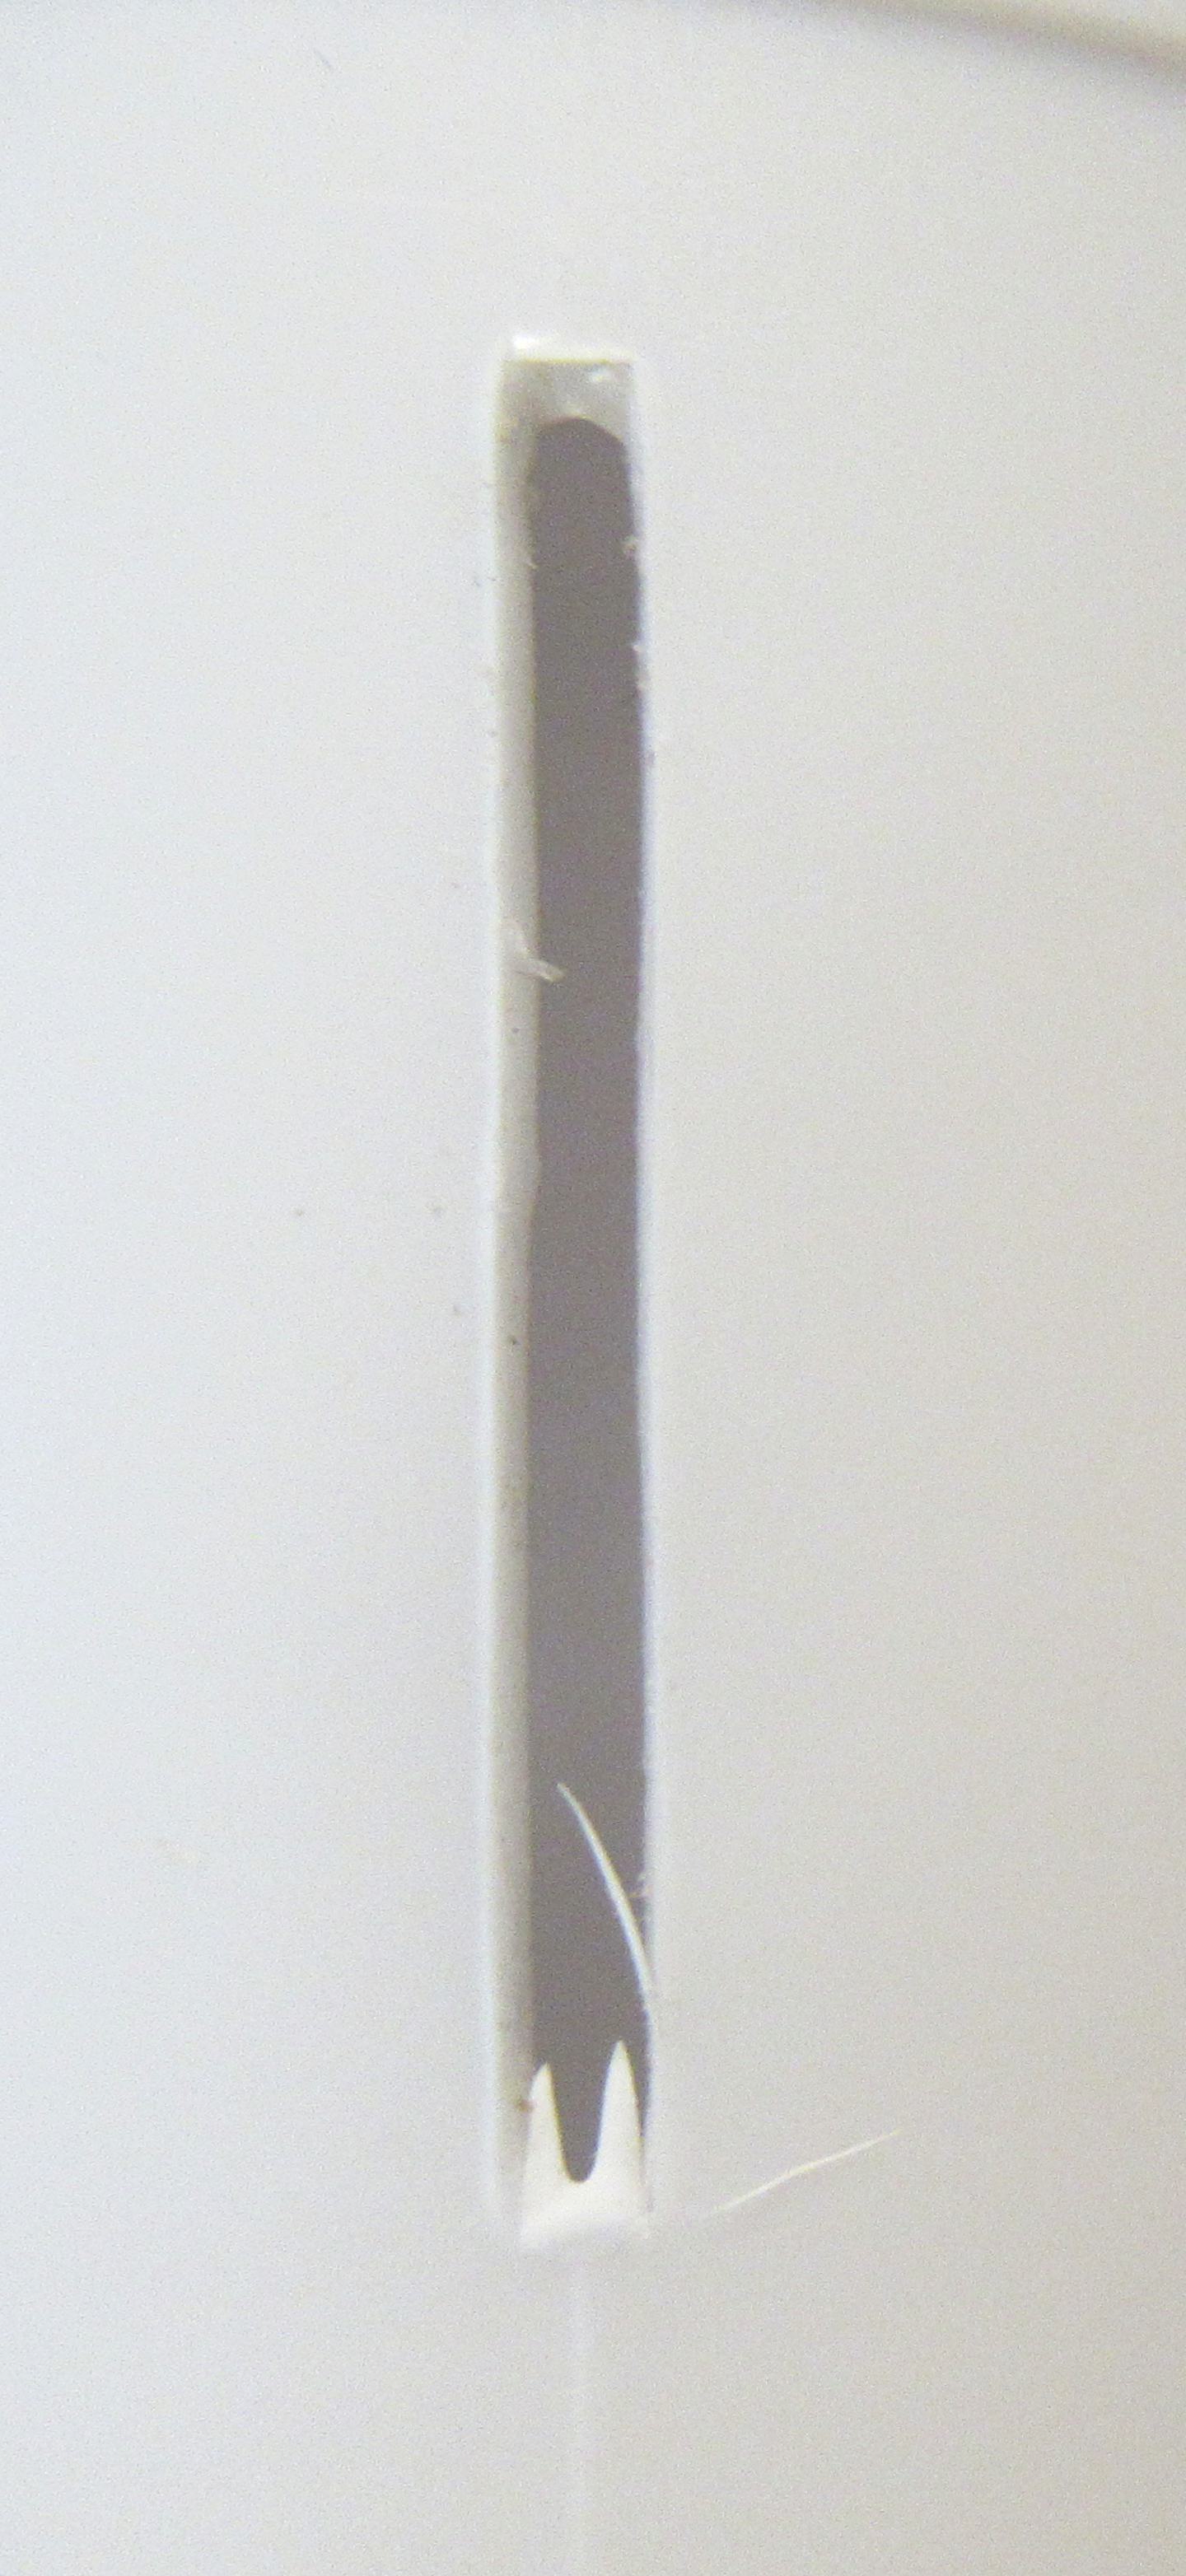
Here's a finished taper fin after the tape is removed. 
It's hard to see the leading edge in this picture but there is still a thin consistent width black ink line.

The remaining ink is sanded off using 220 grit on a block. The leading and trailing edges are then rounded off using 400 grit.

The lower fins have a very slight taper from the root edge out to the outside edge.
Look at the Fin Alignment on page 7 of the instructions -
The middle fins have a more pronounced taper from the root edge to the outside edge. Sand that second stage fin taper before doing the diamond shaping.

Thursday, September 21, 2023

Estes Black Brant XII, Kit # 9723 Build, Part 7, Shaping The Thick Fins TIP

I can hear the voices: "That's not the way I'd do it!" Well, go with what works for you. 
With this method it's easier to see a consistent width on the leading and trailing edges.


On the left is one of the lower, larger fins after lamination.

On the right is the fin edges trued up using 220 grit on a sanding block.

When shaping the diamond taper, it's difficult to judge the width of the leading and trailing edges on the light colored balsa. I blacken the edges for a better contrast.


Don't blacken the edges until you seal the balsa - the ink can't soak in and stays on the surface. 

Squeeze out a drop of medium CA on some scrap cardboard.
Dip in a Q-tip. Run the CA glue down the leading edge letting it soak into the balsa. Get a complete coverage down the leading and trailing edge faces. 


Now you can run a wide point Sharpie down the CA glue sealed leading and trailing edges. Go quick, use no more ink than you have to, to get a full black coverage.
The CA glue prevents the black ink from soaking into the balsa. 


Here I've started sanding the diamond taper. 
The black ink lets you better judge the thickness of the leading and trailing edge.

I haven't started sanding to the center high point, just the width of the top and bottom edges.

Wednesday, September 20, 2023

Estes Black Brant XII, Kit # 9723 Build, Part 6, Gluing The Fin Laminations

THIS IS A VERY IMPORTANT POST. 
Don't just glue up the layers and leave them to dry for a few hours. You have to check the laminations every few minutes, reposition and slide the laminate sides back into position.
Gluing up the laminations is tricky! Read this entire post before layering up your fins.

You've got to use enough glue to guarantee complete side to side coverage. On the left is how much glue I used. On the right is the glue smoothed out with a fingertip.
But -
The glue makes the layers slippery!

When the glued pieces are pressed together, they will slide.
Line up the first two layers as best you can, use your block to get the root edges flat or slightly recessed as shown in the last post.

Some would be tempted to use Super Glues from the outside of the joint seam - don't!
Super Glues won't give you a strong complete seal. When the fins are sanded and shaped, you might find the layers opening up.
 
You'll need a heavy, flat weight to set on the glued up pieces, like a few very heavy books. I used a marble slab from my leather working days.

After placing the weight on the aligned glued fins, the pieces can slide from their original position.
YOU HAVE TO GO BACK AND CHECK THE ALIGNMENT EVERY FEW MINUTES before the glue sets up. I set the audible timer on the Microwave for three minute intervals.


When checking the laminates - 
The outside layers can open up, warped from the wet glue.

I set a bit more glue inside and spread it out with my knife. Back under the weight to dry. 


As you are checking the fin layer alignment, remove any glue that has squeezed out at the root edge.
It's easier to remove the glue before it dries. That glue bead won't allow a close fit against the body tube.

Tuesday, September 19, 2023

Estes Black Brant XII, Kit # 9723 Build, Part 5, Decisions, Decisions

You can glue a curve in the root edges of the laminated fins. If all the root edges are flat, there will be a small gap on both sides of the root edge joints. These fins are thick and a flat root edge won't "hug" the curvature of a body tube.


Here's how the fin fits against the lowest section when the root edge three layers are squared up.

To fill the gap the instructions recommend a glue fillet after the fins are glued in place.


Here's after I compensated for the curve of the tube. The fit is better, a smaller root edge gap below (left of) the molded ring.

On some sounding rockets (see below), there is a small gap where the fins root edge is bolted onto the rocket body. 


You can get a stronger tighter joint, but it's tricky to do -
Glue the layers up so the center tabbed piece is very slightly recessed, out from a regular flat root edge.

I wouldn't try this unless you have patience.

Don't laminate the fins until you read tomorrow's post . . . 


Here's a picture of the real BB XII from the old Meatball rocketry website.

Notice the gap where the root edge is bolted onto the rocket body.

Monday, September 18, 2023

Estes Black Brant XII, Kit # 9723 Build, Part 4, Prepping The Fin Pieces

I've mentioned this a few times before - 
Laser cut fins are great! Except, the laser cut beam is diffused when it cuts into the balsa sheet.
Look at both sides of the sheet. On one side of the sheet, the line will be wider. It is a angled "wedge" cut.

Square up the fins setting the at a 90 degree angle on your sanding block. The right side picture shows the fin edge after light sanding. Some of the angle and the hold down tic has been sanded.


After gluing up a few of the fin sets - 

TIP: I recommend gluing together the outside halves (Parts L & M) together FIRST before joining to the center tabbed balsa layer. There will be too much sliding around when the laminate layers are glued up. It's easier with the L and M pieces joined beforehand.


TIP: You can use your block to square up the root edges.

On the right is the "M" piece. Notice the notch and most of the front root edge is slightly raised. Don't sand or remove this raised root edge area.

Sunday, September 17, 2023

Estes Black Brant XII, Build Kit #9723, Body Tube Sizes

The three tubes in the Black Brant XII kit are:

Third stage - 29mm 1.2" O.D. (heavy wall tube) at 16 1/32" long
Second Stage - BT-60 tube (normal wall thickness) at 9 1/4" Long
First stage - BT-70 (normal wall thickness) at 6.13" long

The internal engine mount tube is another 29mm 1.2" O.D. (heavy wall tube) at 14" long.

Estes Black Brant XII, Kit # 9723 Build, Part 3, Prepping The Fin Pieces

If you don't have a good sanding block - get one!
You'll definitely achieve the best results using the Estes Ultimate Sanding Bar. I have two blocks, one loaded with 220 grit, the other with 400 grit.

You won't have to concentrate on holding onto the sandpaper, the paper has an adhesive back and sticks to the flat face. These are the only style blocks I use for shaping fins like these.

I buy my sandpaper on rolls. I hope Estes can offer sandpaper this way. Cut off the excess with scissors. TIP: The sandpaper cut also sharpens your scissors.


Here's how the lower fins (on the left) and the middle fins will glue up.

Each of the eight balsa fins is made up of five laminated pieces.
On the left is the fit of the outside layer pieces right off the balsa sheet, Note the gap between the pieces from the hold down tics.

On the right, the tics and the laser angle cut have been sanded down using the block. The dry fit is much tighter. 

TIP: That centerline butt joint ends up as the high point of the diamond taper shape.