
Showing posts with label Filling Seams. Show all posts

Thursday, July 9, 2026

Estes Aries SST, #1927, Build, Part 10, Fitting The Rudders To The Wing


Stack the rudder assemblies to be sure the glued angles are consistent.

If they don't line up, apply a little warmth with the low setting on a heat gun and gently bend at the glue joint to match the other rudder assembly. 


On the outside (visual) seam,
Drag some CWF down the joint and immediately smooth and remove excess with a fingertip.

Sand after the CWF dries.


The outside side seam is sanded flat for a stronger glue joint against the edge of the wing.

Use a sanding block but don't go any wider the the 3/32" thickness of the wing.

Monday, June 15, 2026

Estes Sandpiper, Kit #1389, Part 6, The Long Launch Lug


The launch lug is 9 1/2" long.
I slid it over a straightened coat hanger for support when I sanded down the CWF filler.


In the instructions is a full size drawing for the angle cut of the top of the lug.
The low end of the launch lug hangs over the tail cone. To connect the sides, a folded "shroud" glues to the tail cone and the sides of the launch lug.

Pre-fold the lines before cutting out the shroud. I'm using the tip of a non-serrated butter knife to emboss a fold line.


After embossing the fold lines, cut out the shroud.


Coax the lines gradually working up to sharp folds.

Wednesday, May 6, 2026

Micro-Maxx Estes Fat Boy, Part 6, Fin Grain & Body Tube Seam Fill


Before printing the decal (and wasting a decal paper sheet)
A test sheet was printed on 20 lb. copy paper to check the fin decal sizes.

These are a tight fit with an even border around the custom drawn letters.
The fit seemed good and the water slide decals were printed.


Here's the fins after a CWF fill and sand with 400 grit.

Filler/primer spray follows then more sanding to surface with 400 grit.


The fin gluing line had the filler/primer scraped off.
Filler/primer seals the surface. Wood glues won't stick as well on a sealed surface.

After scraping, redraw the root edge pencil lines.

Thursday, February 19, 2026

Estes Time Warp Build, #7321, Part 7, Gluing & Filling The Fin Tips


The fin tips and fins had the balsa grain filled and sanded.
Filler/primer and sanding followed.

I used a small diamond file to slightly open up the slots to a friction fit over the fin tabs.


The fin tips are glued on.
There is now gaps around the fin tab joint.


This joint required additional filling,
first more CWF and sanding flat with a block.

The backs of the shield tips are masked and the flat face got a shot of filler/primer and sanding with 400 grit.
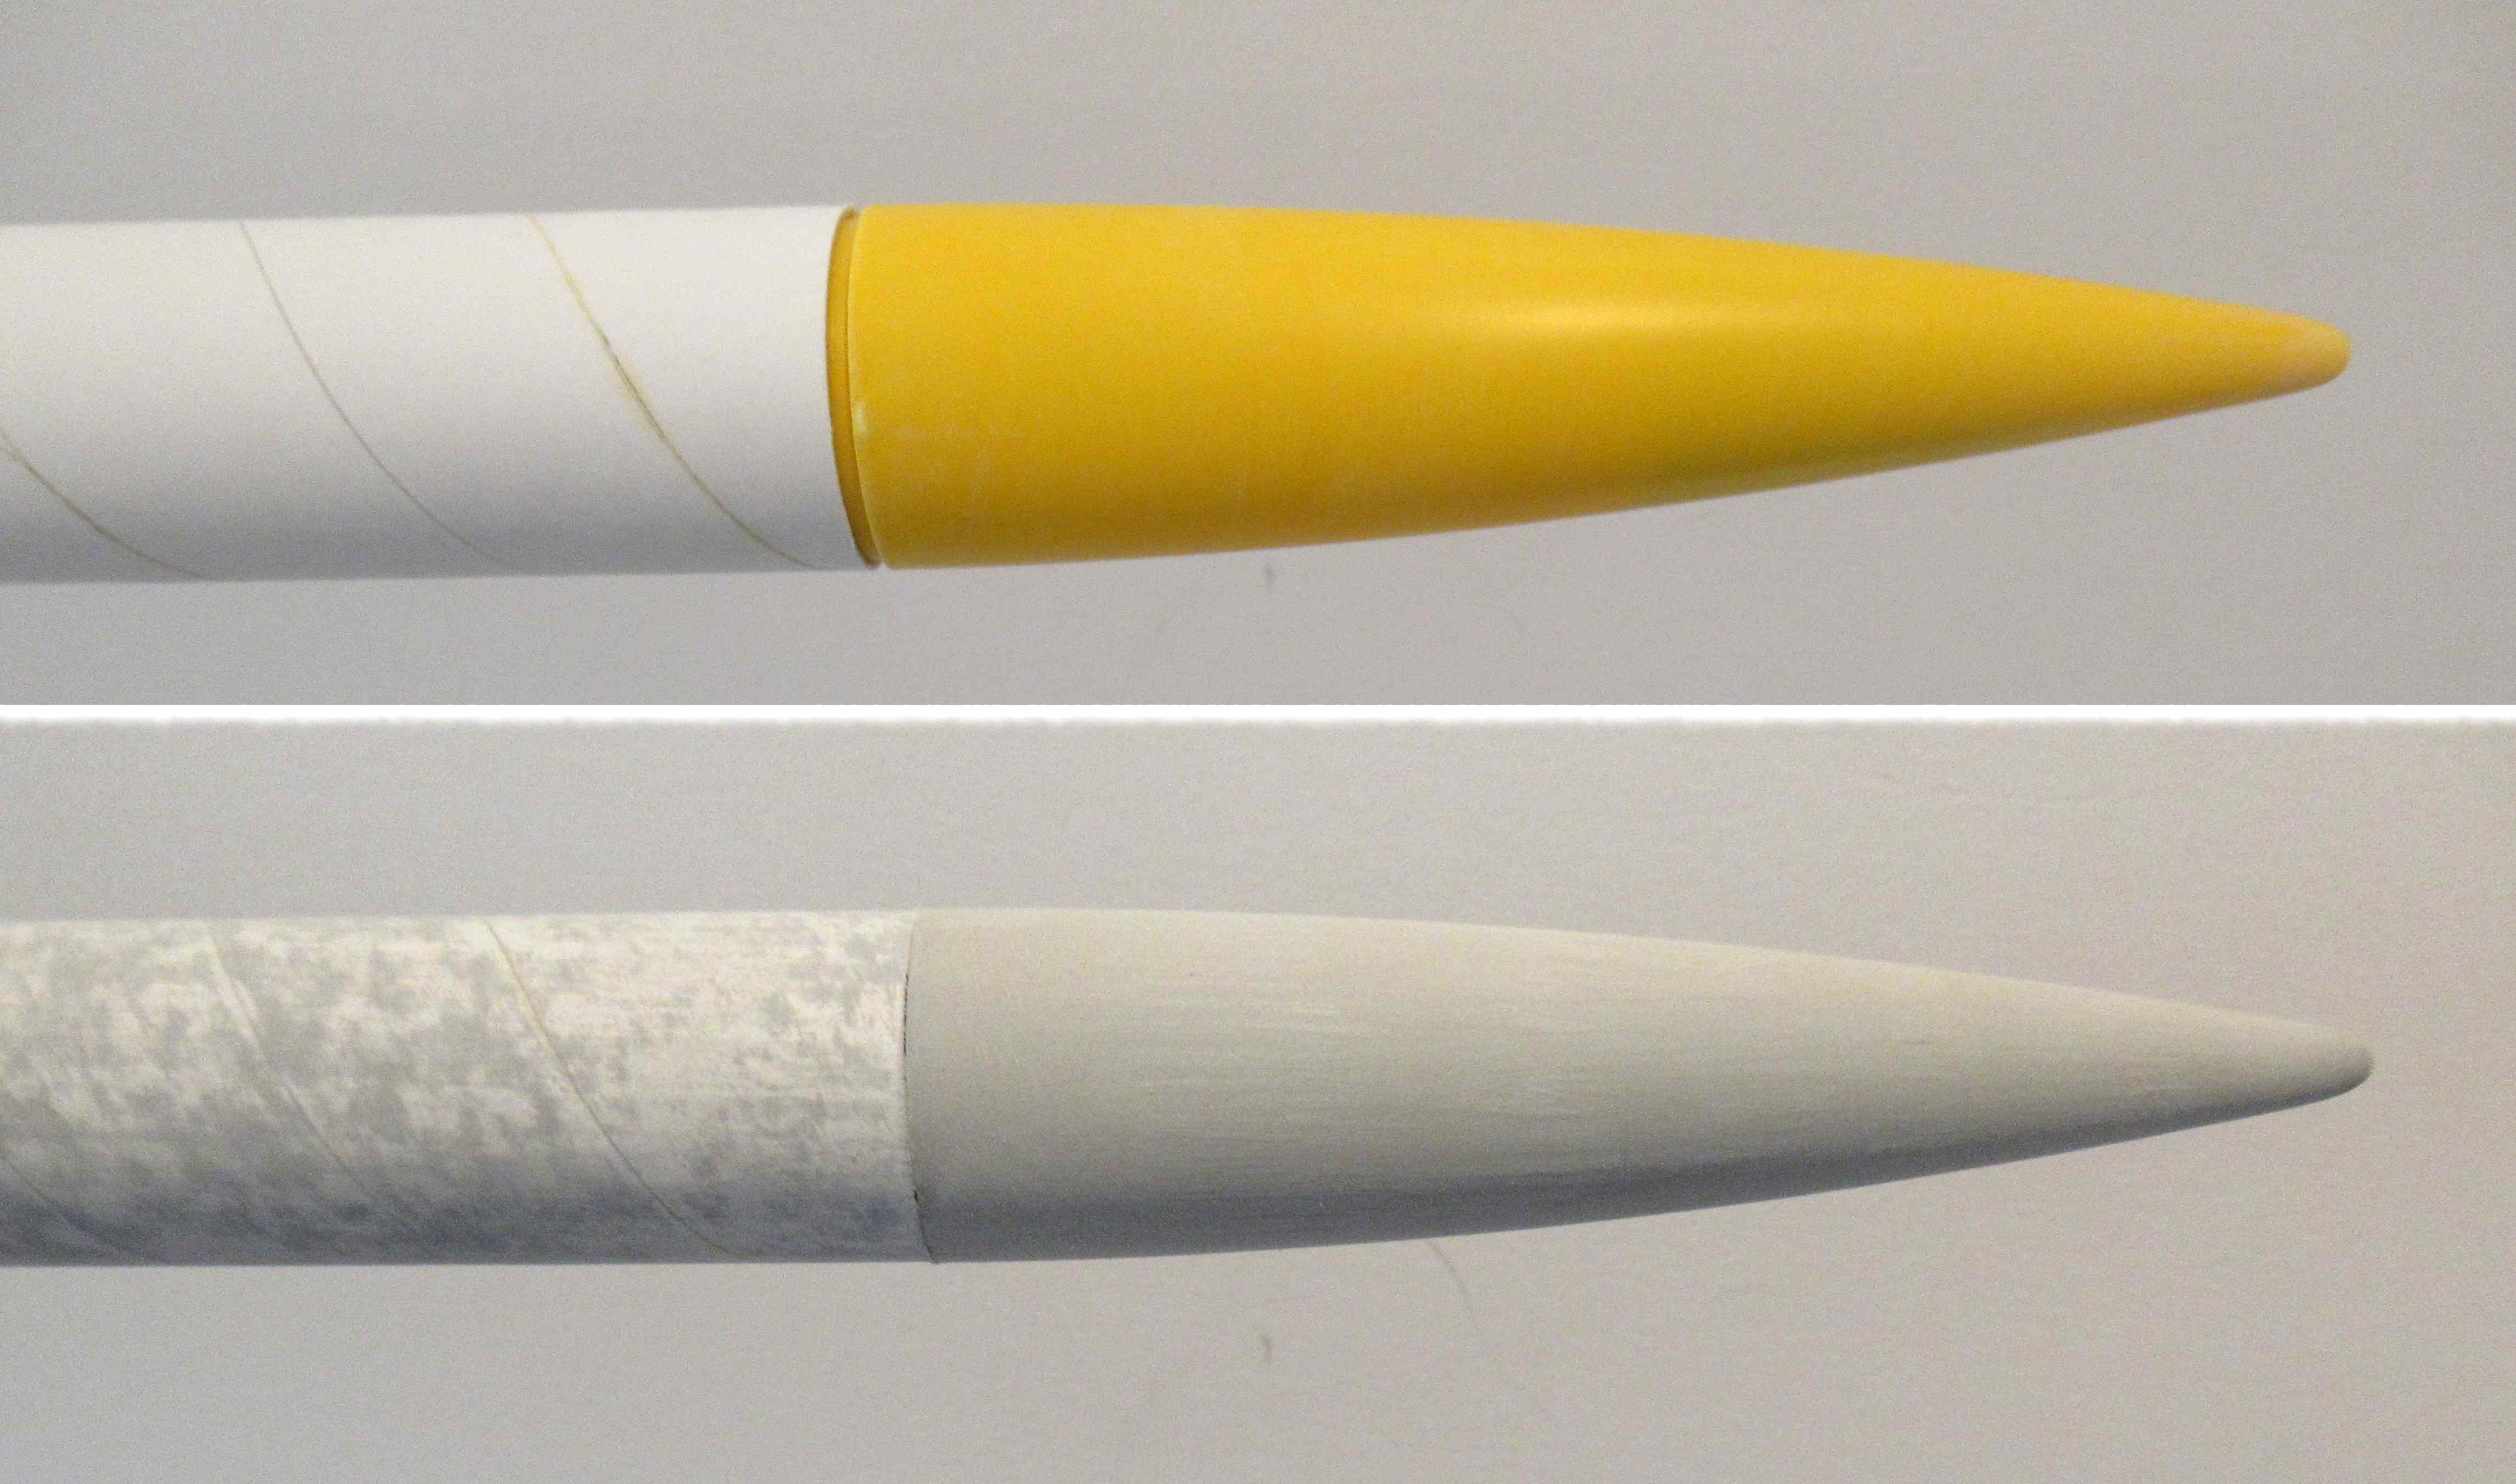
Once the fins are glued onto the BT-5 cluster tubes, 
Masking will be tight to separate the black and yellow paint on the inside of the "T" fin.

I sprayed some white undercoat on just the fin tip face and the underside joint.
Notice the root edge is masked off with a narrow strip of tape.

Wednesday, February 18, 2026

Estes Time Warp Build, #7321, Part 6, Fin Fitting & Fill


The tube seams were filled with CWF and sanded to surface.

The BT-55 had a definite seam, the heavy walled BT-50 was very tight.

After the fin tips were glued together, I tried a test fit on the main fin.

I wish the fin tabs (sticking into the smaller "shield" fin) were longer so you could sand them to surface after gluing them on. With the tabs slightly recessed there is more to fill.


Laser cutting burns through at a slight angle.
Look close at the right side of the root edges.
I sanded and evened the burned edges so they would glue on perpendicular to the body tube.


The fins have laser cut "slots" running parallel to the leading and trailing edges. I decided to leave them in and fill the slots with CWF.

Why leave them in?
The rough laser cut slots would be difficult to fill and sand. The visible edges would be rough. The design is interesting enough without the open slots.
 

Saturday, February 14, 2026

Estes Time Warp Build, #7321, Part 2, Paint Plan & Engine Tubes Fill

Planning ahead!
If you want to paint the rocket in the face card colors, paint the build in sections before gluing it all together.
The BT-5 cluster tubes are yellow and would be difficult to paint if glued into the gray BT-55 tube.
That yellow adapter could be painted before gluing into the white BT-50. Same goes for the gray nose cone. Paint them before gluing together and get instant "masks" or color separations. 
_____________________________________________________________________

The lower centering ring is glued 2" down from the tops of the BT-5 motor tubes. I filled the tube seams below that.

The seams were shallow, here you can see the pencil lines where they could be felt.

CWF was used to fill the bulk of the seams and sanded smooth.

The upper 2" (glue area) was masked off and the low end sprayed with filler/primer. Sanding this down filled any remaining seams.

Friday, December 19, 2025

Estes Monarch Build, #7214, Part 7, Nose Cone Seam


This kit had a definite stepped seam on both sides of the nose cone.

Before filling the low side, sand the high sides down a bit using a sanding block.
To fill in the remaining recess, some medium CA glue was run as a long bead down the seam. 
The wet glue can run so only do one side and let dry. The CA glue bead on the surface can take some time to dry.

Sand to surface with 400 grit on a block.


The small, thin shock cord tie ring in the nose cone shoulder are prone to breaking. 
The tie down ring was cut off. A hole was drilled for the shock cord attachment.

Thursday, September 11, 2025

Estes LTV Scout, Build, Part 7, Great Tubes!


Oh, how I miss the older, tighter better made tubes!
They feel denser and stronger. 

The picture shows the BT-60 tube lower tube. The seams are very tight and were easily filled with CWF,   

The upper tubes didn't need any CWF, I couldn't find the seam recess! Just a good shot of filler/primer and sanding should take care of anything remaining,
Here the shorter tubes are slid onto rolled cardstock handles for a filler/primer spray.


Above - the BT-60 shot with gray filler/primer.


After sanding with 400 grit.

Wednesday, April 30, 2025

New Way Letter - Go Build, Part 8, Sanding the CWF & Filler/Primer


Here's the tube fill after working the CWF into the seams.

I usually hit the filler with 400 grit on a sanding block to start.

Take a close look at the end of the launch lug. That edge is rough and needs same sanding with 400 grit on a block.

On the left, there is already sanded CWF filler in the lug.

After sanding the ends clean, use a sharpened dowel to round the lug and clean up the inside wall. 


Thin strips of masking tape kept the filler primer of the root edge gluing areas.

On the right is the tube after sanding the filler/primer and pulling of the masking tape strips.

Tuesday, April 29, 2025

New Way Letter - Go Build, Part 7, Tube Seam Fill


I like to mark the tube spiral indents with a sharp pencil. It makes them easier to see when applying the CWF filler.


I dip just the tip of my X-Acto knife in the thinned CWF filler.

You won't need much, so wipe the excess off the back of the knife tip.


Run the tip into the seam recess with a back and forth motion. The blade directs the filler into the seam.

I dip and fill about one inch at a time.


I had hoped the plywood fins would only require some filler/primer to fill the very shallow grain.
There were a few "splinters" that needed some CWF and sanding.

Friday, April 4, 2025

Estes Advanced Target Drone, Kit #1913, Build, Part 5, Engine Mount Gluing & Filler Primer

The engine mount is glued into the main airframe tube.
The end of the mount is even with the end of the BT-50 tube.

I used the flat face of my sanding block to push in the mount.


The fins grain and body tube seams got the usual CWF coat and sanding. 

Just the leading edge of the four fins was rounded.


The fins and launch lug were sprayed with filler/primer.

After it dried, the fins were flipped over and the other side sprayed. 

The nose cone and body tube were also sprayed with filler/primer.

The yellow Apogee nose cones do need some undercoats so the yellow tint won't show through the final color.

Wednesday, March 19, 2025

Aerotech Mega Initiator #89541, Part 4, Tube Fill And Prep


The presentation model main airframe tube got the seams filled. The picture shows the thinned CWF applied. The tubes will still get a good shot of filler/primer and sanding to complete the two-step fill. 

Even with the heavy walled tubes, you can still get some extra support by sliding in the coupler. This prevents any distortion of the tube when sanding at the weaker fin slot areas.


The engine mount tubes are sanded for better adhesion of the centering ring epoxy.


Here's that "zero end" metal straightedge, no rounded overhang.

It's easier to accurately position centering rings when you can get the ruler edge against the ring wall.

Don't glue the rings on yet. This was just a test fit.
 

Tuesday, February 18, 2025

Estes Star Seeker (Tri-Pack) Kit #0866, Part 3, Filling Seams & Gluing On Dowels


The body tube, dowels and launch lugs were CWF filled and sanded.
A dowel was slipped in for support while sanding.

A shot of filler/primer followed .
Here I'm sanding the filler/primer to surface with an old piece of 400 grit. Any filler/primer that might collect on the sandpaper can be cleaned off under running water with a soft brass wire brush.
Two of the four fins are marked 1" down from the top edge.
This is where the perpendicular fins will be glued on.

I found it easier to mark a 1" span on a scrap piece of cardboard, then set the fins on the pencil lines.


Here's the first try at the 1" long dowels.
Looking at the instruction drawings, I could tell they were too short. There are no launch lug or dowel lengths listed in the instruction parts list.

Here's the longer 1 1/4" dowels.
I now have the feeling the dowels should be a smaller diameter. Oh well, I'm going with what I've cut.
(Edit: The dowel diameter I used was 3/32" diameter)

Friday, November 8, 2024

Enerjet by Aerotech Strong Arm Build, Part 9, Filling The Tube Joint


Here's the tubes together, the coupler inside glued together using 15 minute epoxy.
The pencil lines are lined up before the glue sets up.


Most of the joint gap was first filled with CWF, the excess smoothed out using a single edge razor blade.

The picture shows the joint after the CWF was sanded to surface.


The high spots end up fuzzy after sanding.

I wipe on some medium CA Super Glue using a Q-tip applicator.

After it dries, sand using 400 grit on a block.


A final fill is a shot of filler/primer and sanding with 400 grit.

Taking these extra steps, you shouldn't see the tube joint seam on the finished model.

Monday, November 4, 2024

Enerjet by Aerotech Strong Arm Build, Part 5, Tube Seams


Back to the Enerjet by Aerotech Strong Arm build. 
To see the first four posts: CLICK HERE


I had to go back and do a little more CWF fill where it fell out of the seam. This happens on occasion. I mark them as I find them using pencil.
After sanding the CWF to surface,
The tubes got a shot of filler/primer.
Notice the masking tape set inside the tube end to keep the interior surfaces clean.

On the right is the same tube after sanding. Filler/Primer fills what seam lines were left after the first CWF pass. Only this two-step fill is necessary.


The edges of the tubes got a wipe of CA glue using a Q-tip.

Use your fingers as a depth gauge keeping the CA line even.

The centering ring glue fillets are up inside the tube, not near the CA'd edge. Wood glue or epoxy won't soak into the tube if the CA glue has sealed it off.


The tube ends are sanded after the CA glue dries. 
This gives you a hard, stronger edge tube.