Showing posts with label NW C-Thru. Show all posts

Friday, July 31, 2020

New Way MMX C-Thru Build, Finished


This is a great kit! Highly recommended.
3D printing has come a long way. The molding ridge layers are so much smoother now.
There is a clear payload section but you can't use it to carry a bug. All is glued up.
Normally I hate stickers but don't mind it on this one. They are thin and you can't see the edges.
At first glance, $11.00 may seem like a lot of money for a rocket this size. I feel it is worth it to see the advancements in 3D printing. A very well engineered model!

Thursday, July 30, 2020

New Way MMX C-Thru Build, Part 5, Launch Lug Fit


The 3D launch lugs were too small a diameter to fit my Micro-Maxx launch rod.

Not a big deal, I've seen this before. Usually a small rat tail file is used to open them up but the side walls on the molded lugs were a bit thin.
The attached lugs were cut off.


I used one of the Dollar Store hollow Q-tip barrels for a new MMX lug.

The orange tube was colored, like the body and nose cone trim, with a wide point Sharpie marker.
The lug was cut down to a smaller size and glued into the fin root area.
TIP: The medium CA glue was transferred onto the fin root joint with a toothpick dipped into a drop of CA glue. I get better control over the amount of glue applied by doing it this way.

On the right is the new launch lug. The rocket is already prepped and ready to launch.

Wednesday, July 29, 2020

New Way MMX C-Thru Build, Part 4, Paint, Fins, Sticker & Streamer

The 3D molded ridges were sanded smooth so the marker ink wouldn't run into the layer cracks. If you use a pen, the surfaces must be smooth. Go light with the sanding.

A Sharpie marker was used for the black coloring. It's just easier on a model this size. On the left side picture I'm just outlining the edges.

Afterwards, a knife blade scraped and cleaned up anything that ran over the edge.


I squeezed a drop of medium CA onto a piece of scrap cardboard.

The fin tabs (Yep, through the wall fins on a Micro Max rocket) are dipped into the CA drop of glue. I have more control over how much glue is applied by using this method.


The fins are pressed into the fin slots.
When dry fitted without glue, they felt a bit loose. Glued in place, the joint is strong.

We'll see if any of the ejection charge blows out the back. There is no seal between the round engine mount tube and square rocket body.


These stickers worked very well.
Transfer onto the model using your knife blade, this keeps fingerprints off the sticky backside.

With this model name set vertically, it reminds me of some of the "Alien" fonts used by Centuri in the 1970s.


The adhesive streamer dot was trimmed a bit to allow for easier rolling and fit into the upper body.

Tuesday, July 28, 2020

New Way MMX C-Thru Build, Part 3, "Tube" & Engine Mount


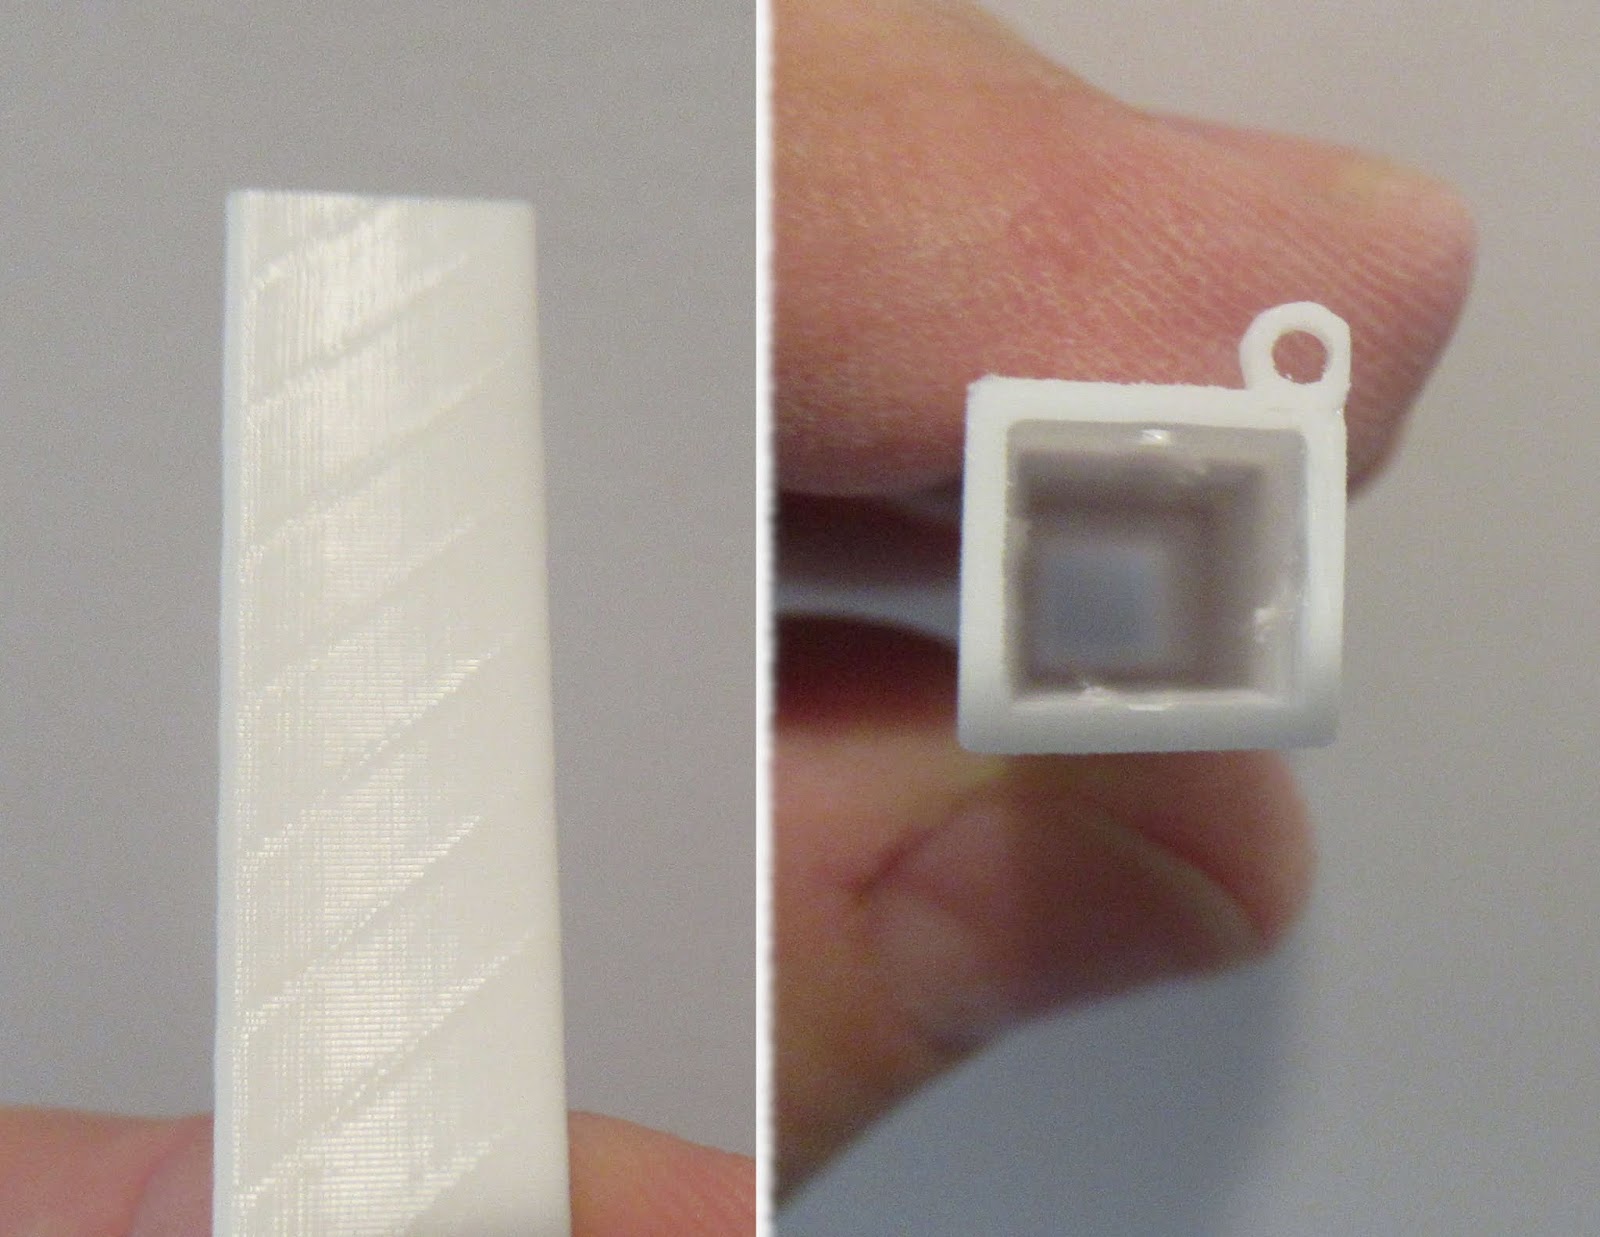
On the left you can see the subtle ridges from the 3D print layers.
They aren't bad, but I prefer things a little smoother.

The tube walls are thick enough to allow some smooth sanding.
Halfway through I realized the small launch lug extends beyond the outside of the tube. I sanded off a little of the rounded side!


A Kevlar line is knotted and locked between the engine block and motor mount tube.

this is slid into the body (only partway shown here) until it is even with the square tube end.
A drop of CA glue is applied into a few fin slots to lock the mount into place.

The square coupler (with shock cord attachment loop) had a tight fit in the main body and clear tubes.
This is mentioned in the instructions. a little sanding gave a good, slip fit with just the right amount of friction.


Here's the "payload" section.

The nose cone has a short shoulder and is glued into the tube.
This payload compartment is for looks only, with it all glued up you can't sneak in a bug or other small payload.

Monday, July 27, 2020

New Way MMX C-Thru Build, Part 2, More Parts


Rick Randol must be a graphics designer.
All the fins are in the shape of the "C" in the C-Thru name font.

You are given four extra white fins.
If you didn't want to finish it in black and white, use the white fins and paint it another color!


As with the larger New Way kits,
Build extras are included. In the small bag are Q-tips, toothpicks and a emery board.


Stickers!
These worked very well.

You are supplied with two extra main body stickers.

Sunday, July 26, 2020

New Way MMX C-Thru Build, Part 1, Parts


This will be fun!
A New Way square tube Micro Maxx kit with a clear payload section.
This is a downscale of the regular sized New Way C-Thru rocket.

The square tubes, clear "payload" section, nose cone and fins are 3D printed.
3D printing has come a long way, these are some of the smoothest parts I have seen.
More parts in the next post -