Showing posts with label Upscale. Show all posts

Sunday, March 9, 2025

Estes Star Seeker BT-50 Upscale (Tri-Pack) Kit #0866, Finished


Here's the shot you were waiting for -
The BT-5 original and the BT-50 upscale.

It's a lot easier working on the larger model. The graphics on this design really pop.


The top end - 
There is still a bit of a yellow tinge showing through the white paint.

Saturday, March 8, 2025

Estes Star Seeker BT-50 Upscale (Tri-Pack) Kit #0866, Part 9, Sanding & White Paint


The assembled model ready for white paint.


After the first coats dried, glue boogers and glue fillets were sanded.

Here you can see where the uneven glue fillet was sanded.
The paint fills some of the voids.

The Apogee nose cone is molded in yellow. This plastic color seems to show through light paint.

I sprayed white first, still too much yellow.
Then another shot of gray filler/primer.

You can still see some yellow tint showing through.


All gloss white paint, no masking!

Decals application were covered in the earlier small model build.

Friday, March 7, 2025

Estes Star Seeker BT-50 Upscale (Tri-Pack) Kit #0866, Part 8, Nose Cone and Shock Cord Mount


On the Apogee plastic nose cones, 
there is sometimes a raised lip on the shoulder edge.
Sand this down a bit.

The nose cones can have a slight bulge at the tip.
You can sand the tip so it follows the contour of the nose cone sides.
The shoulder cap was glued in using Beacon Fabri-Tac glue.

If you can't find a good plastic glue (most don't contain Acetone to "weld" the plastic pieces) Fabri-Tac is a good substitute.
Run a ring inside the nose cone, slide in the base and turn to even the glue bead and get better coverage.


I don't normally use a tri-fold mount, 
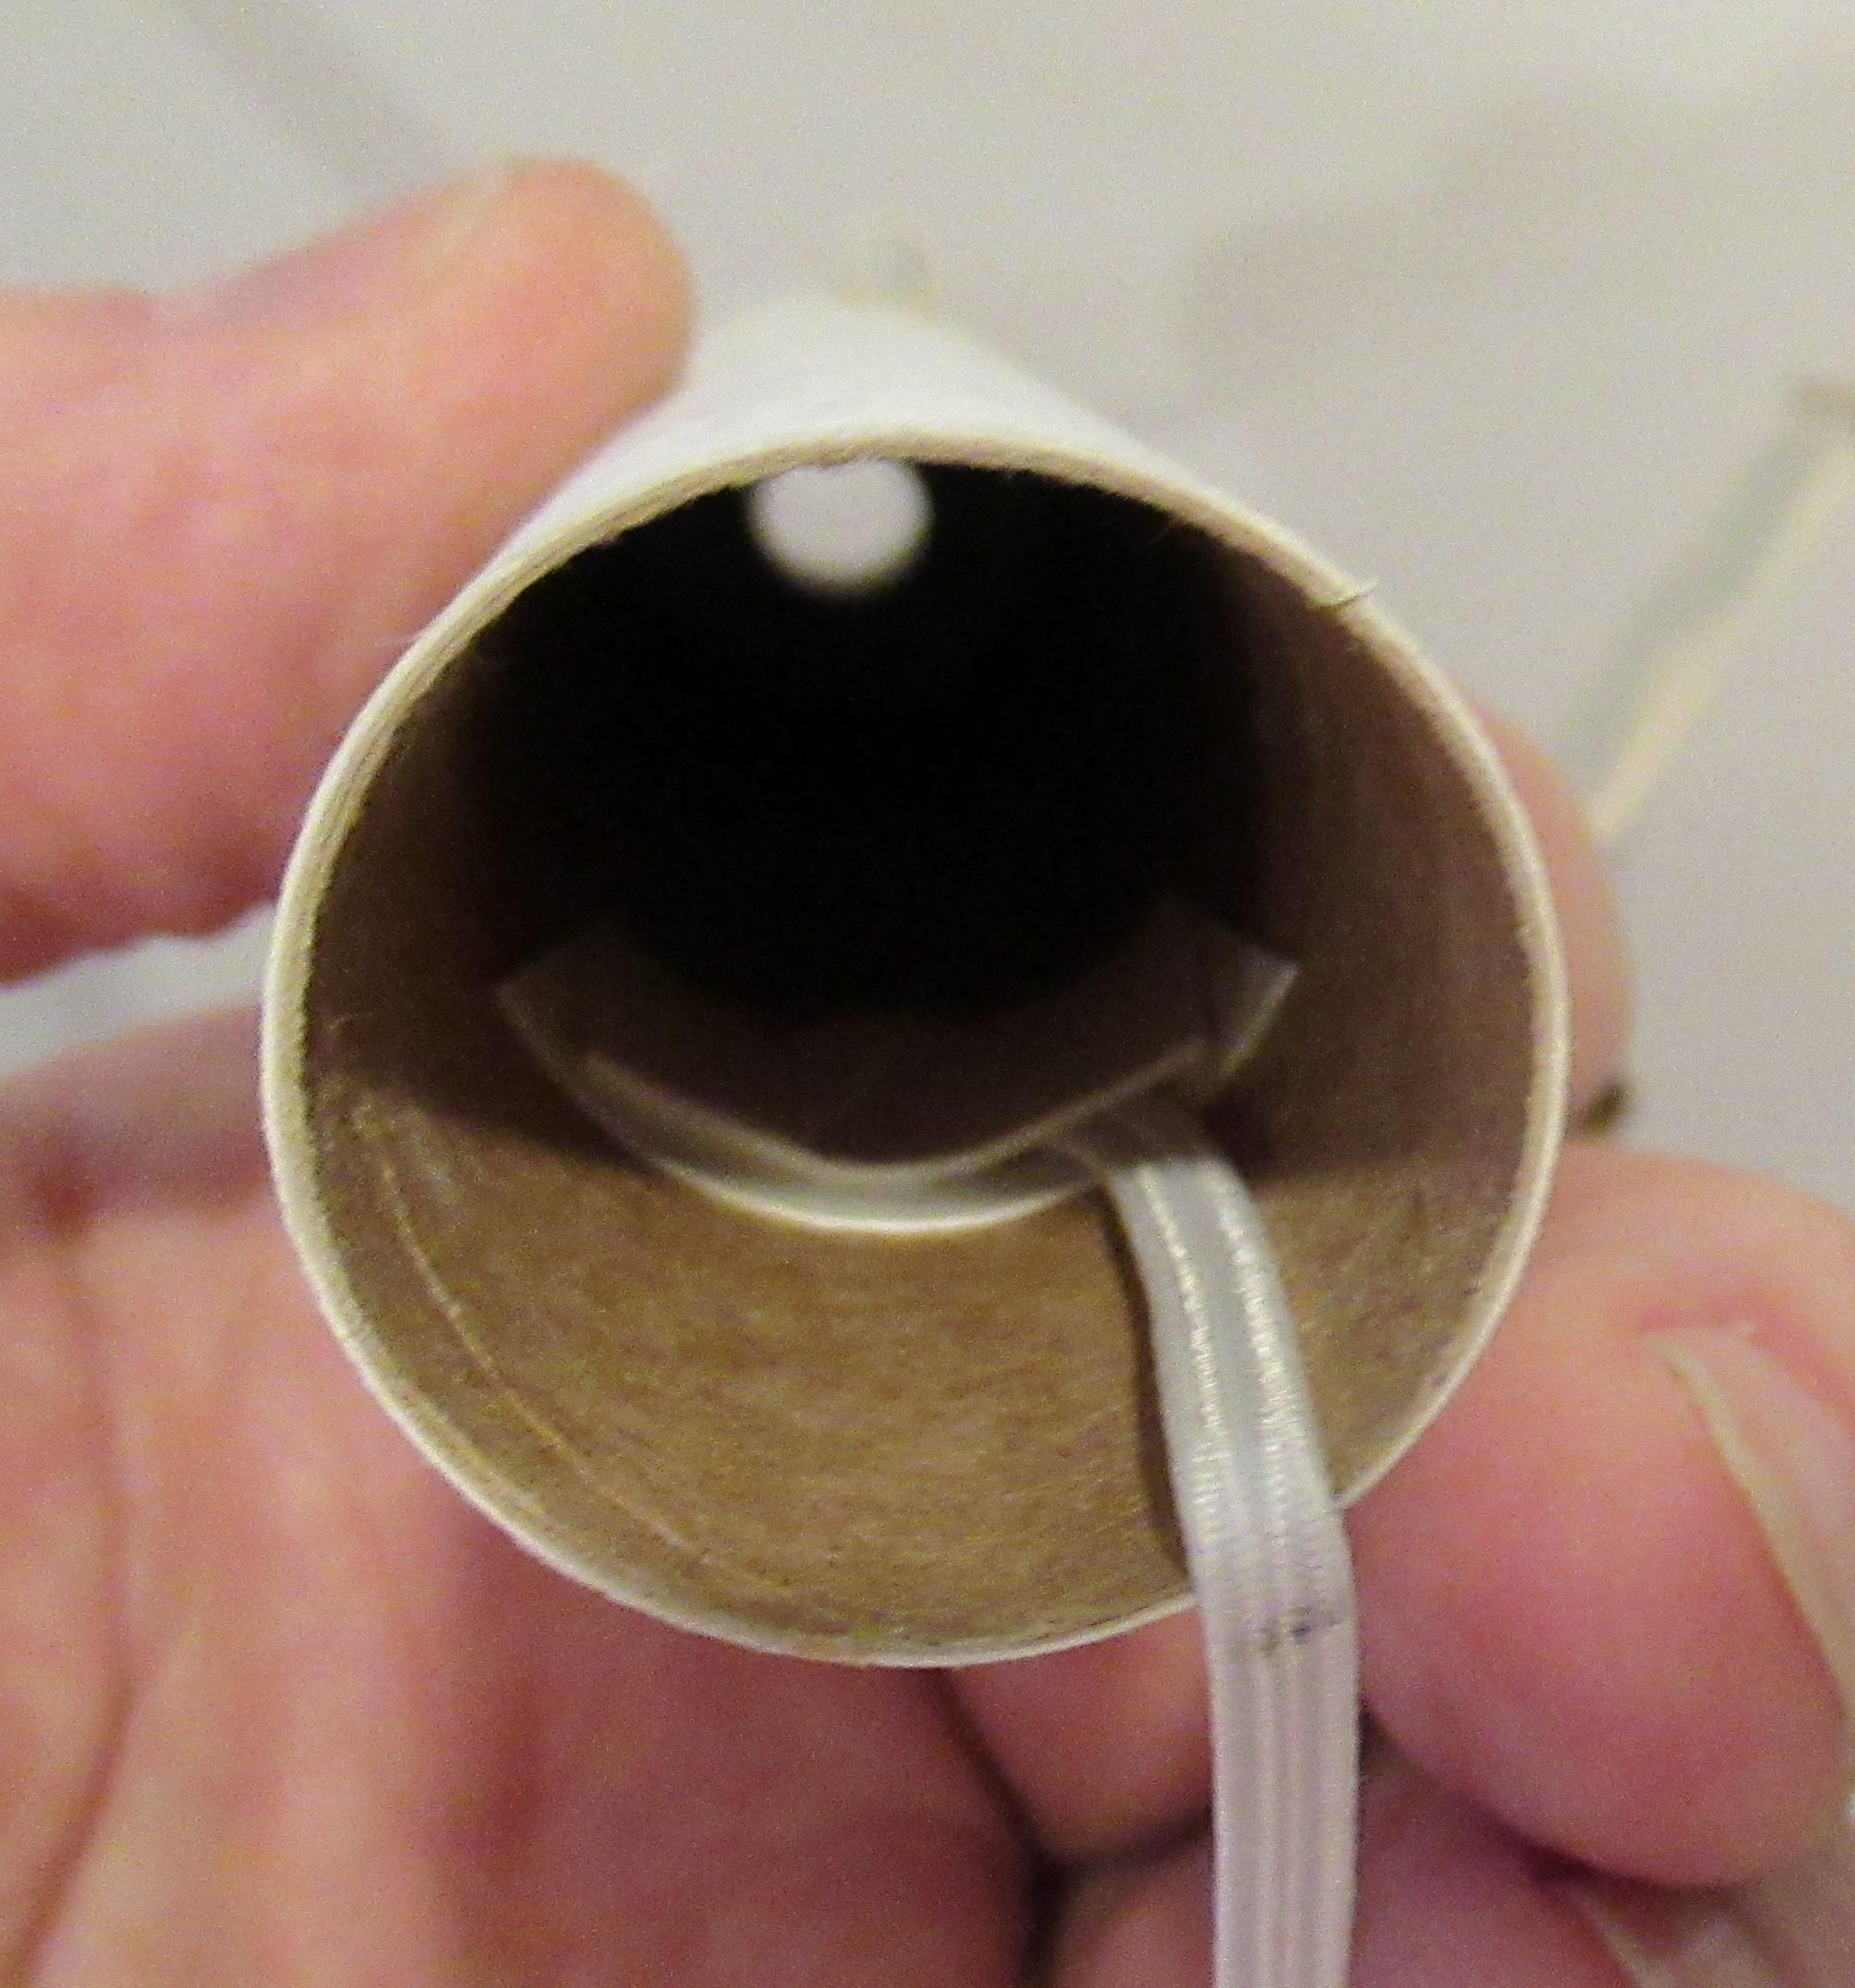
I didn't feel good about a Kevlar loop under the upper (homemade) centering ring. They're probably strong enough to handle an ejection pull, but I played it safe with a folded mount and elastic.

A 12" Odd'l chute was tied onto the shock cord.

Thursday, March 6, 2025

Estes Star Seeker BT-50 Upscale (Tri-Pack) Kit #0866, Part 7, Motor Lug Details


The motors tubes were made from 1/4" diameter launch lugs. Like the dowels, the lugs were cut to 2 1/4" long.

Here I've sanded the glue lines using my sanding block with 400 grit.


Evening out a glue line - mentioned earlier
On the left is the initial glue bead right out of the bottle.

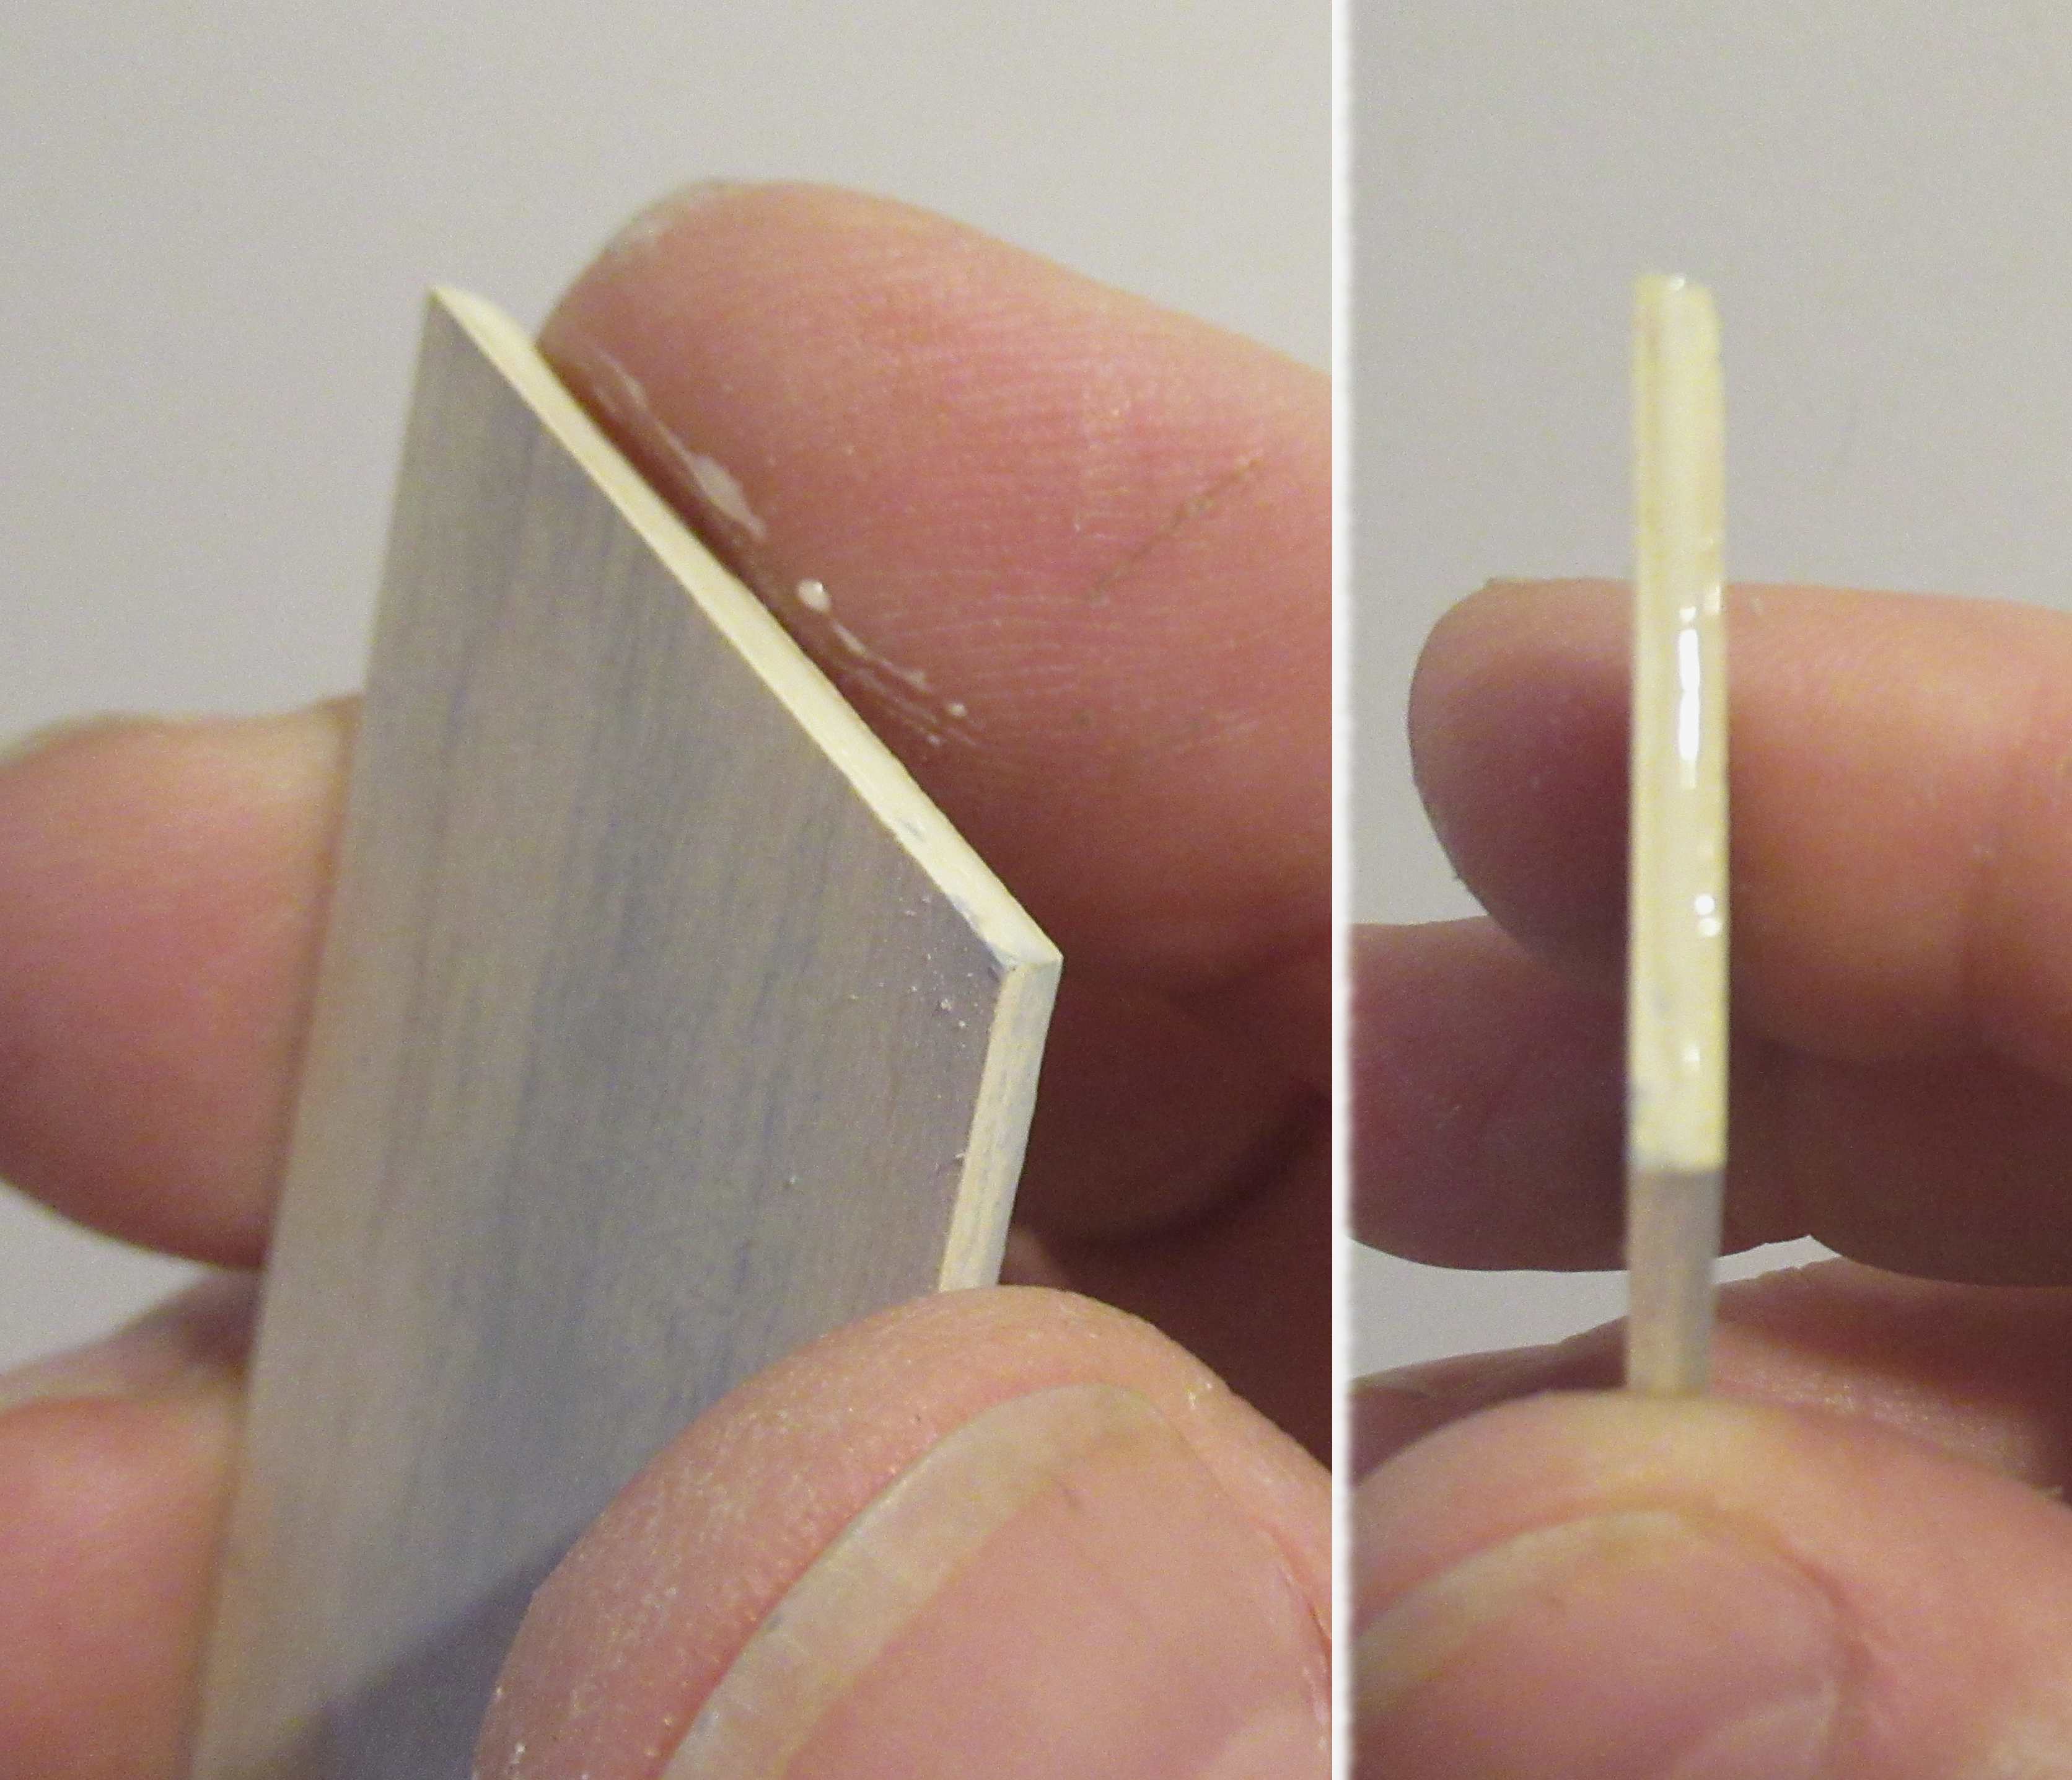
On the right, I've evened out the glue line by using the "V" formed by the pinched thumb and index finger. Run the "V" down the glue line. 


Both of the launch lugs are glued to each other, with the ends even. No need to glue fillet.
Make two sets of two lugs.
After the glue dried,
The ends were sanded even on a block.

With a sharpened dowel, the folded in "skin" was lifted out for fine sanding and a cleaner edge.

Wednesday, March 5, 2025

Estes Star Seeker BT-50 Upscale (Tri-Pack) Kit #0866, Part 6, Gluing On The Dowel "Guns"


Two of the (mirrored) fin pieces were marked for the vertical fins, shown below.
The BT-5 smaller version was marked at 1".
The upscale markings are at 1.80".
Lay a bead of glue down the outside edge of the vertical fins for the dowel "gun" placement.

On the left, I'm running the side of my finger down the fillet, smoothing the bead and removing excess.

On the right is the even glue bead. This makes a cleaner glue joint with less glue "squeeze out". 


The dowels are set into the glue line. 
The rear of the dowel is even with the trailing edge of the fins.

After previously evening out the blue bead,
there is very little (if any) glue to smooth or remove from the joint.

Tuesday, March 4, 2025

Estes Star Seeker BT-50 Upscale (Tri-Pack) Kit #0866, Part 5, Gluing In The Engine Mount


The mount was glued into the BT-50 tube with 1/4" of the mount tube exposed. 
Maybe I should have made the end of the tube flush with the end of the BT-50? Well, a little more room for the small chute.


The upper ring ends up in the glue ring. There isn't any glue on the lower ring - yet. 

The lower fillet was applied with small drops of glue on a Q-tip. A second Q-tip smoothed the fillet and removed excess glue.

Monday, March 3, 2025

Estes Star Seeker BT-50 Upscale (Tri-Pack) Kit #0866, Part 4, Prepping Lug Details


The 1/8" launch lug and 1/4" decorative "engine" tube lugs got a CWF seam fill and sanding.

While being held by Q-tip handles, 
they were sprayed with filler/primer.


All were sanded with 400 grit.

The ends got a wipe with CA glue applied with a Q-tip.
This hardens the loose fibers and allows you to sand them off clean.


After sanding, 
The edges were pressed and rolled round using a sharpened dowel.

Sunday, March 2, 2025

Estes Star Seeker BT-50 Upscale (Tri-Pack) Kit #0866, Part 3, Engine Mount


The tube was slit for the upper bend of the engine hook. A  installed motor will extend 1/4" out the bottom end of the tube.

One of the laminated rings got rotary punched for movement of the engine hook. 
For a bit more strength, the upper ring was set right over the upper bend of the engine hook. 

The lower notched ring was placed 1/2" from the bottom of the motor mount tube.

Notice the ruler. The low (and top) end starts at the zero point. Usually rulers have a 1/8"extension before the 1" point  starts.  


A wrap of electrical tape holds the engine hook and allows flexibility.

TIP: Electrical tape won't deteriorate over time like paper masking tape will.

Saturday, March 1, 2025

Estes Star Seeker BT-50 Upscale (Tri-Pack) Kit #0866, Part 2, Engine Mount

Parts of interest:
The four fins and correct dowel diameter for the BT-50 size upscale.
Four cardstock centering rings made in an earlier blogpost.
Four 1/4" diameter launch lugs.

The tube seams and balsa grain have already been filled.
The centering rings I cut seemed a little thin.
Four were initially cut, I decided to double them up.

To be sure they were perfectly aligned on top of each other, one was slid (dry, no glue yet) over the BT-5 motor mount tube.

A light coat of glue was spread evenly over the second ring.

I'm not gluing the rings to the tube yet, just joining the rings.

The glued ring was slid over the tube and pressed against the ring already in place.

The two rings were closed using the (flipped) clothes pin clamps.
A second laminated ring was also made.

Friday, February 28, 2025

Estes Star Seeker BT-50 Upscale (Tri-Pack) Kit #0866, Part 1, Parts


After building an interesting BT-5 clone,
this one begs for an upscale. 

There are enough differences to make a larger model interesting.
Mentioned in the previous build, this isn't a 2X build. 
All original kit piece sizes will by multiplied by a factor of 1.8 to get the BT-50 sizes.


I'll be using 13mm motors. I made some 5/50 cardstock centering rings a few weeks back. We'll use them on this build.
In the picture above, the 1/4" lug "jets" tubes and "gun" dowels were cut at the same time as the previous BT-5 based build. They were also cut short. I recut both at the longer, correct length.

Friday, March 17, 2023

Estes EAC VIPER BT-55 Upscale, Part 1, The Logo & Fixing The Name


In April of 2022, I built the second (and final) model available only to the members of the Estes Aerospace Club - the E.A.C. Firecat. 
To see that build: CLICK HERE

In the 1970s, I was a member of the Estes Aerospace Club or E.A.C. I built the first "club exclusive" VIPER rocket.
It was around 15" tall, a BT-50 model flown with 13mm motors.

I remember not being able to find paint that matched the purple and yellow-orange ink on the stickers. 
More on that coming up.


I decided to do a BT-55 based, slight upscale.
Chart by Jim "K'Tesh" from the Rocketry Forum

To get the scale factor - 
Divide the diameter of the upscale size BT-55 (1.325") by the diameter of the original BT-50 (.976) to get the Scale Factor of 1.357. I rounded up to 1.36.
Every dimension of the original kit parts is multiplied by 1.36 to get the new larger part  lengths.

The original kit BT-50 body tube was 9.5" long. The upscale BT-55 tube ends up at a length of 12.92"
The original BNC-50Y nose cone will eventually be replaced with a (very close) BNC55061.

Onto that weird font - 
Take a look at the original Estes Aerospace Club logo. It's a combination of mostly lower case letters. But, the "T", "P", "L" and "B" are reduced capital letters.
Shrinking those capital letters to the height of the lower case letters also reduced the 
weight or boldness of those upper case letters. 
I re-set the logo letters and made those small capital letters a bit bolder. (See "Fixed") 

The original balsa fin stock (BFS-20, 1/16" thick) will be replaced with 3/32" thick balsa.
The parachute will stay at 12" diameter, maybe 15".

Sunday, August 2, 2015

Cheap Cherokee D Upscale?

On TRF, K'Tesh noticed the Pro Series II Argent model fins looked like the old Estes Cherokee D. He build a beautiful 2.5" diameter upscale Cherokee D using parts from the Argent kit and nose cone from the Pro Series II Partizon or Estes part # 072413. New upscale fins were cut from plywood.
CLICK HERE to see the TRF thread.
All the upscale information is in that thread.

Here's the comparison between my Cherokee D build and the Argent fins:


On TRF, JR Kennedy posted:
"I wonder what the cost-point would have to be for Estes to start doing these sort of re-releases in the PS-II format?  Hummmm.  That BIG Cherokee D sure does get my BAR juices flowin'!"

K'Tesh added:
If you're serious about rectifying the issue... At this time Estes has its Christmas in July sale going. Buy a Partizon for $22.50, and mod from there. It has everything you need except for the decals.

Great thought!
I usually see Mega Der Red Max rockets flown at larger field club launches.
I would think a upscale Cherokee D would be popular.
Who knows, maybe the next Pro Series II SPEV (Spare Parts Elimination Vehicle) could be a Cherokee D?
Decals would raise the price though. K'Tesh got his vinyl deals from Sticker Shock.

Tuesday, February 3, 2015

Decal Fix on the Teros Upscale

I could never figure out why the TEROS 2 decal looked so large on the white fin.
This Teros was pretty much a 200% upscale. The original was a BT-50 (.976") to a Quest 50mm tube. (1.97") I enlarged the decal size accordingly. The "2" decal on the fin felt crowded and too close to the leading and trailing edges.

Then it dawned on me -
I had purposely made the fins slightly smaller, the fin surface area was large on the BT-50 original.


The Teros 2 decal lifted pretty easily.
Even with a coat of Future on them I grabbed a corner and peeled it off.


Home print decal sizes are hard to gauge until they are in place on the model.
I printed up two pair, one that I thought was the correct new size, and another two smaller yet.

It's subtle, but it did make a difference.

On the left is the first, larger try.
On the right is the smaller final decal.
DONE!

Tuesday, October 14, 2014

Estes Teros Upscale, Part 14, Decals

Set the horizontal bands on first, the U.S. AIR FORCE decals will center between these.

There was a paint ridge on the upper mask between the white and orange below. The clear border was cut off the bottom and the black edge set right on top of the paint ridge.
The decal could have been centered on top of and over the paint ridge. Setting the decal right on top of the ridge hides the raised paint lip.

The inset picture shows the band decals with the overlap seams in line with the launch lug. This hides the overlap when the model is on the launcher.

Enlarge the picture and look for the pencil marks at the lower right of the "R".
For centering, mark the center point on the body and the decal. It's easier to set the long decal down when the decal and body center points are already marked.


I made the mistake of leaving a hairline border around the fin center decals. This thin line had to be cut off.


White decal squares were set down and centered between the fins.
The black print decals were set on top.

TIP: Whenever you do a double layer decal, wait for the first decal to totally dry. Otherwise both layers will slip around on the surface.

Monday, October 13, 2014

Estes Teros Upscale, Part 13, Paint and Repaint!


The new sanded epoxy fillets got another shot of primer/filler and were sanded again.

I didn't take pictures of the first mask. The two following pictures show the second attempt at spraying the orange.


I had some problems with the orange paint crinkling up around one root edge. It had to be sanded smooth and shot again.

There is only one white fin and it was masked off.

After the tape masks were removed everything was smooth and the mask lines sharp.

The original kit instructions say to paint the model white and red.
I went with white and orange. The catalog picture looked white and orange to me.

Saturday, October 11, 2014

Estes Teros Upscale, Part 12, Fillets


Here's the Teros fin fillets after the first white coats.
I used three applications of the Titebond M&TG.
On a model this size the fillet radius seems too small. I didn't want to use epoxy but I'll need it to make the fillets larger and rounder.
I think the fillet size should reflect the size of the up scaled model.


In the first picture you can almost see the sunken center line of the fillet.
When roughing up the fillets that line is even more apparent.
I sanded the fillets with 220 grit wrapped around a Q-tip.


I've covered epoxy fillets in earlier blog posts.
The dried epoxy fillets look smooth and even.
After a shot of gray filler/primer you can see any inconsistencies.


The new epoxy fillets were sanded even with some 220 grit wrapped around a Q-tip.

The inset picture shows the fillets after a second sanding with 400 grit.