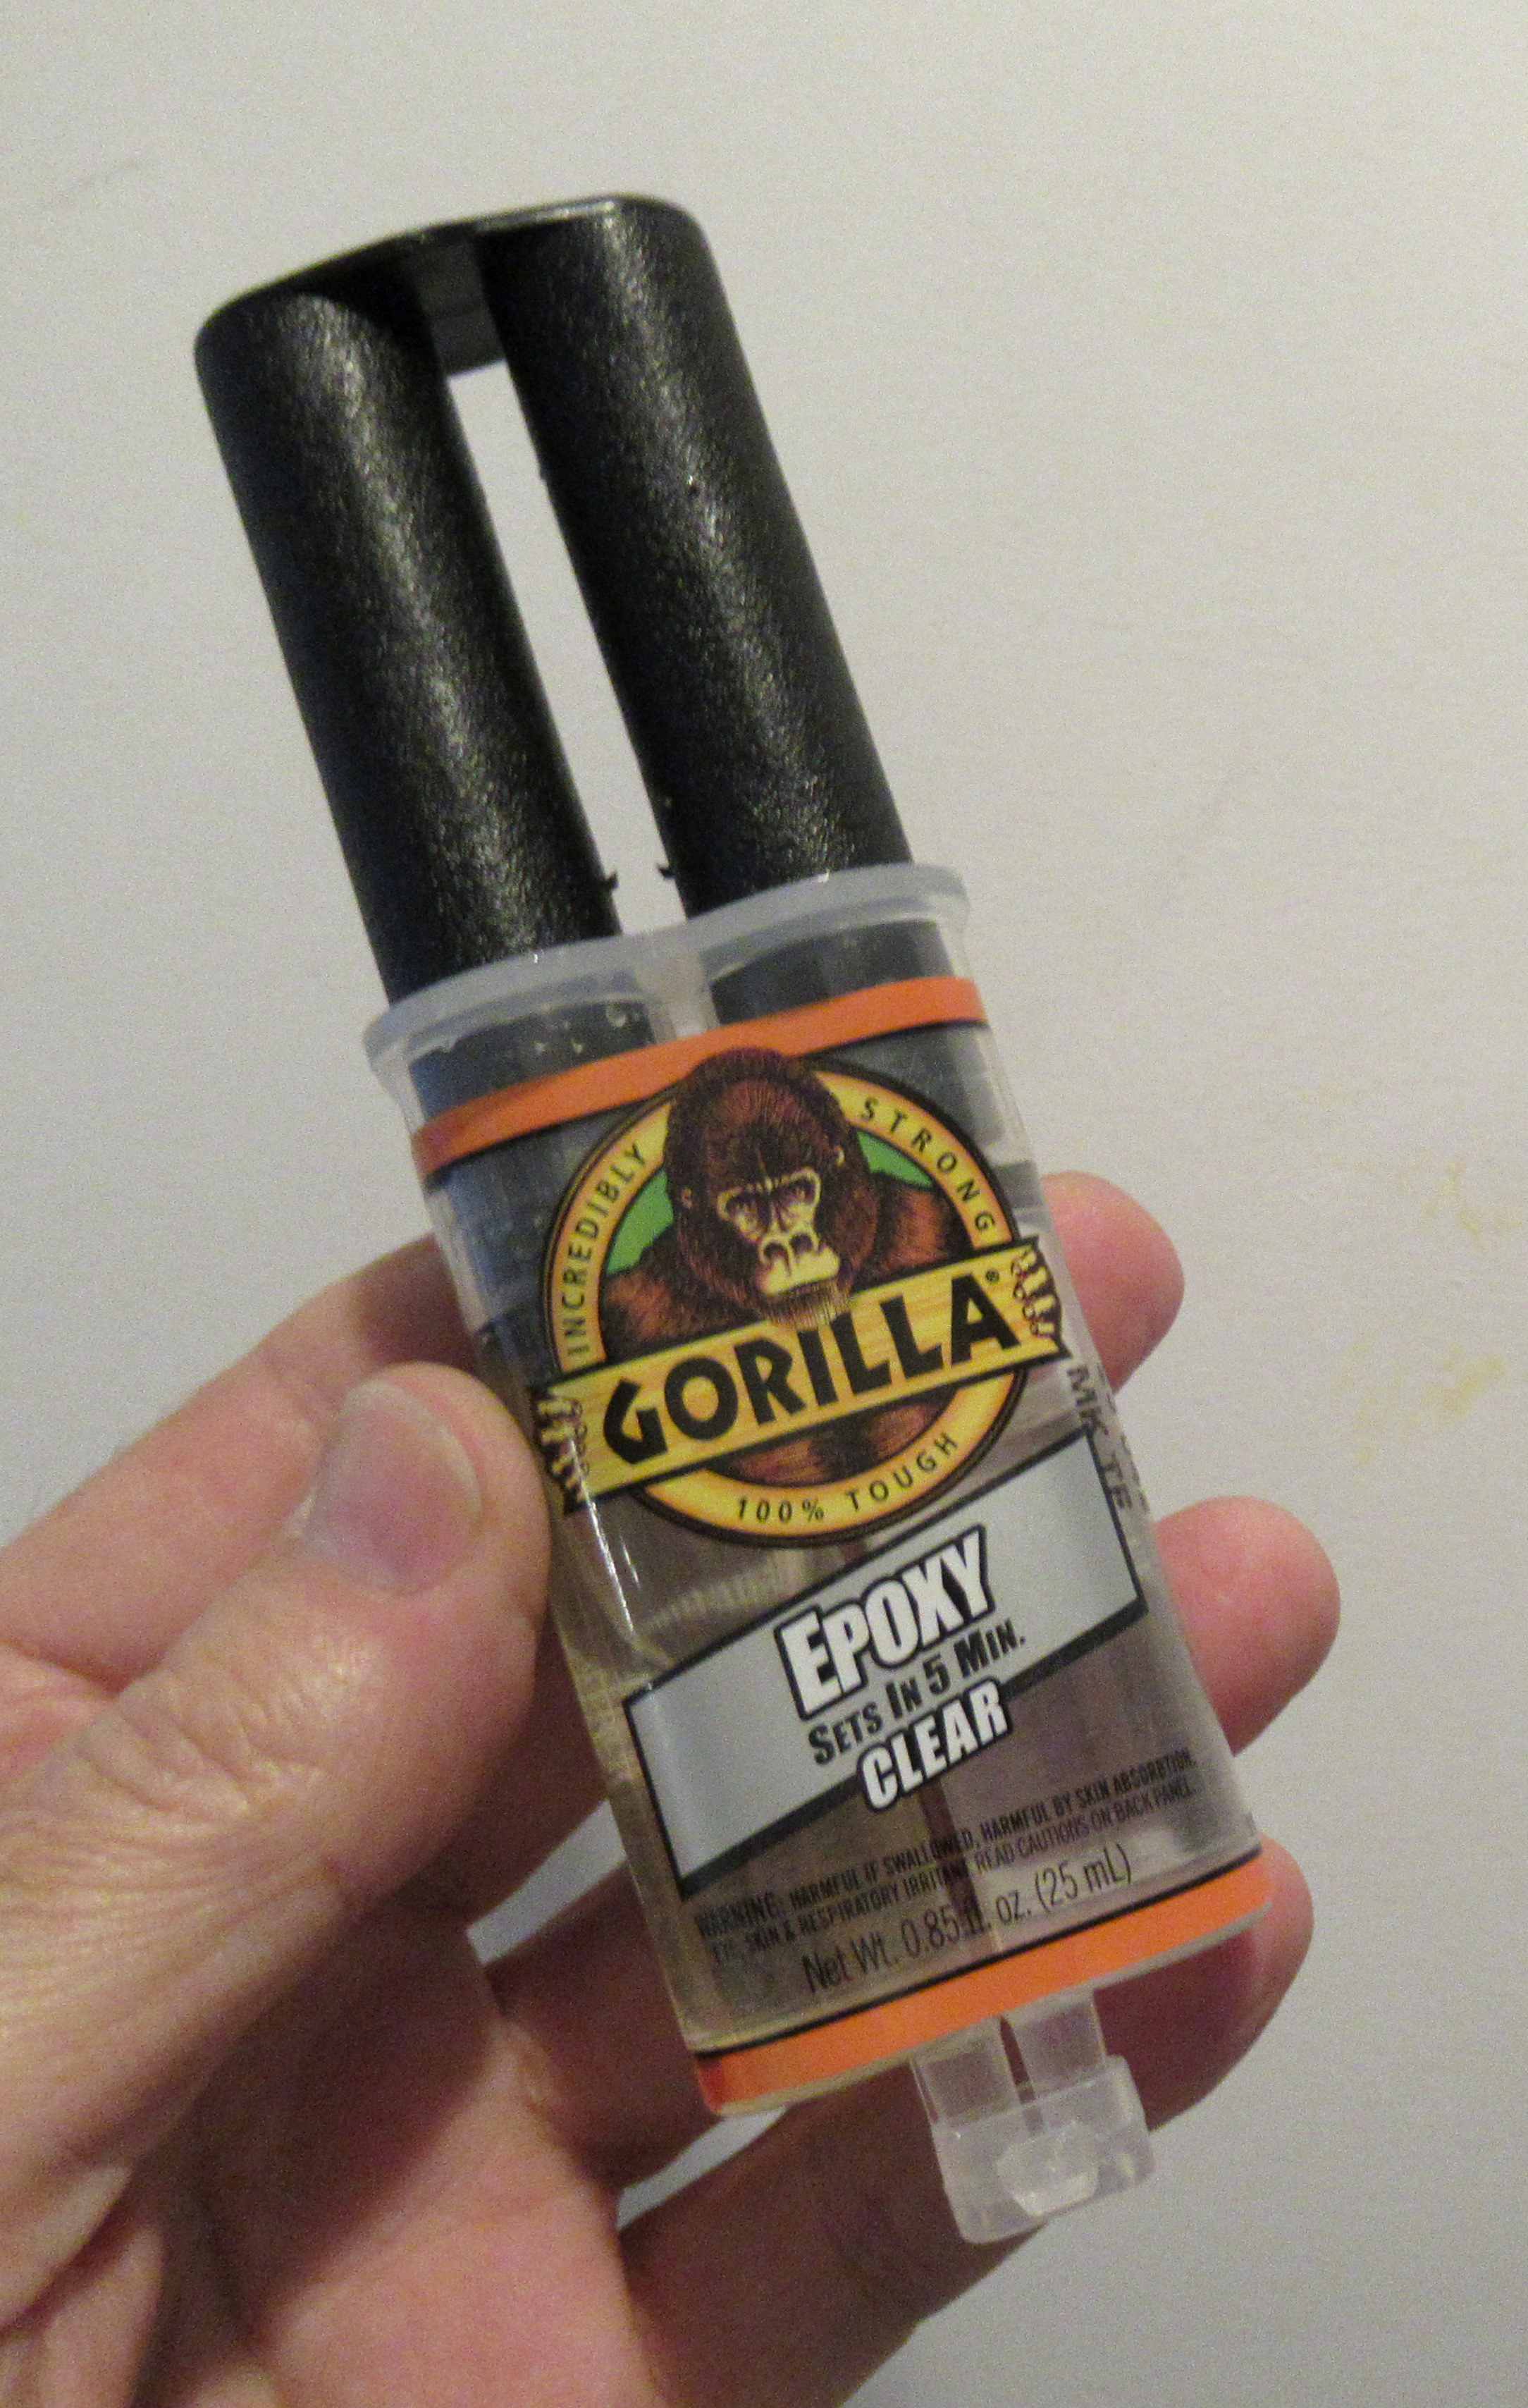
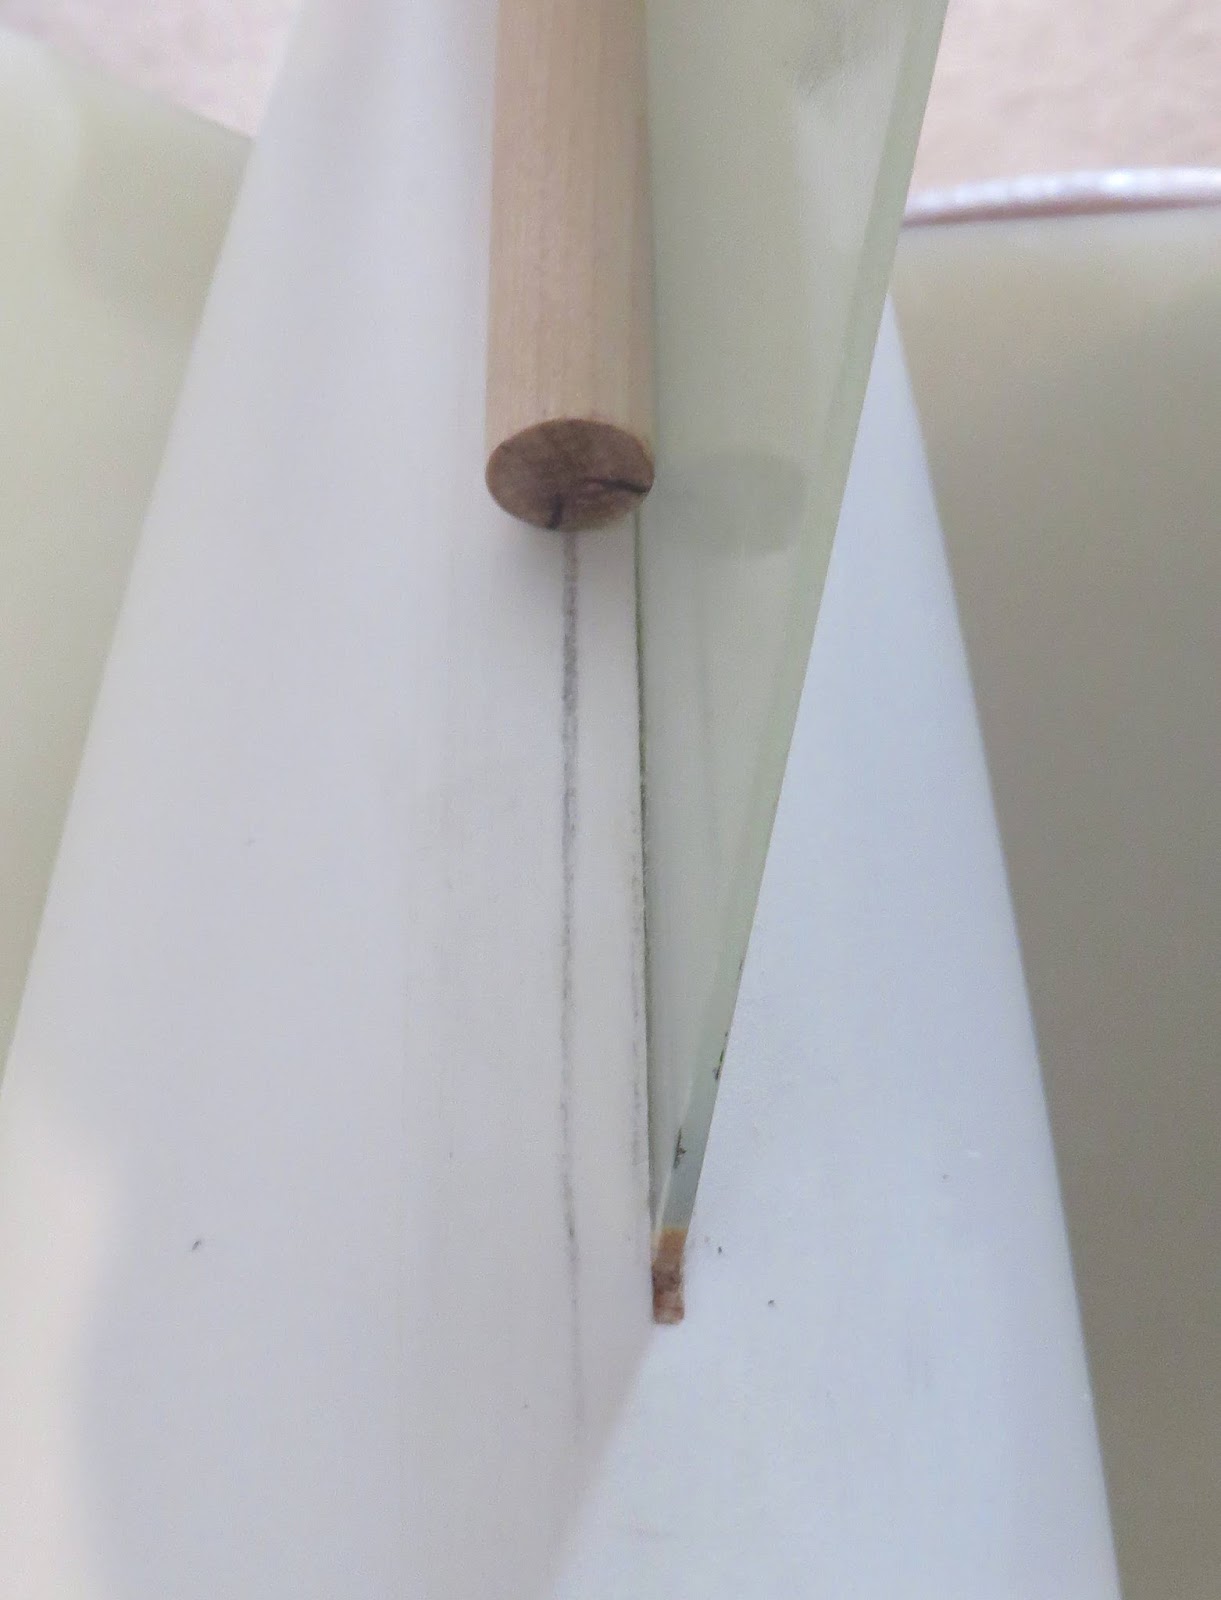
Showing posts with label Epoxy. Show all posts

Thursday, July 3, 2025

Aerotech Mega Initiator #89541, Part 20, Installing The Rail Buttons


Mix up a small amount of epoxy.

I wanted some of the epoxy to be on the inside of the body tube, directly around the screw - sort of an interior fillet.

A toothpick was dipped into the epoxy and set into the drilled hole. With an in and out motion, a ring of epoxy was left on the inside and outside. 


Slide the rail button onto the screw.
Dip the tip of the screw in the left over epoxy.


Screw the rail button into place. Tighten until the back of the button is flat against the body tube. 

Don't overtighten, you don't want to strip what threads you are making in the body tube.
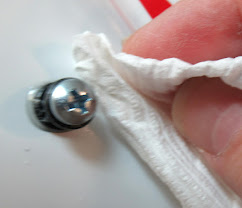

In the above picture,
Notice the squeeze out of the epoxy.

Wipe off the excess. Depending on the drying time of your epoxy, it might run! I use 30 minute epoxy and a drip could form.

Saturday, October 7, 2023

Estes Black Brant XII, Kit # 9723 Build, Part 23, Assembly


I wouldn't recommend applying epoxy to the fin tab then sliding it into the slot. That would squeeze epoxy out into the fillet area. It'd be a mess to clean up.

I applied epoxy into the fin slot using a toothpick, then slid the fin into it.


A rubber band was used to apply pressure on the fin pushing it into the fin slot for a tighter fit.

You do have to check the alignment before the epoxy sets up. The rubber band can pull the fin to one side.
Glue in the fins one at a time only after the epoxy has set up.


The launch lugs are centered between two fins.

Looking from the lower lug - 
The upper lug segment has the balsa standoff. 


The Kevlar cord is slipped through the back end before gluing on the second stage orange tube.

You can see the epoxy glue inside the body tube right before it was slid in place.

Wednesday, April 26, 2023

Wolverine Phoenix AIM-54A, Fix!, Part 5, Gluing Together The Tubes


My older Bob's Epoxy was dried up. I rarely use epoxy on LPR builds.
I did want epoxy for this one. I would hate to have the upper tube freeze up in the wrong position. The upper rectangle details have to line up with the four fins.

Epoxy allows you some working time. It is slippery and will drip! Don't use too much where drips can form. Wear gloves when using Epoxy. Some people have allergies and it can really tear up your skin.

Notice the drawn A ---------A pencil line. After I lined up the upper rectangle plates with the fins, the pencil line was drawn for alignment.

Epoxy was mixed up and spread around the inside of the lower tube. The upper tube was slid into place and turned until the pencil marks lined up.


I also spread a thin coat of epoxy around the inside end of the body tube. The epoxy was spread with a stick off a Q-tip, trying to keep it as even a coat as possible.

A review on rocketreviews.com said there can be some motor charring. The epoxy should protect the back end a bit.

Monday, June 15, 2020

ASP MMX Micro Corporal Build, Part 4, Engine Block, Coupler & Nose Weight


1/4" is cut off a coupler for an engine block.

The Kevlar shock cord is tied around the engine block.


Mark the other longer coupler at 3/4".
With a thin dowel, apply some glue inside the end of the long tube.
Push the engine block into the tube (and glue) up to the pencil line on the coupler. Remove the coupler.

Feed the loose end of the shock cord through the shorter coupler.
The split shot nose weight is tied to the other end of the shock cord.


The lead weight could slide down and through the coupler tube. The instructions recommend epoxy to set the nose weight at the top of the coupler.

Tuesday, May 28, 2019

Mike Fields' Saturn V Engine Mount Fillets

An email from Mike Fields' about reaching the recessed fillets on the Saturn V centering rings - 


"I thought I would try something different with the engine mount in my Estes Saturn V.  I like to use epoxy on engine mounts, but I thought that it would be difficult getting that much epoxy that far inside the body tube.  


However, I saw the package of Loctite Instant Mix 5-minute epoxy in Lowe's and thought I'd give it a try.  I comes with two long mixing nozzles that reach into the Saturn V body tube with no problem.  It took about one minute per each end of the mount.  I think I probably used too much, but I'll know next time.  Thanks."

Great work! That is one strong, well placed glue fillet.

Tuesday, April 11, 2017

PML Lunar Express Build, Part 11, Launch Lugs


There are two 1/4" diameter brass launch lugs on the model. They are set on the bottom, side by side. Both lug ends are pre-cut at a 45 degree angle.
Straight pencil lines were made using my aluminum angle on the short central body tube piece.


I may have mentioned earlier, on lug was about 1/16" longer than the other. You can see the longer lug closest in the picture.
Both will need to be the same length. A metal file and 10 minutes work shortened the longer lug.


The tube was roughened up with 220 grit before the lugs were glued on.
I don't know why but the epoxy lug fillets went on much smoother and required very little sanding. The fin fillets needed more attention.

PML Lunar Express Build, Part 10, Epoxy Fillet Smoothing

I've been using 30 minute epoxy. I like the extra working time before it starts to set up. The masking tape "dams" are removed when the glue starts to set up and doesn't run anymore. Don't wait too long to remove the tape or it will be glued to the model!
Wear disposable gloves when using epoxy. Don't take the chance and find out afterwards that you have an allergic reaction to the glue!

With the tape removed my gloved finger is dipped into the alcohol and ran down the fillet to remove any ridges that remained at the tape edge.

After the epoxy fillet has dried some 220 grit was wrapped around the appropriate sized dowel and the fillet smoothed. It shouldn't take a lot of sanding if the fillets went on smooth. Epoxy is fluid and self leveling.

Monday, April 10, 2017

PML Lunar Express Build, Part 9, Epoxy Fillets

Always wear gloves when mixing and using epoxy!!!
If you aren't allergic to epoxy you could become allergic over time. I don't use it that often but I still wear gloves. Using Epoxy is like doing fillets with running honey. You can be as careful as you want but it gets everywhere!

Like I mentioned, my experience with epoxy fillets is limited. Please don't comment and tell me: "That's not the way I do it!" This is simply my experience from other's posts on the Rocketry Forum. 


Mix up small equal parts of part A and B.
You'll only be able to do two facing fillets at one time so you won't have to mix up very much initially.
Some builders add Micro Balloons to their epoxy mix. The small silica beads thicken the mix and make the fillets easier to sand after it dries.

I applied the fillet by picking some up some epoxy on a dowel and dragging it down the root edge joint.

To smooth out the fillet you can use the same diameter dowel you used to mark the fins with pencil. In this case I used a rounded popsicle stick that matched the dowel diameter.
Dip the stick into the purest alcohol you can find. This is 90% pure. Shake off the excess alcohol.

Run the rounded stick end down the fillet. This will push some of the epoxy out of the fillet and onto the masking tape on either side of the fillet area.
Run your dowel or rounded stick down the fillet for a few inches and wipe off the excess. If you tried to do the entire length of the fillet in one pass there will be too much excess epoxy at the end.
Epoxy runs and is self leveling. A big drop at the edge of the tape could run down and back into the fillet.

PML Lunar Express Build, Part 8, Getting Epoxy Fillet Ready

My experience with epoxy fillets is pretty small. Here's a technique for masking the fillets I learned from the Rocketry Forum.
For me, fillet width or thickness should reflect the size of the rocket. Big rockets get bigger width fillets, small rockets get smaller.

To mask a consistent width epoxy fillet, find a clean dowel. With a soft pencil, mark up the sides of the dowel end at the 6 and 9 o'clock positions.


Rub the dowel back and forth down the root edges of the fins transferring the soft pencil from the dowel to the rocket.
This will eave a consistent spaced line on the rocket body (in this case the tail cone) and the side of the fin.
The transferred pencil line is the masking line for the epoxy fillets.
You will want to use masking tape the keep the runny epoxy central and in the fillet areas.

This model was harder to fillet mask because of the tail cone curvature. The fin mask has mall cuts to allow the tape to run in a curve.


Here's the complete mask for one fin.
You will also need to mask the leading and trailing edge tips ends where the fin meets the body.

Saturday, April 8, 2017

PML Lunar Express Build, Part 6, Fin Gluing


The fins are pre-cut from G-10 fiberglass. They are thin, about 1/16" thick.
The edges are a little rough. I cleaned them up with some 220 grit sandpaper.
30 minute epoxy was applied to the root edges and TTW tabs. When these are slipped into the thin slots some of it will be left of the tail cone. You can't do internal fillets on this design. To increase the amount of epoxy on the inside I applied epoxy once and slid in the fin. The fin was pulled out leaving some epoxy inside. More epoxy was added and the fin slid in again.


To keep the fin straight while it dried, some masking tape was set over the outside edge of the fin and tail cone. Epoxy will run so the glue was allowed to dry in this position.

Saturday, October 11, 2014

Estes Teros Upscale, Part 12, Fillets


Here's the Teros fin fillets after the first white coats.
I used three applications of the Titebond M&TG.
On a model this size the fillet radius seems too small. I didn't want to use epoxy but I'll need it to make the fillets larger and rounder.
I think the fillet size should reflect the size of the up scaled model.


In the first picture you can almost see the sunken center line of the fillet.
When roughing up the fillets that line is even more apparent.
I sanded the fillets with 220 grit wrapped around a Q-tip.


I've covered epoxy fillets in earlier blog posts.
The dried epoxy fillets look smooth and even.
After a shot of gray filler/primer you can see any inconsistencies.


The new epoxy fillets were sanded even with some 220 grit wrapped around a Q-tip.

The inset picture shows the fillets after a second sanding with 400 grit.

Saturday, June 8, 2013

Big Girtha Build Part 13, Epoxy Fillets


Pick up any excess epoxy from the ends with a Q-tip dipped in alcohol.
Set the model horizontal and let the two facing fillets start to set up.
Epoxy will run! Be sure the fillets are level while they set up.
After the epoxy sets up for a few minutes, you can pull up the tape dams. While the epoxy is still be tacky you can smooth the edges where the tape dams were.

I didn't get a picture of this -
Put on a disposable glove and pull the vinyl over your fillet finger tight.
Dip your finger in alcohol and shake off an excess drip but leave the finger wet.


Run you wet finger down the still setting fillet.
Your finger should be wet enough that the alcohol can break down the edge and smooth it into the body tube contour.

Let these two fillets dry before moving onto the next facing fillets.

After you spray on primer you can easily see any high or low areas in the fillets.
Wrap some 220 grit sandpaper around the same dowel and sand down any high areas.
Follow with another shot of primer/filler and sanding down to 400 grit.

Friday, June 7, 2013

Big Girtha Build Part 12, Epoxy Fillets

Before you mix up epoxy, have everything you'll need close at hand:
Alcohol (to smooth edges and clean up)
Disposable gloves (to protect your hands)
Q-tips (to clean up ends and edges)
1/4" diameter Dowel (Clean and sanded smooth)
Paper towels

Mix up the two part epoxy on waxed paper.
You won't need much, you are doing just two facing fillets at a time.
Squeeze out the A and B parts. In the picture each part is about the size of a dime. It'll start to spread out on it's own.
I transfer the mixed epoxy to the fillet area using a toothpick.
Set a drop in the joint and drag it down the fillet area.

Be careful at the leading edge tip. It's easy to let too much epoxy end up on the ends.
Dip the dowel end in some alcohol and shake off the excess.

Run the dowel down the epoxy. Excess epoxy will be pushed up on the masking tape. Some excess will be taken off with the dowel.

Wipe the dowel end off on a paper towel.

Thursday, June 6, 2013

Big Girtha Build Part 11, Epoxy Fillets

This model is a two engine cluster and epoxy fillets aren't really needed. White glue fillets would be strong enough.
But on a larger model the fillets could be wider.

Before taping up the fins decide on the fillet width.
Taking a tip from Crazy Jim on TRF -
I used a 1/4" dowel to mark the mask lines.
The dowel end is marked with a pencil. The marked dowel is dragged down the root edge.. This makes two even lines one either side of the root edge.


Before laying down the masking tape I added a coat of medium CA over the paper covered fin. I was concerned the paper covering might lift when the tape was removed later on.
The CA was applied over the area where the tape mask will be.


The tape is hard to see in the picture, but the edge is just to the outside of the pencil lines transferred earlier with the dowel.

Wednesday, January 2, 2013

Dr. Zooch Saturn V Build Step 10C Gluing on the Engine Bells

A great thing about the Dr. Zooch Saturn V, the F-1 engines stay on for flight!
I wanted to be sure they were well attached.

Earlier I neglected to paint the inside of the engine bells.
I used a Q-tip as a "brush" with some bottled silver paint.

Use one Q-tip per engine bell. Paint one bell and grab a new Q-tip.
The paint dries quickly and you might end up with some cotton fibers inside the bell.

To make sure the F-1 bells stay on, I decided to use some 15 minute epoxy to glue them on.

A drop of glue was set on the small end of the bell and the spoof.
The drop was large enough to make a epoxy fillet when it was pressed into place.

The epoxy dries a light yellow color, but the glue is in a recessed area and won't easily be seen.


Look at the small end of the nozzle bell and spoof.

You can see the bead of epoxy around the base contact points.


Check to be sure the bell is centered down the fin and fairings.

Some of the epoxy has come up through the center hole of the bell shroud making a stronger joint.