Wednesday, November 29, 2017

Estes Star Speeder #1366 Build, Part 7, Engine Block Placement

Mentioned earlier, the kit doesn't include an engine block ring. Without it, the engine hook can move during boost and ejection. The upper bend of the hook can enlarge the cut slit allowing the hook to move and slide up and back. Adding an engine block will strengthen the mount and prevent problems down the road.

The problem is, how do you get the engine hook in the long BT-20 tube, resting against the top bend of the engine hook?

I'll have to slide an engine block down from the top - dry, no glue, until it stops at the top bend of the engine hook.

A Kevlar line was already tied around the engine block. The line was put into the top of the BT-20 and allowed to fall out the rear end.

I used a painting wand (an engine casing glued over the end of a 1/2" diameter dowel) to push the block down from the top. Keep pushing the block in until it stops on the top bend of the engine hook.

To apply some glue, a Q-tip was taped to the end of a pencil.
Glue was applied to the Q-tip and a interior fillet applied under the engine block from the bottom.
An engine casing was set in place and quickly turned to pick up any excess glue. Remove the casing immediately, don't glue the casing in the mount. Use it just to get rid off the excess, wet glue.

Tuesday, November 28, 2017

Estes Star Speeder #1366 Build, Part 6, Engine Mount

The upper end of the engine hook is set into a notch, 2 1/2' from the back end of the BT-20 main tube. A Mylar retaining ring is glued over it.

The 20/50 Split ring if glued 1/8" from the back end.
TIP: Here I slipped a scrap piece of BT-50 ove the split ring to keep the ends down as it dried. The BT-50 tube is slid off after the glue dries.

The notched offset 20/55 centering ring is glued against the 20/50 ring already in place.

Notice there is no engine block in the build. I prefer an engine block so the engine hook won't be able to slide back and forth during boost and ejection. Over time and a few flights, BT-20 tubes can weaken allowing the engine hook to come loose. I'll add an engine block later.


TIP: To make an easier slip of the rear centering ring into the BT-55 tube, round off the inside edge of the rear centering ring.


The forward offset ring (with no notch) glues flush with the forward end of the short BT-55.

On the left I used my sanding block to press the ring in place, even with the end of the outer tube.
On the right I've already applied CWF to the joint and sanded it smooth.

Monday, November 27, 2017

Estes Star Speeder #1366 Build, Part 5, More Parts Prep

I'm still trying to get all the parts ready for the build. Some have to be made up like the large toothpick gun, others are fabricated from existing parts.

The kit has a single nose weight, what Estes once sold as #NCW-1A. It was a lead washer and weighed .12 0z.
You won't find a lead washer weight these days. I went through my supply of washers and found two when combined weighed .13 oz. Close enough!  

At the rear of the engine mount is a split 20/50 centering ring. You could probably order split rings from Semroc but it's easy enough to make with a sharp knife.

TIP: Make your split cuts like on the left away from the inside and outside seam joint. Don't make a cut over a wrap seam shown on the right.


Remove a wedge about 1/8" wide, a bit wider than the engine hook.
To clean up the cut you can sand the ends with a sanding block.

On the right is the finished split ring, ready for assembly.

Saturday, November 25, 2017

Estes Star Speeder #1366 Build, Part 4, Forming the Large Toothpick Gun

I didn't know what Estes used for the large toothpick gun. I'll have to fashion something to work.

From the Estes instructions, the decal placement illustration was enlarged to the diameter of the BT-55 tube. This gives me an idea of how long the large toothpick was, or close to it anyway.

A new outline drawing was made.
the gun will be carved from a tongue depressor or (as they are called in a hobby store) a craft stick.


The widest width at the rear was cut first.


The side tapers were the tricky part.
The diagonal at the right of the rear "bulb" shape were cut. That was joined to the long straight cuts down the sides.


The end taper at the right was cut next.


The end bulb was rounded off.
The inside curve of the bulb will need some cleaning up with a needle file.

Friday, November 24, 2017

Estes Star Speeder #1366 Build, Part 3, Cutting Centering Rings


The outside of the ring can be cut with scissors if they are very sharp. Any rough edges are cleaned up in the next step.

Again, cut just inside the pencil line.
I cut four rings, only two will be needed on the model.

Stack all four on a BT-20 tube.
Sand the rough edges smooth and size to friction fit inside the BT-55.
An engine hook recess is punched in the rear ring.

TIP: Line up the rotary punch and apply a light pressure to make a small impression. This gives you a chance to check the centering of the hole before making the final punch. If it is good, use full pressure to punch through the ring.


Here's a good fit of the 20/55 offset ring in the front of the BT-55 tube.

Thursday, November 23, 2017

Old Instruction Binders - FOUND!


My Brother-in-law and I have been going through my Mom's house clearing out cabinets and drawers. She was a "child of the depression" and kept most everything. Mom would have never been featured on the show "Hoarders" but she did keep a lot of crap you and I would have thrown away!

At one time I had a binder full of Model Rocket News and correspondence. I did find that in my old bedroom years ago. But - the kit instructions binders were gone!

Maybe not gone, but misplaced in all places, my Sister's old bedroom. Two binders full of kit instructions were buried high above her clothes closet. There are probably 150 kit instructions here, in two binders. I thought there was only one binder.
I will have to go through them and see what might be missing from JimZs and oldrocketplans.com. I'll scan what might be missing and submit them.

The only drag is there are index holes punched and some pencil and pen notations on the sheets. I'll be able to remove most of that. There are no fin templates or decals, we didn't have scanners back then and a young builder would use all that came with the kits.

In the back of the second binder are all my flight records from the first launch in 1969 through 1977.
I don't remember launching my Estes Saturn V, three times with D12-3 engines. But, it's all there in the records. I'm surprised the D13s didn't blow through like they were known to do. (For all you "kids", that's why Estes downgraded the engine to a D12.)


In one binder was a lone 20/60 centering ring, like one you might find in a Big Bertha or a Goonybird kit. It's die-cut and a bit yellowed.
The ring thickness is about half of what we have today.
I'll have to find a build for it.

Wednesday, November 22, 2017

Estes Star Speeder #1366 Build, Part 2, Cutting Centering Rings


These centering rings fit a BT-20 tube into a short length of BT-55.

Draw a vertical center line before tracing around the two tubes.

Use a new sharp blade and only cut the inside circle for now.
Because you traced around a BT-20 tube, the outside diameter line is wider than the whole you need to cut. Cut just inside the pencil line.
You've read this before - Don't try to cut through with one pass. Use lighter pressure for more control and a smoother arc of the cut.


There will probably be a rough cut edge.

I wrapped some 220 grit around a used engine casing to smooth out the center hole.


Sand a bit and check the fit.

The BT-20 main body tube has a good friction fit in the centering ring.

Estes Star Speeder #1366 Build, Part 1, Parts


Most of the components came from the spare parts bin.
The instructions were printed up from JimZs.

The parts of interest:
The canopy was re-drawn and extras printed up.
The split centering ring was made from a standard 20/50 ring.
The offset 20/55 rings were hand cut from mat board.
Nose weight washers, two different sizes.
The large toothpick "gun"

Crafting the specialized parts will be covered in upcoming posts.

Monday, November 20, 2017

Estes Star Speeder #1366 Build, Background


This should be a fun build.
The early 1980s were a creative time for Estes. This model came out the same year as the Starship Nova. The model was produced from 1981 - 1985. It should be a good sister ship to the Galactic Taxi in size and detail.
The design feature is an lower offset main BT-20 tube inside the larger BT-55 at the engine end. The cardstock canopy fits in the open larger side of the offset tubes.


An online scan of the decals is fairly clean, I might still do a re-draw.

Here's the piece that has me concerned. On the parts list it is simply called a "large toothpick" and is used as a "gun" on the underside small fin. It's probably a larger sandwich toothpick of some kind Estes decided to include in the kit.

To take a look at the instructions, jump over to JimZ's - CLICK HERE

Sunday, November 19, 2017

My Mother and Model Rocketry

My Mother passed away Friday morning, November 17.
Why bring her up on a rocketry blog? She played a very important part in my hobby.

In 1969, at the peak of the Space Race, I started building rockets. Not flying rockets, just building them.
Back then, California fireworks regulations were very strict. You could order and buy kits, but no engines could be mailed or purchased without a special state issued permit.

My Mother could see my interest and started making phone calls. A dozen calls were made to the state Fire Marshall in Sacramento.
She succeeded in contacting the right office and arranged a meeting to get approval of the family artichoke ranch property, 150 acres near Moss Landing, California.
A representative drove down from Sacramento, a 3 1/2 our drive. He was quick to approve our property and issued a permit. This wasn't just a permit to buy engines but turned out to be a wholesale engine buyers permit as well. I still remember his name, Robert "Moon" Mullins, he turned out to be the assistant state fire marshal of the state.

I still couldn't get engines by mail order. Mom took the time to drive me to a small hobby store in Modesto California, a 90 minute drive one way. I bought engines in the blue tubes and enough kits to keep me busy for a while.

Every Saturday we drove to the ranch, she'd connect the controller to her car battery. "Put a BIG engine in it. If you lose it, I'll buy you another kit". I hated to lose rockets but did take her up on the offer a few times.

In the early 1970s we took two vacations through the Southwest. On one trip she took my Sister and I to Estes Industries for a tour. I had some mail contact with Dane Boles, he was the Estes P.R. man at the time, handling some correspondence for the company.
At the end of the tour, Mom asked if Mr. Boles was in. He was and came down to meet us.
She spoke right up: "We drove all the way from California just to visit Estes!" (This wasn't true, she was doing a high end gallery tour, selling her pen and ink drawings.)
Dane Boles was impressed, saying: "Really? I'll be right back."
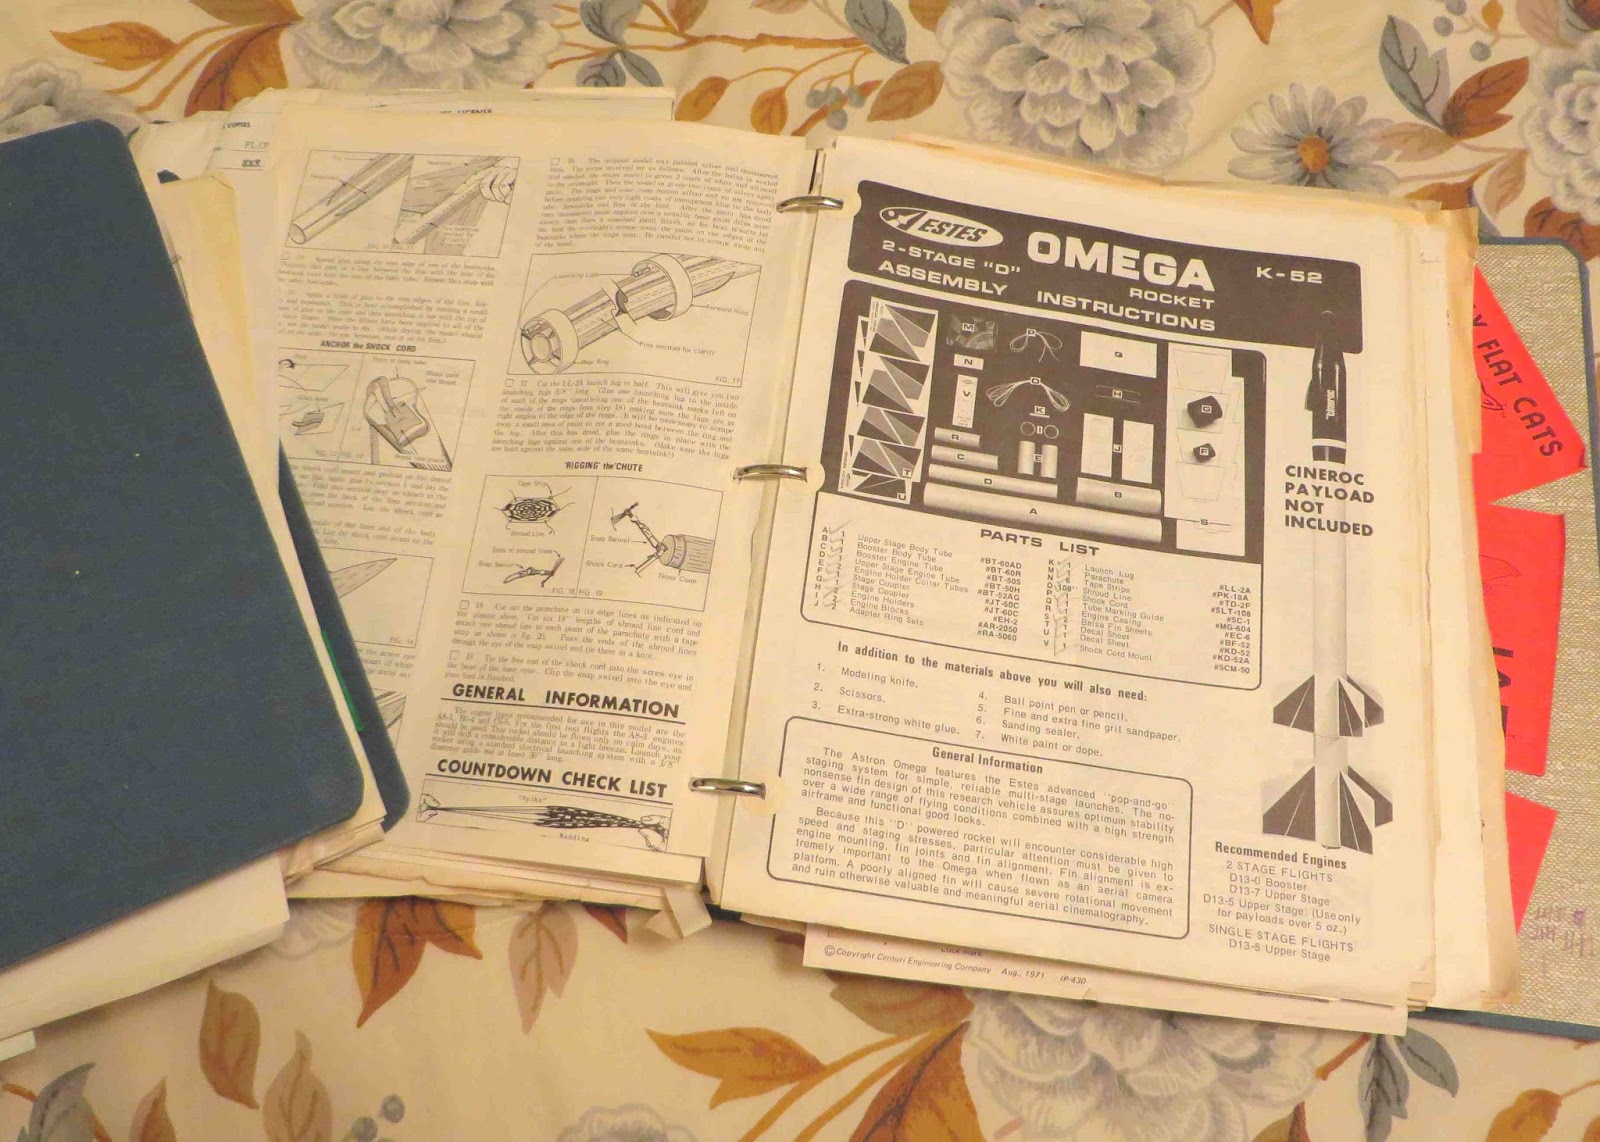
He came back with kits and a book of plans. He gave me a Citation Bomarc and a Mini-Brute Combo kit. I certainly thanked him adding: "I just bought the Mini-Brute kits are the company store." (I was trying to say that this wasn't really necessary.) His response: "Well now you have two!"

The following year Mom took us to Phoenix to visit the Centuri facility. Earlier that year I had won the Centuri Photo (Design) Contest. Mom let them know I was the winner, which probably got us a rare tour. Larry Brown was our guide.

A master horseperson, she helped my Sister raise and train championship Shetland ponies.
Also crack shot, she could take down a deer at 350 yards and was one of the few women at the roundups who'd castrate the bulls. "Don't mess with Pat!"
She is well known for her pen and ink drawings. (See above) Her work is on display and studied in technique classes at state colleges. "Fine art takes time." Her artistic example taught me patience.

She loved gambling, and was good at poker. Depending on how well she played, that dictated the caliber of the many shows we'd see in Reno, Lake Tahoe and Las Vegas. These influences helped develop my own solo performances as a professional entertainer over the next 40 years.

Am I proud? You bet! Without her determination and support I may have never launched a black powder model rocket. That, and you probably wouldn't be reading this blog!

Saturday, November 18, 2017

Odd'l Rockets F-104 Starfighter Finished


This one looks much better in the Rusto Silver Metallic. I wouldn't use chrome paint. Chrome paints never dry and fingerprints will show.
Prototypes have flown very stable with A8-3, B6-4 and C6-5 engines. This kit should be released as soon as I take care of family matters in California after the first week of December.

Friday, November 17, 2017

Odd'l Rockets F-104 Starfighter Build, Part 18, Canopy Gluing

Squeeze out a few drops of thin CA glue onto some scrap cardboard. Dip a toothpick tip into the glue puddle and let dry.
Center the canopy over the decal.
Dip the dried tip into the CA puddle again.
Run the glued toothpick tip around the edge of the canopy. Be sure there is a bead of glue all the way around the canopy.


Some of the first kits might have grey "Canopy Trim Decal" lines on the decal sheet. These turned out to be translucent over the clear plastic.

I ended up cutting some thin strips from electrical tape and placing them as shown here.

Wednesday, November 15, 2017

Back to California . . .


Once again I'm heading back to my hometown of Watsonville, California to take care of family matters. I'll be gone for two weeks.
Bear with me on daily blog posts. My Mother's home doesn't have Internet and I don't know when I'll be able to get away for free Wi-Fi.
I should be gone for a minimum of two weeks.

Odd'l Rockets F-104 Starfighter Build, Part 17, Decals!


The canopy decal is set on the nose cone 1/8" from the rear of the shoulder.
The decals are a bit elastic and can be formed around the nose cone curve by rolling a damp Q-tip over the surface.

The long black triangle decal goes in front of this and centers down the nose cone. View from the front to check the alignment.


Here's the back end decal placement.


At the intake area are more decals.

Tuesday, November 14, 2017

Odd'l Rockets F-104 Starfighter Build, Part 16, Silver Paint

I ended up using Rustoleum Silver Metallic on the model. The only masking was at the rear end to cover the chrome Monokote ring on the engine tube extending out the back.

I still did some light sanding between coats of the silver metallic.
On the first build of the F-104 I used aluminum paint. This Rustoleum Metallic Silver is much brighter.
The model would look best with a chrome finish but I've never got chrome paint to fully dry in the past.


Even though the humidity has dropped I still got some "bluing" and hazing of the metallic paint.
TIP: An easy fix to brighten up metallic paint is to use polishing compound. The rub out took about an hour but the finish results are worth it.

The nose cones are from Apogee and molded in yellow plastic. Be sure to prime and follow with a few undercoats coats of gloss white before the silver.

John Boren Facebook Tease?


John Boren (Estes Designer) posted this on the NAR Facebook page. Is this a tease for a new Pershing 1A?

Mr. Boren has posted on the forums before saying that the Maxi-Brute Pershing probably won't come back into production. Apparently too much nose weight was needed for the larger, heavier engines required.

Monday, November 13, 2017

Odd'l Rockets F-104 Starfighter Build, Part 15, Canopy Forming

On the left is the shaped canopy bottom. Notice the right and left sides curve up slightly.
On the right is the front view. You may have to make the front curve a little deeper (see last post) to fit the front end of the nose cone.

Here's a good fit of the canopy on the nose cone.
All edges are making good contact with the nose cone.

Don't glue the nose cone on yet, the cockpit detail decal goes on first.

Here's the decals included in the kit.
At the upper left are the canopy trim lines printed in grey. Those turned out to be almost transparent when set on the clear canopy. These lines won't be on the kit decals. The instructions show how to use thin electrical tape to do the lines.
I usually include some extra duplicate images. Use an "extra" decal first to get used to the soak time and slide transfer onto the model.

Start the water soak at about 15 seconds. Let the decal sit on a paper towel for another 15 seconds before trying a transfer slide onto the model.

Sunday, November 12, 2017

N.E.F.A.R. Launch, November 11, 2017

This weekend is the two day Bunnell Blast.
On the drive up we saw overcast skies and light rain. Winds were low but were increasing throughout the morning. I got in three launches before the wind got strong. Recovery walks were long.
Still plenty of flights and big crowds.

Today I launched the Estes CURVLINEAR with a Quest B6-4. The .16 oz. of nose weight was enough to compensate for the heavier B6-4 engine and gave a very stable flight.
The Chinese made Quest engine really gave a good ride to about 400'. Full chute at ejection and a long recovery walk because of the wind.


Even with wind gusts the two final test flights of the Odd'l Rockets F-104 STARFIGHTER were both arrow straight.

First was an Estes B6-4 to about 300'. The second good launch was with a C6-5 to and estimated 650'.

After being carried West by the wind, touchdown of the C6-5 flight was too close to the treeline. No damage.
I'll be able to bag up these kits soon!


Rick Boyette brought his impressive Chinese Long March rocket.
I was hoping to see the flight but he was saving it for Sunday hoping for lighter winds. 
This model will be powered by a cluster of five composite engines.


While I didn't get in many flights I did launch two rockets where stability might be questionable. The Curvilinear was converted to an 18mm engine mount to allow more engine choices. The new F-104 Starfighter was finally flown stable with the larger engine tank dowels using B and C engines. A very successful day.