Showing posts with label NW A-20 Demon. Show all posts

Thursday, January 21, 2016

New Way A-20 Demon Build Part 16, Decals and Finished


The instructions said this upper Demon wrap is the most difficult to apply but I didn't have any problems.

The New Way instructions said to place it 1/2" down from the top of the tube. The old Estes catalog pictures showed it about 1/8" from the top. The 1/8" spacing looked too tight for me. I compromised at a 1/4" spacing.


The finished square Demon looks great! 
The New Way square tubing does need some extra filling and smooth sanding. This was a fun build and an escape from the ordinary
The face card says it uses a D12-3 engine. My build weighs in at about 4 oz.
I would think a D12-5 is a better fit.


I'm looking forward to flying this one.
LAUNCH UPDATE: From the January 9 NEFAR Launch, scroll down to the bottom:
CLICK HERE

Wednesday, January 20, 2016

New Way A-20 Demon Build Part 15, Fin Plates


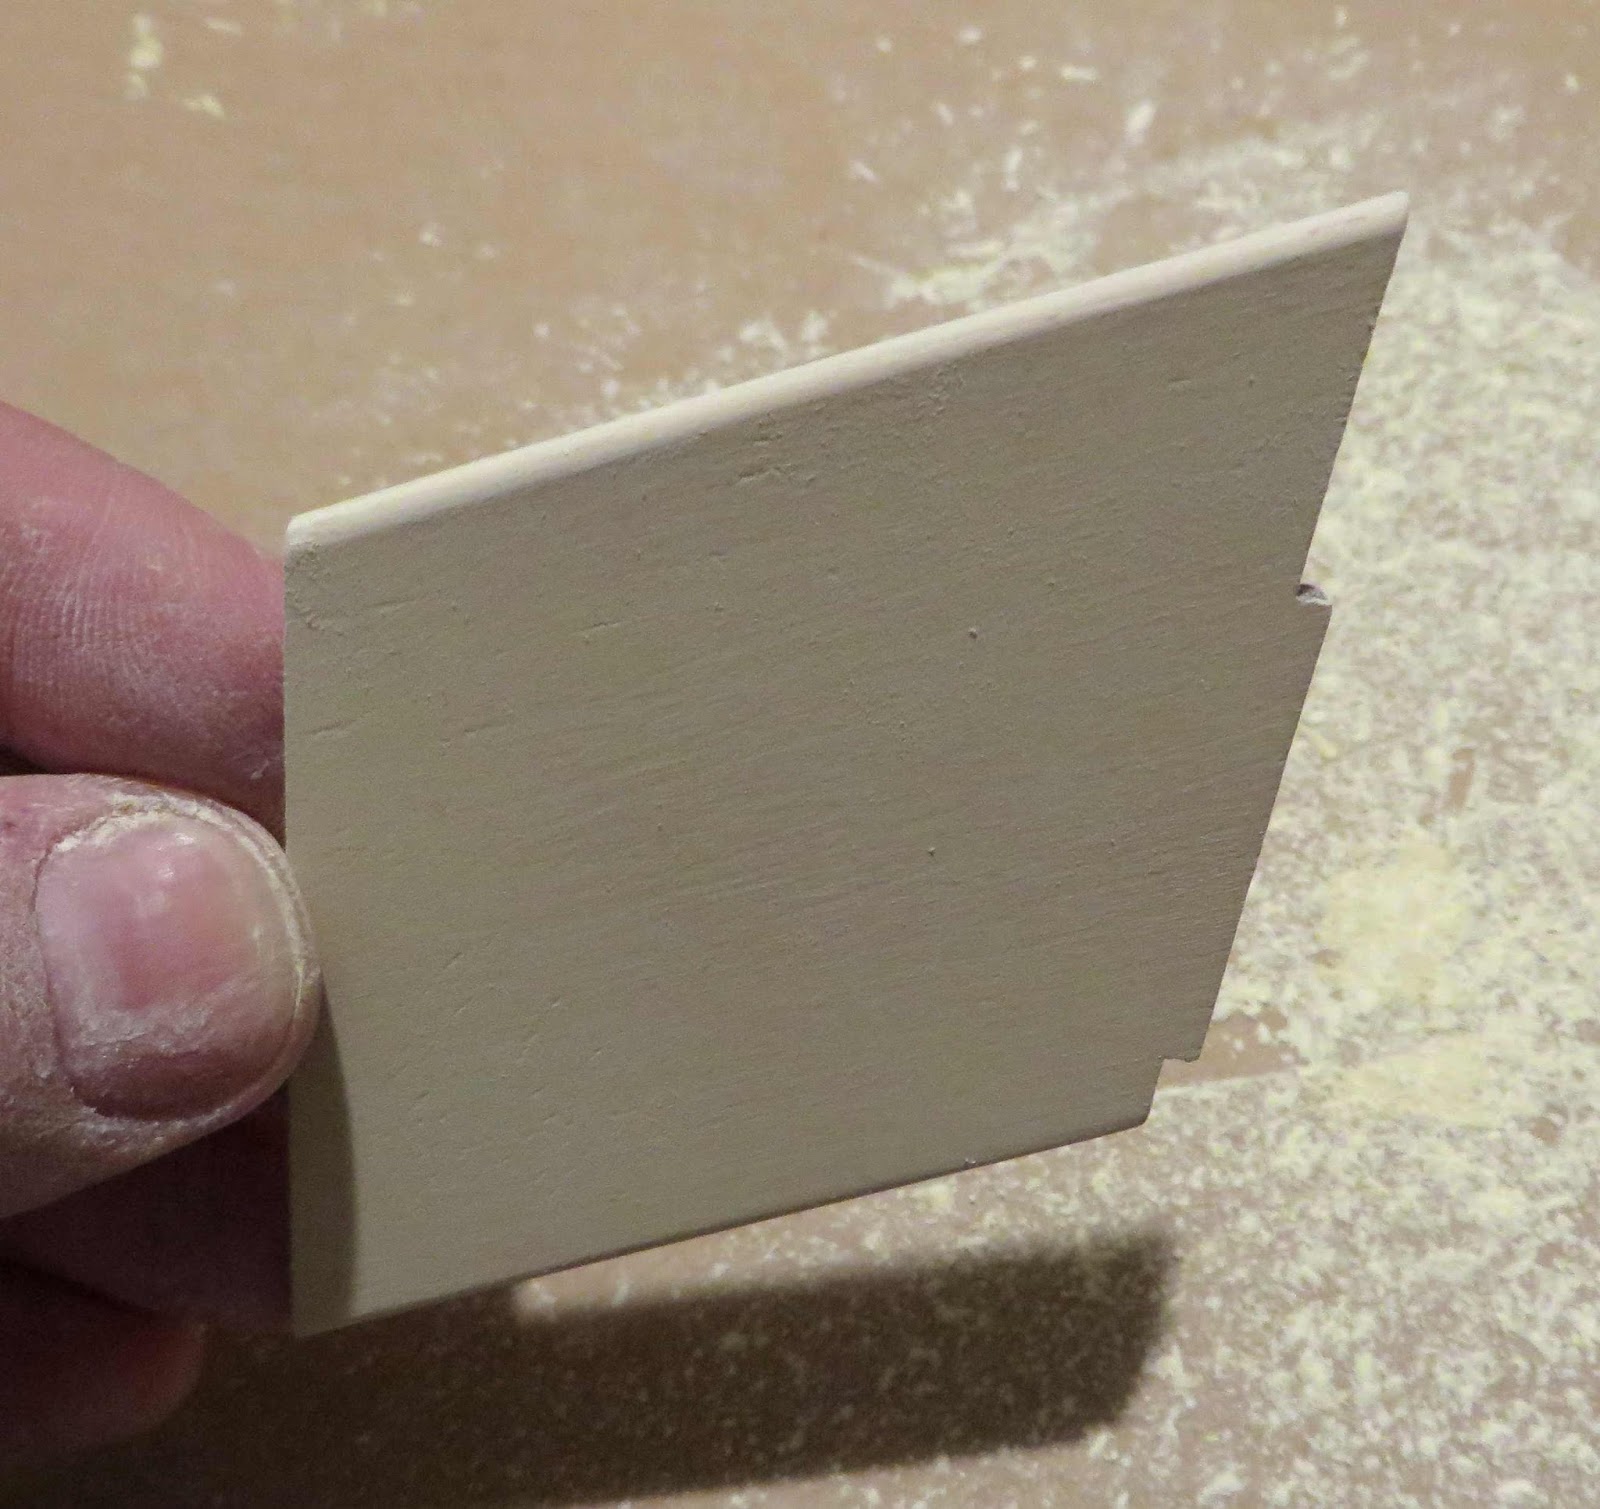
The fin plates are also cut out. There are eight, one goes on each side of a fin tucked into a fillet.

Leave the backing on the pieces. Crease the center line over the side of a straightedge.

The pieces are shown folded in the inset picture.
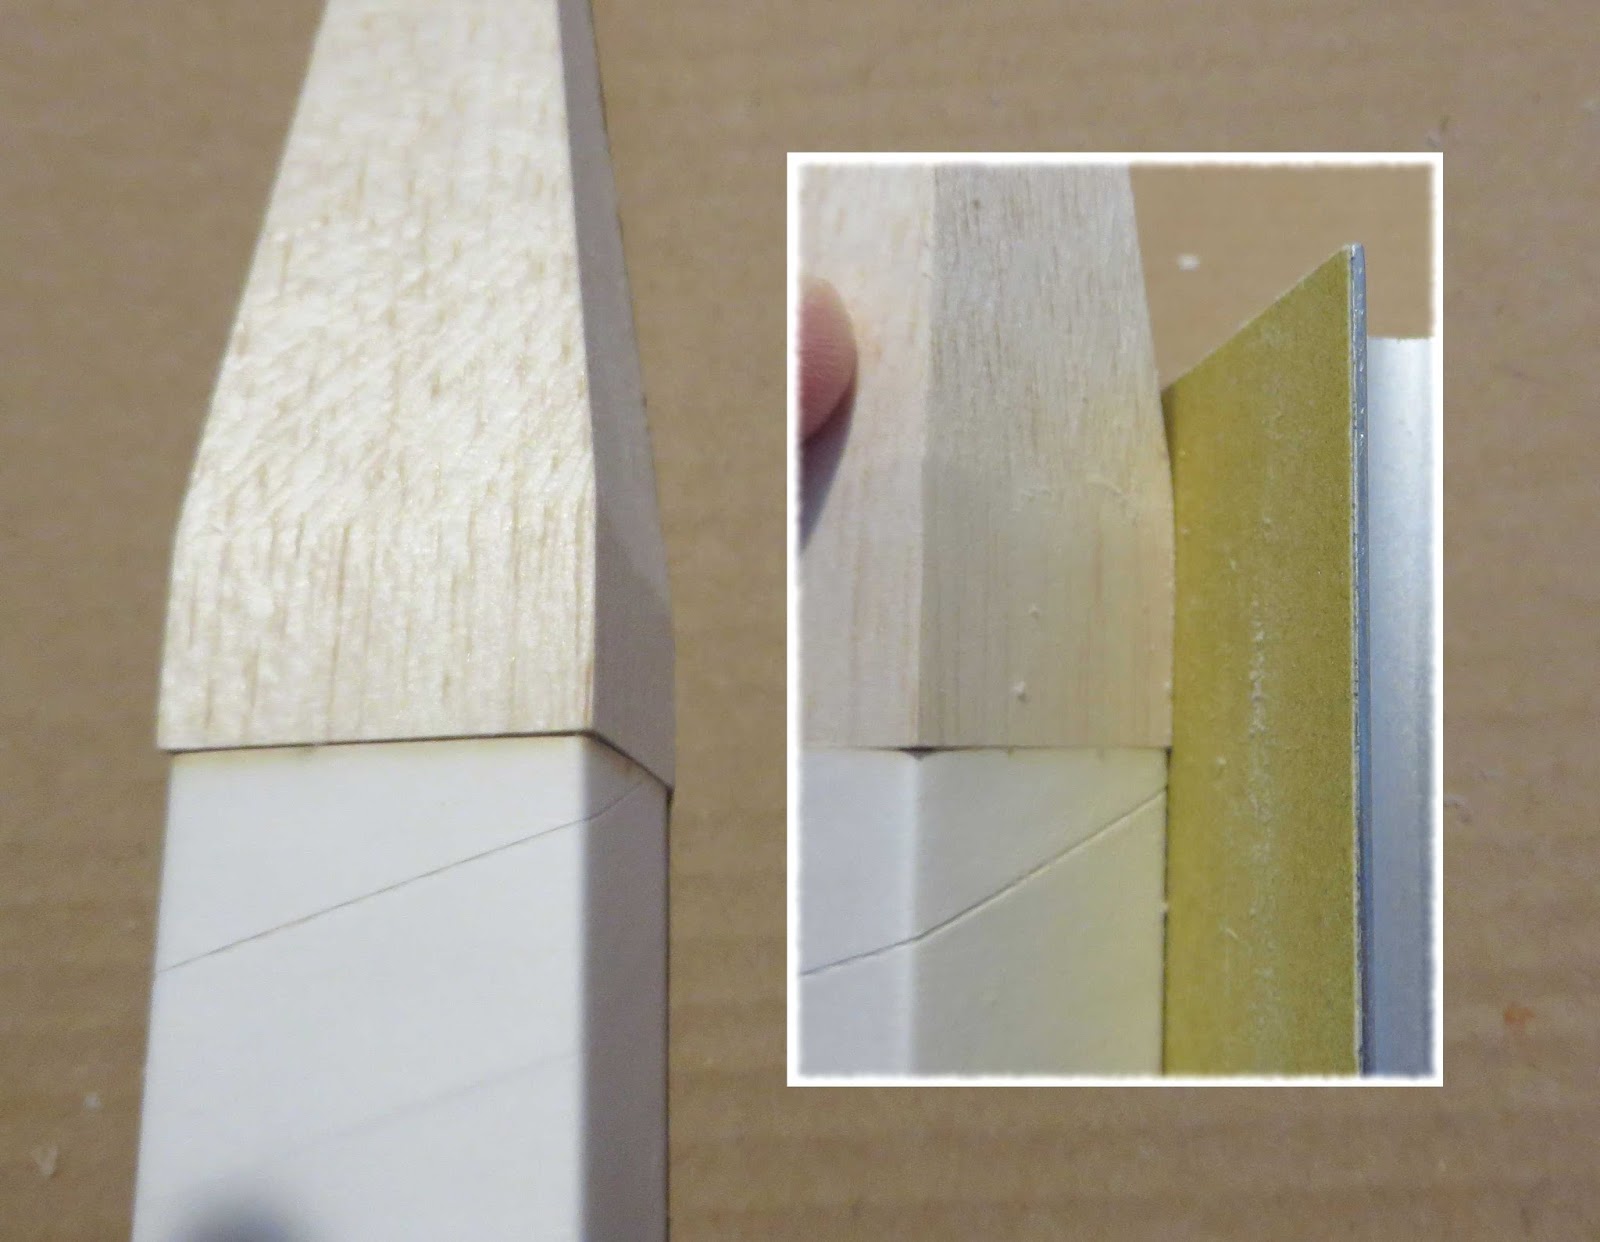
The top of the plates are set 1/2" from the tip of the leading edge.

I cut a business card to the angle of the leading edge. It is marked 1/2" down from the leading edge tip.

The right side of the four fins were pencil marked at the 1/2" mark. You only have to mark the right side of the fin.


Set the plated into the crux of the fin joints using the tip of your knife.


Don't burnish until you are sure the crease is centered and into the fillet.
Set down just the four right sides for now.


Look onto and over the leading edge to line up the left side plates.

Tuesday, January 19, 2016

New Way A-20 Demon Build Part 14, More Chrome Trim


I checked the width of the low wrap around the upper part of the body tube. It's easier to mark the edge cuts without the trailing edge of fins in the way.
I tried to trim the ends so the butted seam would be centered between the series of doubled row dots.


The "zig-zag" line is first centered on the body tube corner.


The applied low body wrap.

Monday, January 18, 2016

New Way A-20 Demon Build Part 13, More Chrome Trim


Don't set the edge down first, center and set down the adjacent side first.
Go slow. Rub your finger over the corners to coax the wrap over them.


Keep the backing on the wrap and only remove it as needed going  around the square tube.


Here's the finished payload tube.

This metallic wrap isn't quite as shiny as the chrome wrap in the old Estes kit. That's a moot point, this wrap looks great.

Sunday, January 17, 2016

New Way A-20 Demon Build Part 12, Chrome Trim

The large wrap goes around the payload section tube.

The top and bottom are pre-cut. The sides will have to be trimmed.
Trim off the side edge up to the ends of the printed black lines.


With "one-shot" wraps you've got to plan ahead.
Before applying the wrap, mark the center of the tube flat.
You'll want to center the dots over the pencil mark.


The kit instructions explain how to apply the wrap.

Lift up the backing and trim off about 3/4" of an inch.
You'll be lifting off the backing little by little as the wrap is rolled on.

Saturday, January 16, 2016

New Way A-20 Demon Build Part 11, Masking One Black Fin

One fin was chosen for the black mask. I used Scotch Tape again.

First the sides were set down, centered in the middle of the fillets.
Next a piece was set over the top.
Then two diagonals.
After the picture was taken, four more diagonals were added to further round off the leading edge.

The inset picture has the masking tape pieces over the Scotch Tape, widening the mask area.


A painting wand (dowel with engine casing) was set into the engine mount.
The bottom of a plastic grocery bag was punched over the dowel end. (The stick is upside down in the left side of the picture.)

The open end of the bag is taped around the other three fins and the body tube.


After spraying the tape was lifted.
On the left you can see some black over spray spots above the black fin.

A damp Mr. Clean Magic Eraser took off the paint.

Friday, January 15, 2016

New Way A-20 Demon Build Part 10, Undercoats and Touch-ups


Titebond M&TG was used for fillets. Two layers of fillets were applied.
Run your fingertip down the dried fillet and you might feel some bumps. Those will show up after the paint is applied.

I wrapped some old 400 grit around a Q-tip for cushioned dry sanding.
It only takes a few passes to knock down any raised areas.

The entire model was assembled and sprayed gloss white.

After filling seams and filler primer sanding, these square tubes seem to be a little rougher than a standard Estes style tube.

The first white coat was wet (damp) sanded with 400 grit.
Another white coat and more sanding followed.
NOTE: Never wet sand a model until the color coats are sprayed and the wood and tube surfaces are sealed by the paint.


I sanded into the TM&TG fillets. I thought the dark areas would show underneath the yellow paint.
Some gloss white was sprayed into a small cup. Enough white was brushed on to lighten the sanded through paint.


In the reflected light you can see some touch-up paint on the leading edge.
A touch-up like this can save you from another spray coat.

Thursday, January 14, 2016

New Way A-20 Demon Build Part 9, Primer Sand and Fin Gluing


Here's the before and after sanding down the filler/primer.


The flat sides were sanded smooth first. I tried to avoid the corners, it'd be easy to sand them down and raise a fuzzy edge.

The inset picture shows me lightly sanding the corner edges.


The fins were sprayed with primer/filler before gluing onto the body tube.
After sanding the fin surfaces smooth, the primer was completely removed near the root edge for better adhesion.


Here's the fin slots after the masking strips were removed. Mentioned earlier, the tape strip was a little wider than the slots so the fillets will adhere better.
The paint ridges left from the tape were sanded smooth.


The first fin was glued on.
One good thing about a square tube, it won't roll off the table.

Wednesday, January 13, 2016

New Way A-20 Demon Build Part 8, Fin Gluing and Primer Mask


The fins were filled with CWF and sanded.
Here I turning the fin sides away from a bright light to see if there is any remaining CWF brush marks or grain that needs sanding.
Enlarge the picture and you can see the brush marks that have to be taken down. Any slight remaining balsa grain recesses will be filled with upcoming primer/filler coats.


Primer / Filler will be sprayed and sanded on the body tube before the fins are glued on.
The fins were dry fitted and traced around the leading and training edges with pencil. This will be a border outline for the masking tape strips.


Thin strips of masking tape are applied down the root edge gluing areas. The tape strips are a bit wider than the slots so the glue fillets will adhere after the primer/filler is sanded down.


A painting dowel with casings was fitted into the engine mount.
Paper towels strips were pressed into the open area behind the rear centering ring. This will keep paint out of the engine mount.

Tuesday, January 12, 2016

New Way A-20 Demon Build Part 7, Tube Seam Filling

The tube spirals are a bit deeper than a regular tube.
CWF was applied using an old knife blade.
The knife tip was dipped in the filler. The drop of filler was dragged down the seam about an inch at a time.

The square launch lugs seams were also filled.


After sanding down the dried filler I had to go back a hit a few spots again.

The lugs were glued on, one at the top and the other at the bottom.

The flat side of my sanding block was used to make sure they were even with the tube sides.

The nose cone shape took some getting used to.
I sanded through the filler and into the balsa at the corners.


To re-fill the sanded areas the filler was rubbed on with a fingertip.

Monday, January 11, 2016

New Way A-20 Demon Build Part 6, Engine Mount Gluing


The engine mount was test fitted and didn't need any sanding of the centering rings.

With the engine mount tube and outside body tube ends even, the rings shouldn't be in the fin slots.

A glue ring is set right above the top of the slots, 2 1/4" from the rear. You can use the kit provided Q-tip to apply the glue.

The mount was slid in. I used my sanding block to push the mount in and flush with the outside main air frame tube.


To fillet the rear ring, a drop of glue was set in the corners.
A Q-tip was used to spread out the glue along the joint, a finger would never fit in there.

Saturday, January 9, 2016

New Way A-20 Demon Build Part 5, Nose Cone Shaping


I tried to fit the nose cone shoulder into the body tube but could see it was too large. The shoulder corners were being compressed and torn.

Like the connector in the last post, the shoulder width was reduced and the corners slightly rounded.


Once in the body tube you can see the nose cone overhanging the tube.
The sides were sanded down to the body tube sides with a block.
The nose cone corner sides were also rounded to match the tube.


The original Demon had a rounded nose cone tip.
You could leave the nose cone squared off but I rounded it.


Here's the shaped and fitted nose cone ready for filler.

Thursday, January 7, 2016

New Way A-20 Demon Build Part 3, Engine Mount and Parachute Assembly

I'm surprised I didn't take more pictures of the engine mount assembly. Notice the wide sleeve that holds the engine hook in place.
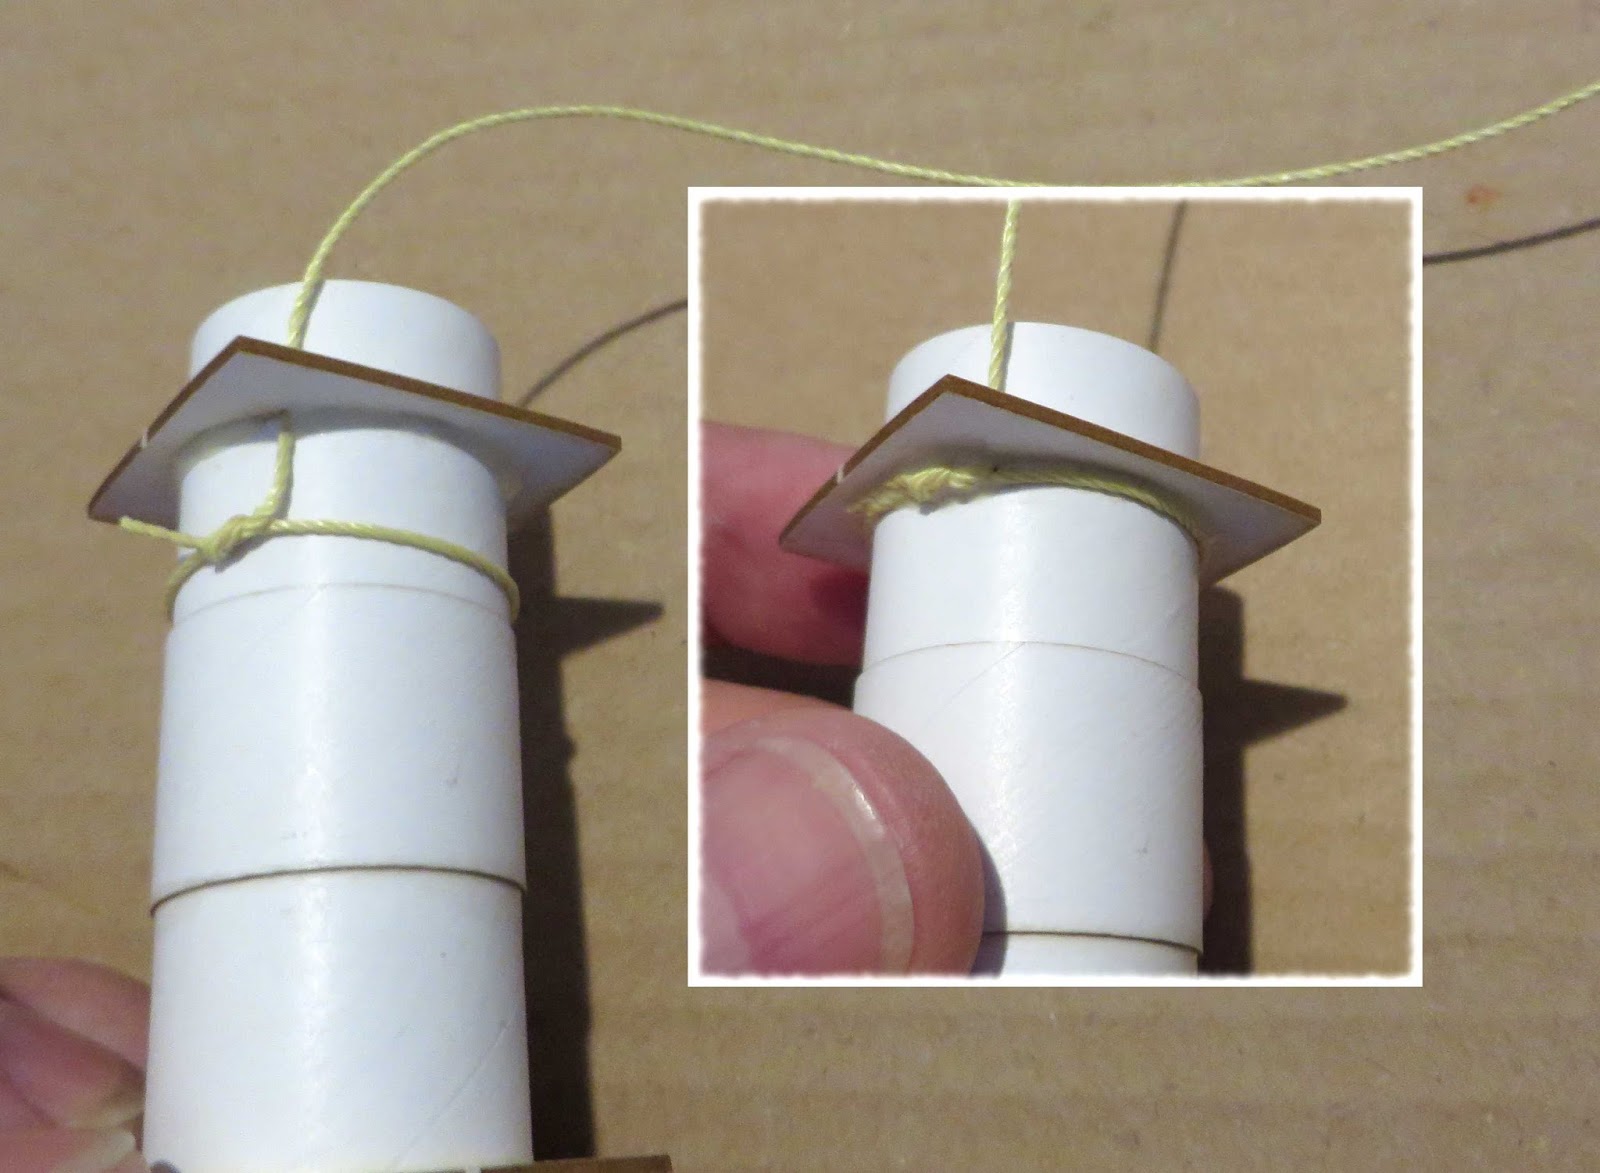
Here is the Kevlar tie at the upper centering ring. On the left the Kevlar loop is pushed down, away from the joint.
Apply a glue filled. After the fillet has just started to set up, push the Kevler loop into the glue.


The center of the shroud line attachment tab isn't sticky. Just the outside squares have adhesive on the back.

There are holes punched in the parachute material for the tab placement.
I used my knife tip to slide the tab underneath, centering iit under the punched hole.

Fold the upper half over and onto the top of the chute.


You can see the open area on the outside tab fold.
The shroud line is tied through the open fold.