Saturday, August 31, 2024

Enerjet by Aerotech, Astrobee D Build, Part 22, Coupler Gluing

Here's the directions to glue in the tube coupler.

While the model is constructed using medium CA glue - 
I'd recommend using epoxy for gluing in the coupler.

If you don't have experience using two-part Epoxy glue:
1. Wear gloves, you might be allergic or over time develop a epoxy skin reaction.
2. Parts (like couplers) glued using epoxy can slide before it sets up. Slide the coupler in up to the 3" pencil mark, but check back every few minutes while it dries. If drying vertically, the coupler/tube assembly could slide and lock up in the wrong position.

I used a rolled up grocery bag to keep the shock cord inside and out of the way.

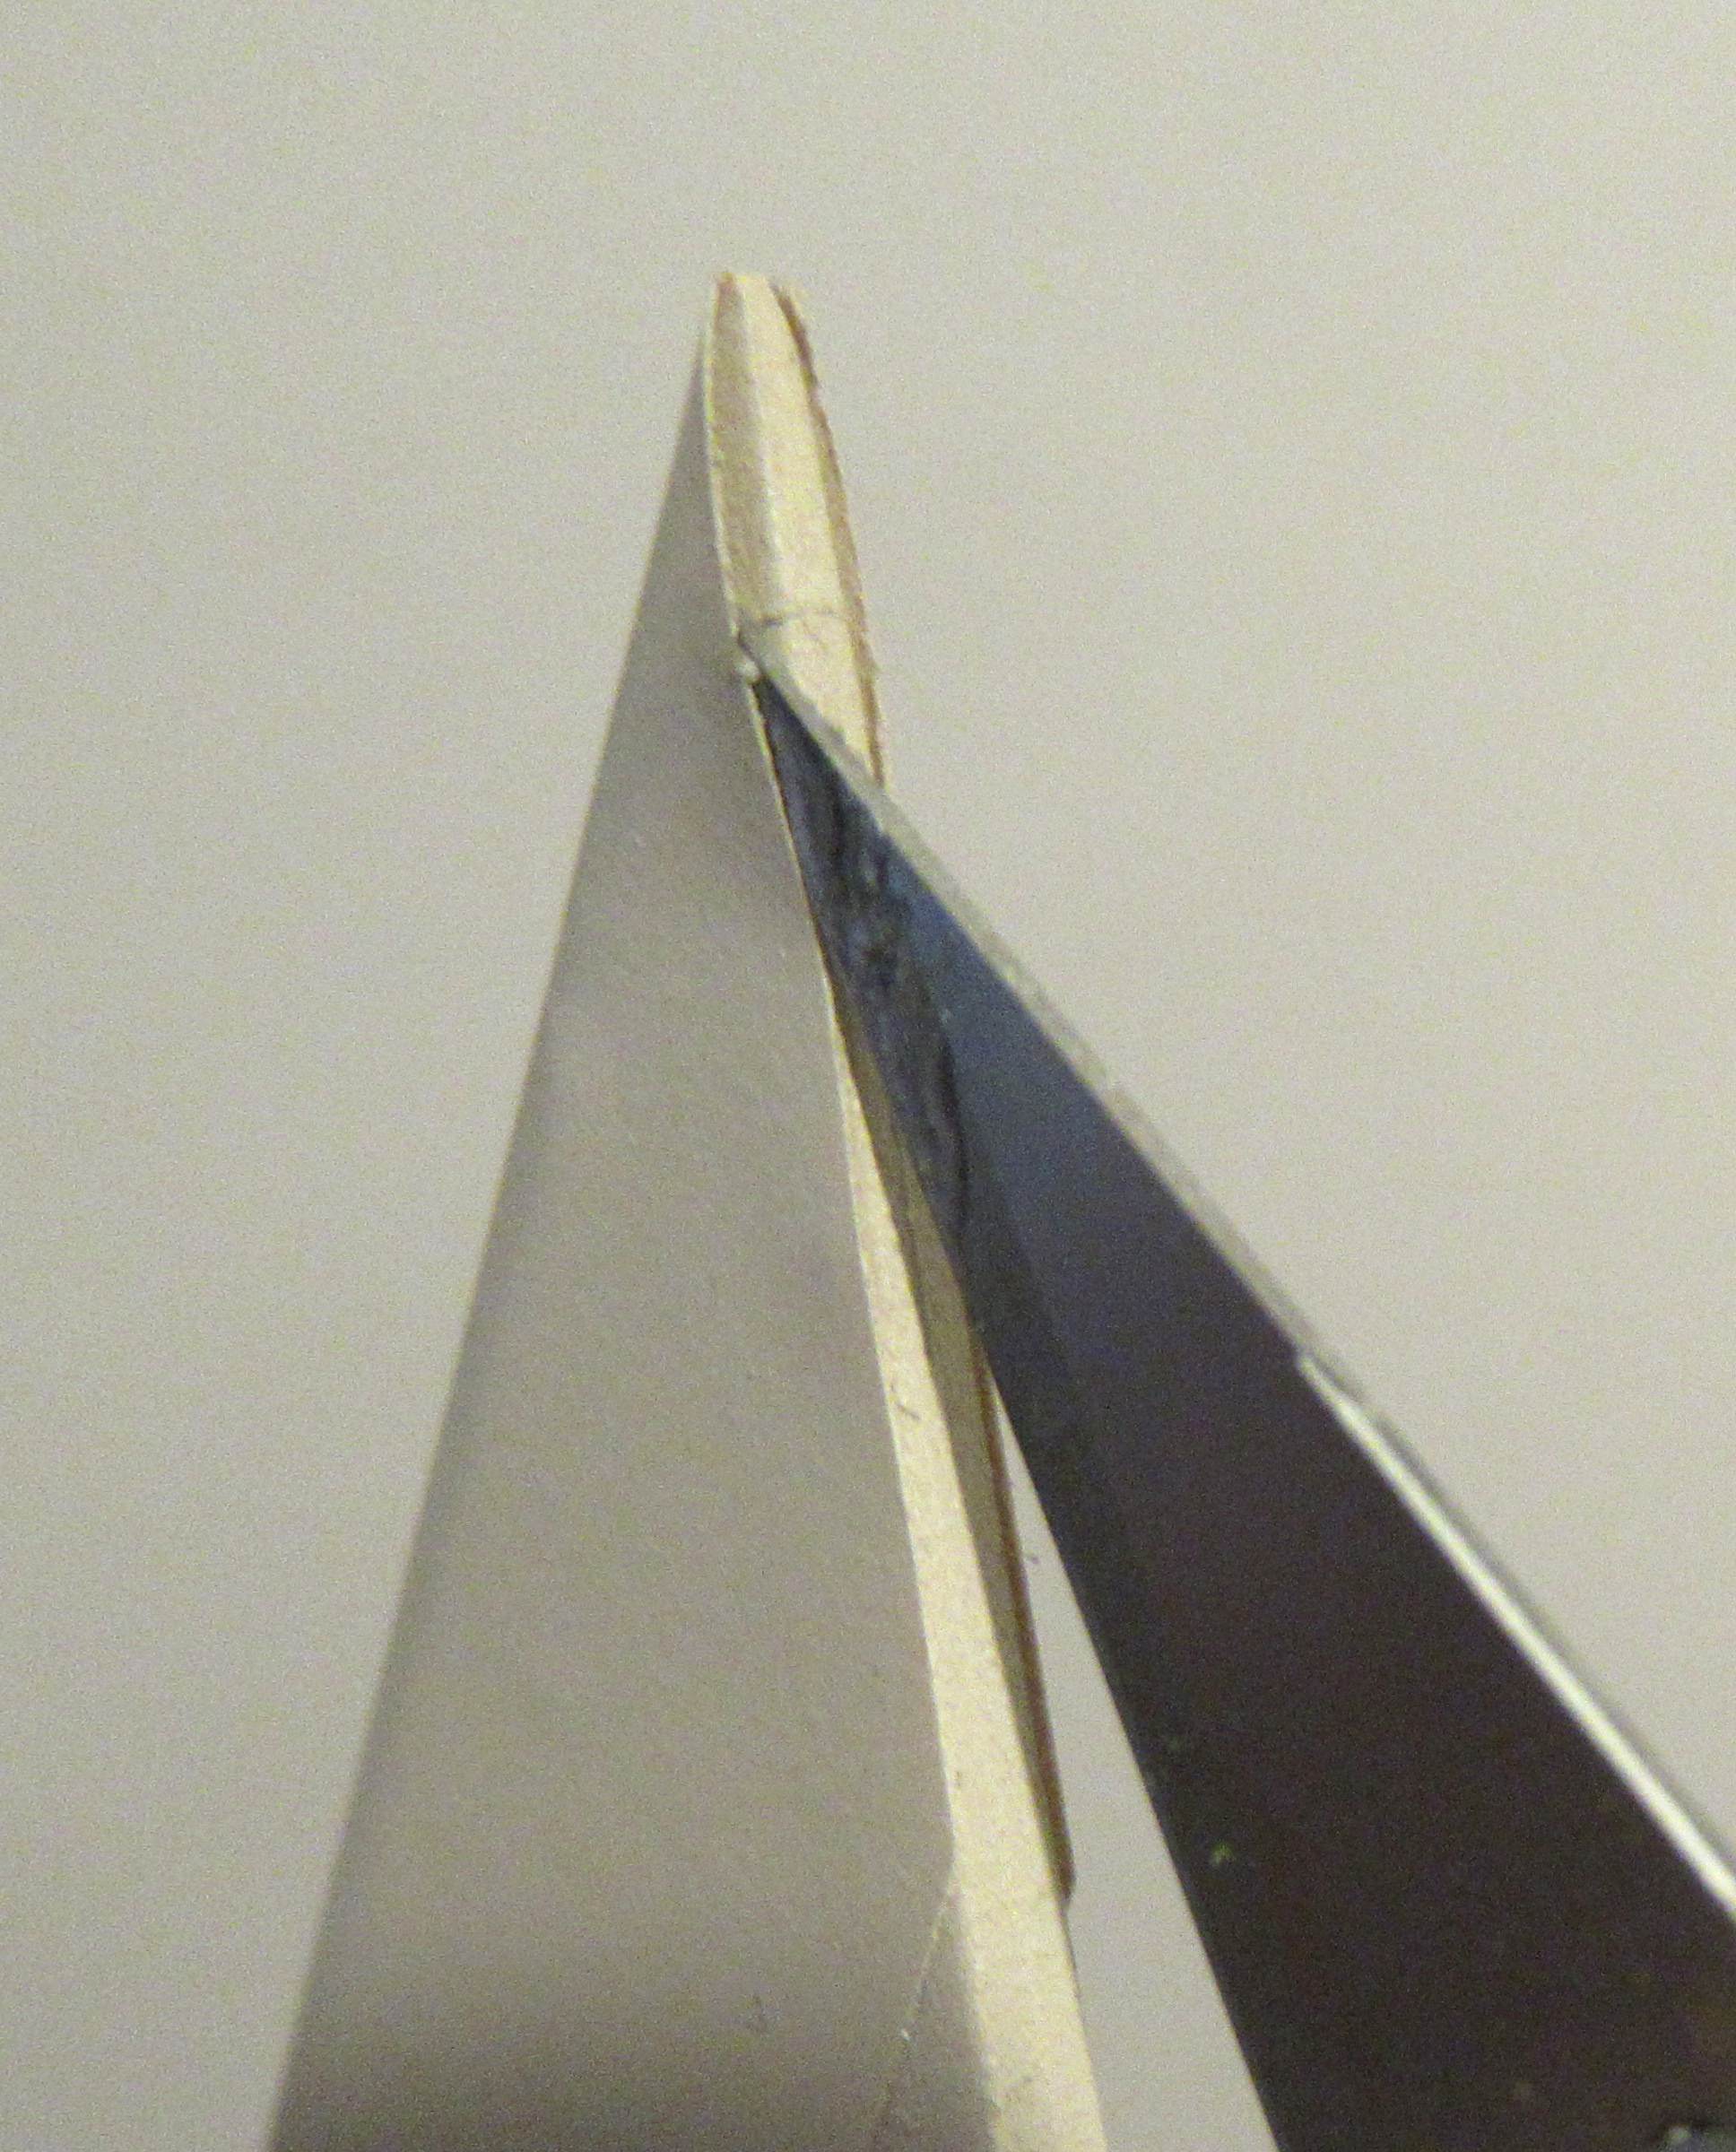
Epoxy was mixed and applied inside the upper tube so any excess would stay inside and not be squeezed out onto the coupler.

The coupler is slid in and turned while sliding it up to the 3" pencil line. 
Turning the coupler spreads the glue evenly and makes a smooth fillet bead at the top inside edge of the coupler.

Friday, August 30, 2024

Enerjet by Aerotech, Astrobee D Build, Part 21, Launch Lugs

The launch lug slots are precut. After painting the body tubes, the slots are cut out.
I wanted to scrape the paint for a strong adhesion of the medium CA glue.

Pencil in guidelines inside the width of the launch lug.
Notice the bottom line is a little short, above the bottom of the slot. The upper end is a bit longer.
Check the right side of the next picture. The molded slot is even with the bottom and below the top of the lug.

The paint is scraped off inside the pencil line.

The bottom of the lug is not curved but flat.
I scraped a little more near the slot to flatten out the body tube curve. This will make a stronger glue joint.

On the right, CA glue is applied more to the center and away from the edges. This will prevent any glue squeeze out when the lug is pressed in place.


The lug is pressed into the slot and held as the glue sets.

Notice the paper towel taped around the flat finish paint on the body tube. This keeps finger oil stains off the body tube. Flat finishes are a dirt and finger oil magnet.

Tuesday, August 27, 2024

Estes #2157 Saturn V Tower Fix

I've run into delays while spray painting the Astrobee D. August rains and humidity have delayed the build. 
Here's another small project I've been working on.

A contract build of a Saturn V had broken tower. The tower was broken beyond repair. Luckily I have an extra #2157 capsule and tower kit.
This was a display build, not meant for flight. 
I wanted to figure out a way to prevent a future tower break if the model were to fall over again. 

I decided to do a friction fit of the legs into the holes at the top of the capsule. If the model fell over, the tower could flex and pop off in one piece. That's what I'm hoping for anyway - 

The problem - 
The tower legs have too loose a fit into the capsule holes.

I squeezed a small drop of Beacon Fabri-Tac glue into the holes and cleaned off the excess glue. Don't use much glue, you don't want it to melt the plastic. 

I used the thicker Fabri-Tac as it would fill the holes. Liquid (brushed on) cement would be too thin for this.

The glue completely covered the holes and if allowed to dry you couldn't push in the tower ends.

Open the holes slightly with a round toothpick. You want to leave some glue on the inside hole wall to make the inside diameter a bit smaller.

Let dry and test the fit. I did two applications with the glue and toothpick.


I got a good fit of the tower.

Many builders won't fly a delicate tower on their scale models. The older Centuri Mercury Redstone instruction say to insert the top spike (no glue) for display, remove it for flight.

Sunday, August 25, 2024

Enerjet by Aerotech, Astrobee D Build, Part 19, Fin Tip Lift Fix


Like the leading edge sticker lift,

The rolled over tip of the strip was starting to lift.
This would show as a swelling on the finished model.


A drop of medium CA was set on scrap cardboard.
I dipped the tip of an old X-Acto blade into the CA.

The glue was dragged down into the open gap.


The gap was pinched between my thumb and forefinger while covered with a paper towel.

Pull up as you squeeze the sides together so the paper towel absorbs any glue that is worked out.


Here's the formed tip with the sticker swelling glued down.

This had to be done on all four fins.


Thursday, August 22, 2024

Enerjet by Aerotech, Astrobee D Build, Part 18, Paint & A Fix

Finally get to add some color!
It's been difficult with the afternoon rain. I like to wait two days before masking and spraying over the first color. Just when I'm ready to spray around 2:30 p.m. (when the humidity is low) the rain starts.

The low end of the lower body tube gets a around the tube mask and black paint sprayed. I know it's gloss, but I'll follow up with a clear dull coat.
The high end of the upper tube gets a darker gray.
The picture on the left shows the mask, the right side picture is after the tape was lifted.

There are actually four different colors on the main body. From the bottom up is black, then insignia white - a very light gray.
The upper tube is insignia white and a darker gray is at the top. 
The nose cone is sprayed a light gray which is darker than the insignia white.

I placed the sticker strip over the leading edge as evenly and tight as I could.
Two days later, a lift shows. 

FIX: I carefully cut through the center of the lift area. One side was pressed down, the other side "flap" was folded over. The right side picture shows the fix. 
Maddening.

Tuesday, August 20, 2024

Enerjet by Aerotech, Astrobee D Build, Part 17, Fin Leading Edge Sticker Fold


With the backing still in place,
Cut the round ends. 
Look from the back, it's easier to see the roundness of the cut.   

Before peeling off the backing, 
Wash your hands, wipe down the fins. Any dust or speck will show up as a bubble when the sticker is pressed into place. 
Try not to touch the sticky side any more than you have to.
Here's the sticker spread out over the leading edge of the fin.
Only the fold peak is touching the leading edge.

On the left is the sticker up to the root edge corner,
On the right is the sticker laying over the outside end of the leading edge.

Be sure the tick marks are centered at the top and bottom.

With the leading edge fold touching only the fin leading edge, 

Start with a small pinch, just at the top. After working down the edge, widen the pressure and stick down the sides.


Here's the fin roll over wrap in place.

On the left is the tip of the leading edge,
On the right is the outside edge.
That black ink will be lightly scraped off.

As careful as I could be - 
I still didn't get a smooth overall transfer of the trim piece. Good, but not a perfect tight fold roll over the leading edge.

Monday, August 19, 2024

Enerjet by Aerotech, Astrobee D Build, Part 16, Fin Leading Edge Sticker Fold


These clear strips are peel and stick "decals". They are folded on the dashed line and roll over the leading edge of the fins.
I was concerned that the black lines would show through the tan paint.
I did a test scraping on the "Manufactured by Aerotech" print line. The print ink was thick but scraped off fairly easily.


Cut the strips just inside the black lines.  
Cut the low end (shown here) a little longer than I did. You can trim off the overhang after applying.

TIP: As printed, these are short. You'll want the strips a little long so they will completely cover the full length of the leading edge.

Start coaxing the fold. I set the strip (with the backing still on) over my metal engineer's rule. A crease was started by rolling a Sharpie burnisher over the edge.

Pinch the strip over the ruler edge with your thumb and index finger down the length of the strip working a fold into the center line.

After burnishing in a sharp fold, 
You can start scraping off the dashed line ink. 

Scrape lightly - you'll feel the raised dashed line under the blade.


Leave the one dash at the front and rear for a reference when setting the sticker over the leading edge.

Sunday, August 18, 2024

Enerjet by Aerotech, Astrobee D Build, Part 15, Flat Finish & Fin Fix


Now that more paint has arrived - 

Here's one of the two body tubes after spraying with the insignia white. You can see there is a bit of tan and gray in the color mix.

TIP: This is a flat finish paint, so I'm handling it with a paper towel. Oils from your skin can mar and stain the finish.
Here's one of the fins after painting with a flat tan. I painted the fins before adding the "decal" sticker strip over the leading edge. (More in the next post)
That sticker strip would get in the way of any sanding or scratch smoothing.
 
There was a bubble under the paint in the "skin" surface of the fin. 

I didn't want to cut out and leave a depression that would have to be filled. I lightly sliced into the bubbles with a sharp knife.
I didn't remove the thin, loose plastic flap.

A drop of medium CA was set on scrap cardboard. Some glue was picked up and rubbed in using a toothpick allowing the glue to get underneath and into the bubble.
The surface was pressed and rubbed smooth.

The glued  area was sanded with some old 400 grit followed by 1200 grit to smooth.

Thursday, August 15, 2024

Saturn V Flight Video


Estes just released a video of the new Saturn V kit.

I built this "Flight" version for Estes.
Display or "Photo" models are better finished and more detailed.
This build got a gloss finish because it would be handled. Flat finishes pick up dirt and oil stains from fingers.

Good thing it was stable!

To see the video: CLICK HERE


Wednesday, August 14, 2024

Tuesday, August 13, 2024

New Estes Saturn V Kit Available

The newest version of the Estes Saturn V kit is now available!
A few months back I built a pre-production, flight version of this kit for Estes. It just showed up in a promotional launch video, keep an eye out here for a link in a day or two.


On Facebook, Andy Northern mentioned that the kit now includes wrap around painting guides!
This is a MAJOR improvement over trying to mark a round tube with a ruler and pencil.

To see the kit instructions, they are posted on the Estes website: CLICK HERE


The kit also uses a Kevlar tie for the shock cord attachment.
The centering rings get a two layer cardstock reinforcement.


Here's the Kevlar loop tied into the adapter.


If you haven't built a Saturn V in a while, 
The kit now has a 29mm screw on retainer for the recommended E16-4 and F15-4 motors.


You are instructed to use a knife tip to drill holes in the command module tube for attachment of the thrusters.
TIP: Use a pin tip to make the holes. A knife blade will make a hole too large for the small pin on the back of the thrusters.

Monday, August 12, 2024

In My Other Previous Life-

While I wait for the Insignia White spray paint to arrive, 
I may have to fill with other blog posts - 

"All rockets and no play makes Jack a very dull boy" 

What you find when you clean out the garage -
I inlayed this banjo neck 25 years ago but never bound or mounted it.
It's an old, seldom seen Gibson pattern.
 

Sunday, August 11, 2024

Enerjet by Aerotech, Astrobee D Build, Part 14, Antennas


Here's one of the antenna shoes.

The metal tube is loose sliding onto the round pin.


Lightly crimp the antenna tube with flat pliers. Any pliers with teeth will mar the smooth tube.

Crimp a bit and check the fit. Continue until you get a friction fit on the shoe pin.


The tube should have a friction fit on the antenna shoe for display.

The tubes are removed for flight.

Saturday, August 10, 2024

Enerjet by Aerotech, Astrobee D Build, Part 13, Painting The Body Tubes

Well, that was disappointing.

The Astrobee D build instructions call for Insignia White for the body tubes.
I had never heard of Insignia White and after a search,  I found Tamiya spray cans on Ebay. I ordered one can of 100 ml, which is equivalent to a 3 oz. can.

I have used Testor's Model Master spray paint before. A three ounce can easily covered my Launch Pad Pershing and I had paint left over. That Pershing had more surface area to cover than the Astrobee D.

The Astrobee D has two 27" long tubes, 2.7" in diameter.
A single Tamiya three ounce can did not cover the two tubes even over a white undercoat!
The picture on the right shows the difference between a white nose cone and the flat Insignia White on the body tube. The insignia white has a touch more gray than a regular white paint. 

I had to order two more cans to guarantee complete coverage.

Friday, August 9, 2024

Enerjet by Aerotech, Astrobee D Build, Part 12, Antennas & Launch Lugs

There are mold marks that should be filled.

Sand down the high spots, the low circular dips remain.

I mark the depressions with pencil


The flat back side needed a small bead of CA filler. 

The round depressions easily hold a small drop of CA glue. These CA bead fills take a while to dry. 


Here's what left of the pencil mark and dried CA after sanding with a block. The dimple is filled and the pencil won't be seen under the silver paint to come.


The square 1/4" launch lugs are molded in black plastic. 
I wish these were molded in white, they'd be easier to paint. 

The sides aren't perfectly flat, as some light sanding shows on the left. Sand flat with 400 grit on a block.

Thursday, August 8, 2024

Enerjet by Aerotech, Astrobee D Build, Part 11, Forward Lug Rail Fastener


Here's the bolt placement pattern.
The arrow points to the outside. The bolt rows aren't at the center but are a little closer to the inside vertical bar.

I've extended the center lines with pencil.

Set the pattern inside the fastener and to the side to make pencil placement marks.


Extend the pencil marks across the base.
Mark the vertical center lines.
A drop of medium CA glue was set on scrap cardboard.
Use tweezers to hold and position the bolts.

Dip the flat bottom in the CA glue, touch the bottom on the cardboard to remove the excess glue.

Set and center the three inside bolts first.


To make a CA glue fillet,
Dip a toothpick into the drop of CA. Wipe off the excess.

Run the glued tip around the sides of the bolt already in place. Don't use much glue.

Set the two outer bolt heads and fillet.


Here's how the bolts sit, three inside in one line,

Two outside bolts in a line.

Repeat on the other side.

Tuesday, August 6, 2024

Enerjet by Aerotech, Astrobee D Build, Part 10, Forward Lug Rail Fastener


Here's the other side showing the molding tab cut a little wide, away from the bolt washer. 

Carefully trim away the mold tab with a sharp knife. Make small chip cuts.


It's easier to check the roundness looking at the flat, back side.

Before and after sanding with 400 grit on a block.


All the fasteners are stored in a zip baggie.

While I was supplied with two extras, they could be very easy to lose.