Showing posts with label AE Arreauxbee-Hi. Show all posts

Thursday, October 31, 2024

Enerjet by Aerotech, Arreauxbee-Hi, Finished


Here's the finished model.

The 30" rip-stop nylon parachute is attached to the long 1/4" wide elastic shock cord, 12" down from the upper body section.

The aluminum motor retainer is adhered to the end of the motor tube using 15 minute epoxy.


The low end with the six AT-022 fin stickers.


The fun part was getting all the pieced runway/tunnel pieces to line up.

The upper body payload section with the Aerotech General and Arreauxbee-Hi decals. Pieces of masking tape were set down as outside edge guides before centering and placing the two stickers.


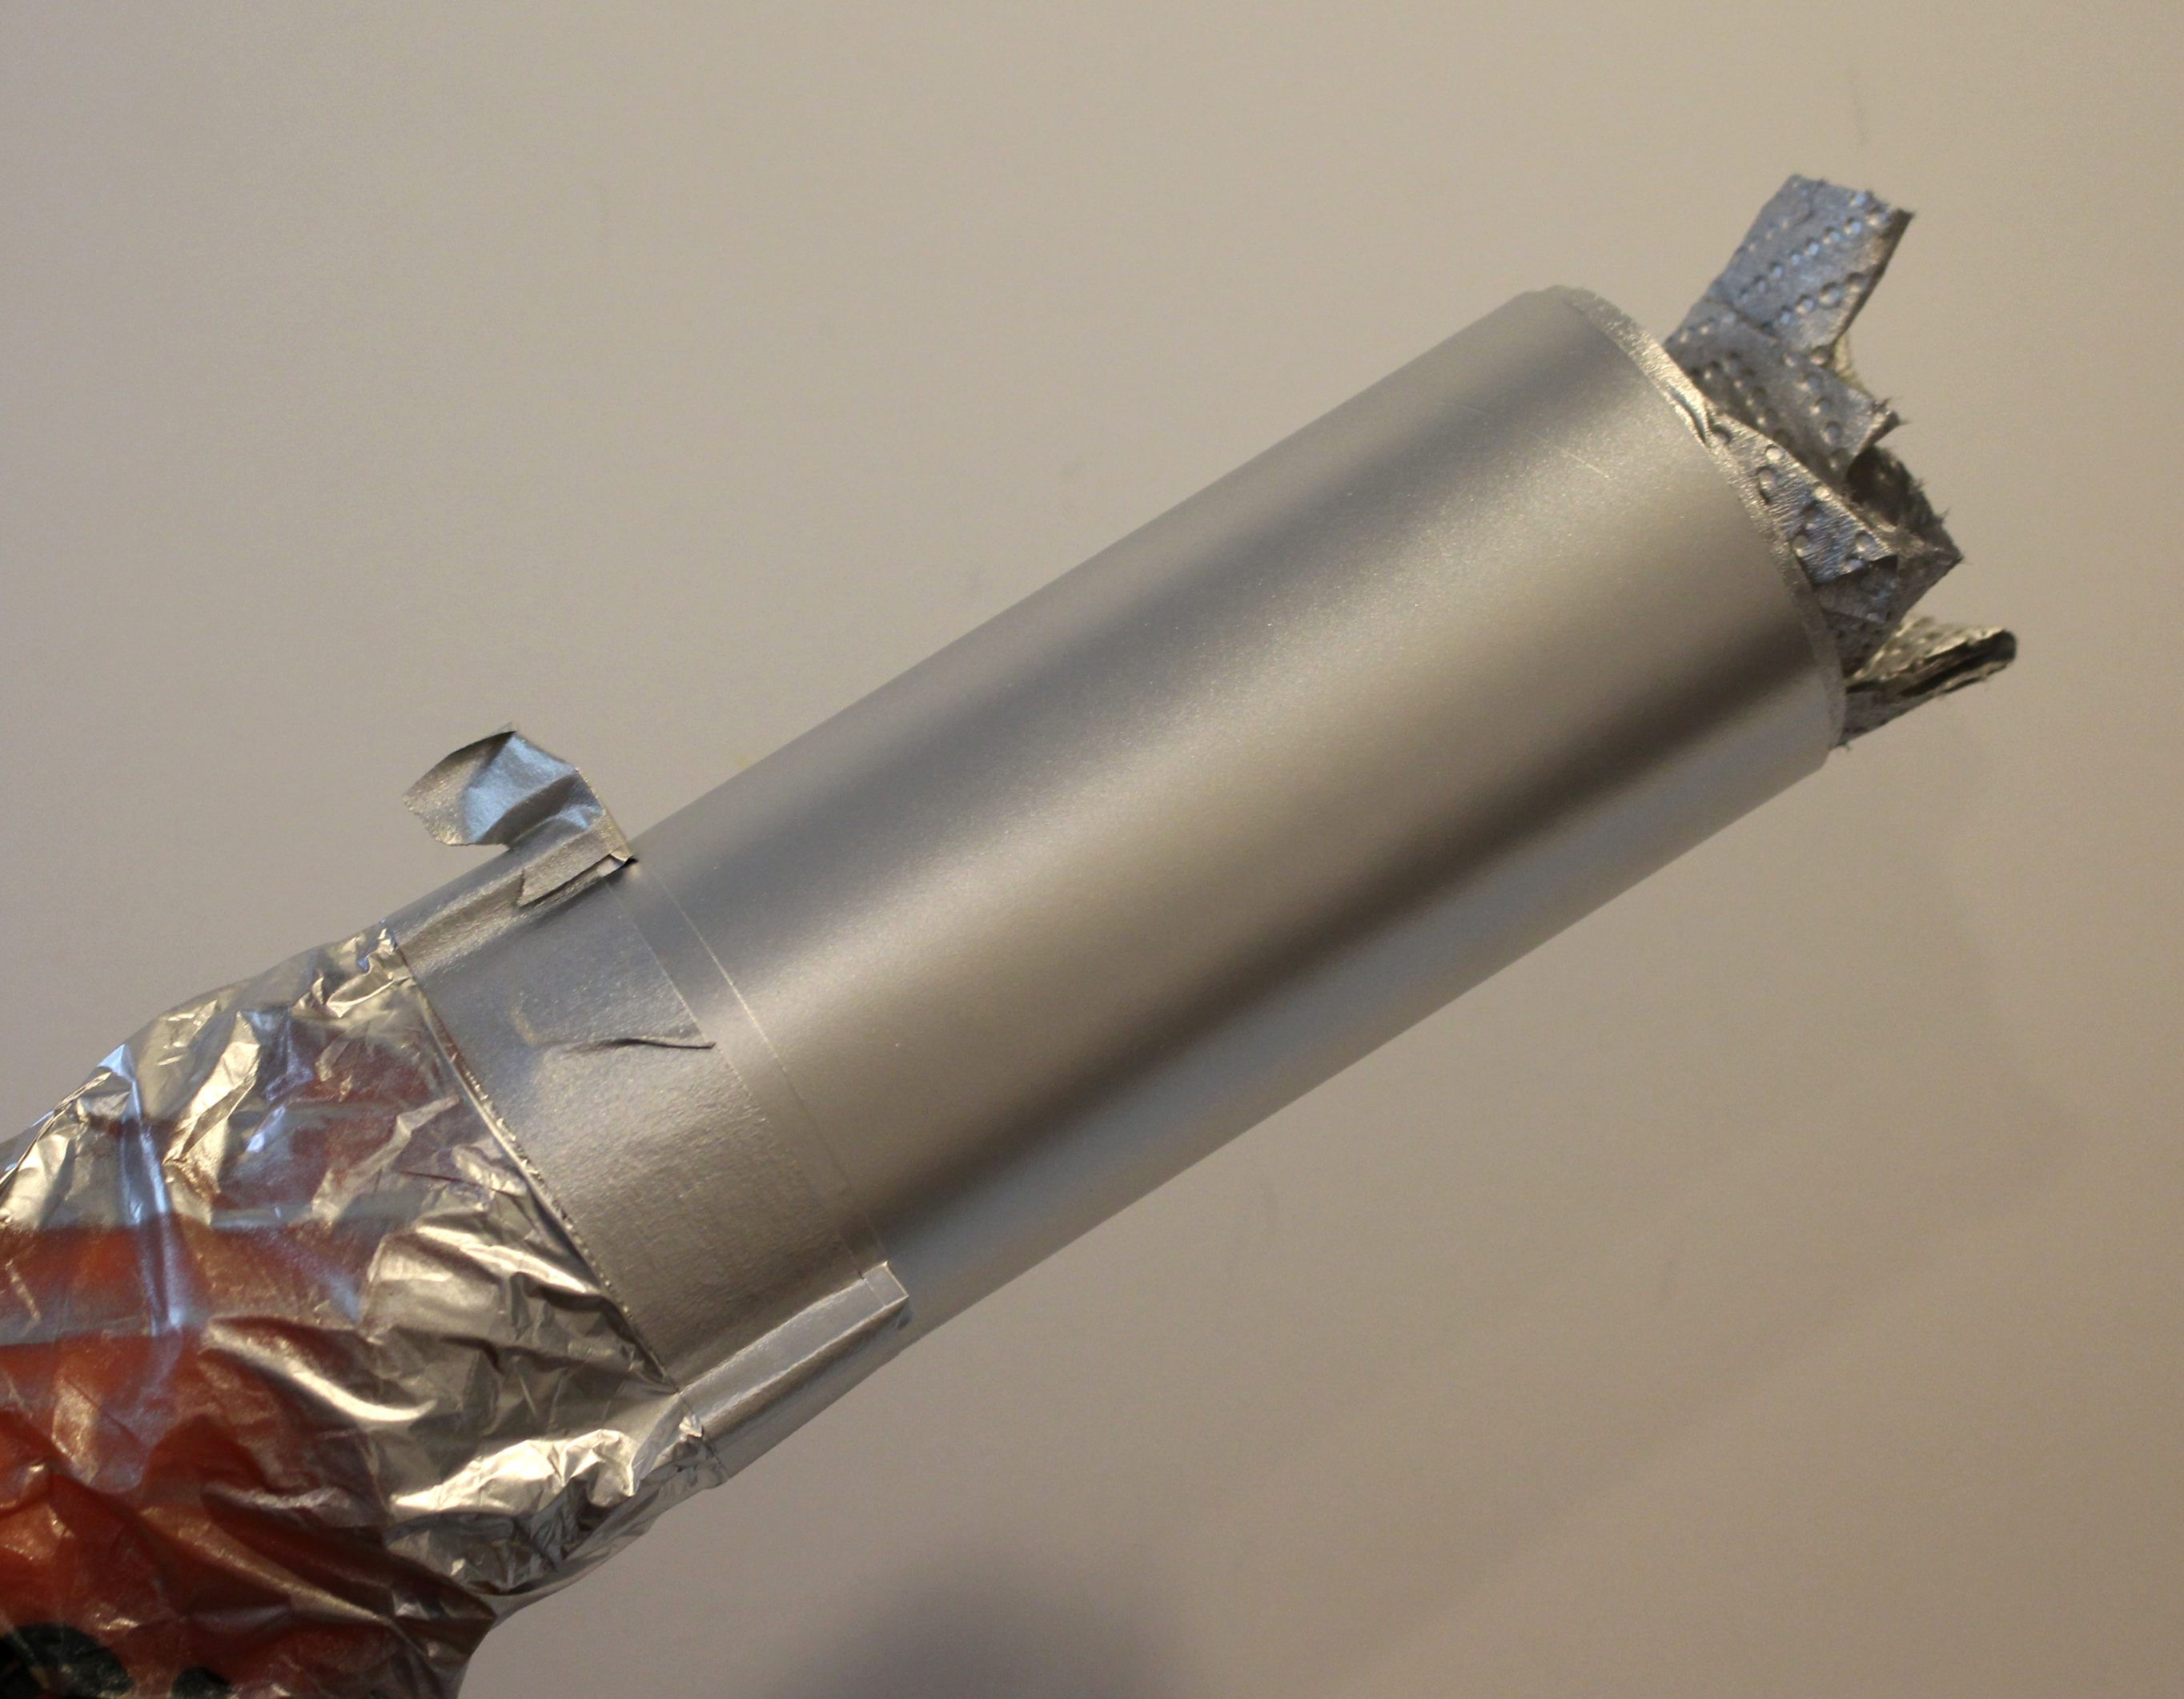
The long nose cone and upper body painted silver.

Wednesday, October 30, 2024

Enerjet by Aerotech, Arreauxbee-Hi, Part 20, Fin Sticker Placement

If you can, try not to touch the adhesive side of the stickers.
Fingerprints can show under the sticker. I pick up and position them while stuck to the tip of my knife blade.

Before using your knife for this, wipe off and clean the blade. You want to keep the sticky side clean. 


After the backing is peeled off, 
Dip the sticker in water. This allows re-positioning on the fins. Before setting the sticker onto the fin, wet the fin where the sticker will go.


The sticker on the fin. The template window is used to check the position, centering and horizontal alignment.

This is the same method I used when placing decals on the Saturn V fins.


Here's another AT-022 sticker on the other side of the fin.

Work out the excess water using a Q-tip, rolling out the water and air from the center out to the sides.

Tuesday, October 29, 2024

Enerjet by Aerotech, Arreauxbee-Hi, Part 19, Fin Sticker Template


The AT-022 fin stickers go on both sides of the three fins. Make a template out of cardstock so all the stickers will be aligned.

It's hard to see with the white on white - 
There is some cardstock behind the fin. Set the left straight side of the cardstock into the root edge.

Trace around the fin with a pencil


Here's that cardstock tracing with a sticker window cut out.
The cut out window position is approximate using the box photos.

Lay a piece of clear Scotch tape over the window and cut out the window. You can see it if the pic is enlarged.
The sticker will be dipped in water to allow repositioning. The Scotch tape window border will prevent the excess water from soaking into the cardstock.


Here's how the window fits the AT-022 sticker. 

The bottom trailing edge has been cut off the template for easier alignment on the trailing edge of the fin.

The template can be flipped over and used on both sides of the fins.

Monday, October 28, 2024

Enerjet by Aerotech, Arreauxbee-Hi, Part 18, Rear Centering Ring

Snapping the fins in place distorts the round tube slightly. While the centering ring is a perfect circle, you might find it difficult to slide the ring in the rear.

There's no way to test the fit, remove it and adjust, so you'll have to do it ahead of sliding it in.

I marked one side so I could easily tell which side goes in.
The inside hole was filed to a slight angle to slide over the motor mount tube.


Notice the angle of the sanding block while sanding the outside edge of the ring.

This makes it easier to to slide past the inside lip of the tube.

The ring is slid in until it rests against the thru-the-wall fin root edges. Now wood glue fillets can be applied 

Notice the outside wrap of motor mount tube has peeled back. This happened when the inside of the centering ring was rubbing against the tube edge. No problem - the aluminum motor retainer will cover it.

Sunday, October 27, 2024

Enerjet by Aerotech, Arreauxbee-Hi, Part 17, Upper Body Silver Mask


On the left is the black marked Scotch tape right above the top of the runways.

Masking tape and paper followed, covering the areas that will be painted silver. 


Here's the full mask on the upper tube after the orange was sprayed.


The tape was pulled.
The upper end, above the top of the runways, is sprayed silver. This required another pieced mask of the orange. It took a few pieces of tape to cover the square tops of the runways.

There is some paper towel in the top to keep paint out of the tube.


This shows a good, clean mask line of the orange and silver.

Saturday, October 26, 2024

Enerjet by Aerotech, Arreauxbee-Hi, Part 16, Single Black Fin Mask


The body is masked off leaving the one fin that will be painted black.

Notice the tight area at the tip of the root edge. The conduit runway is almost butted up against the fin tip. I wrapped masking tape over the low end of the runway.


Again, this took three pieces of tape to follow the complex root edge shape. 

Here's the fin after the tape was pulled.

Friday, October 25, 2024

Enerjet by Aerotech, Arreauxbee-Hi, Part 15, Back To It

Back to building the Arreauxbee-Hi - 
You'll have to plan ahead as to which two fins will be white and the third remaining fin black.
Study the box picture. The name should be place on the body tube, the opposite side of the two launch lugs.
With the name "Aerotech General, Areauxbee-Hi" between two of the runway conduits, you can tell which fin should end up black.
 
The body, fins and nose cone are already painted white.
Don't spray the entire body and fins orange then try to paint two fins white. The white would take too many coats to cover the orange paint. You're better off masking off all three fins before spraying the orange paint. 


Shown above - 
It takes three separate pieces of blackened Scotch tape to follow the molded wedge shaped plastic fillets. 

Shown on the right -
This was followed by brown masking tape and paper to fully cover the fins


After the orange was shot -

Monday, October 7, 2024

Enerjet by Aerotech, Arreauxbee-Hi, Part 14, What's Goin' On?

There's been a short break in build posts - 

Over the past week, Central Florida has had rain at the most inopportune times!
The Arreauxbee-Hi is in white undercoats. I can't add color coats until this hurricane Milton passes by!

There's a reason why I chose to live in Central Florida. Even though the storm will pass right over me, hurricane wind speeds break down as it travels over land.
The residents of the Tampa Bay area will get hit hard. Central Florida will probably have some flooding.

The TV weatherman said something that made me feel better: 
"If your home was built in the past 20 years, it is probably built to withstand hurricane winds."

Friday, October 4, 2024

Enerjet by Aerotech, Arreauxbee-Hi, Part 13, Paint Planning Ahead

Here's the instruction copy on how to paint the model.
While the instructions are basically correct, befoe masking, plan ahead. You don't want to paint white over orange fins. You don't want to paint silver over an orange base color.

I would recommend an overall gloss white coat before other colors. 
Mask off all three fins and the upper body (right at the top edge of the tunnels) before painting the body orange. 
Then paint the body orange.

Mask off the two white fins and body tube. Paint the remaining fin black.

Mask off the area below the upper tunnels ends. Paint the upper body tube silver.


Notice the launch lugs must be behind in the cover picture.
Using that lug placement, plan which two fins will be white and the third black.


Here's my build, with the white undercoats applied.
I've marked the fins for white and black paint.

Note the position of of the launch lug. 

Thursday, October 3, 2024

Enerjet by Aerotech, Arreauxbee-Hi, Part 12, Upper Channel Tunnels


The upper channels pieces are cut to 10" long. 
Again, I cut mine a little longer to 10 1/16".


The upper end was set down 10" from the bottom of the upper tube. This left 1/16" overhanging the bottom of the tube.

The extended tunnel ends were sanded to the bottom of the upper tube as before.
This leaves a tight butt joint of the two tunnel pieces.

The tops and sides were sanded to match the sides of the lower tunnels.


The tunnel ends got a shot of filler/primer, directing it at the tunnel ends.

After sanding a bit, I was left with a good joint.

Wednesday, October 2, 2024

Enerjet by Aerotech, Arreauxbee-Hi, Part 11, Channel Tunnels


While the instructions say to cut the tunnel extension pieces at 1 3/4" long. 
I cut mine 1/16" longer so the final length ended up at 1 13/16".

I used the aluminum angle to align the two pieces.


Here you can see the piece extended beyond the end of the tube.


Sand the extension down even with the top of the tube.

This ensures the tunnel is full length to the top of the tube. Sanding down the tunnel with a flat block will make for a better "mate" of the upper tunnel coming up.

Tuesday, October 1, 2024

Enerjet by Aerotech, Arreauxbee-Hi, Part 10, Channel Tunnels


Square up the tube ends before fitting the long wood tunnels.

You can do a CA glue wipe on the inside and ends of the tubes before sanding square.


With the fins in place, 
Extend pencil lines from the root edge of the fin tips all the way down the body tube.

You are supplied with a wrap around tube marking guide, but I simply drew pencil lines using an aluminum angle.


Some 220 grit was wrapped around a dowel.
The tunnel gluing line was sanded down to the tube the entire length of the lower body tube.


The wood tunnels are glued onto the body tube.
I used the aluminum angle to align the tunnels. 

The length of the tunnels fall short of the tube length by about 1 3/4". You will piece together another piece of tunnel to go the entire length of the lower tube.
Before cutting the short fill pieces, 
see the next post.

Monday, September 30, 2024

Enerjet by Aerotech, Arreauxbee-Hi, Part 9, Engine Mount, Launch Lug & Screw Eye Fitting


With the lower body tube turned over - 

Here's how the engine mount sits, recessed into the body tube.
Note the centering ring is right at and even with top of the fin slot.

With the fin locks in line with the fin slots, test the position by sliding a fin or two in place. You don't have to snap the fin tabs in place yet, just be sure the fins project straight out.


It could be difficult to apply CA glue to the rear fin tab/fin lock joint.
TIP: As shown in the last build, set a toothpick tip into the joint. Drip the CA glue onto the toothpick, enough glue so the drop runs down the toothpick and into the joint.   
The paint was scraped off around the launch lug slot.
Notice the low end of the raised alignment tab stops at the bottom of the lug. 
DON'T SCRAPE the the paint past the bottom end of the slot. The raised lug base sits down to the bottom of the slot.

The picture to the right shows how the CA glue was applied. The glue is applied towards the center so it won't squeeze out beyond the edges of the lug base.


The screw eye is turned into the coupler bulkhead.

TIP: On the right, notice the screw eye isn't screwed in beyond the threads. If turned in past the threads, the screw eye will be loose. The threads help lock it in place. Apply glue on both sides of the screw eye.

Sunday, September 29, 2024

Enerjet by Aerotech, Arreauxbee-Hi, Part 8, Launch Lug Prep

The kit includes both rail guides and launch lugs. The square launch lugs are for a 1/4" diameter rod.
     

These are molded in black plastic. I wish they were molded in white. They will require a white undercoat for color coats later on.

There was some flashing that needed filing. 


I used a sanding block with 400 grit to square up the sides. 

This isn't a required step, I just wanted flat sides.


The lugs were set down on cardboard for white under coats.
The lugs will end up orange to better match the color on the main body tube.

Saturday, September 28, 2024

Enerjet by Aerotech, Arreauxbee-Hi, Part 7, Engine Mount - Gotcha!


The fin-lok rings were very tight - 
too tight to slide onto the motor mount tube.

The inside walls were shaved wider using a #11 blade.
Shave a bit, test the fit.

You want a tight fit on the engine mount tube.


The fit of the plywood centering ring was tight and needed to be slightly widened. 

I shaved a bit off the inside diameter for a tight slip fit.


The rings were slid into position at the recommended measurements and glued on using medium CA.

The third upper ring was glued over the face of the baffle plate.


The fin tabs wouldn't fit into the fin-lok rings with the rings at the recommended positions.

The instructions say the front edge of the rear ring should be 1 1/4" from the rear end of the tube.
GOTCHA: The front edge of the rear ring should be 1 1/16" from the rear end of the tube.


Look to the inset picture at the upper right.
I had to cut and extend the lower notch up about 3/16" for the fin to snap into place.

Friday, September 27, 2024

Enerjet by Aerotech, Arreauxbee-Hi, Part 6, More Fin Prep


I've done some prep work on this build, but it's not unusual for me. 
The key to a clean build is spending some time preparing kit supplied parts.

The three fins had molding seams on the outside edges.

The seams were sanded flat using 220 grit on a block, followed by 400 grit.

There were molding dot recessed on all three fins.
These were marked with pencil.

Some medium CA was dropped onto scrap cardstock. The glue was picked up on a toothpick and transferred into the dot recesses.

After drying the CA was sanded to surface with 400 grit on a block.