Tuesday, April 15, 2025

Estes Advanced Target Drone, Kit #1913, Build, Part 15, Intake & Decal Fixes


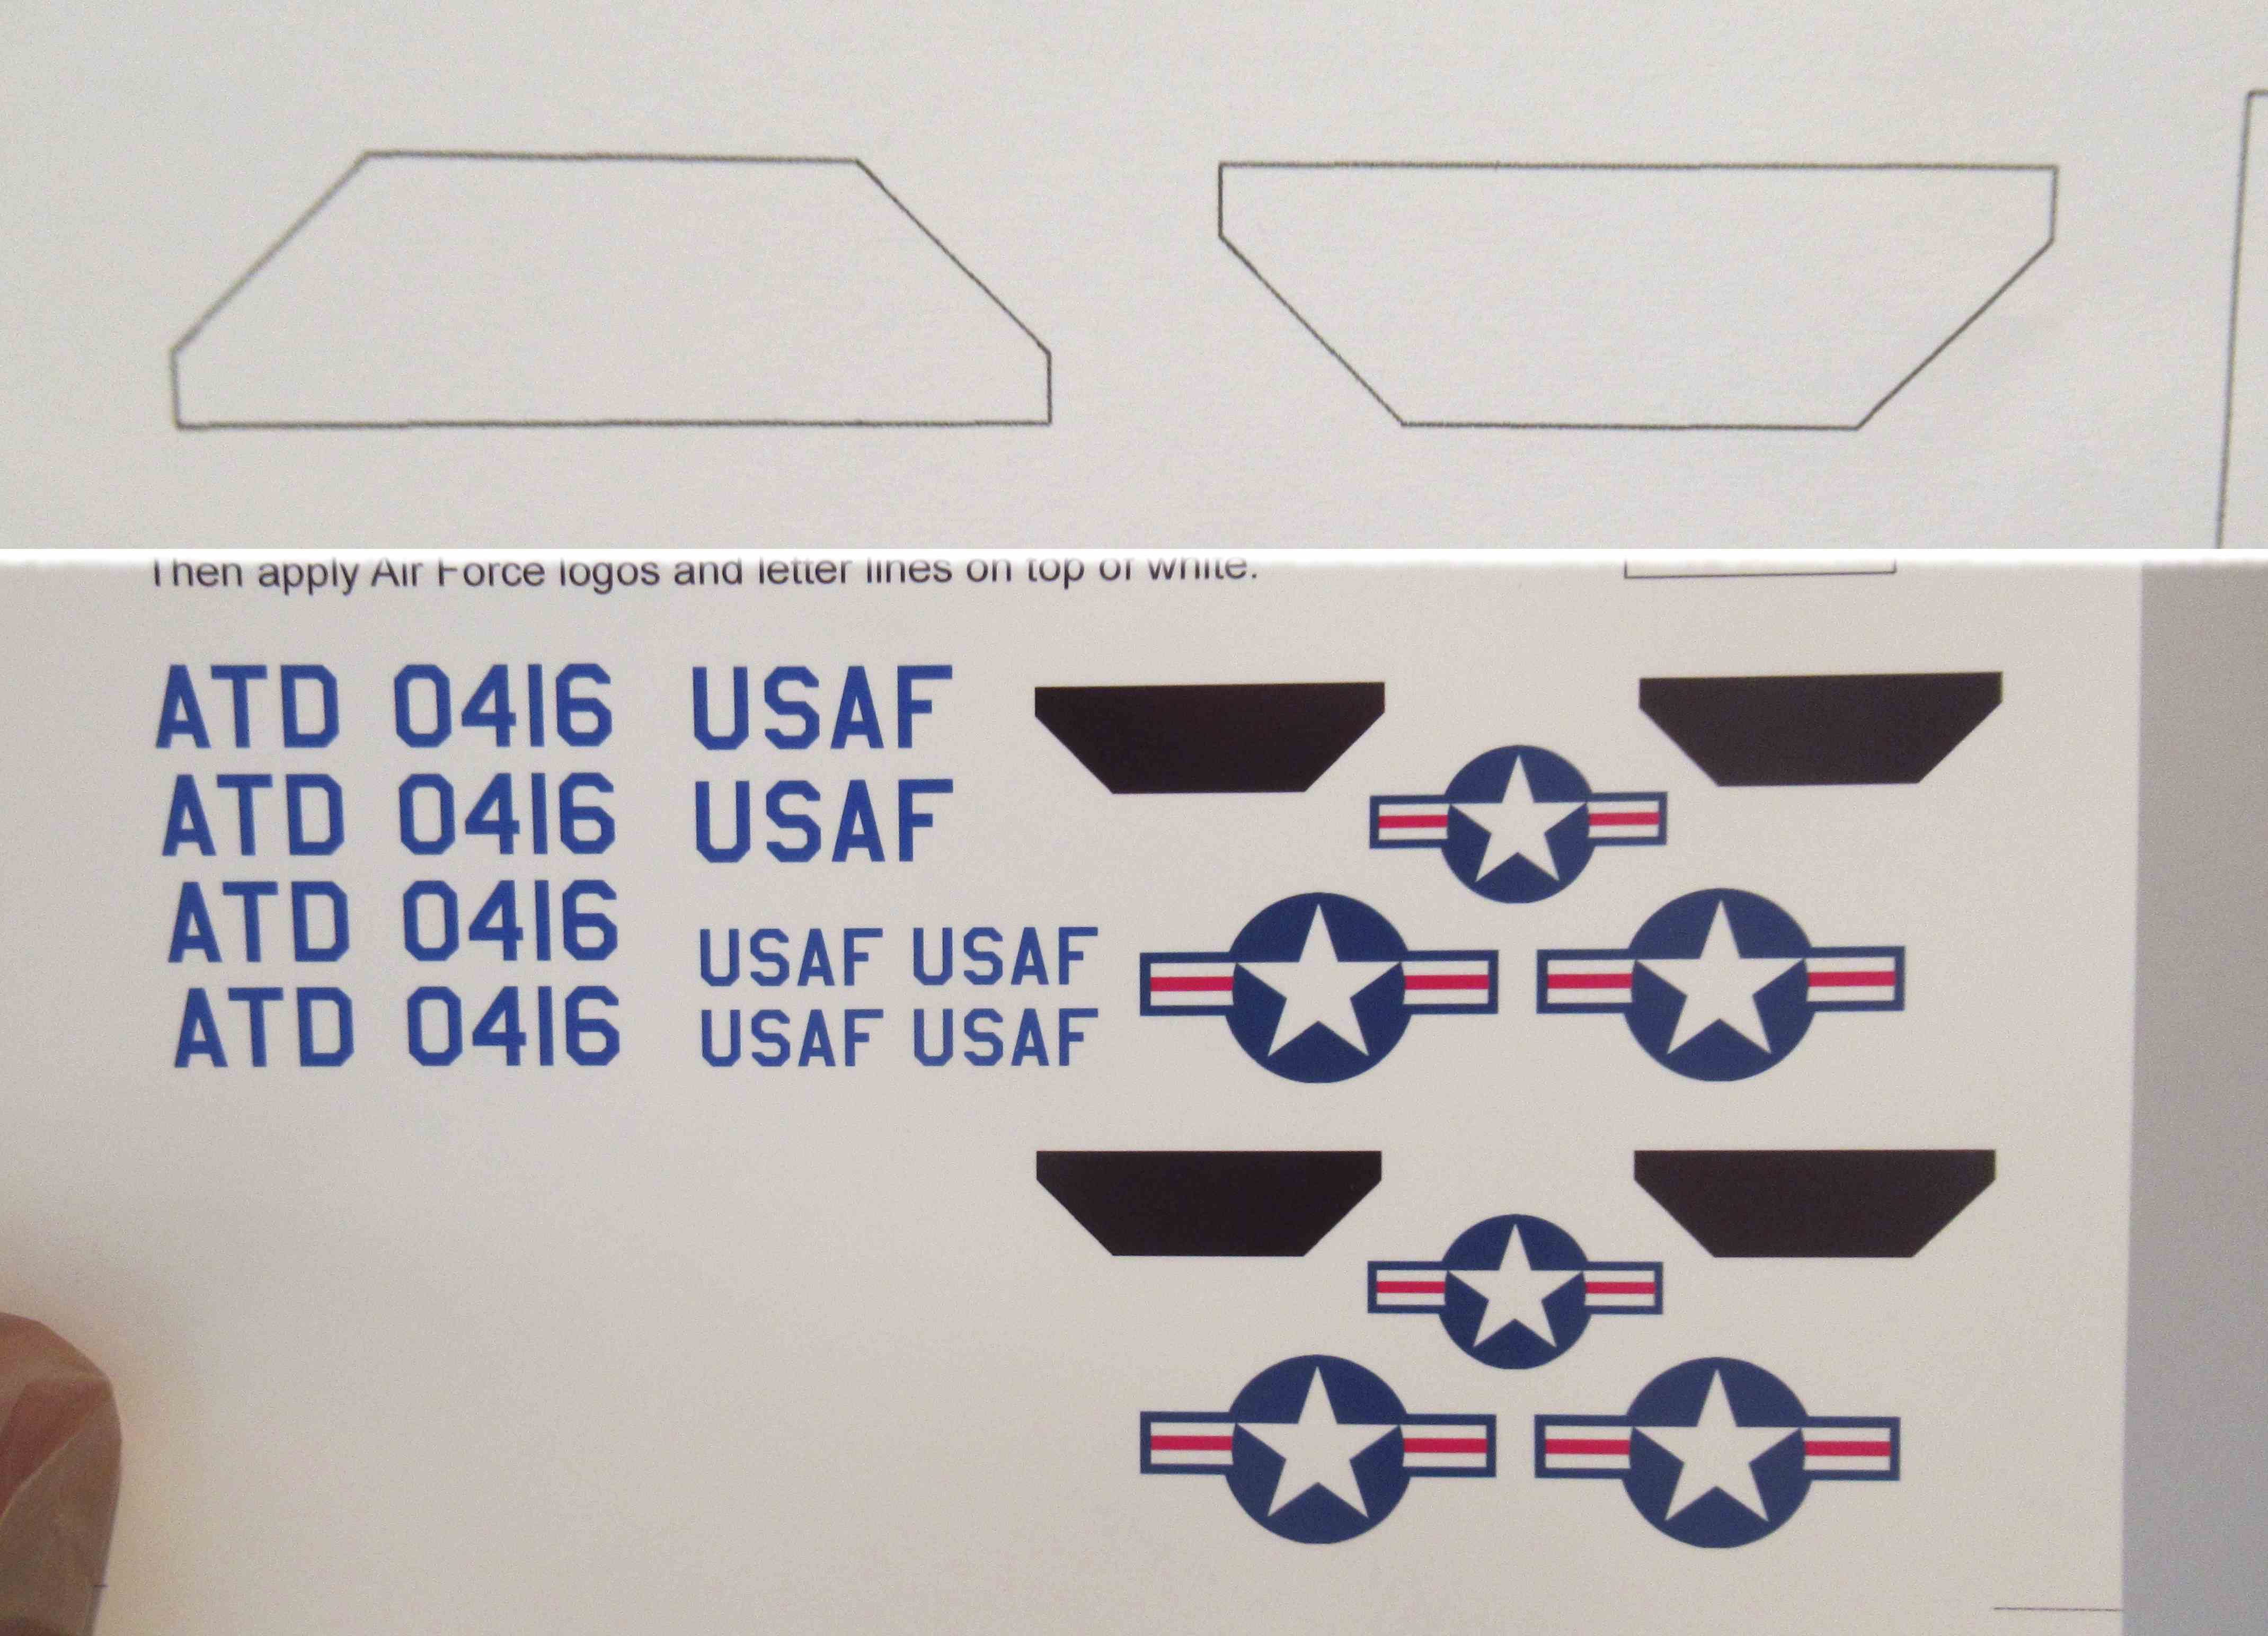
The white intake decals ended up being too long, they overhang the wing fillet joint.  

I redrew the decals to a closer fit.

If you build this model, your decals may be too long depending on how your cardstock intake fits.

After the decal dries, it's easy to cut and lift off the excess.


The black intake decals were also too wide and wouldn't fit inside the mouth of the intake.

These were trimmed to fit.


I don't usually use clear coats,
but on these white paint decals I rolled some Future acrylic on the edges with a Q-tip. This is just extra insurance that they won't peel up along the edges.

Monday, April 14, 2025

Estes Advanced Target Drone, Kit #1913, Build, Part 14, More Decals & Lesson Learned


Here's what I meant about trimming the leading edge back.

If the decal sits too close to the rounded fin edge, it can peel back during boost or in handling.


I mentioned earlier about getting a good white paint coverage when spraying. Good coverage but without laying it on too thick.

When I rolled around the upper body tube ring the paint coverage was a little thin. 


I re-cut the strip towards the center of the sprayed sheet.

Two rolled rings were set down, again not right against the end of the body tube.

Sunday, April 13, 2025

Estes Advanced Target Drone, Kit #1913, Build, Part 13, More Adjustments & First Decal Transfer


I set the printed template (white decal) over the printed color decals. With it backlit, I could see the white template was too wide. Adjustments were made to the templates.

I had wondered what this shape was for, I first drew it for a white decal. Turns out these were solid color intake decals.

The intake shadow decals were originally printed in blue, 
I opted to print them in black.


On top is a cut white wing decal, ready for transfer onto the model.

Below it is the template. Cut two of these, flipped and mirrored.


Wet the surface where the decal is going to go.
This goes for all decals, whether home printed or a kit supplied decal.
The white spray paint decals will feel a little slimy, but should slide fine.
Don't allow the white spray decal to fold over, the paint layer can crack.

I use a damp Q-tip to work out air bubbles and water. Work and roll the Q-tip from the center to the outside edges.

Saturday, April 12, 2025

Estes Advanced Target Drone, Kit #1913, Build, Part 12, Template Testing & Adjustments


You should check the template before tracing and cutting out the decal.

The paper template is place over the decal position, in this case on the wing. Make any adjustments to the template, your intake fit over the wing might be a little different. 


This is the paper template fit on the rudder fin.

There is a little overlap on the rounded leading edge.
The leading edge of the template will be trimmed back so the final decal won't be peeling back later.


The pencil tracings are made around the templates onto the white sprayed decal sheet.

This is the rudder decal. Trace once, then flip over and trace again for two "mirrored" decals.

Friday, April 11, 2025

Estes Advanced Target Drone, Kit #1913, Build, Part 11, White Decals?

This model design had large white area decals.
TIP: There is a way to make white decal backings. It's not perfect, but it does work.
Spray painted white decals are set down first as the first layer and left to dry.
The second home print color decals layer are set down over the white spray paint decals.

I spray gloss white paint on a clear decal paper. Try to get complete coverage on the entire sheet. No clear overcoat is needed. The white paint film will seal and transfer onto the model after soaking in water - like a regular water slide decal.


Here is the first drawing of the white decal templates. Revisions have since been made.

These are printed on plain copy paper, cut out and traced onto the sprayed white decal sheet.
Using a knife and straightedge, Cut out the shapes.

This is the second sheet of color overlay decals.
They are set over the white decals already on the model.

The PDF is available to Patreon subscribers.
Email me at oddlrockets@bellsouth.net
and ask for the ATV decal PDF.

Thursday, April 10, 2025

Estes Advanced Target Drone, Kit #1913, Build, Part 10, Paint!


White undercoats - 

Spray, let dry and sand any rough spots.
With paint on you can see the fillet ridges. Sand them down a bit then check them after the next undercoat.


Only one color before decals!
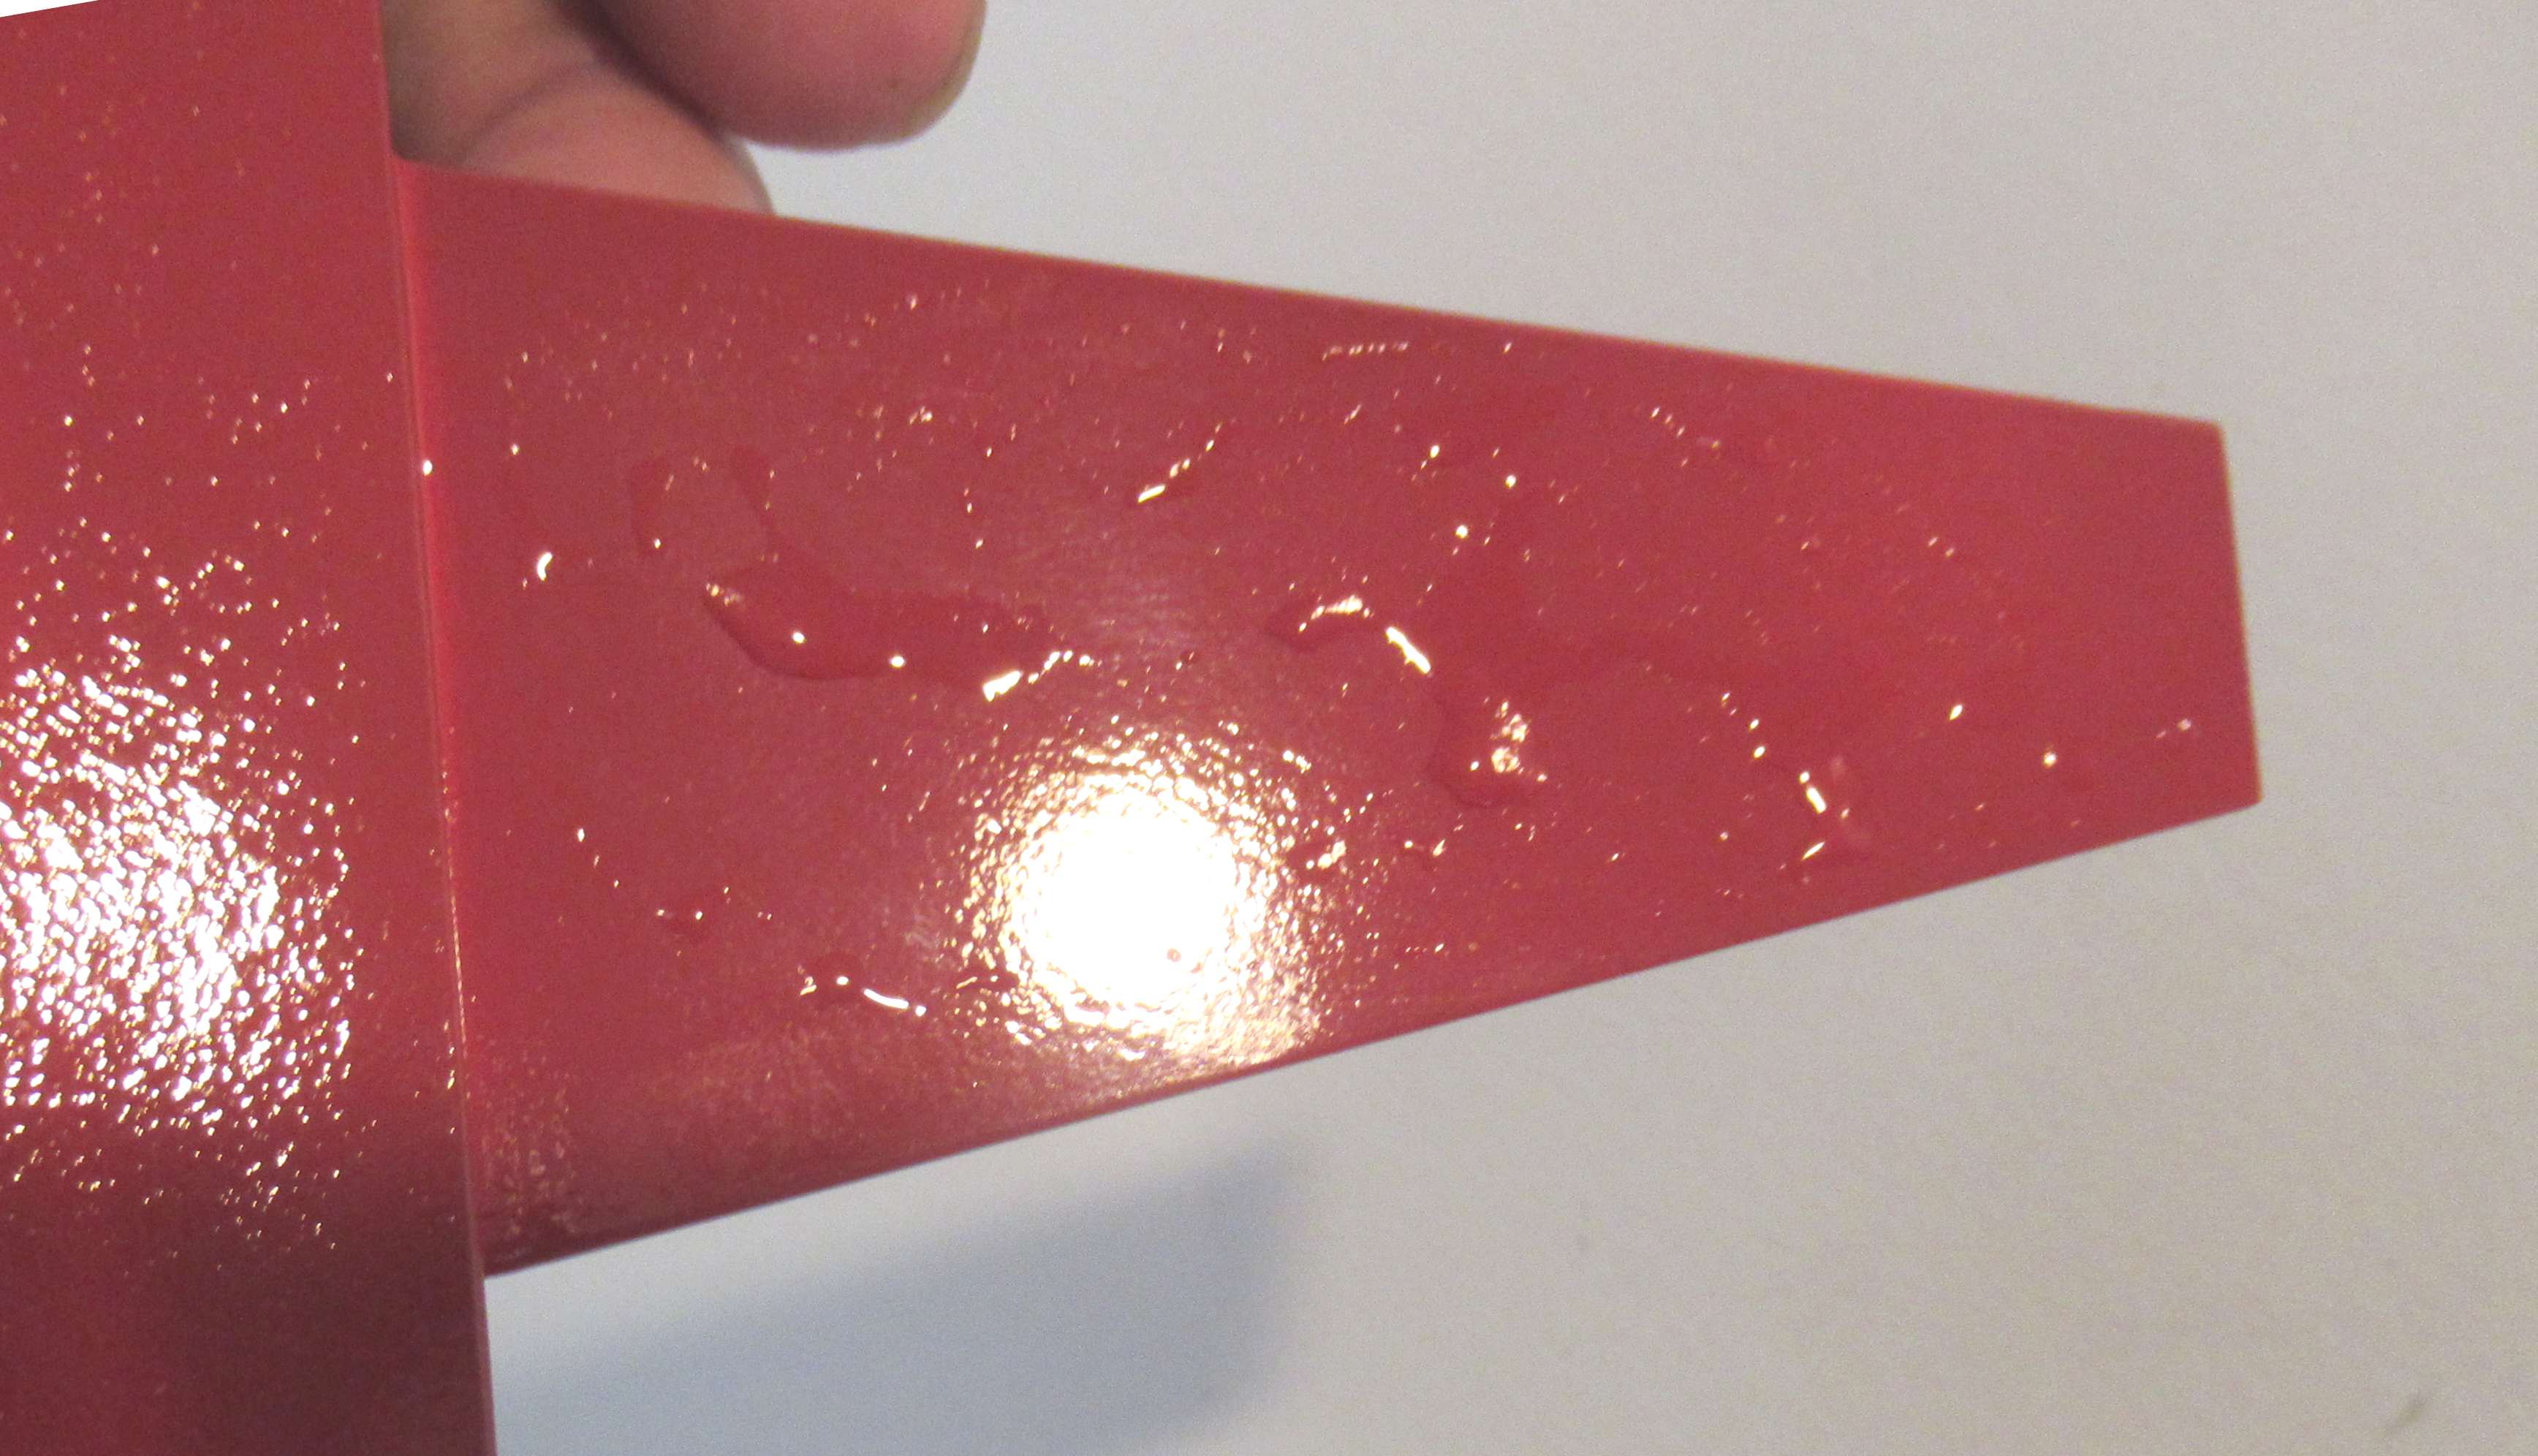
This is Ace Gloss Banner Red.


Spray the inside areas of the intakes first, then concentrate on the outside surfaces.
You won't be able to get full coverage all the way inside.

Wednesday, April 9, 2025

Estes Advanced Target Drone, Kit #1913, Build, Part 9, Gluing The Intakes


The outside edges of the intake shroud have been glued to the top rudder and underside ventral fin.


Notice how the slot edges over the long wings bow out. An arc has formed along the slot sides.

Use the flat edge of a ruler to press in and straighten out the slight arc.

Apply a slight amount of glue to start, not a full fillet.
Press the arc straight with the straightedge and remove. Check to see if the glue hasn't spread outside a fillet area. Remove any errant glue with a Q-tip. 


Here's a straighter slot edge with the first glue dried. Follow with a full glue fillet.