

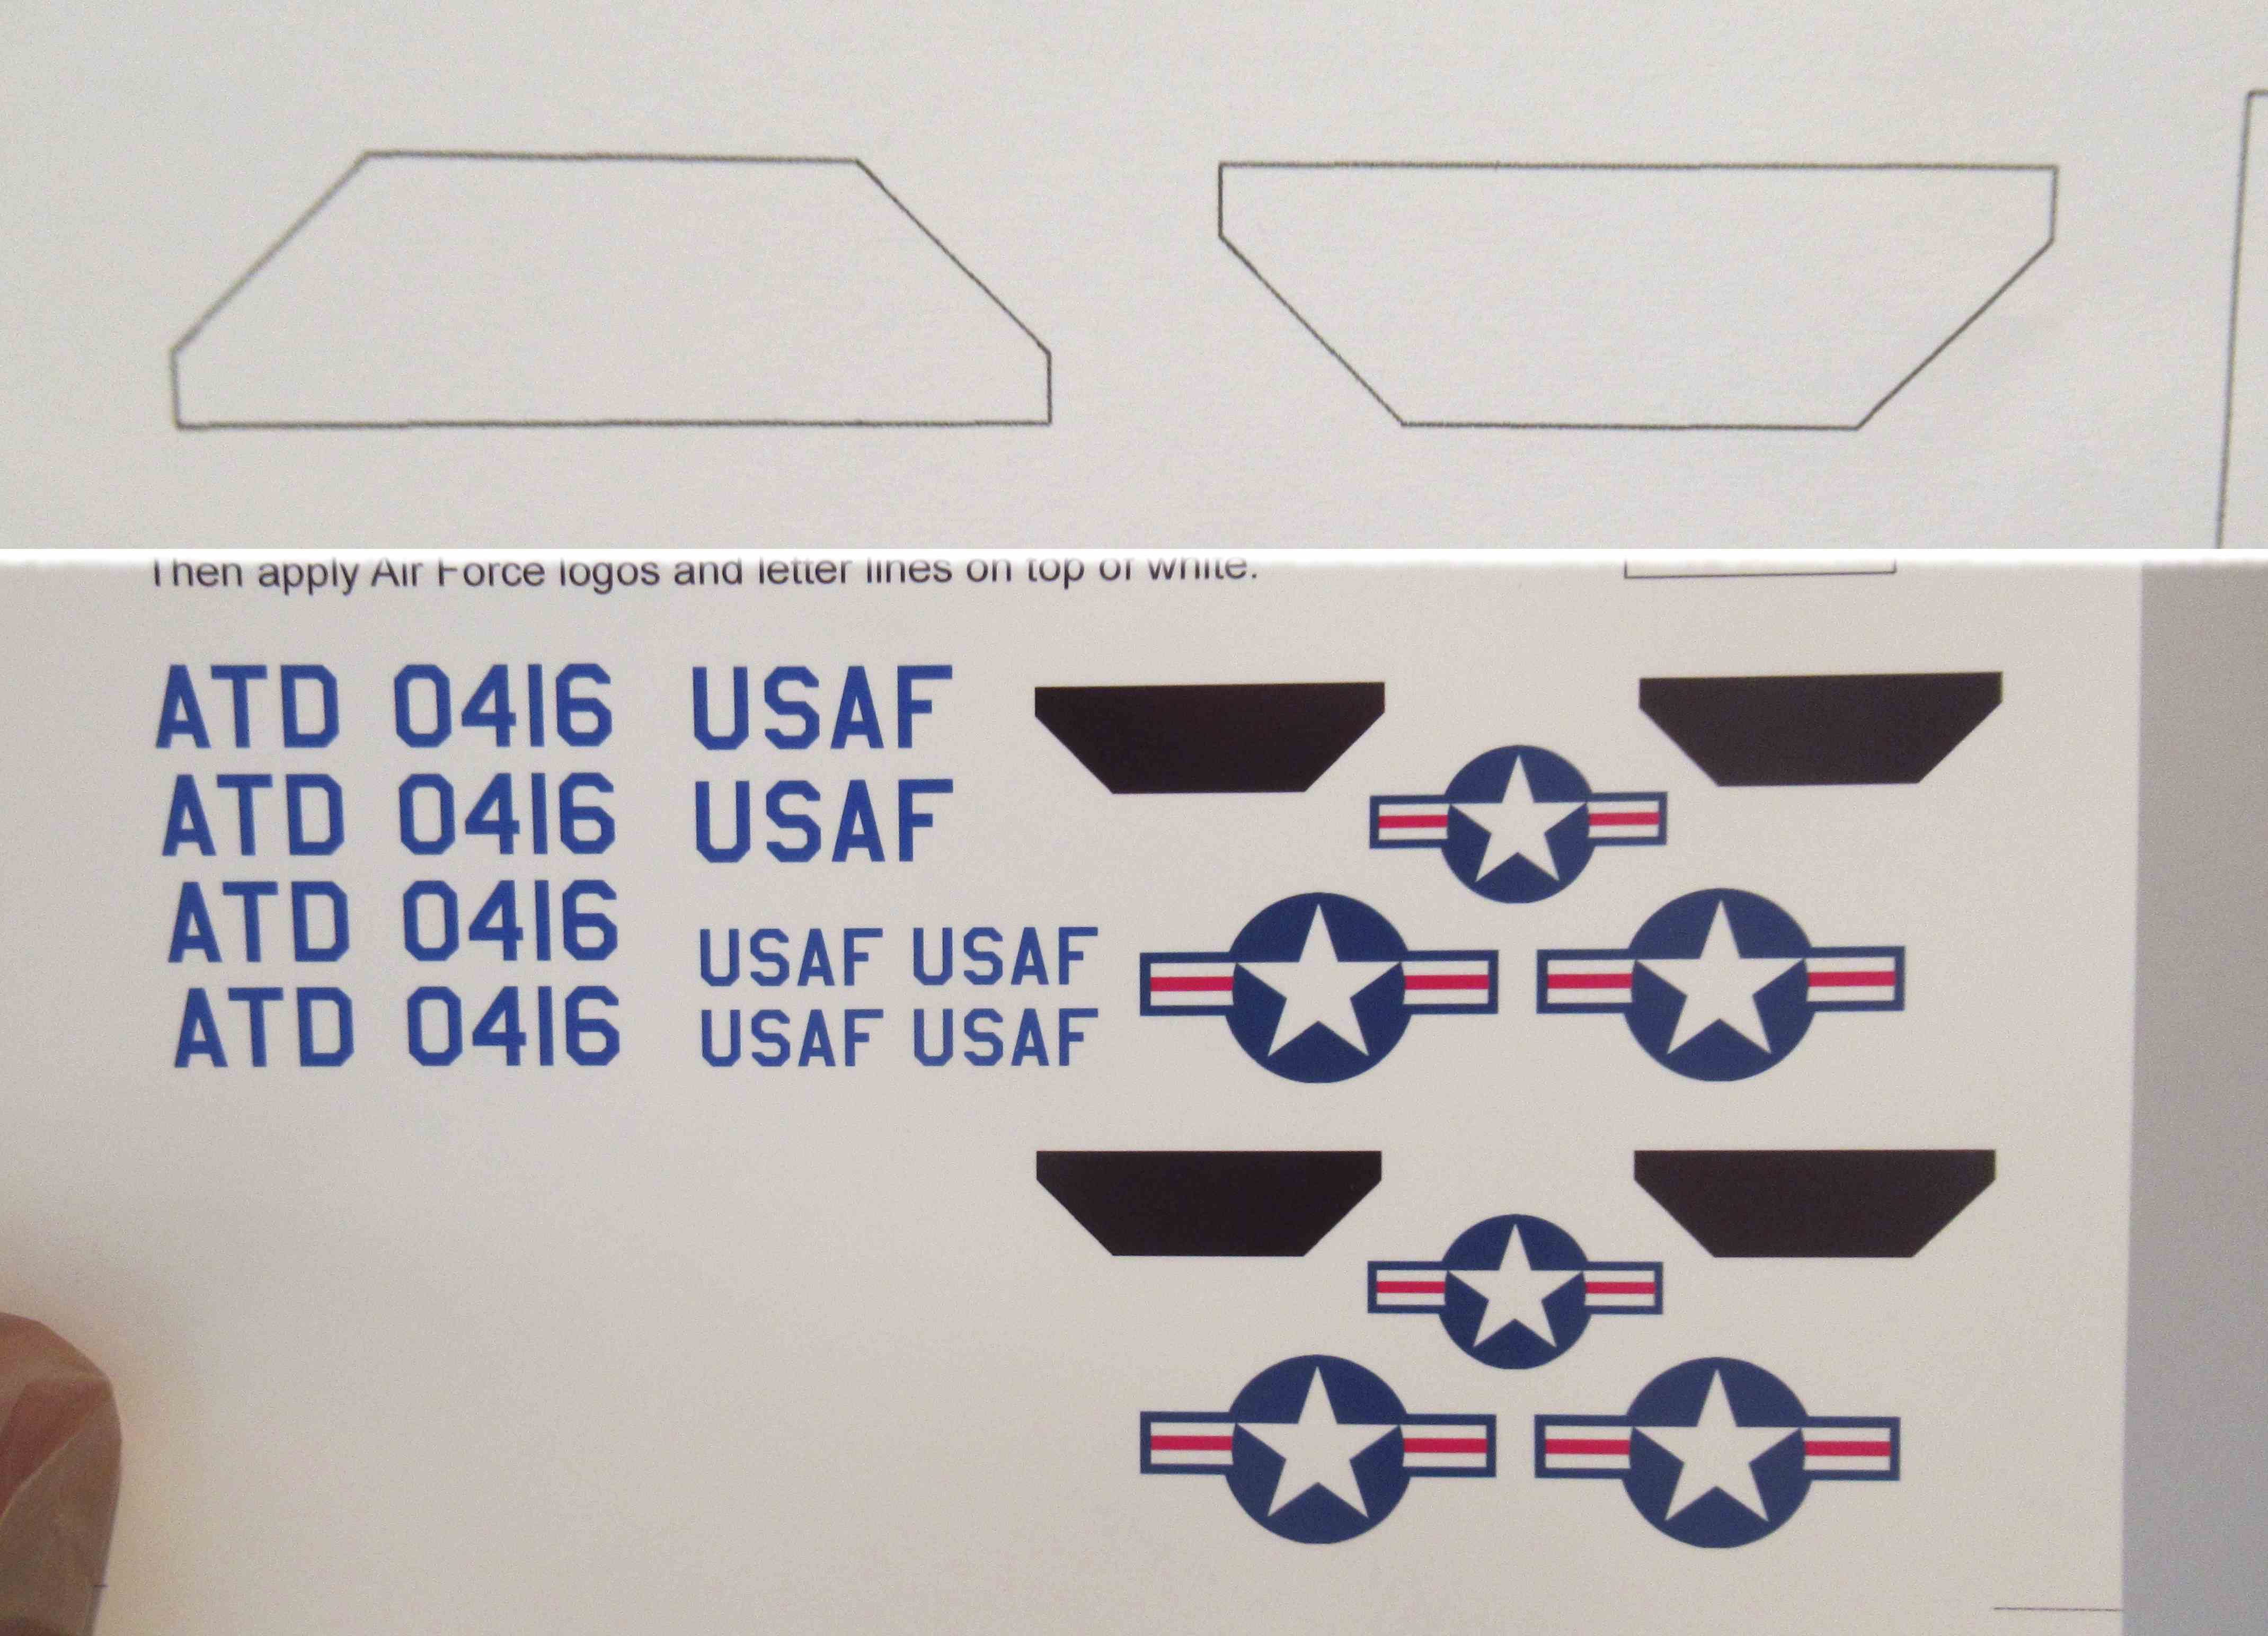
I had wondered what this shape was for, I first drew it for a white decal. Turns out these were solid color intake decals.
I opted to print them in black.

On top is a cut white wing decal, ready for transfer onto the model.

Below it is the template. Cut two of these, flipped and mirrored.

Wet the surface where the decal is going to go.
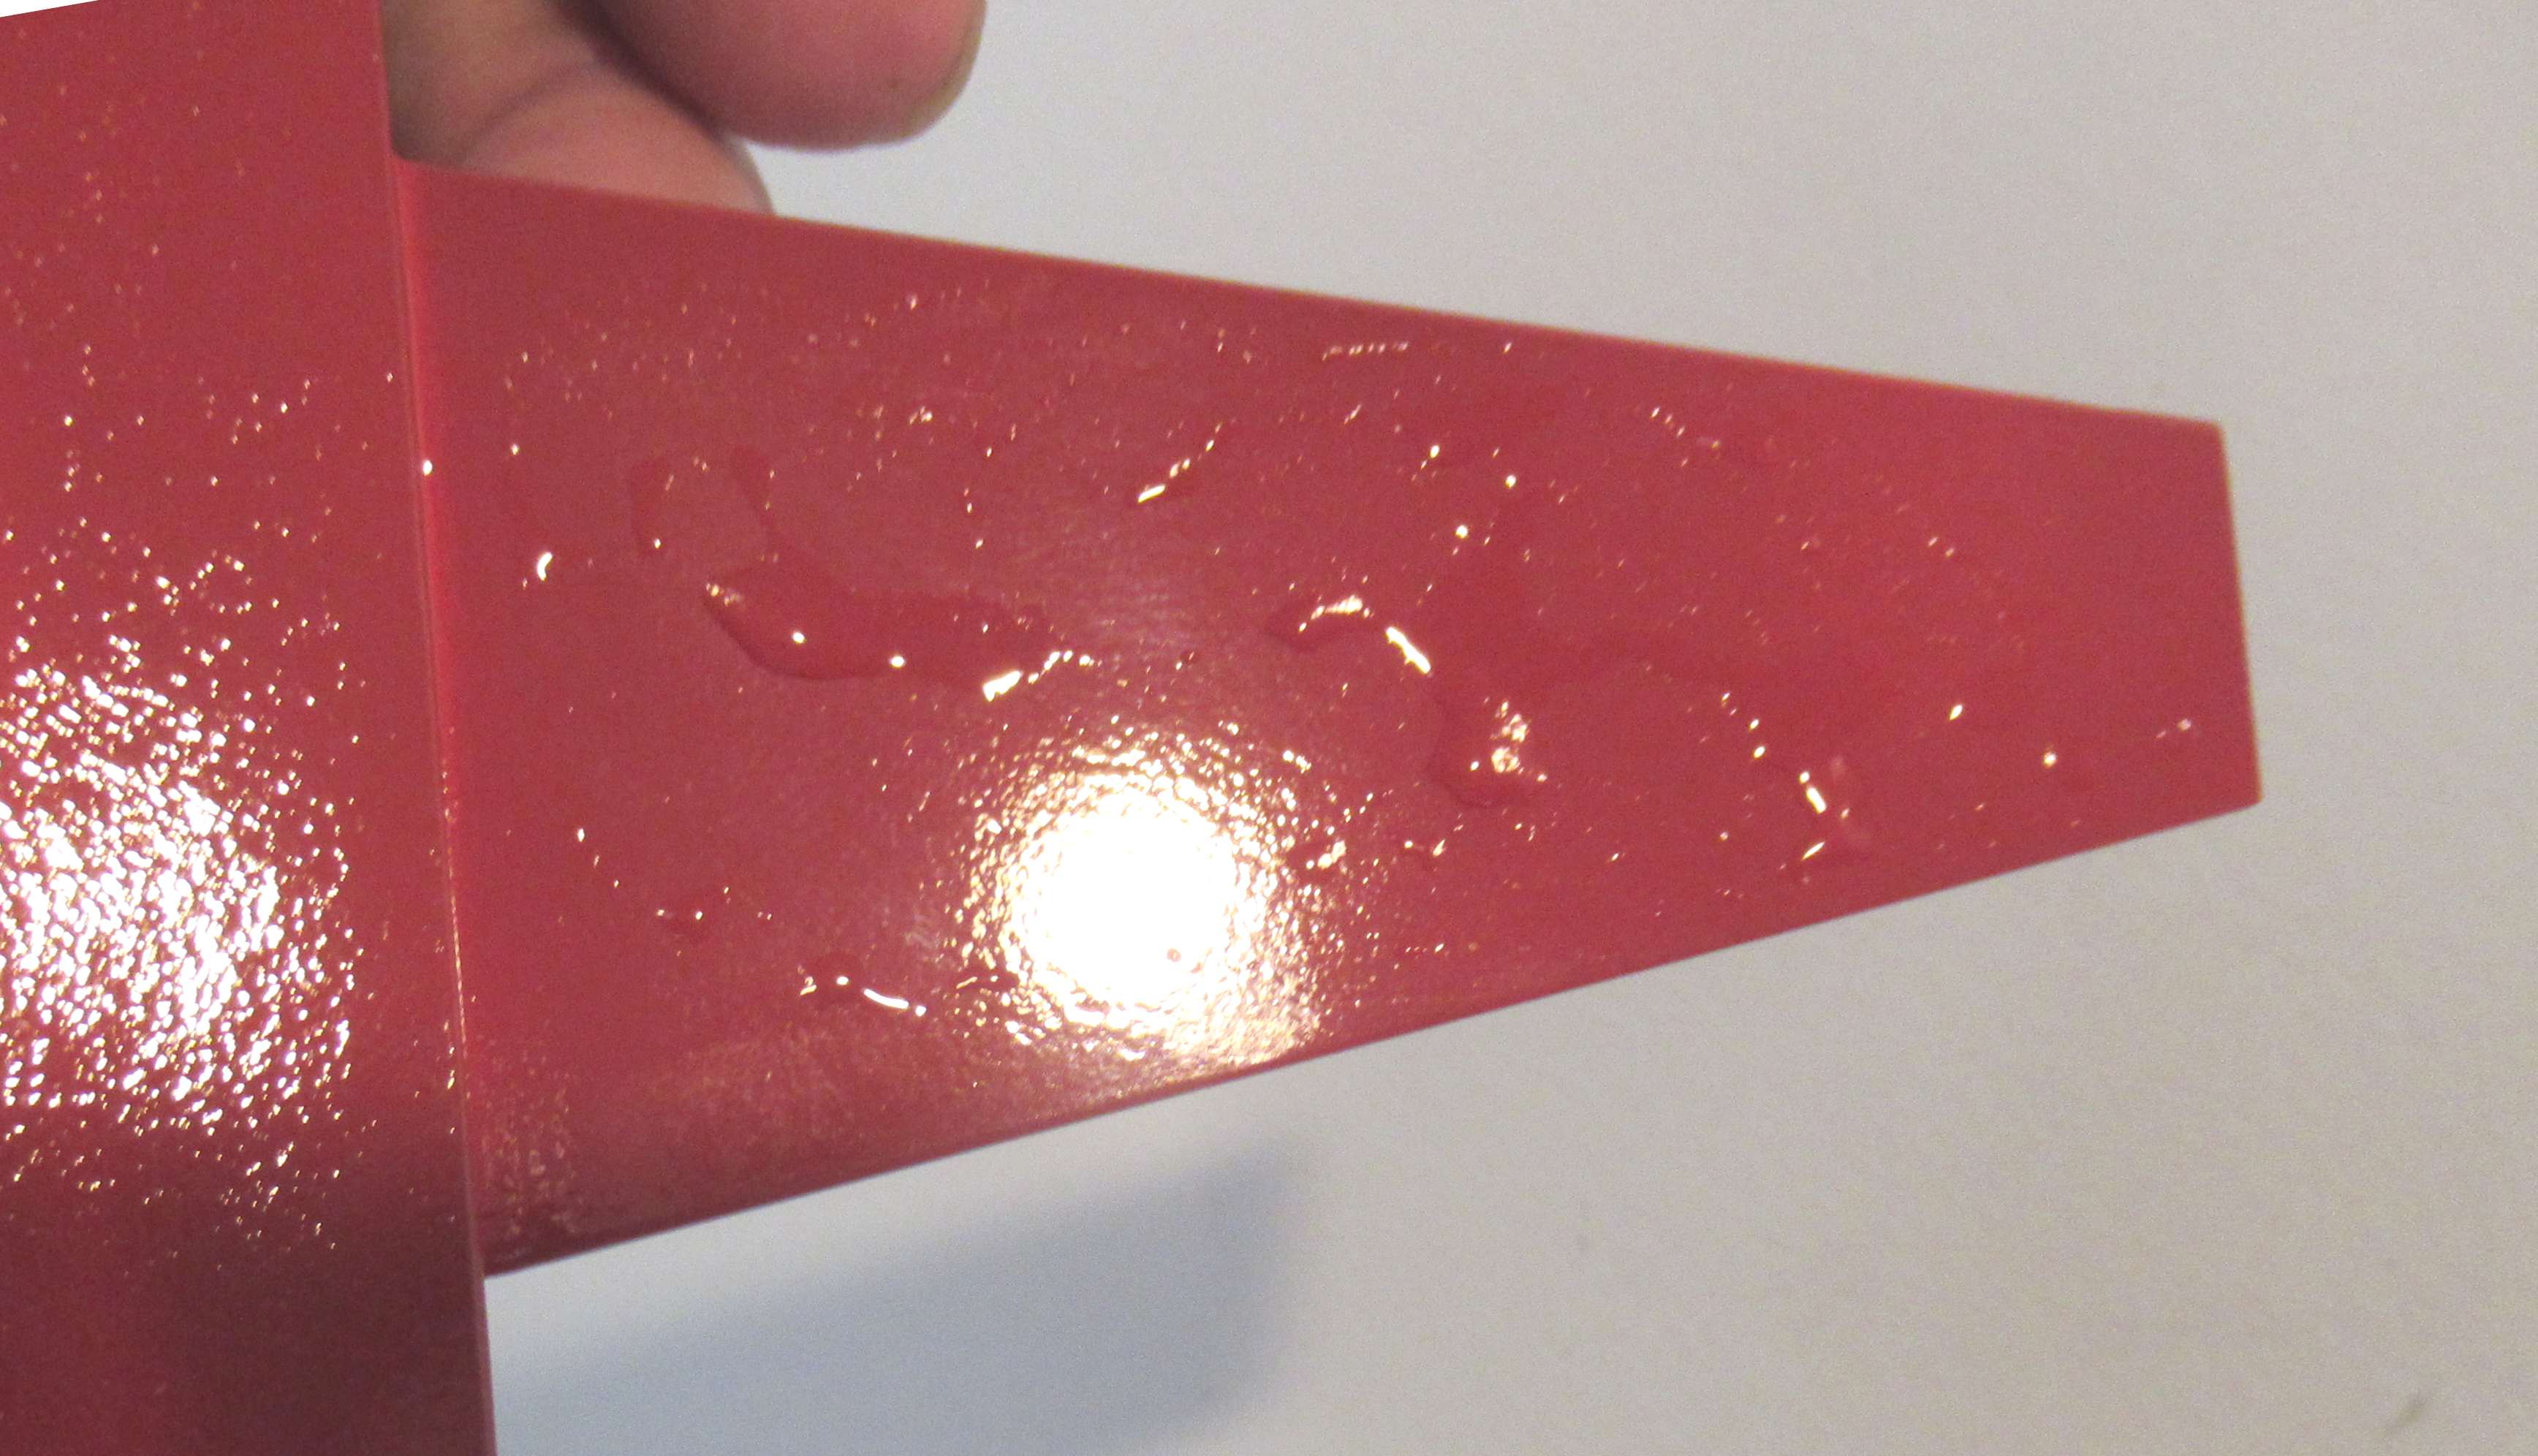
This goes for all decals, whether home printed or a kit supplied decal.
 The white spray paint decals will feel a little slimy, but should slide fine.

Don't allow the white spray decal to fold over, the paint layer can crack.
I use a damp Q-tip to work out air bubbles and water. Work and roll the Q-tip from the center to the outside edges.
With regards to those mysterious shapes, I too was a bit puzzled. The thumbnail image of the rocket on the JimZ site was a tad small. Your comment about them being "intake shadow" had me take a second look at the thumbnail - and noticed a bit of blue on the body tube near the intake.
ReplyDeleteI checked on the Ninfinger site for catalog image -- which was a bit larger (but you might need to zoom in).
https://www.ninfinger.org/rockets/catalogs/estes83/83est38.html
Then I finally located an image of the package with the facecard that should give a clearer indication where they go and their orientation:
https://www.launchlabrocketry.com/shop/p/estesadvancedtargetdrone1913