Monday, June 1, 2020

Estes Doorknob, #9720 Build, Part 4, Fin Filling

Here's the scale fin after shaping.

On the right are all four fins.
Notice the black line, thin and centered down the leading edge. This is all the black that is left after shaping the scale fin.
The black ink is only on the surface, not soaked into the balsa because of the CA glue coat.  Lightly sand the leading edge to remove the black ink.


The fins got a coat of CWF to fill the grain.
The sport fin is in front, the scale fin behind that.

The launch lugs also got some CWF to fill the seams.
I used two Q-tips side by side to make a handle.


After the dried CWF was sanded down, the fins were set on scrap cardboard for filler/primer spraying.
Notice the masking tape set over the root edge to keep the filler/primer off the glue areas.


After the gray filler/primer is sprayed you can see the fin taper more easily.


The balsa was good quality. It didn't take much sanding of the filler/primer. The grain was pretty well filled already with the CWF.

Sunday, May 31, 2020

Estes Doorknob, #9720 Build, Part 3, Fin Shaping


You can build the model as scale or sport style.

On the left is the Scale fin with the diamond taper leading edge.
The Sport fin has a rounded leading edge.
If you extend a parallel line from the lower left fin tip to the root edge, the shaded taper shown above is a little lower.

The inset picture shows where the taper line ends up at the root edge.

Normally I don't use masking tape to shape a taper like this, but the taper is wide and the balsa stock is thin for a fin this size.

To better see the thickness of the taper when sanding, I mark the leading edge with a marker.
FIRST - give the leading edge a good wipe of medium CA glue. This seals the edge so the marker ink wont soak into the soft balsa.
The CA glue also strengthens the thin leading edge.
SECOND - Run a marker down the leading edge blackening it.

The edge taper is sanded with a sanding block with 220 grit sandpaper.

Constantly check the blackened leading edge when sanding. The blackened edge is easier to see over a light beige balsa. The masking tape prevents you from sanding beyond the wide lower end of the taper.
Go light, you can sand through the tape.
Sand a bit, check the taper, flip over the fin and sand the other side evening up the edge taper.

Saturday, May 30, 2020

Estes Doorknob, #9720 Build, Part 2, Engine Mount


The green ring had a burr that needed smoothing.
I turned it against the nose cone, but it still required some sanding to slide over the engine mount tube.


This instruction picture was a little confusing.
The ring is used to position the spacing of the lower B ring.
Don't glue the green ring on the tube!

Apply the glue fillet behind the B ring, then slide off the green ring.


I used my sanding block to press down and even up the end of the tube and the green ring.

The picture on the right shows the fillet on the top side joint.

Use the fin slot to set the position of the middle slotted ring.
TIP: Slide a second fin in the opposite slot to be sure the slotted ring in on straight

With the second ring in place, the green ring is glued against it.


The upper ring is glued on the top of the tube.
Glue it over the end a bit to allow a fillet on both sides.

Friday, May 29, 2020

Estes Doorknob, #9720 Build, Part 1, Parts


The stocky body, orange and white roll pattern set this one off!
The parts were all of good quality. 3" diameter heavy slotted tubing and 18" parachute.


Parts of interest:
That BIG nose cone
Peel and stick metallic trim bands
29mm engine retainer rings


There is also a "sport" decor.
Buy the kit, email Estes and request the sport decal. The black stripe wrap decals are included on the kit decal.


Here's the "sport" decal sheet.

Thursday, May 28, 2020

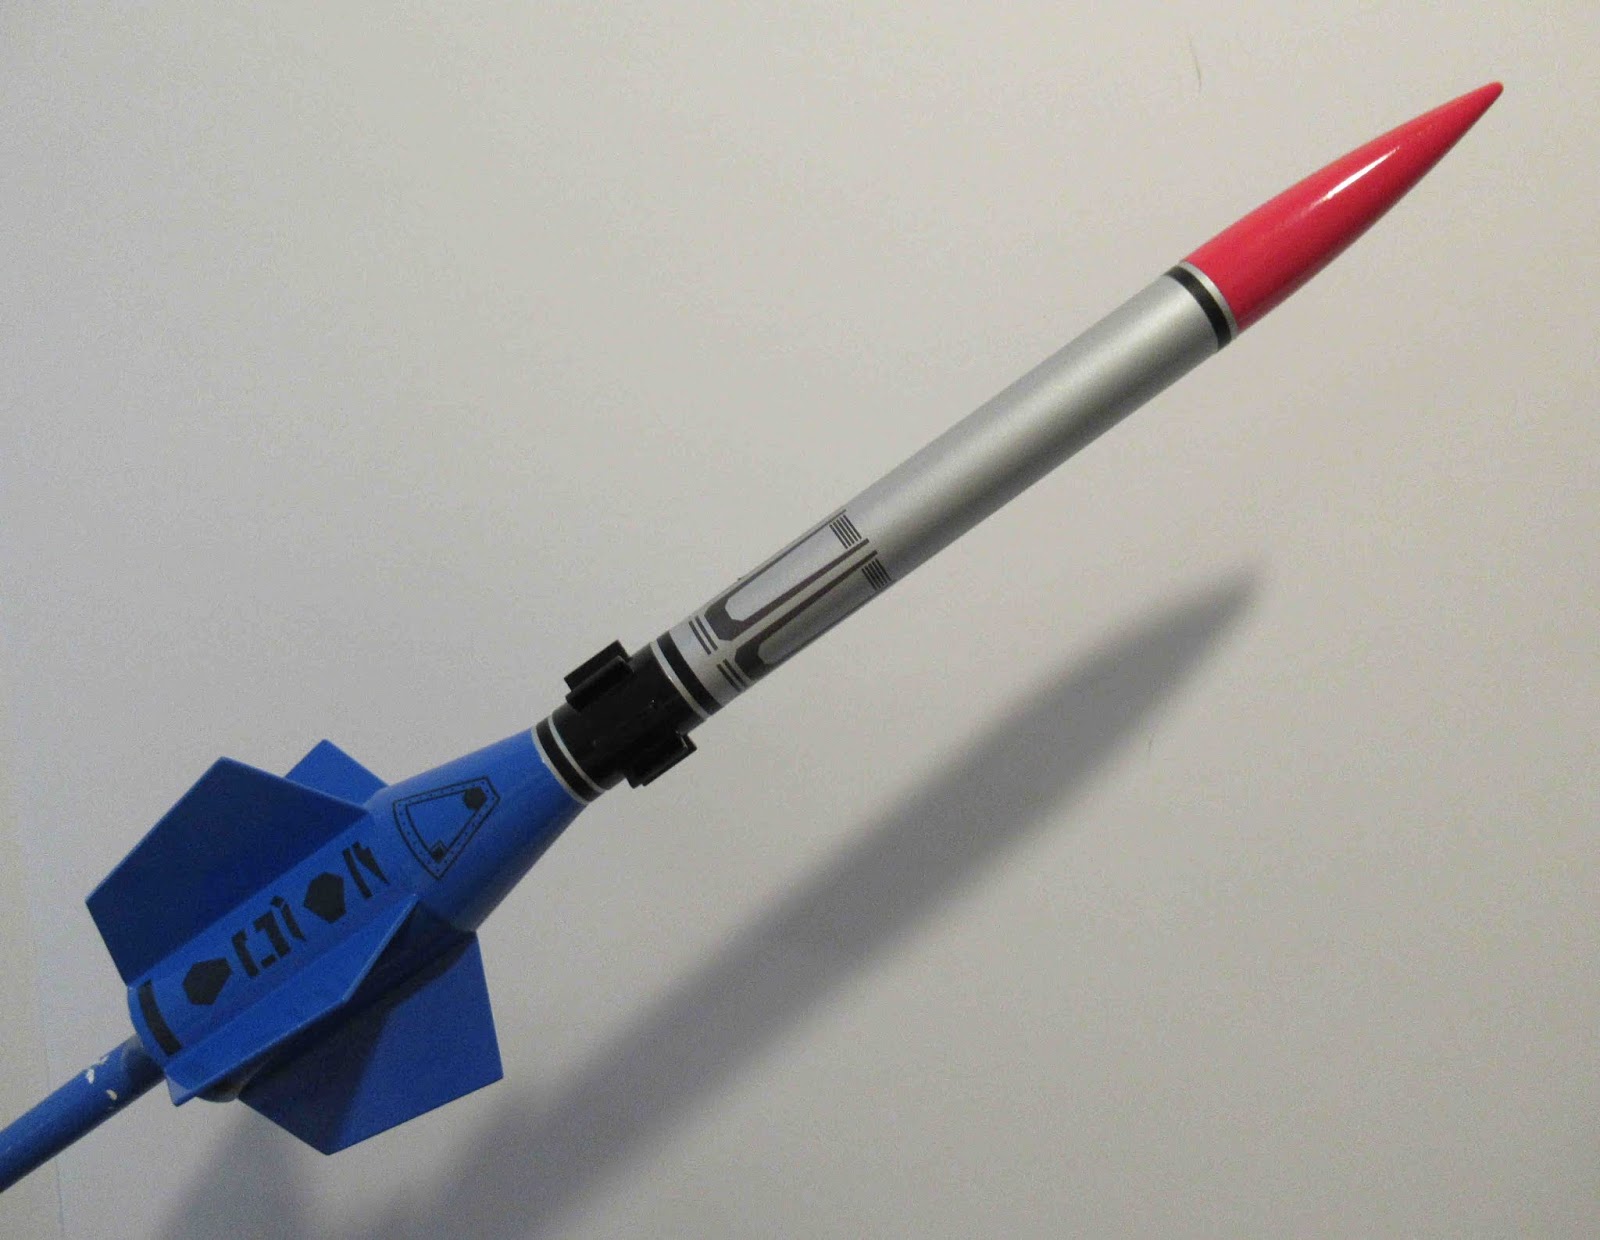
Centuri Vector V #KB-2 Build, Second Build Finished


The second build is in the catalog color and decal scheme. I'm a little more partial to the first build and color variation, the one with the wide span fins.


Here's both builds for comparison.

Wednesday, May 27, 2020

Centuri Vector V #KB-2 Build, First Build Finished


This was billed as a "Customizing Kit" giving the builder many choices on fins, vane position and decals.
I even put the Centuri decal on one build, it seemed appropriate this time.

Tuesday, May 26, 2020

Centuri Vector V #KB-2 Build, Part 11, Black Paint & Decals


Here's the mask for the black vanes. This picture shows the upper vane placement


This is the vane mask for the lower placement near the top of the shroud.
The picture on the right shows how to pull the tape off, away and folded over itself.


Whoops!
I got some black over spray on the shroud.

TIPS: With the blue totally dry, I was able to use a Mr. Clean Magic Sponge to scrub off the black.


Using a Magic Sponge can dull the gloss a bit.

Hit the dull area with some polishing compound to bring the gloss back.


Most of the decals are self explanatory, there are extras so you can customize a bit.

At the bottom are "Short Bars" that center between the five fins.


TIPS: I cut the decals off the sheet with the low side wide, leaving an even clear space at the bottom of all five bars. With the even cut at the bottom, the clear area was used to space them up from the bottom of the BT-55 tube.