
 I'm fortunate to have Corel Draw on my laptop computer. The learning curve on Corel is tough, I'm still learning new tricks everyday.
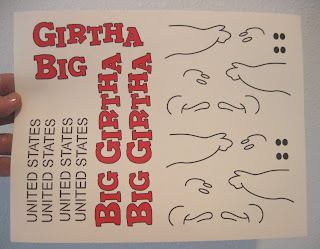
The picture shows I've made duplicates of everything. After you've made a few decals, it's nice to have spares - just in case.
When making decals, you have to set up your printer differently than for everyday printing:
I'm fortunate to have Corel Draw on my laptop computer. The learning curve on Corel is tough, I'm still learning new tricks everyday.
The picture shows I've made duplicates of everything. After you've made a few decals, it's nice to have spares - just in case.
When making decals, you have to set up your printer differently than for everyday printing:
- Access the "Properties" section to make adjustments.
- Before running that sheet through, be sure your page orientation (portrait or landscape) matches your decal layout on your screen. Your printer software should ask you, but sometimes it won't!
- Set your printer for "Photo Printing", "Presentation" or "Best" resolution printing. This uses much more ink, but it's necessary to get you an opaque covering.
- Set the paper setting to "Cardstock", "High Quality", "Glossy".
Different printers may have their own names under the "Properties" button. GOOD LUCK!
Be ready, my first few tries weren't usable. But at around $1.00 a sheet, it was still cheaper than sending out $10.00 for a vendor decal.
Printing your own decal on an ink-jet or laser printer are not the same thickness or quality as the water slide decals you receive in a kit from a major vendor. Each color is a separate screened "pass" with a heavy, clear overcoat on them. Ink-jet or laser printed decals are not as opaque as the decals from an ALPS printer. But in a pinch, they can give some good results. Next up - Sealing the decals before transferring onto the model.
No comments:
Post a Comment