I sand the ends of the clear retainer ring with 400 grit to clean up the edges.
Here's the yellow coupler / engine block.
A line of glue is set inside the tube and the block is slid in until it rests against the top ben of the hook.
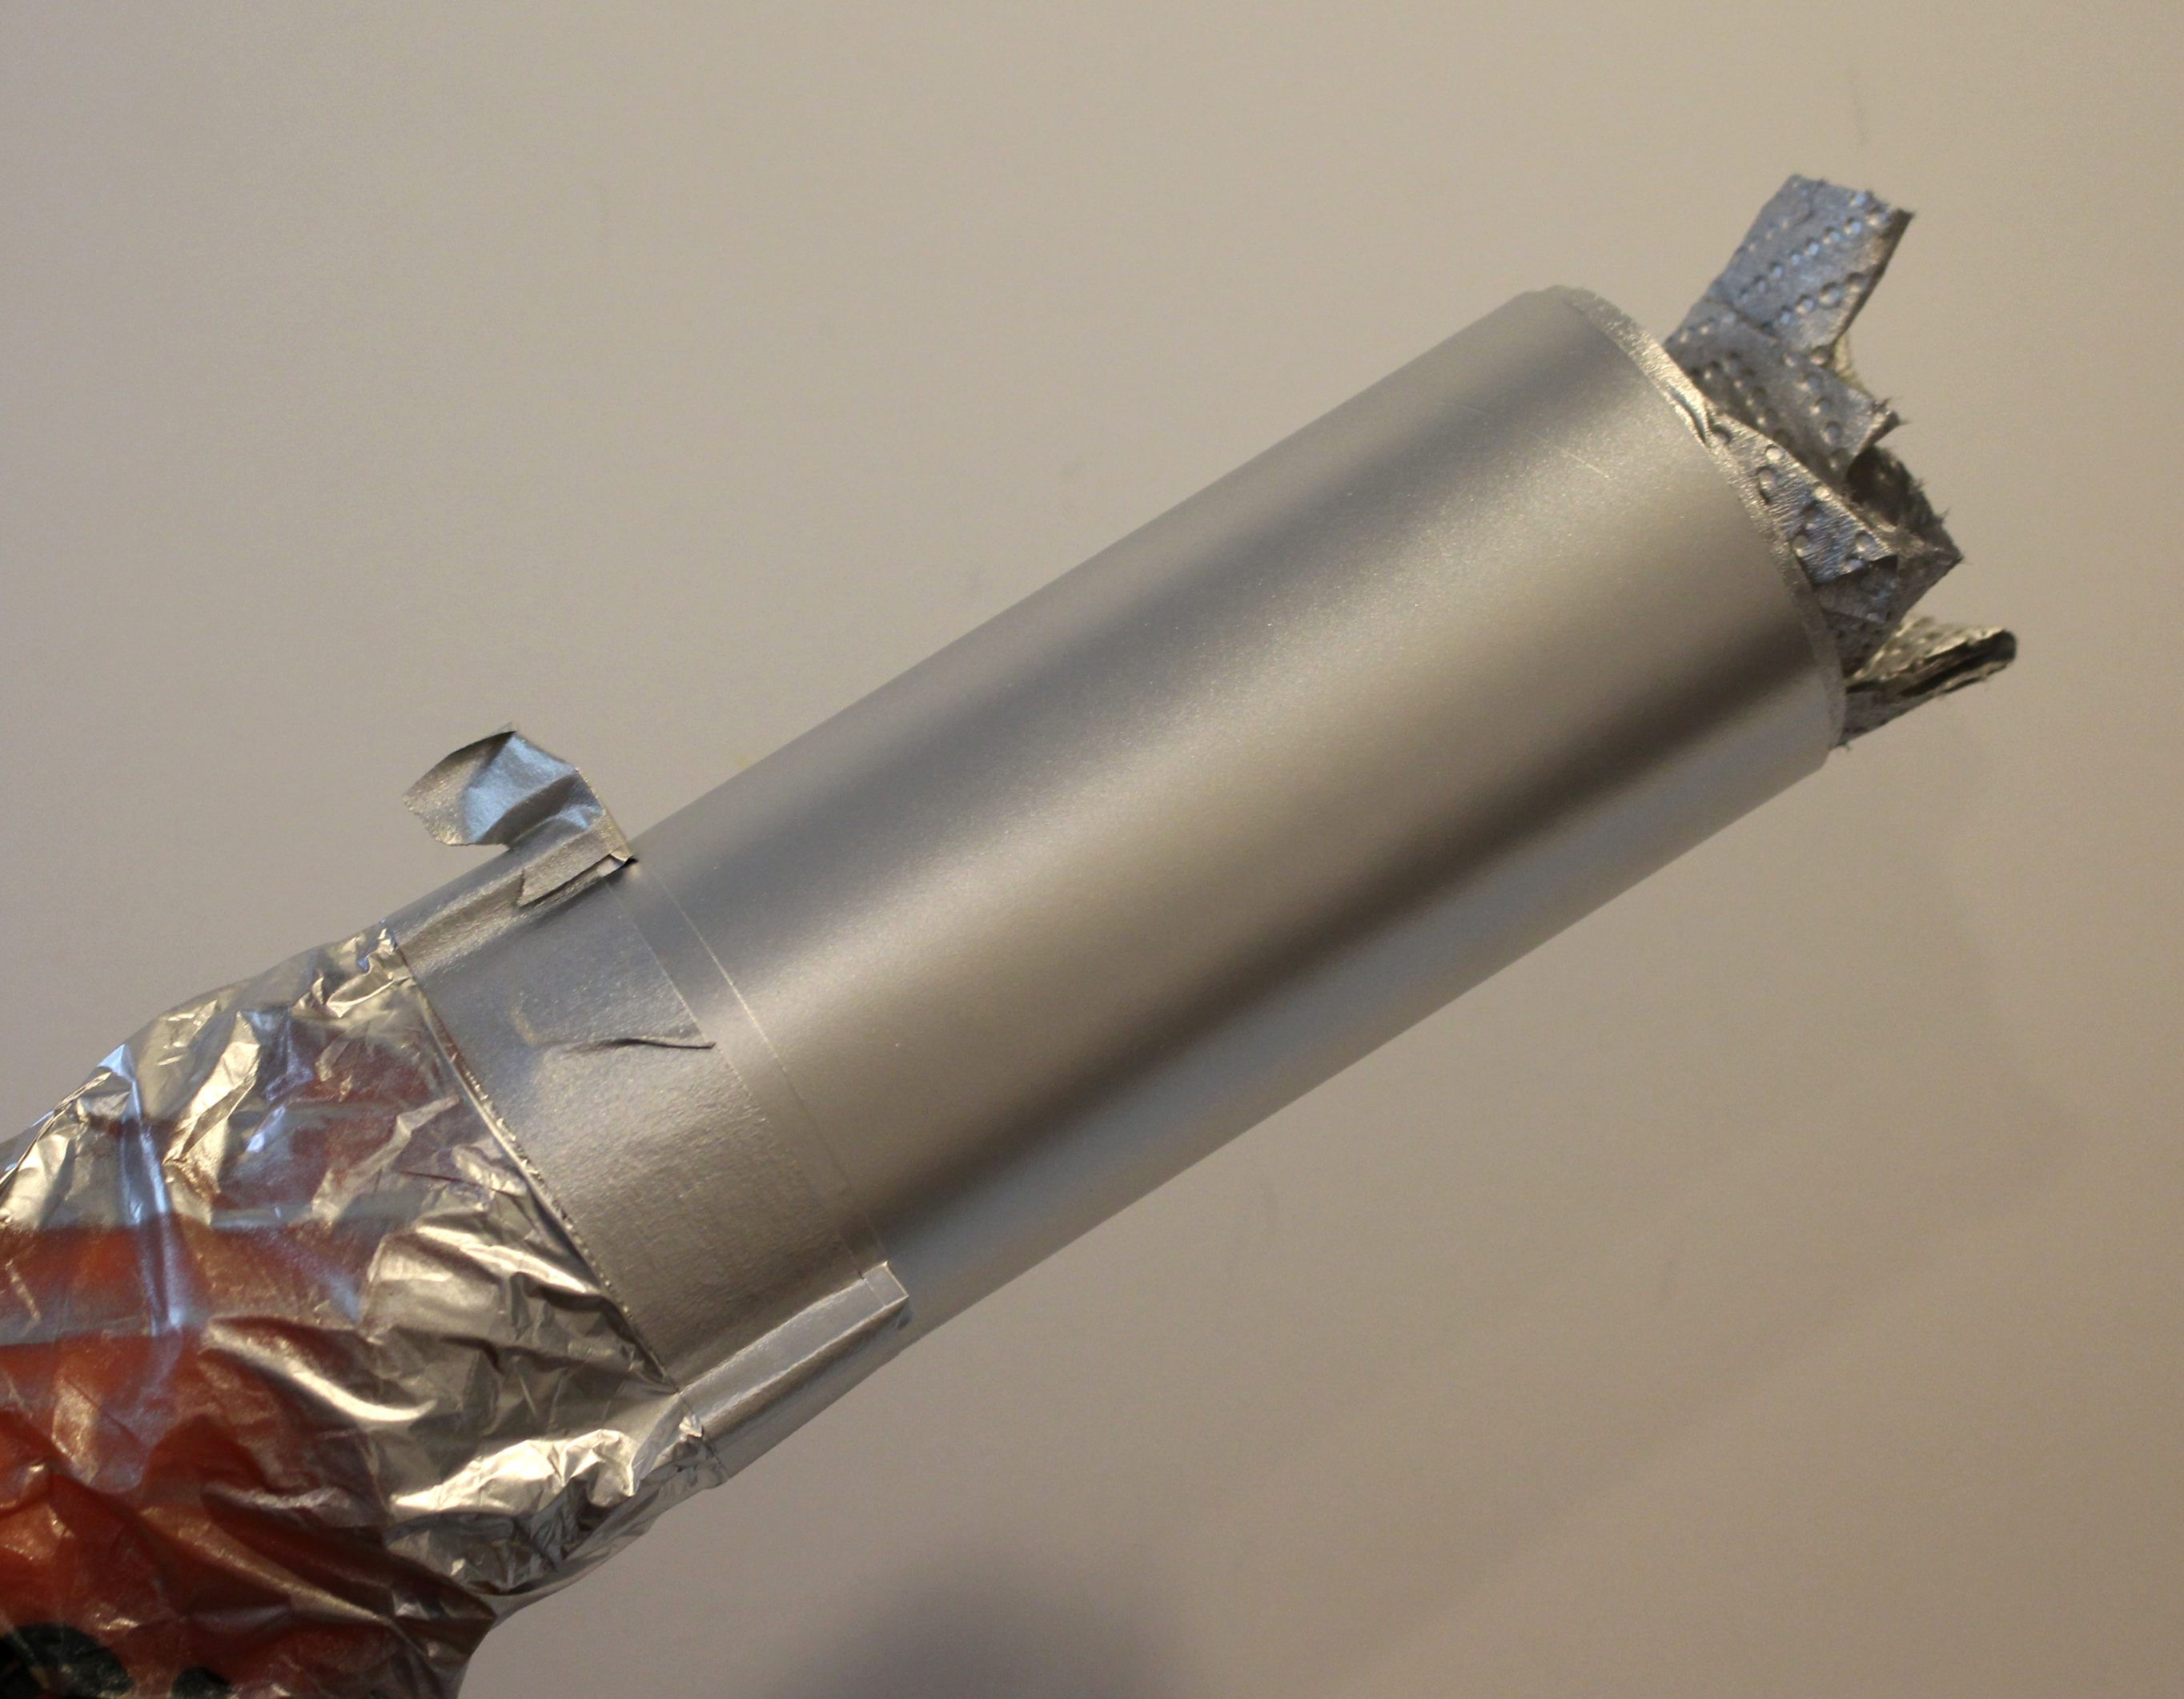
Before gluing the long upper tube over the coupler -
Slide the tube over the coupler (dry). Turn the tube until you get the best match of the two tube ends. Mark the position with pencil.
Set a line of glue in the upper tube - slide over the coupler and turn so the pencil marks line up.
GOTCHA: The tube marking guide is printed a little wide to fit over the engine hook and retainer ring.
I marked the tube then rotated the guide to check the fin spacing against the next set of marks. It was off no matter how many times I turned the paper guide.
I went to payloadbay.com and printed off a new five fin marking guide. On the right you can see the difference between the two guides. The payloadbay.com guide is on the left.
The payloadbay.com marking guide was printed to fit a BT-20 tube.
I wrapped it above the engine hook and marked for the fins. Extend the marks down the tube.


 The fun part was getting all the pieced runway/tunnel pieces to line up.