Saturday, January 7, 2023

Estes BOSS Kit #7316, Build, Part 1, Parts

The B.O.S.S. is now available today, from Estes or your favorite vendor.

Here's the third kit in the Estes Designer Signature Series. The B.O.S.S. was designed by Bill Simon. 
Mr. Simon was the Vice President of Estes. He wrote and published the Model Rocket News and was responsible for the annual catalogs. 
He also led the creative team including research and development for the company.


Here's Bill Simon's designs:
Astron Apogee (K-5) 1962, Astron Phantom (K-7) 1962, Astron Cobra (K-10) 1963, Astron Farside (K-12) 1963, Astron Farside-X (K-12X) 1963, Astron Sky Hook (K-8) 1963, Astron Drifter (K-14) 1965,  Astron Alpha (K-25) 1966, Astron Avenger (K-38) 1968, Astron Midget (K-40) 1968, Astron Scramber (K-37) 1968, Saturn V Semi-scale (K-39) 1968, Astron Beta (K-45) 1969, Astron Birdie (K-44) 1969, Russian Vostok (1272) 1975, Antares (1276) 1976, Firefly (1280) 1976, Icarus (1277) 1976.


All the parts:


Parts of interest: Clockwise from top - 
Decals,
Yellow Part M Reinforcement Rings
Two sheets 3/32" thick laser cut balsa
Laser Cut Ring stock
Center - Laser cut (thinner) index stock

Friday, January 6, 2023

Saturn V Fire? TIP


On the Estes Model Rocket Facebook page - 

Mark Hansen posted a picture of an Estes Saturn V that never got off the launcher. 
The tail end is on fire! There might also be a hole burned into the thin Estes metal deflector.
There is reasons why the instructions say to elevate the rocket 8" above the blast deflector. 

From Rocketreviews.com:

Krushnic Effect

A very dramatic phenomenon where your rocket makes a tremendous amount of noise and smoke but doesn't go anywhere! This happens when the motor is recessed into the body tube by more than one tube diameter. If so recessed, the cylindrical volume below the motor forms a secondary expansion chamber which allows the exhaust gasses to expand below atmospheric pressure before leaving the rocket. Surrounding air aspirated into the exhaust stream causes turbulence which negates much of the thrust, along with creating the characteristic roar. A multi-stage model that ejects its booster motor, but not the airframe, is a perfect example. Very damaging; it almost always destroys the lower body tube beyond use. Named for Richard Krushnic, the rocketeer who characterized the effect in the late '60s. Not to be confused with Suction Lock.

Bernoulli Lock

A phenomenon similar to the Krushnic Effect where the rocket seems to be "glued" to the pad at liftoff. This afflicts larger, flat-bottomed rockets launched too close to pads with flat blast deflectors. The exhaust gasses escape at great speed through the small annular space between the rocket and the pad creating a venturi which generates a low pressure region at the base. This pressure deficit can be significant, and if it is greater than the thrust being generated by the motor, the rocket won't go anywhere! This is quite possible as a 2" dia.rocket has, potentially, over 45 lbs (200 N) of "suction" available to hold it back, while a 3" rocket has over 100 lbs (460 N)! The old Centuri "Point" was an infamous Bernoulli locker when launched from an Estes Porta-Pad with its perfectly matching round blast deflector.

With the wide body and recessed engine - This doesn't always happen. But why take the risk?
Raise your (4" diameter, not the smaller plastic version) Saturn V, 8" above the blast deflector. And, you should have a longer launch rod or rail.


I experienced this in the early 1970s with a Centuri Point. 
The base of the Point is round almost matching the diameter of my round Estes blast deflector plate. The model never left the launcher and caught fire.

On my more recent Semroc Point, notice the base is raised above the blast deflector. In the original instructions, Centuri did not mention raising the rocket above the deflector. But, Centuri blast deflectors were angled, not flat.

Thursday, January 5, 2023

Estes Maxi-Brute Honest John (Kit #1269), Part 17, Motor Bands? Yikes!

The Motor Band is made up of three layers of cardstock, the third layer has evenly spaced holes in it.
Step 7 of the instructions say simply: "Cut small holes out of third motor band." I prefer to use my rotary punch.

Test on scrap area to get a feel for how the punch will cut. Usually you have to have a second layer of cardstock underneath the punch area for a clean cut.

Shown above on the right,
If you can't see the inked edges around the cutter tube, try light pressure to be sure of the punch position. Remove the punch and check.

If you are happy with the position, set the tube on the light recess and finish the punch. This allows you to slightly move the punch tube if you didn't get the position right the first time.
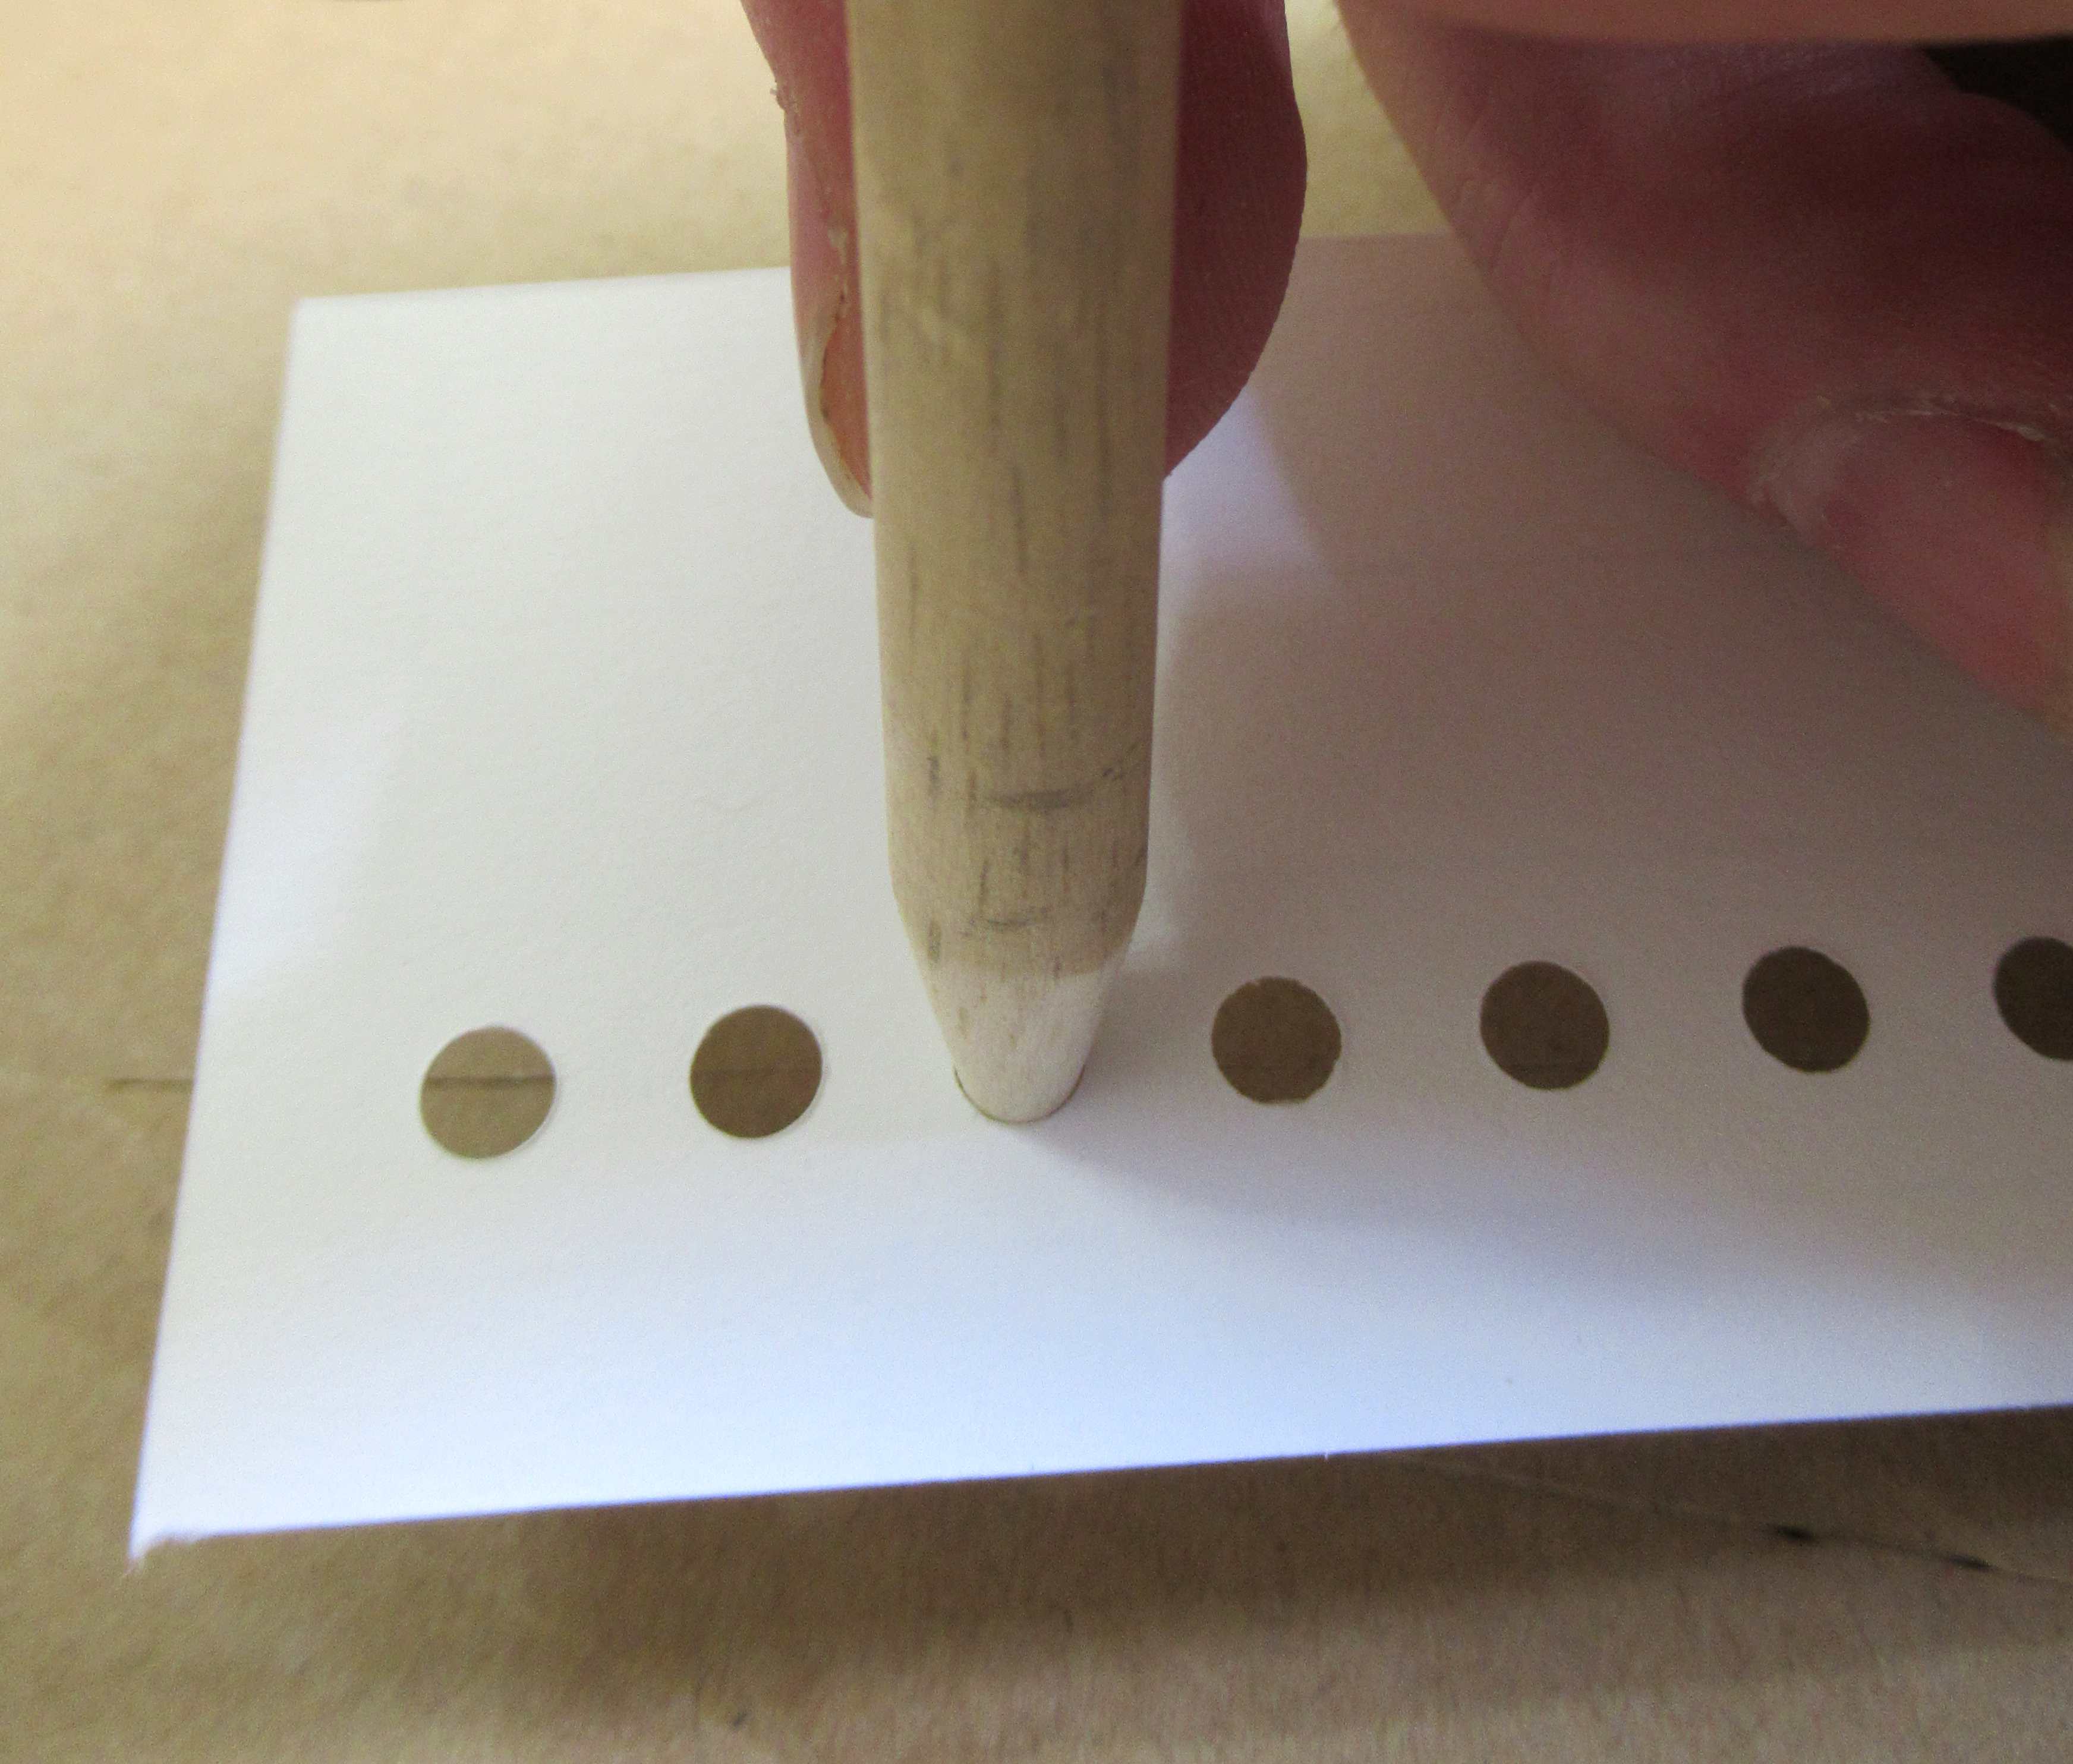
To round out and true up the circle edges - 

TIP: Use a smooth sharpened dowel. Wet the dowel tip and wipe off the tip leaving the wood just slightly damp.
Gently turn the dowel in the hole.

I dowel form the holes on both sides.
The final side of dowel forming is the side that will face out on the finished model. That leaves a clean taper on one side of the strip.

TIP: I make a practice of gluing the printed sides in. Printed words and inked lines can sometimes wick through and be seen after spray painting.

Here's where I threw in the towel.
The motor bands didn't wrap completely around the tube!
The picture on the left shows the first motor band. The ink line is where the wrap should have been cut. I left overlap thinking this could happen.

The second overlay wrap didn't meet up.
That leaves the third wrap with the holes not completing a full turn.

It's not difficult to patch a cardstock gap. But, the third wrap holes will end up unevenly spaced where the ends meet up! This would require a re-draw.

I'm going to take a breather on this build. It's rare when I stop a build, my apologies.
To be honest - I was disappointed with the weak, floppy fins, substituting basswood for the balsa launch shoes pieces, and the motor wrap ends not meeting up. 
I've spent too much time correcting and beefing up the kit supplied parts. I'll return to this build another day.
This Friday - A full build that I did finish! The new Estes B.O.S.S.

Wednesday, January 4, 2023

Estes Maxi-Brute Honest John (Kit #1269), Part 16, Some Fixes

Look at the flex on the fins.
The fin shown at the right is two vacu-formed sides, not glued up yet. The fins are stiffer when the two halves are glued up, but this is still too much flex for me.
Only one fin was glued together so far. I was letting things sit for a few days thinking about a solution. 

In the comments, Paul K wrote: 
"I like that you’re building this stock, it might actually fly on a D12-3! I added 1/16” basswood internal reinforcement, with TTW tabs, but it needs at least an E18 to fly."
 
Paul's suggestion for a interior reinforcement might be a good idea.
I cut a stiffener piece from 1/16" basswood. 
With the basswood in the middle, the (now) three piece fin is much stronger.

I didn't want to go through the wall. That's an iffy proposition when cutting through the thin fin root edge and also slotting the molded tail cone. This stiffener piece by itself is a compromise.


One of the launch shoes didn't turn out well.
The top piece cracked off when sanding and ended up at an angle when it was glued back on.

I cut another Part A from 1/8" basswood and have enough leftover B pieces to make another.

Tuesday, January 3, 2023

Estes Maxi-Brute Honest John (Kit #1269), Part 15, Gluing Up & Sanding The Fin Sides

Before gluing up all the fin halves - 
Wait to read Step 16. I did a fin reinforcement to stiffen the plastic fins. 
This post shows how the fin sides are joined per the instructions.

The leading edge is already glued shut and remains closed in the following steps.
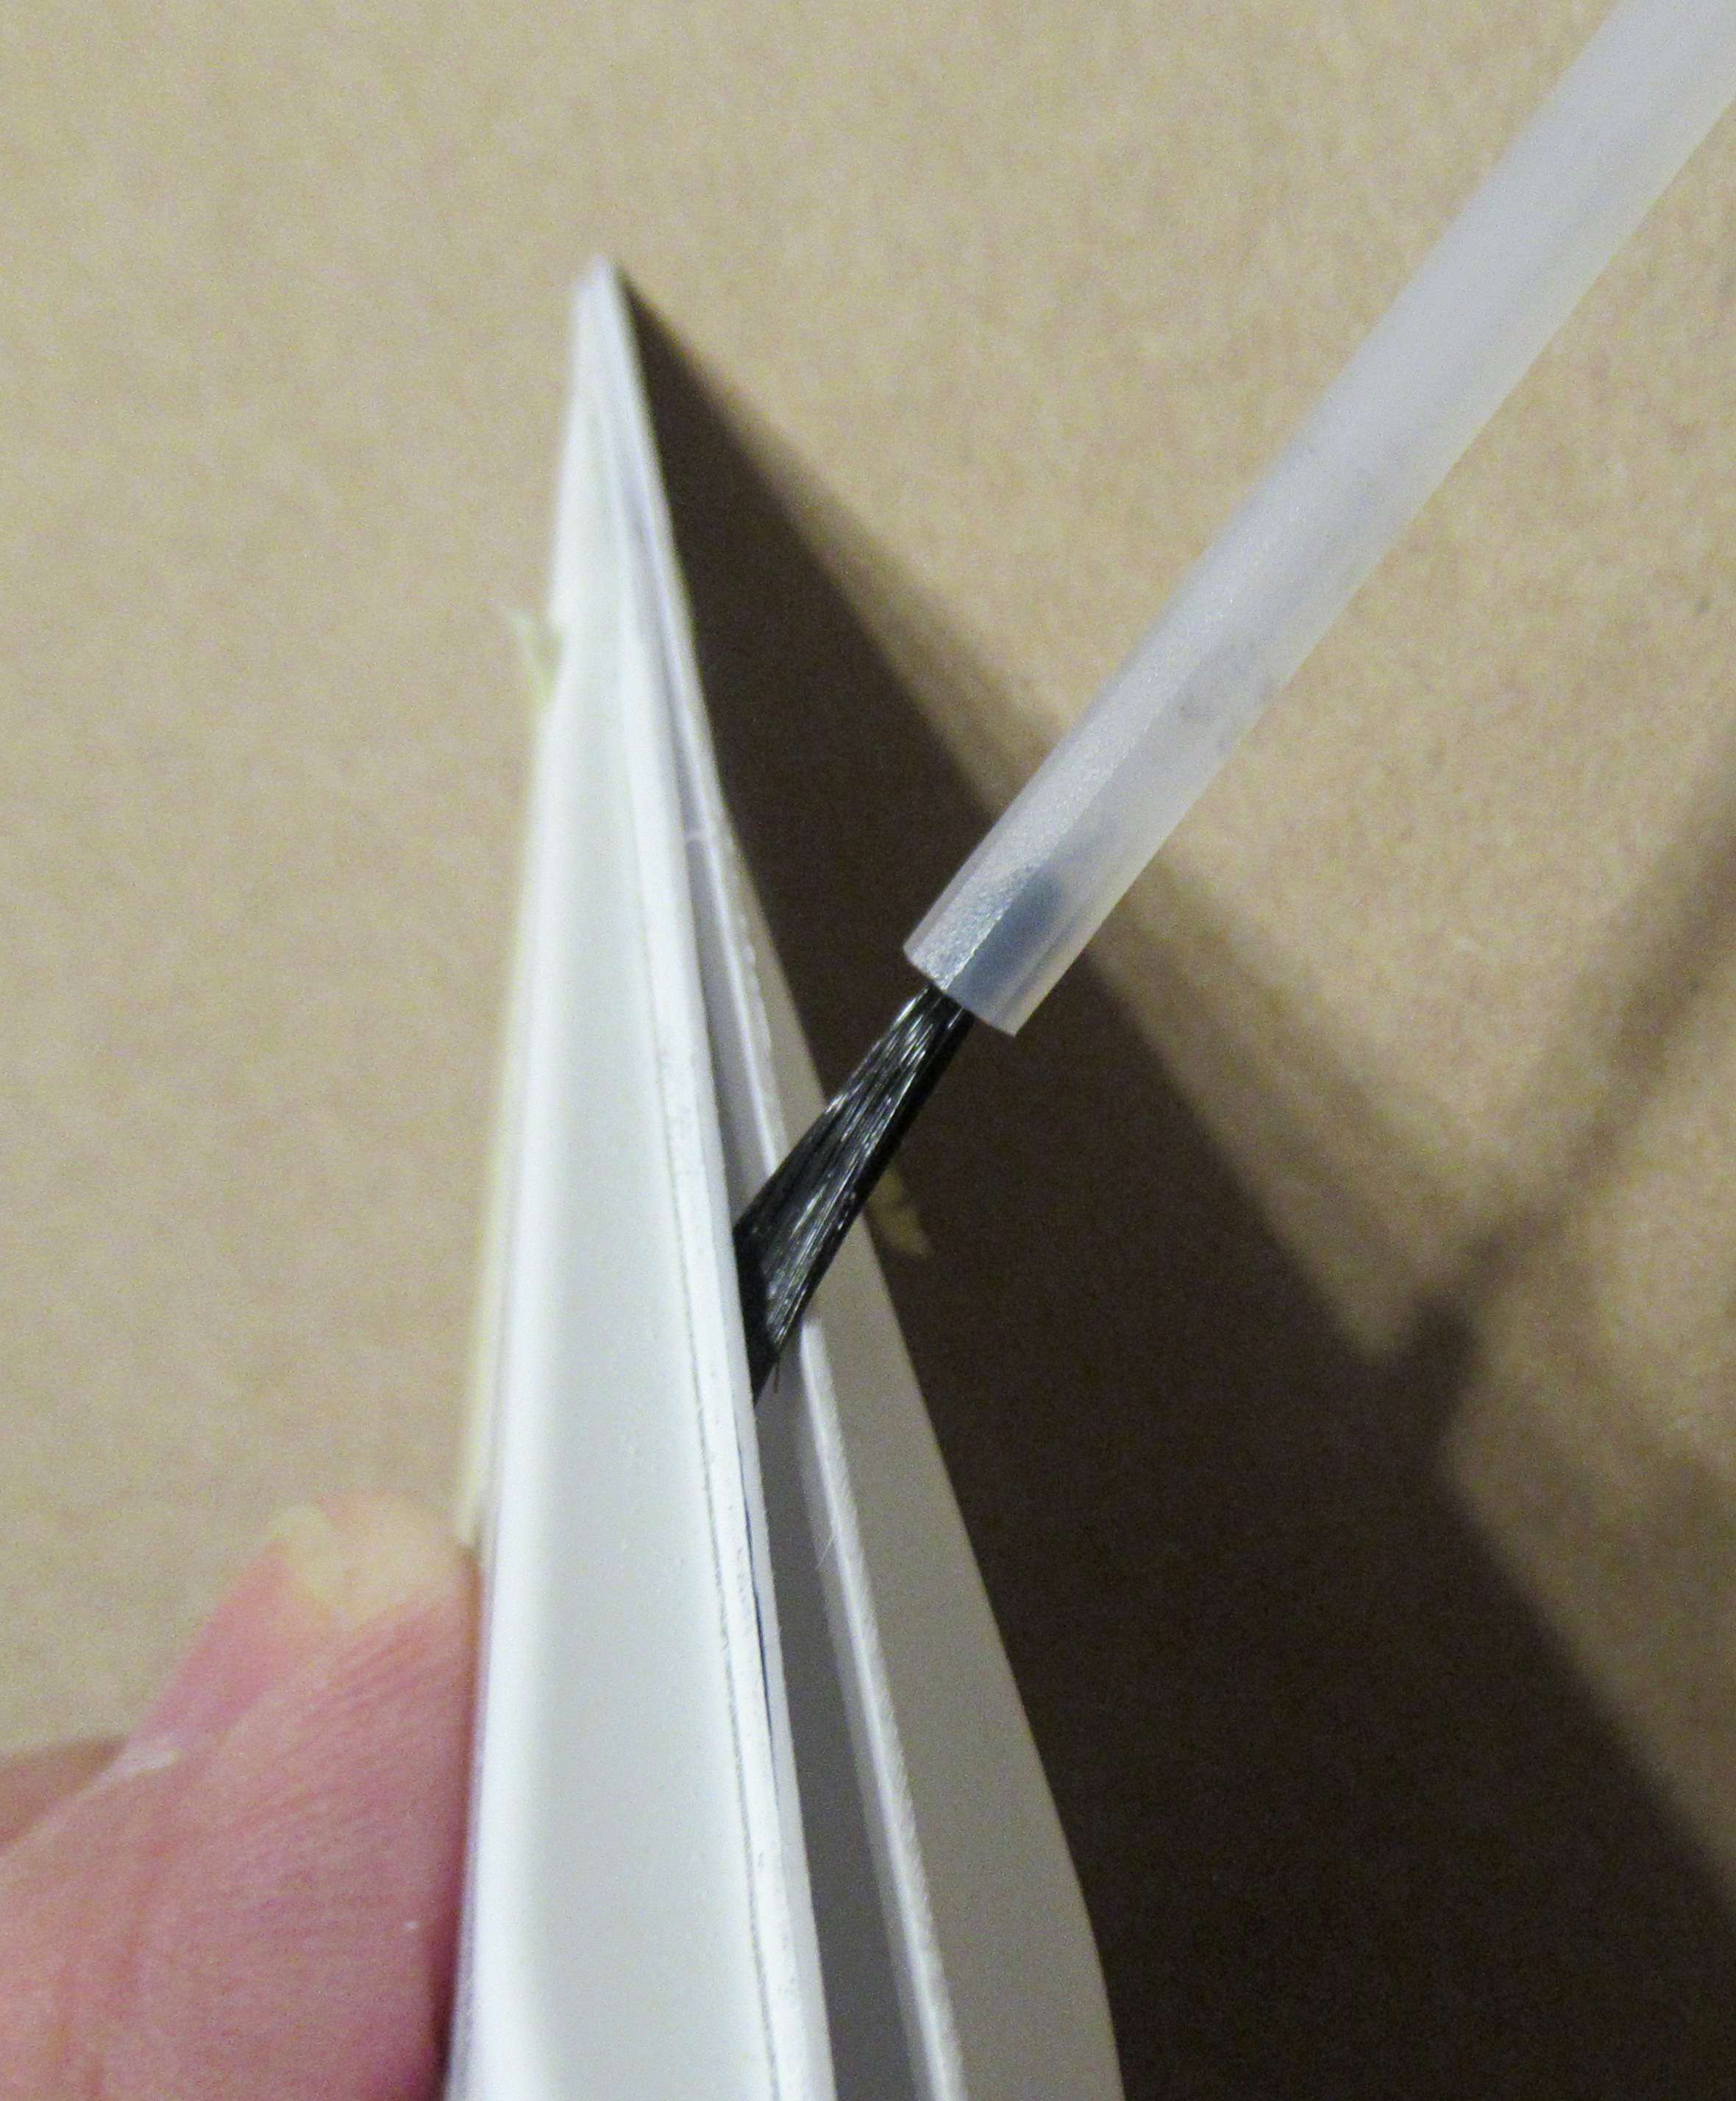
Slightly open up the gap on the root edge side a sneak in the brush to apply a wet line on both sides.
Close and hold until the glue sets up.


Where you can, open the two halves up enough to get the wet brush between the two fin halves.

Where you can't get the seam to open wide enough for the brush,
Brush on some glue over the closed edge. The glue is thin and some should seep into the joint.


After the glue dries, continue sanding using a block with 220 grit sandpaper.

Here I've started to sand down the overhang edge.
A joint has opened up - 
Brush on more glue and hold the gap closed. 

Don't sand all the way down and Don't remove every bit of the overhang lip.
Notice I traced a pencil line around the raised fin sides to better see the height of the overhang lip.

Sand very "close" the the fin side - 
Then sand and round off the remaining lip, shown on the right.

This leaves the fin a little stronger. If you were to sand to far, there is just two thin ends butted up against each other. Stopping a little early leaves a bit more contact of the plastic at the bonded sides.

Monday, January 2, 2023

Estes Maxi-Brute Honest John (Kit #1269), Part 14, Gluing Up The Fin Halves

(My camera focused on the closest edges. Look at the blurred right and left wider sides of the fins.)

On the left - 
Notice one side is higher than the other.

On the right - 
This is what you are looking for. Both sides are in line with each other. You can't count on evening up the overhang edges. Look beyond them and focus on the sides of the fins.

Alignment of the fin sides is VERY important. If one side is high, you could sand through it trying to even up both sides.


After checking the alignment on all four sides - 

Tape together the fin halves with a strip on masking tape, making a hinge. Check the alignment again before using any glue.


Open the two halves.
This allows you to apply liquid cement to the edges on the tape side.

The inset shows the Plastruct Plastic Weld glue I use.


Brush a fairly wet line down one side of the "hinge" edge. Work fast - This glue dries quickly.

Close up the fin and hold until the glue dries.
We'll glue the other three sides in the next post.

Sunday, January 1, 2023

Top Ten Builds for 2022, Part 2


Continuing the countdown -

5. Estes Super Orbital Transport
The new, upsize classic!
It's a job getting all the inside surfaces filled and smooth. 

For the complete build: CLICK HERE


A TIE at #4 - 
4. Estes Skylab 
A 4" diameter Saturn V variant. The top section is a difficult mask, but worth it in the end. 

For the complete build: CLICK HERE

A TIE at #4 - 
4. Estes Solar Sailer Clone 
This was a good surprise build. While not as complex or as tall as the original, there is still plenty of detail with the girder decals.

For the complete build: CLICK HERE
3.  EAC Firecat Clone 
This was a long, awaited build. I never ordered one when offered through the Estes Aerospace Club.
I suggested to Estes this should be one of the new Designer Series kits. It has an interesting back story - a S.P.E.V. made up from the leftover Vashon Honest John kit.

For the complete build: CLICK HERE

2.  Estes Delta Wedge Clone
This has to be my favorite clone - ever! It took a few re-draws and refits of all the cardstock pieces. A weird, fun design. 

For the complete build: CLICK HERE 

And the Number One Build for 2022 - 


 ESTES ODYSSEY 
This one sat unopened, in the bag for a few years. I was almost afraid to tackle such a complex build. I knew there were many cardstock details that needed edge sealing before construction. In the end, it wasn't as bad as I thought. 
You do have to plan ahead to get white spray paint coverage on all the inside areas.
 
For the complete build: CLICK HERE 
__________________________________________________________

More builds from 2022 not in the Top 10 list:
Estes Blue Origin New Shepard (2 built)
Estes Blackhawk (1 built)
Odd’l Rockets F-18 (4 built)
Quest High Q (2 build)
New Way Boxie Birdie (1 built)
Quest Falcon (3 built)
Estes Spaceship One (1 built)
ASP Ram (1 built)
Rocketship Games Alice’s Star Rocket (1 built)
Quest Enerjet Quad Runner (3 built)
36 Builds Total in 2022
__________________________________________________________

I'm embarrassed by my flight totals this year - Only 24 launches!
At my age I can't do the hot Summer launches anymore. It takes me the following day to recover! There were also some monthly club launch site rain cancellations and I didn't get to the schoolyard very often.
Still, I built a LOT of rockets!