
I don't use regular brown masking tape and won't pay a premium for the "boutique" hobby masking tapes. Scotch tape can give razor sharp lines and it's a lot cheaper.
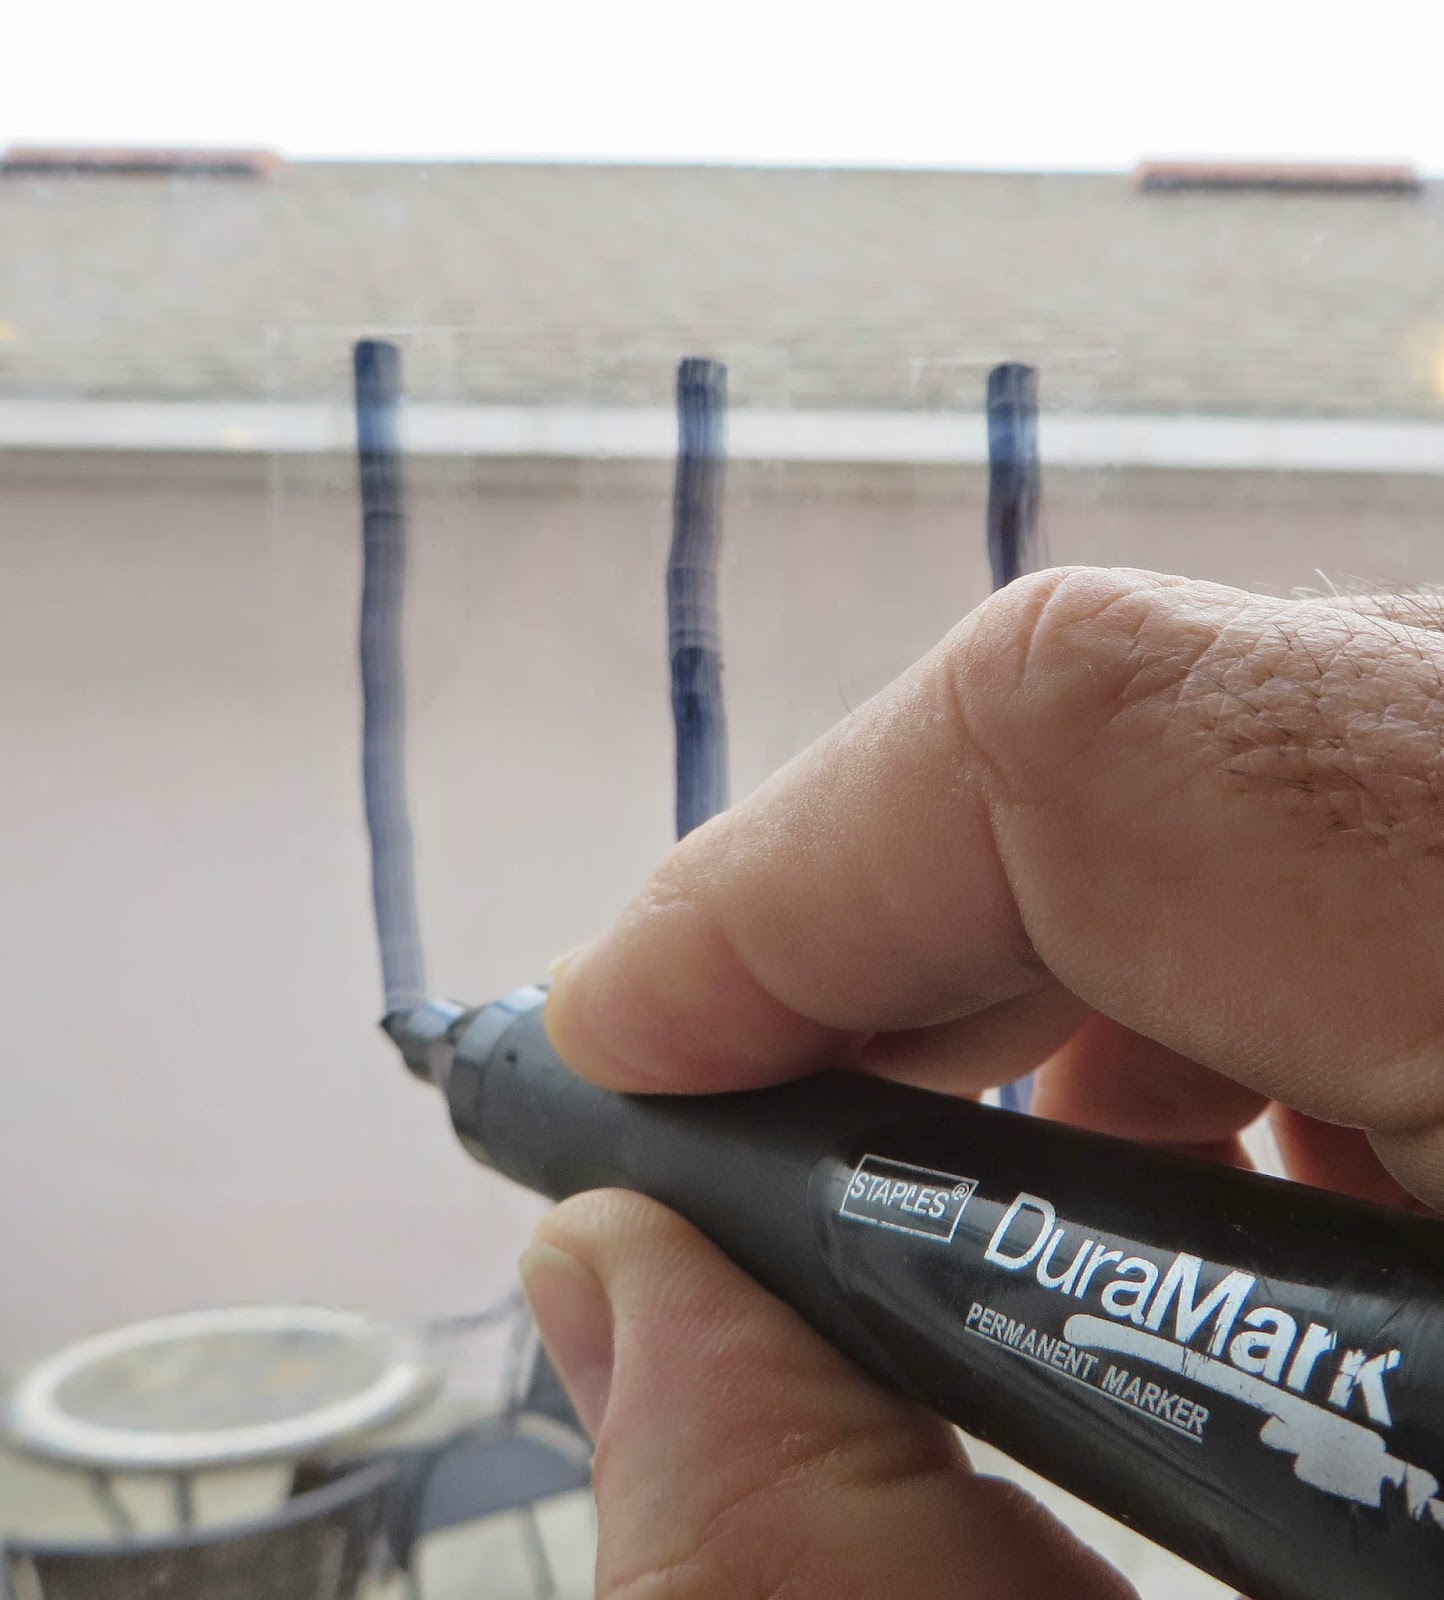
Scotch tape strips are set down on my patio door glass.
To make the clear tape easier to see on the model, a wide point marker is run down the center of the tape strips.

A straightedge is set down along the middle of the marked line.
The black line is cut in half, down the middle with my knife.
Your hobby knife won't cut or score the glass unless you press down too hard.
One strip of tape will give you two facing pieces of tape for masking.

Set the tape down centered on a fillet. The black marker line makes it easier to see the mask edge.
If your fillets and paint aren't smooth, don't expect a sharp paint separation line. The more time you put in on filling and fillets, the better your painting masks will end up.

At the rounded leading edge, many small pieces of tape are set to curve around the fin.
This many pieces of layered tape may not give you a perfect rounded leading edge. After the tape is removed, any rough edges can be "pushed back" with the tip of your knife while the paint is still pliable, not fully dry.
I tend to lift the tape before the paint fully dries.
No comments:
Post a Comment