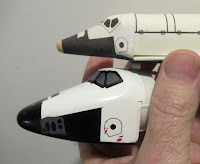
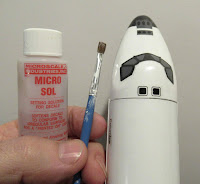
I ended up slicing the raised areas and brushed Future underneath before folding back down the edges.
I mentioned earlier about some parachute ink sticking to the decals.
I didn't want to scrape the red ink off before transferring the decals. I wanted to keep the clear coat strong while placing the decals on the model.
After the decals were in place and had dried for a day, light scraping with a sharp blade removed the ink. Scrape lightly - you want to remove the red blotches, not the original print of the decal.
TIP: On the left I'm tying some no-tangle shroud lines. The center of the shroud lines get a small overhand loop knot. A separate piece of string goes through the loops and ties the three parachute lines together.
The entire process is shown: CLICK HERE
TIP: The parachute was joined to the shock cord a few inches away from the nose cone. This prevents the nose cone from swinging in and out of the shroud lines after ejection, preventing tangles.


Where do you find such patience over the details? Nicely done.
ReplyDeleteI'm single.
Delete