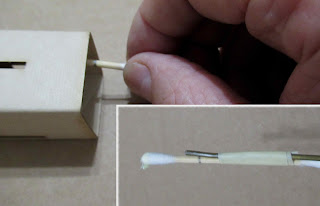
The engine mount was glued in.
Glue for the forward ring was applied using a coat hanger wire with a taped Q-tip on the end.
Glue was applied to the Q-tip and transferred inside the body tube. The motor mount is slid in place and a fillet applied to the back centering ring.
Mentioned earlier - I forgot to add the shrink wrap tubing over the Kevlar.
The smaller, forward jig was pressed together against my block.
Press the larger rear jig together and slide apart. The laser cut leaves an ash mark that shows where the glue line should go.
Another template is for the launch lug placement.
Fold and press over the corner of the tube. The alignment lines should be drawn next to the single centered fin slot.


No comments:
Post a Comment