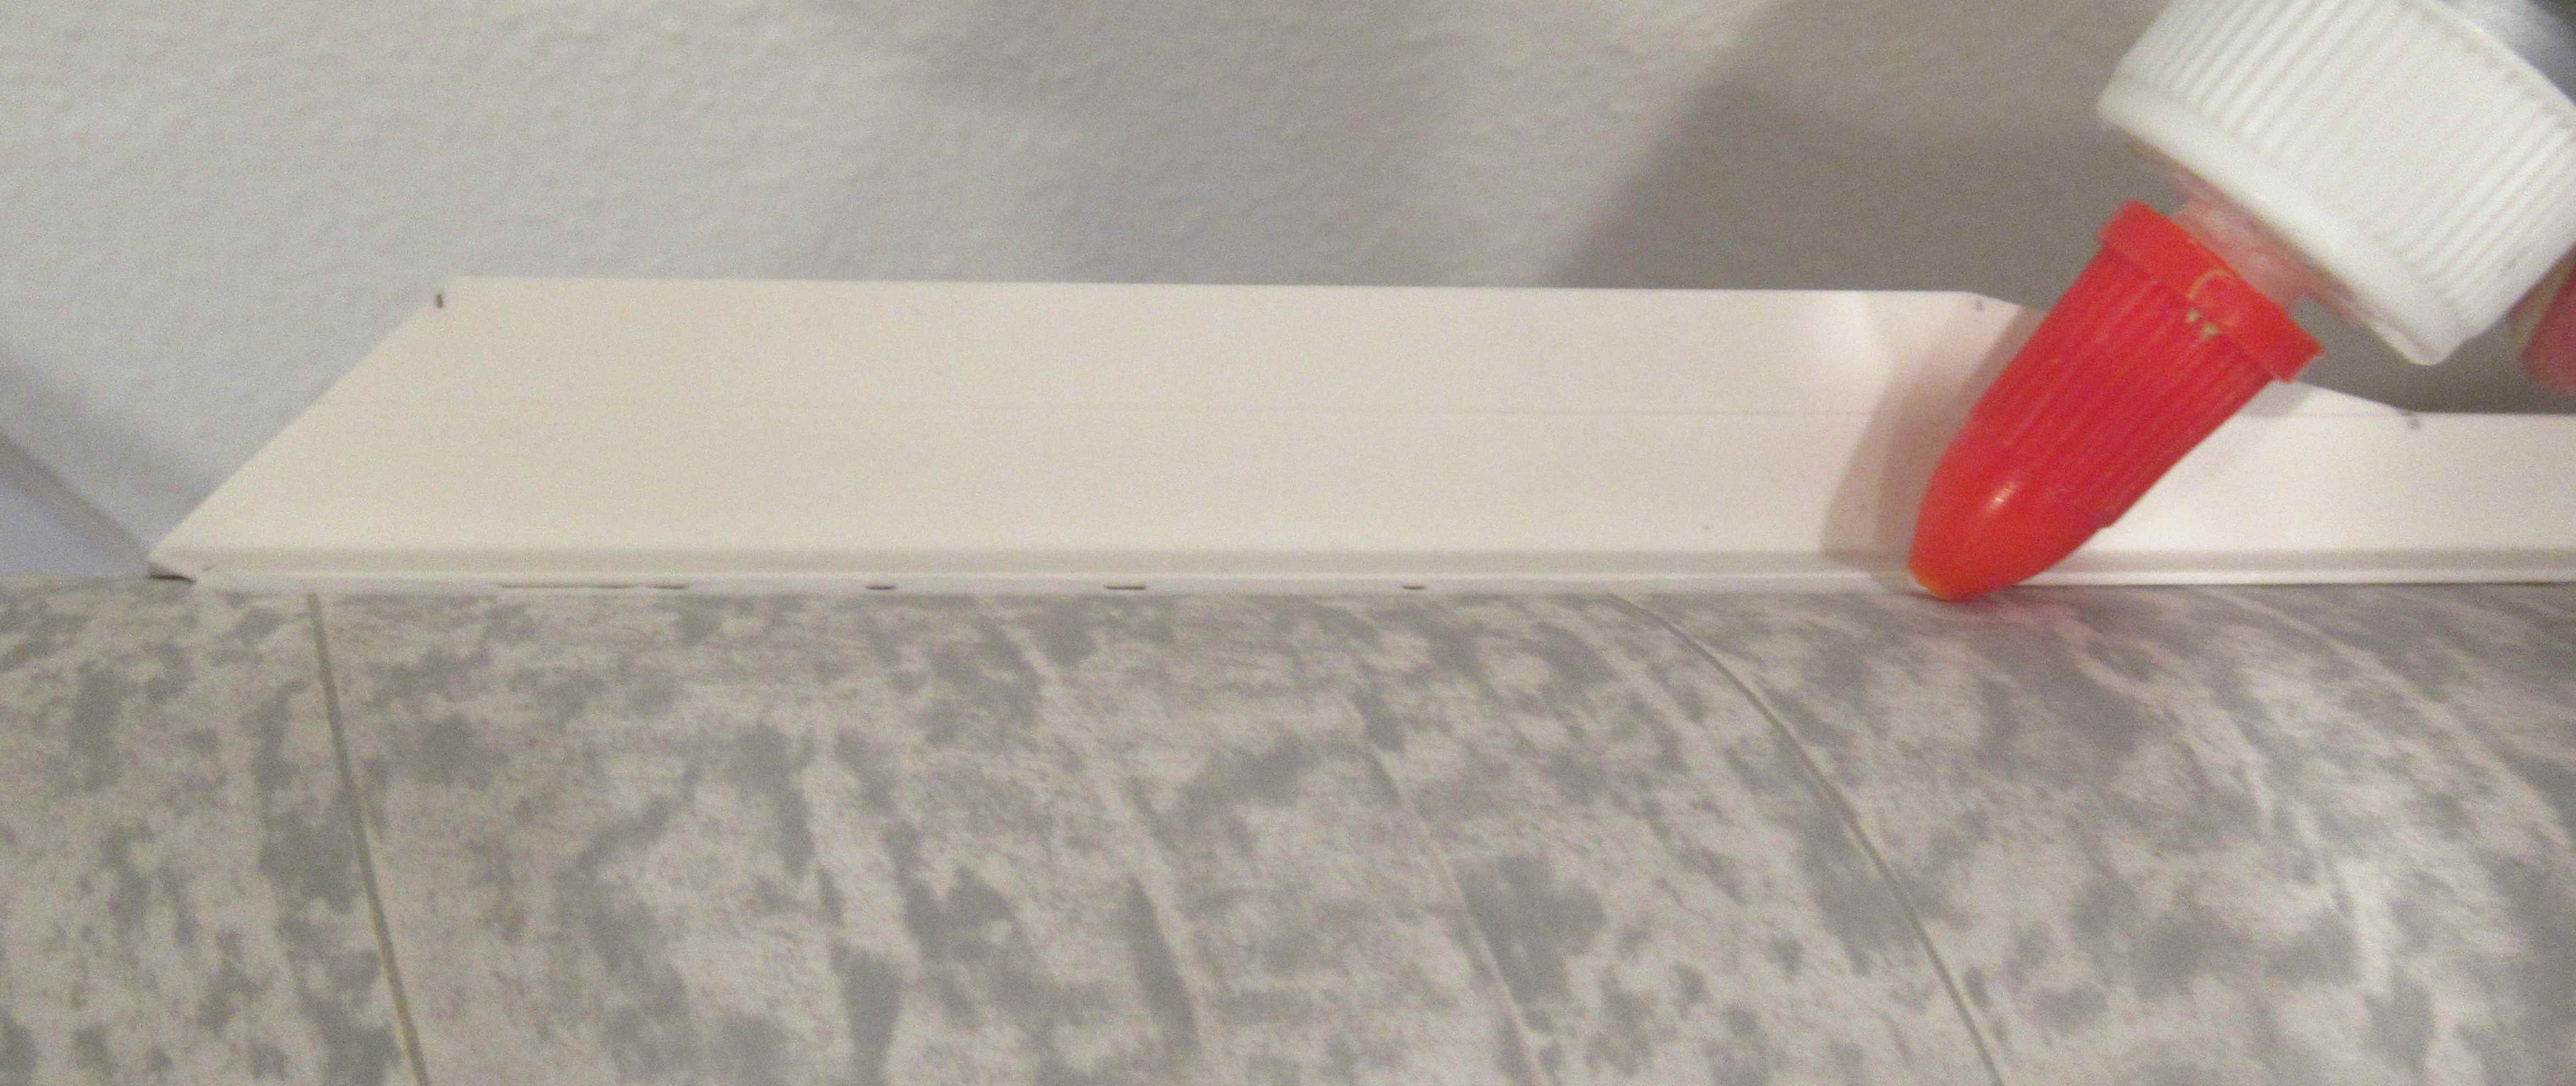
These tabs were purposely cut a bit high so they extend above the fin face. Too many kits have short tabs requiring extra filling. These tabs can be sanded to surface after the glue dries!
Showing posts with label A Fin Fitting. Show all posts
Saturday, October 11, 2025
New Way Blade Runner, Part 4, Freeing The Fins
Monday, November 18, 2024
Enerjet by Aerotech Strong Arm Build, Part 15, Nose Cone Re-Paint & White Paint
The nose cone color was picked to closely match the upper roll bar on the sticker sheet.
An earlier post showed bubbles as the nose cone paint dried.
I usually don't use Rusto spray paint but this gray was the closest. This time, the spray coat was even and glossy.
The rest of the body is painted a gloss white with no masking.
Here's the body after a light first coat. Sanding followed with 400 grit.
Thursday, November 14, 2024
Enerjet by Aerotech Strong Arm Build, Part 14, Launch Lug Fit & Fillets
While the fit of the vane sides were pretty good, the edges could still use a fillet.
I used Titebond Quick and Thick with a smaller Elmer's glue bottle nozzle.
TIP: On a long fillet like this, it's easier to glue and smooth about half of the length, then do the upper half. Too much excess glue can pool under your finger when smoothing out a long fillet.
GOTCHA: The coupler end inside the upper slot prevents the front of the launch lug from fully seating.
I filed down the front half of the positioning tab to fit over the coupler.
Beacon Fabri-Tac was used to glue the launch lugs in position.
A piece of masking tape held it down while the glue sets up.
I'll be on vacation for the next five days, there may not be posts while I'm away.
Wednesday, November 13, 2024
Enerjet by Aerotech Strong Arm Build, Part 13, Gluing The Vanes
With the low end tip of the vane set at the tape wrap,
the vane is pressed in place down the pencil line.
Hold the vanes in place with tape as the glue sets up.
Go back and check the alignment to be sure there wasn't any movement. Epoxy is slippery!
Check the edges for any glue that may have squeezed out.
You can pick it up with a Q-tip.
I'm building three of the Strong Arm kits, you might notice one build with no seam fill or filler primer.
On one build, I glued the vanes on using Fabri-Tac with good results. Fabri-tac takes a while to dry, the bond felt as strong as the epoxy joints.
I had a few vane tips that ended up raised.
In the top picture, you can see the open end.
Here, I've used a wood glue fillet to fill the gap.

Tuesday, November 12, 2024
Enerjet by Aerotech Strong Arm Build, Part 12, Setting The Vanes
The rear of the vanes are 2" from the front tip of the fins.
Instead of using the wrap around guide, I got out my aluminum angle.
It's pretty easy to draw a pencil line, extending from the front leading edge tip of the fins.
I pencil marked an even wrap of masking tape.
The low end of the vane will be set just above the tape wrap. The picture shows a dry fit.
I tried using CA glue on the back of the vane to adhere it, but there wasn't enough surface contact for a good bond. I've got to use epoxy. It'll flow and fill some voids.
15 minute epoxy was spread on the underside of the vane using a Q-tip stick with the cotton end removed.
To even out the epoxy bead and prevent squeeze out beyond the edges -
I wiped off the sides with a folded paper towel. This evens out the bead over the entire length of the vane.
The even center bead result is shown on the right.
Subscribe to:
Posts (Atom)