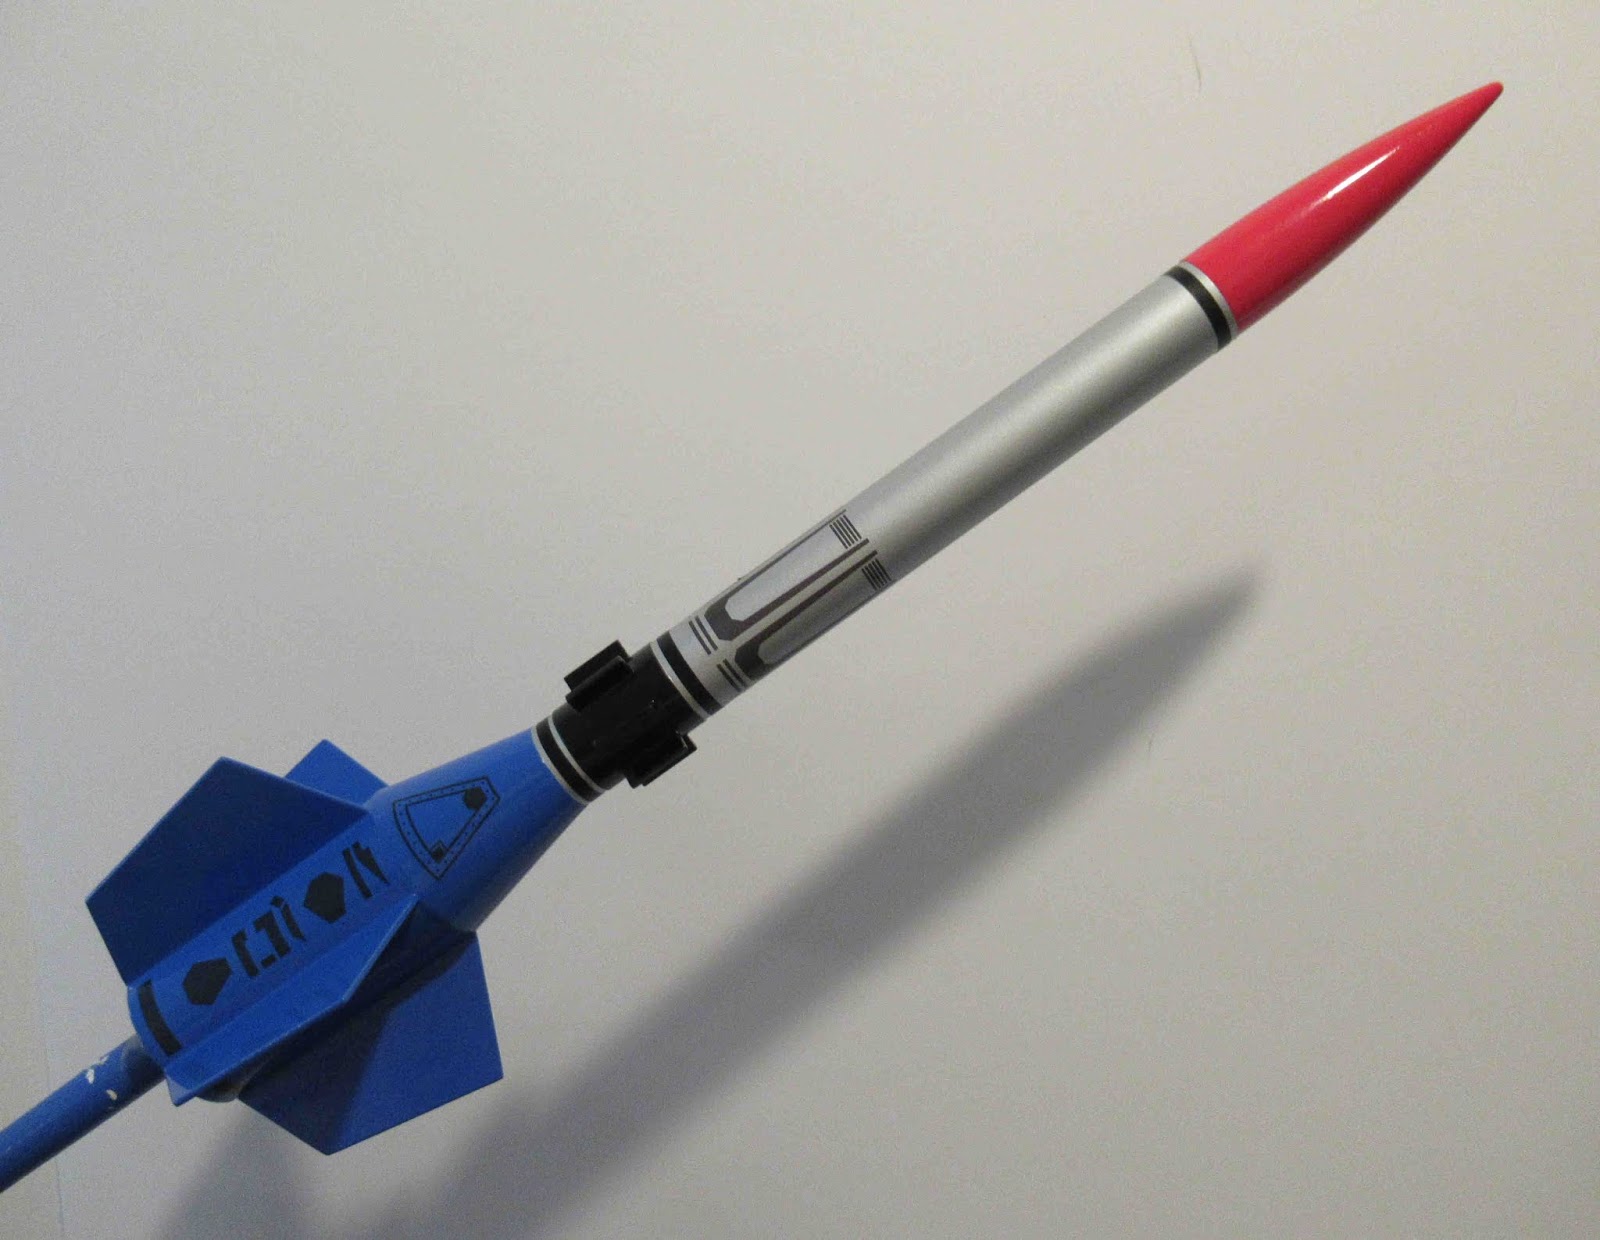
Showing posts with label C Vector-V. Show all posts

Thursday, May 28, 2020

Centuri Vector V #KB-2 Build, Second Build Finished


The second build is in the catalog color and decal scheme. I'm a little more partial to the first build and color variation, the one with the wide span fins.


Here's both builds for comparison.

Wednesday, May 27, 2020

Centuri Vector V #KB-2 Build, First Build Finished


This was billed as a "Customizing Kit" giving the builder many choices on fins, vane position and decals.
I even put the Centuri decal on one build, it seemed appropriate this time.

Tuesday, May 26, 2020

Centuri Vector V #KB-2 Build, Part 11, Black Paint & Decals


Here's the mask for the black vanes. This picture shows the upper vane placement


This is the vane mask for the lower placement near the top of the shroud.
The picture on the right shows how to pull the tape off, away and folded over itself.


Whoops!
I got some black over spray on the shroud.

TIPS: With the blue totally dry, I was able to use a Mr. Clean Magic Sponge to scrub off the black.


Using a Magic Sponge can dull the gloss a bit.

Hit the dull area with some polishing compound to bring the gloss back.


Most of the decals are self explanatory, there are extras so you can customize a bit.

At the bottom are "Short Bars" that center between the five fins.


TIPS: I cut the decals off the sheet with the low side wide, leaving an even clear space at the bottom of all five bars. With the even cut at the bottom, the clear area was used to space them up from the bottom of the BT-55 tube.

Monday, May 25, 2020

Centuri Vector V #KB-2 Build, Part 10, Shock Cord & Lower Body Paint


The Kevlar shock cord was tied around a second, upper engine block. An outside layer of the block was peeled off to fit the inside of the coupler.


The Kevlar end was slid into the upper tube, don't glue the tube on yet. The upper tube was then slid into the coupler. The Kevlar line was marked a little below the top of the body tube.
The tube was slid off and a loop was tied with the mark at the top of the loop. Look close at the right side pictures to see the mark.


On the left is the mask for the low end purple (left) and blue mask on the right.


The build on the left is painted like the catalog picture, red, silver and blue.
I did find a Rusto Metallic Blue paint, but it was dark. The black decals would disappear if placed over the color that was too blue.

On the right is the variation, I decided on orange, silver and purple.

Sunday, May 24, 2020

Centuri Vector V #KB-2 Build, Part 9, Vanes & Design Placement


Here's how the seven vanes look, placed evenly around the pattern base.


There's good reason why I didn't glue together the upper and lower segments.
I could try two different placements of the vanes over two different fin settings.


My two picks are on the right side of both pictures.

Now I can glue the upper tube segments and move on to the white undercoats and fine sanding.

Saturday, May 23, 2020

Centuri Vector V #KB-2 Build, Part 8, Coolant Vane Base


In the original kit, Centuri had you cut the vane coolant pattern off the thin 20 lb. paper instruction sheet. I wanted a little more visual relief so it was redrawn to fit the BT-20 and printed on 110 lb. card stock.

I pre-curled the pattern. Even though it is flattened out for the adhesive spray, the pre-curl will help the fit of the wrap.


From the Centuri instructions:
This shows the possibilities with the four different root edge choices and different placements of the coolant vane pieces.

Plan ahead for your favorite look.


The vane pattern pieces were taped print side down on scrap cardboard.
You could use a thin coat of glue, but might end up with some wrinkling.
I used the Scotch Super 77, the same stuff used on the Saturn V vacu-form wraps. The back side was lightly sprayed.


I'm building two different Vector Vs, one with the coolant vane position at the top, the second almost at the bottom of the 6" BT-20 tube.


As usual with the Super 77 adhesive, the ends can lift.
A small bit of glue was sneaked in on a knife blade.
The ends are burnished down with the back end of a Sharpie barrel.

Friday, May 22, 2020

Centuri Vector V #KB-2 Build, Part 7, Vane Cutting


The vane strip is an interesting size, 1/16" thick x 6" long x 1/6" wide. I cut the strip from some basswood.
Basswood grain is tight but can still be filled with a shot of filler/primer.

On the left is the sprayed strip, on the right is another piece after 400 grit sanding.


Seven 1/2" long pieces were needed.

Interesting design - five fins and seven vanes.


As usual, I cut more pieces than needed and will use the best seven.

I lined up the ends , butted up against  the flat side of my sanding block. I had to do some sanding to shorten and even up a few.

Centuri Vector V #KB-2 Build, Part 6, Fiber Fin Edges


TIP: Card stock fin edges can be sealed and slightly rounded with a bead of glue.

A line of white or yellow glue is run down the edge. Use the side of your finger to smooth the round bead and remove any excess glue. Be sure the glue covers the edge completely from side to side. Make the bead as even and round as possible. The glue bead will shrink down a bit as it dries.


Don't do a glue bead on the root edge, that should remain square.

I set some masking tape sticky side up and set the fin vertically on the root edge. This allows the glue to dry without running or the fin sticking to the work surface.


After the glue dries, smooth the glue bead with 400 grit sandpaper rolled over a fingertip.
This fin glue sealing and rounding step isn't necessary, but makes for smooth edges when painting and a stronger fin.
These fins cut from picture frame mat board  have a smooth side and a slightly rougher side. They will need two shots of filler/primer, sanding between coats.

There are five fins, four are stuck down on tape with the root edges against each other to keep the paint off. The odd fifth fin is on the left.

Thursday, May 21, 2020

Centuri Vector V #KB-2 Build, Part 5, Engine Mount

For a time, Centuri produced smaller diameter kits with a two-piece main body. A lower 3" engine mount tube and a longer upper tube.
TRIVIA: This is speculation on my part, but it seems the Centuri designers were trying to get away from the standard engine block gluing inside and up in the body tube.
The engine hook end is pushed into a cut slot. No engine block is used above the upper bend of the hook.
The coupler joining the two tubes ends up as the engine block. A first time builder doesn't have to deal with trying to glue up in the tube and position a standard engine block!

On the left is a dry fit of the shroud, a little below the top of the short 3" BT-20 engine mount tube.

On the right -
The coupler is removed. The shroud is glued on and pressed into place until the top is even with the end of the BT-20 tube.

I also added a Mylar engine retaining ring. That's a homemade engine hook, bent from windshield washer blade spine. It's stiffer than a standard hook. The additional retainer ring might strengthen the tube when the hook is pressed out.

Wednesday, May 20, 2020

Centuri Vector V #KB-2 Build, Part 4, Nested Shroud

I went to payloadbay.com and printed two shrouds in the "Tools" section. Punch in the outside diameters for a BT-20 and BT-55 x 1.3" tall.

Look close and you can see two shrouds, one stuck inside the other. There is an overhang at the bottom.

Why a double layer shroud? It's just stronger! These work especially well for exposed nozzles on the low end. Imagine a thin card stock nozzle getting bent up after hitting the ground first.


For more detailed instructions: CLICK HERE

A glue stick works a bit better over wet glues. When the shrouds are glued together, set the seams on opposite sides.

After it dries, the overhang is trimmed off with a single edge razor blade. The wide trimmed edge is sanded flat on a block.

On the left, notice the stepped inside edge. These two edges are the same diameter, fit the BT-20 making two ring contact points.


A notch is cut in the 20/55 centering ring for a engine hook.

When gluing in the ring, the notch is lined up with the seam on the outside of the shroud.

Tuesday, May 19, 2020

Centuri Vector V #KB-2 Build, Part 3, Those Viking Fins!


You could use the Viking fins, but it turned out they were a little short.
I'm building two different Vector Vs with different fin positions on each. One model will have the longest fin side glued to the lower BT-55 tube.
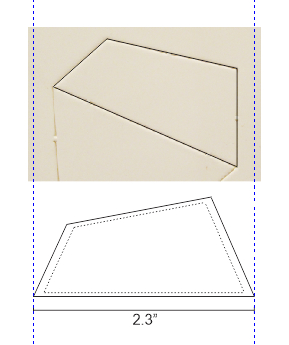
The BT-55 tube on the Vector V is 2.3" long, the Viking fin root length is closer to 2".

I drew up the fin tracing and enlarged it to the correct 2.3" root edge length. The interior dashed line is the Viking fin. I'll use this larger fin template on both builds.

I was curious if the Viking fin shapes were consistent. Older die-cut style fins weren't usually uniform, the blades in the die block could shift over time.

On the right is the back side of the fin sheet. the blades were probably old, they cut didn't go all the way through.


After some careful stacking -
You can see how off the cuts are. You could clean them up with a sanding block. I'll cut new fins using the slightly larger Vector V size.

Sunday, May 17, 2020

Centuri Vector V #KB-2 Build, Part 2, Decal Draw


The kit decals were a single color - black. These should be easy to print!

The scanned online decals were okay, but I wanted some sharper images.

The one tricky decal is the body wrap intake ducts. You'll usually go through a few tries to get the width right to match up after rolling it around the tube.
It looked like the outside circumference of the BT-20 tube was 2.35"

Don't print up a test sheet using the expensive decal paper!

TIP: Print a test on regular copy paper and test the fit with a wrap, taped around the body tube. This one came out on the first try.


Here's my draw of the decal sheet.
The Centuri logo is a dropped in copy, a bit fuzzy. A clean Centuri logo in this style is hard to find online.

I don't know why that 2.35" width is on the screen shot. That'll be deleted before the decals are printed.

Saturday, May 16, 2020

Centuri Vector V #KB-2 Build, Part 1 Parts

The parts were assembled using Estes diameter tubing and the nose cone from the Viking kit. I thought I could use the Viking BT-20 tube, but ended up cutting some BT-20 tubes I had.
I could have gone the extra and ordered some Centuri ST tubes but this was really a spare parts/spare kit clone. More blog readers could build this model using the more easier to find Estes "BT" tubing.
The Vector V kit used two ST-7 tubes, one 3" and the upper 6" tube joined by a 1" long coupler.
SMART DESIGN FEATURE -  Why two BT-20 tubes? The coupler doubled as an engine block. No sliding the engine block (into some glue already in the tube) from the bottom!

The parts of interest:
Five heavy cardstock fins, I cut mine from framing mat board
Double walled "nested" super shroud (upgrade from the original kit single wall reducer)
The 1" long BT-20 coupler
2.3" long launch lug, as tall as the lower BT-55 tube
Basswood strip for the seven detail "vanes"

Friday, May 15, 2020

Centuri Vector V Research, Part 2

The Centuri Vector V was 12.8" tall.
The upper ST-7 tubing above the card stock shroud is 6" long. The engine mount tube was 3" long. The BT-20 tubing is a little smaller in diameter but will work for this build.
The short wider section at the bottom was a ST-13 tube at 1.34" diameter and 2.3" long. An Estes BT-55 is close at 1.325" diameter.


The other question was the height of the Paper Reducer shroud -


Jim Z had a good scan, the Catalog number was PR-7-13. A look at the  1973 Centuri catalog showed it was 1.3" tall. I'll make up a shroud by going to payloadbay.com: CLICK HERE


Piecing it all together, the Viking plastic nose cone (2.85"long) tubes (BT-20s at 3" & 6" exposed) and shroud height (1.3") gave me a length of 12.6". The Centuri kit was 12.8" tall.
My build would have been .2" short, using the shorter Estes Viking nose cone. I'll simply extend the length of the upper BT-20 by .2" to get it to the original Centuri 12.8" length.