Showing posts with label Alignment. Show all posts

Wednesday, July 2, 2025

Aerotech Mega Initiator #89541, Part 19, Drilling The Rail Buttons

The rail buttons are centered between two fins, on the other side of the INITIATOR name sticker.


It's difficult to find the center on a round tube.
I used a piece of paper pressed into the root edge fillets.

Mark the two fold sides with pencil.
With your ruler, find the center and mark.
    
The lower hole is to be placed about 1/2" above the lower engine mount centering ring. That puts the hole position at about 1 1/2" from the rear of the body tube.

The upper hole is 8" above that.

Drill a pilot hole using a 1/16" drill bit.
Sight from the rear and make adjustments using the larger 1/8" drill.


Using the pilot hole as a guide,
Enlarge the rail button hole to 1/8".

Tuesday, July 1, 2025

Aerotech Mega Initiator #89541, Part 18, Setting The Name Sticker


From the last Mega Initiator post - 

With the O and R "cut" directly over the tube joint, sight down the body to make sure the orange line and type are straight. Tape down the sticker.  

Use your aluminum angle to check the orange stripe is straight.
The placement illustration says to overlap by 1/8", but I wanted to end up with a clean cut between the O and the R.
A 1/4" overlap puts the cut between the letters.

Double check the 1/4" overlay of the orange stripe joint before peeling off the backing.
I peeled the backing on the orange strip and lightly held the  vinyl. The backing was cut off up to the R. 

The orange stripe was set over the upper stripe matching the edges.
With the ends matched up, the backing is pulled under the name. Carefully set down the name checking the straightness as you go.
Add the "C" tail sticker at the low end of the orange stripe.

GOTCHA: The illustration drawing shows the "I" even with the top of the fins. The provided sticker lengths end up with the name higher up on the model.

Wednesday, June 25, 2025

Aerotech Mega Initiator #89541, Part 17, Setting The Name Sticker


Take it from an old typesetter - 
"Os" are typically taller and extend beyond the baselines of the other letters.
Be careful when trimming close so you don't cut off the top and bottom of the O.

You have to decide if the vertical orange line or the name INITIATOR will be centered between two fins.

The INITIATOR name is bolder so I decided to center that vertically.

Don't peel the backing off yet. With tape on the back to hold it onto the tube, measure and center the name. 
I am holding the name low, between the fins to find the center.


Rotate the to upper tube to line up the lower vertical orange line with the upper line trailing down. I used my aluminum angle to position the lines.


When both the orange ends are joined and touching, tape the body tube to keep everything in line.


With the vertical orange line overlapping about 1/4" at the top, it puts the break line between the O and the R.

Wait until the next post before peeling off the backing.

Wednesday, May 29, 2024

Carded Mini Goblin Build, Part 6, Body Tube Skin


Using your aluminum angle - 

Draw a pencil line down the BT-5 tube. 
Pencil, not pen. Ink can bleed through the paper skin.


Apply an even glue stick coat.

Again working quickly before the glue dries,

Set the long edge down the pencil line and roll the skin around the tube.
By the time you get it aligned around the tube, some of the glue may have set up. Apply more glue to the lifted end and burnish.

The bottom photo shows a good seam end match.

Wednesday, February 16, 2022

Quest/Enerjet Minotaur Q5015 Build, Part 12, SRB Gluing

Before gluing on a SRB - Check the last picture below

Note the pencil line down the SRB gluing area. The pencil line also goes underneath, around the end edge of the body tube. This will help with alignment.

I also extended the pencil line down the main body under the edge of the body tube.

Look close at the picture on the right - those two pencil marks line up.

Here's the first SRB in place.
The instructions recommend using the "Double Glue" technique to place these assemblies. I'd recommend using the double gluing.

It's hard to see the pencil lines down the body tube when the SRB covers it. 
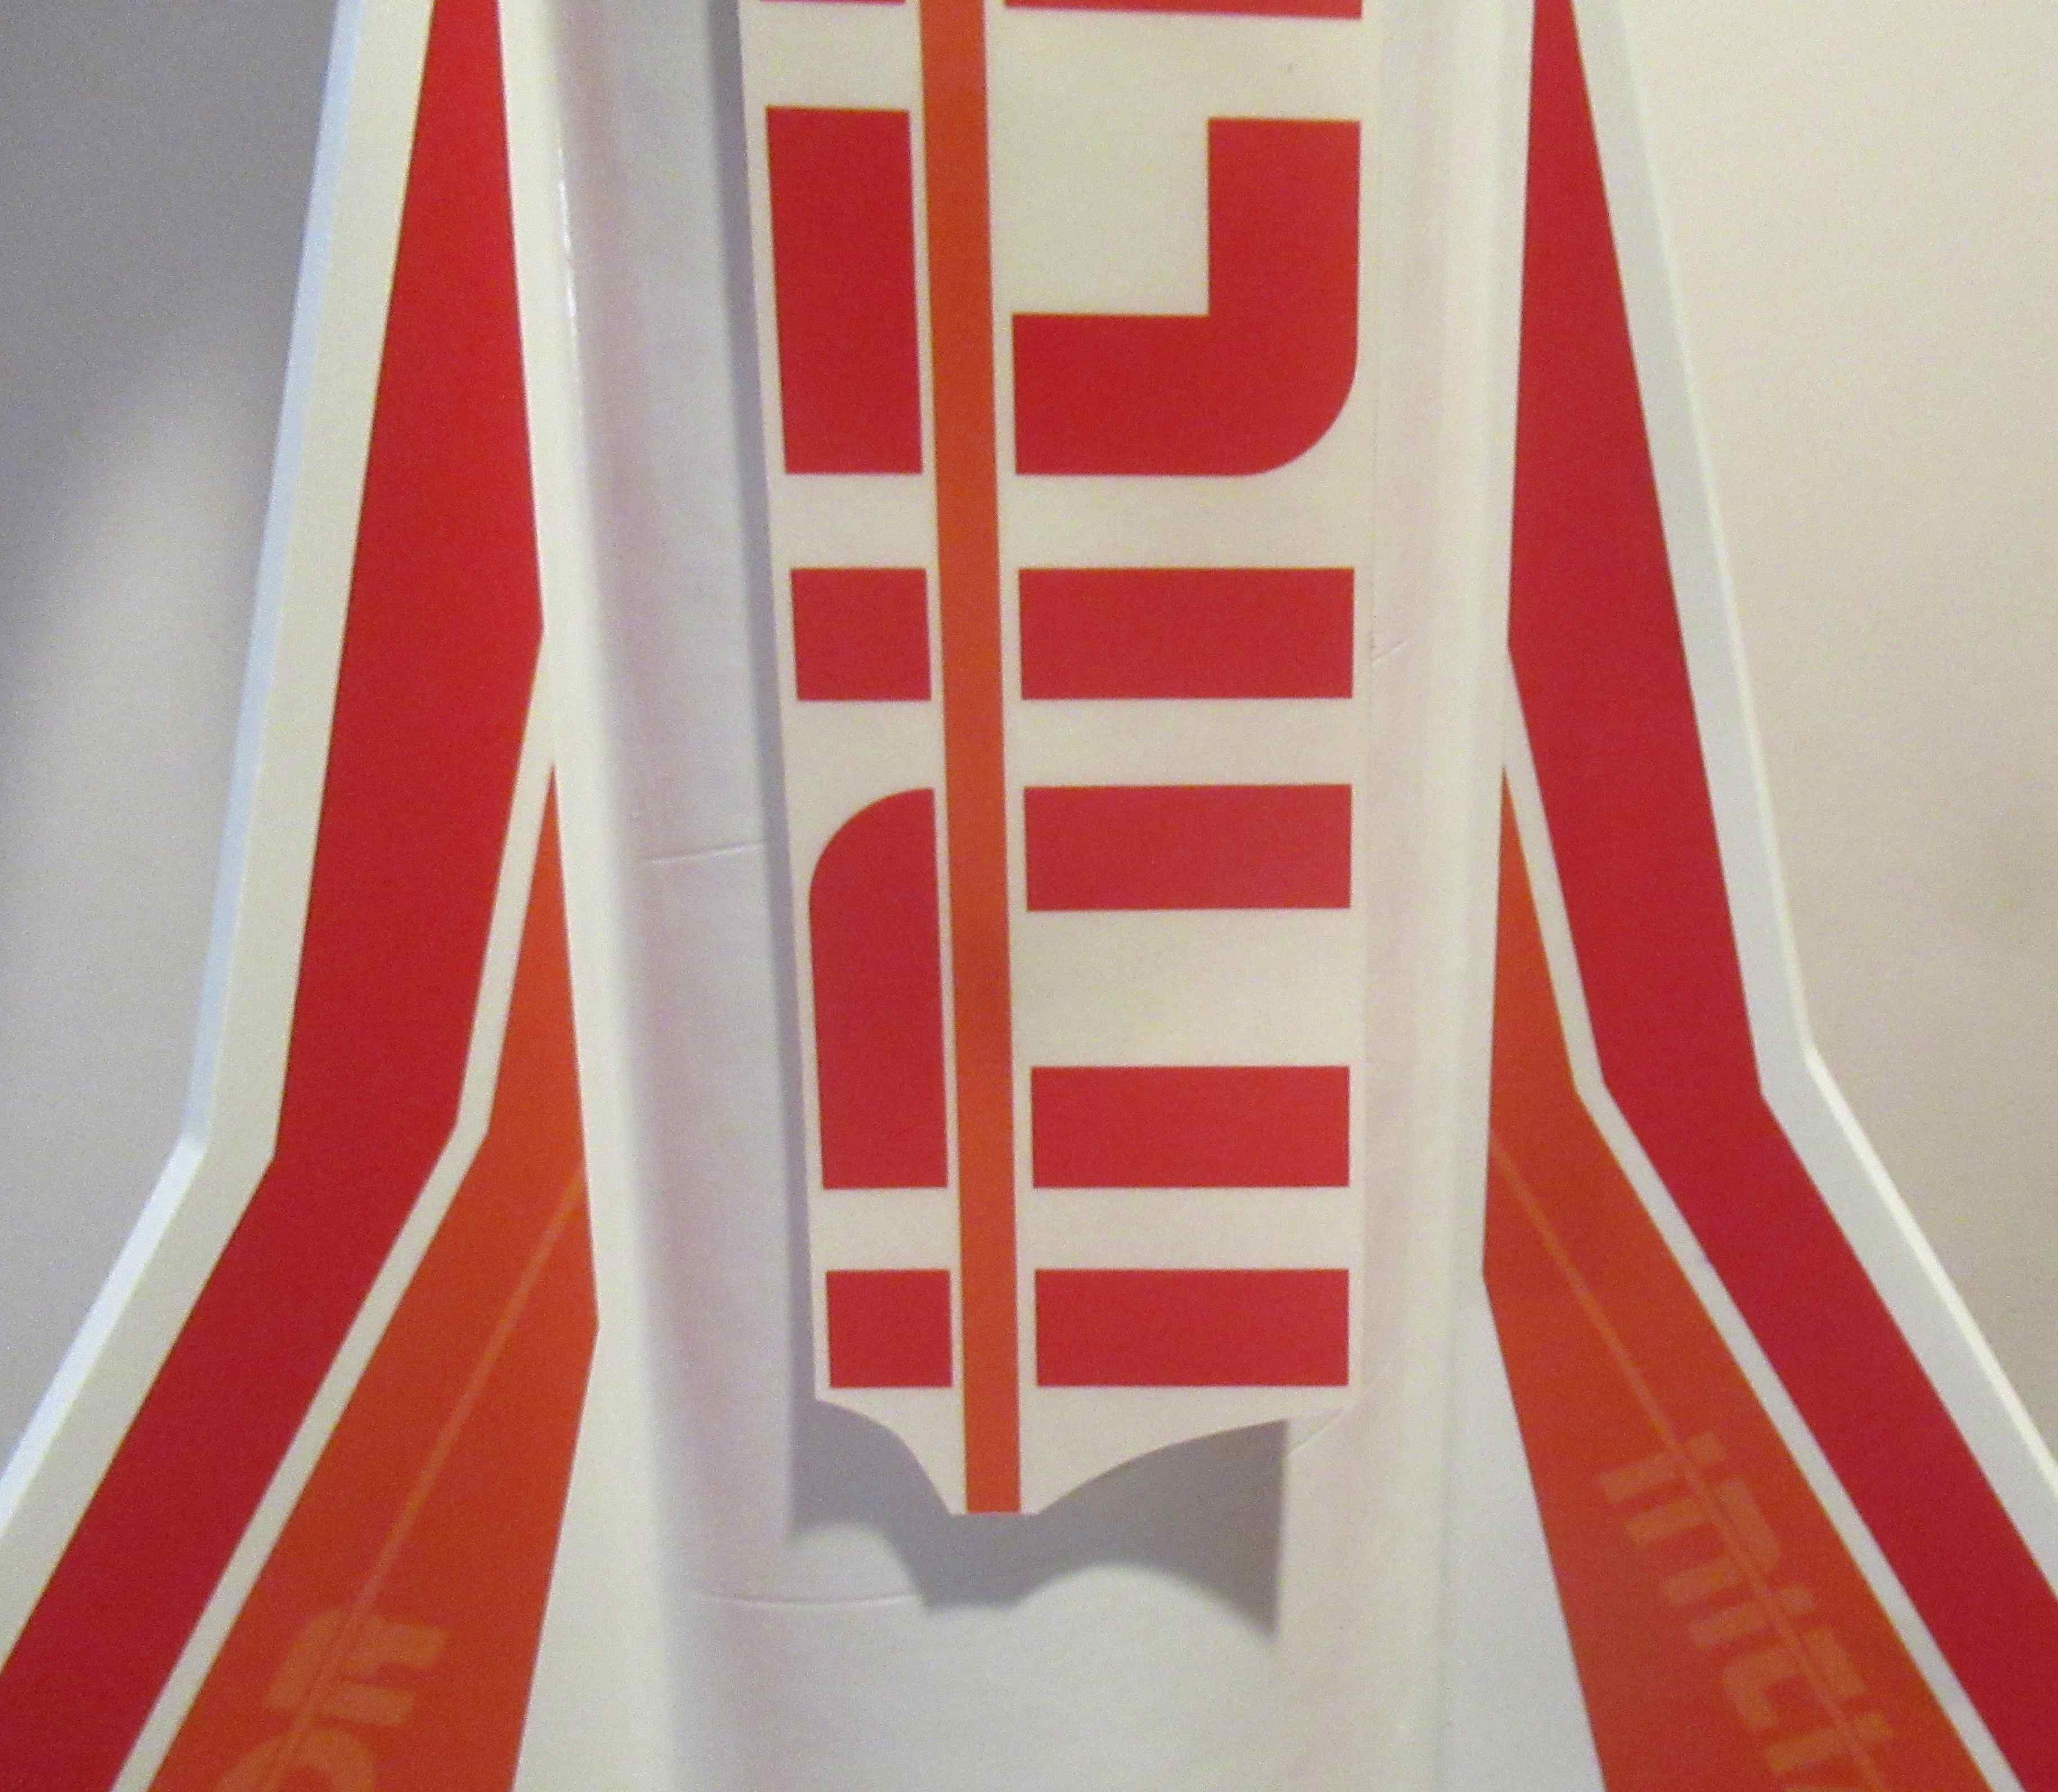
Look down the side to see how even the space is between the SRB and the fin root edge.

On the right - I used my aluminum angle to check the alignment.


I checked the Delta Rockets information in my Alway Rockets Of The World trying to figure out were the specific numbered SRBs go around the main body.
This didn't help much, the Delta II has nine SRBs, this model has six.

The box picture helps a bit - 

Between the fins, going from left to right - 
SRB 6 (Left) and SRB 1(Right), rotate the rocket to the left.
SRB 4 (Left) and SRB 2(Right), rotate the rocket to the left.
SRB 5 (Left) and SRB 3(Right), rotate the rocket to the left.

Tuesday, February 15, 2022

Quest/Enerjet Minotaur Q5015 Build, Part 11, More Stickers


Before the SRBs are glued on, the "A" sticker wrap is placed.
The top of the SRB nose cones overlap the sticker.

I placed a wrap of masking tape around the bottom position for a guide so the ends of the wrap will meet.

I tried to center the trapezoid shapes between the fin positions.


The instructions show the vertical MINOTAUR sticker centered over the #1 marked SRB. I decided to set the name over a fin opposite the launch lug on the back side.

The S, N, R and P stickers roll around the body tube near the blue/white color mask.
The "M" sticker wrap goes beneath the top of the body tube. 
The small "T" dot stickers go beneath that.
The sticker placement illustration shows only two of the T stickers. I applied four of them spaced evenly around the body tube circumference.

A paper strip was wrapped, marked and folded into fourths to give me even positioning. Four extra T stickers are provided.


The "G" stickers go near the top of the nose cone. A wrap of masking tape gave me a top position for equal placement.

Tuesday, October 26, 2021

Estes Vesta Intruder #7312 Build, Part 15, Nose Cone Paint & Engine Mount


I outlined the black edges with masking tape strips, slightly over the blackened edge.

Because of the different shape of the nose cone and canopies, I ended up covering all the remaining gray areas with brown masking tape.

On the right, the entire nose cone was hit with gloss black paint.


Here's the final look after the tape was lifted.
I did have to do some scraping, pushing back paint lines and touching up with a brush.

Results were good, not great. 
This was not an easy mask.


Before applying any glue in the tube - 
Do a dry fit. Notice how the vanes overhang the end of the tube edge.
Know where the engine hook will align with the fin next to the launch lug location. (See picture below)

A line of glue was set inside the rear of the tube.
Look close - there is a second ring of glue just inside the end edge of the tube.


On a larger diameter tube like this, you can set the engine mount in at an angle barely contacting a rear ring of glue

Slide in the mount and turn into the correct position so the engine hook is in line with that fin.