Showing posts with label Refinishing. Show all posts

Friday, June 5, 2015

The Big Fix, Semroc (Centuri) Explorer, Part 3


There wasn't any grain showing on the nose cone but there was some small dents.

The surface was sealed so CWF wouldn't stick.
White Squadron Putty has solvents and will stick to the painted surface.


On the left are all the dents with filler applied.
On the right is after sanding to surface.


Gray Primer Filler followed with smooth sanding.

Here's the nose cone after the final shot of Rusto 2X Gloss Black.

Thursday, June 4, 2015

The Big Fix, Semroc (Centuri) Explorer, Part 2


Before spraying, burnish and seal all the taped edges with a Q-tip.
I used to used a sharpened dowel or a fingernail. The soft end of the Q-tip won't scratch and does a better job sealing over a slightly wider area.

I don't use a "sealer coat" before painting a second color.
If your root edge fillet (or other masked areas) are smooth, the Scotch tape will give you sharp mask lines.


Leave the paper on the body tube while removing the root edge masks.
This gives you a cover sleeve and keeps the body tube clean while you are removing the tape.


With all the masks removed the new mask lines are cleaner and sharp.

Wednesday, June 3, 2015

The Big Fix, Semroc (Centuri) Explorer, Part 1

I built a Semroc Explorer when I got back into the hobby, maybe seven years ago. This model has never flown.
The build came out well but I knew I could clean up the mask lines and make them even sharper. I'll probably sell this one on Ebay.

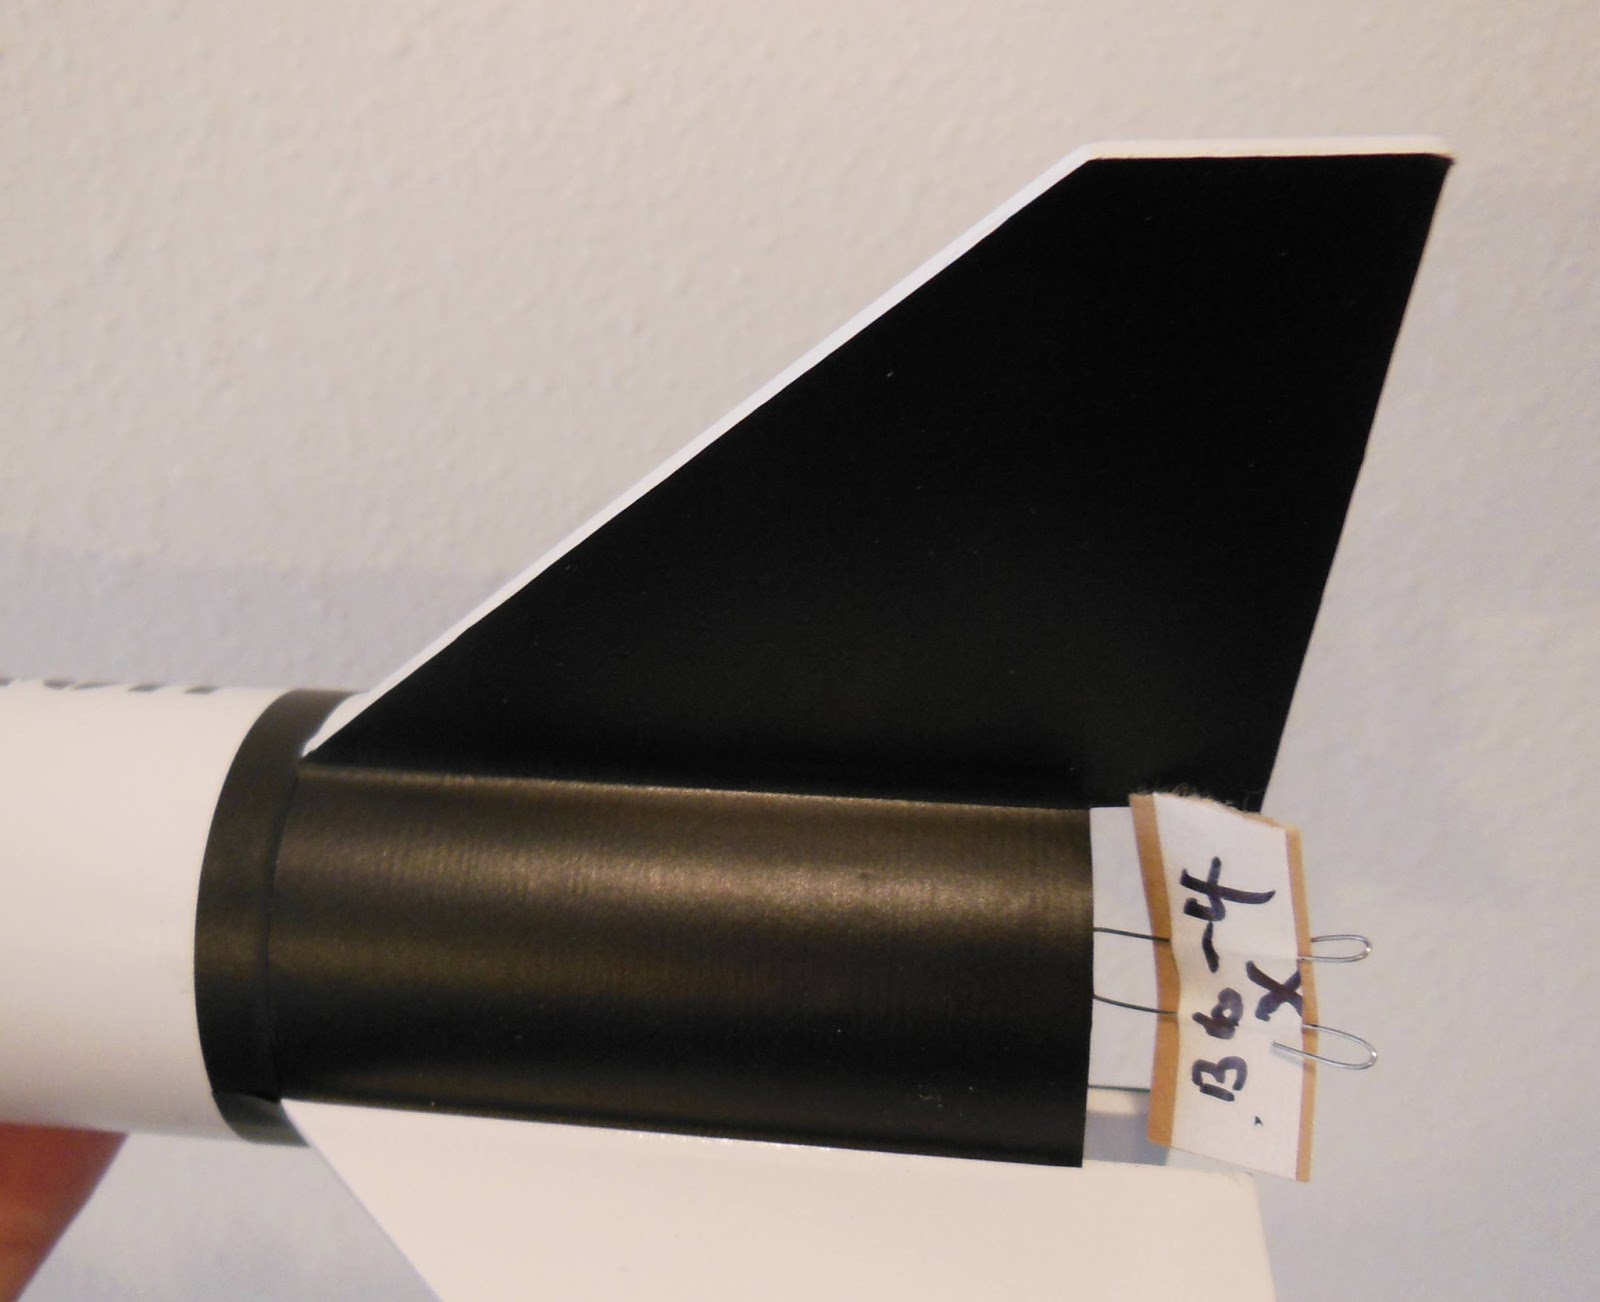
Look down the root edge of the upper fin. You can see some uneven white above the old paint mask. If I could re-shoot the blue it should even that out.


Over the leading edge I used many small pieces of Scotch tape to get a rounded end.


With the body tube masked the flat fin surfaces got a light sanding with 400 grit. This took down the blue paint and could help fill in any minor grain recesses.

Sunday, May 17, 2015

The Big Fix, Estes V2 Fix Part 7, Mask, Black Paint and Finish

Here's the before picture , how it looked after sitting in a tree for a month. The members of the Orlando R.O.C.K. group trimmed the tree and got it back to me. That was back in December of 2012!

This certainly wasn't a quick repair!


The V2 has a new 18" Odd'l parachute and is ready for flight.

The re-build and new paint came out well.
The only body part that was replaced was the BT-70 tube.
The nose cone, tail cone and fins were pretty well sealed and are original.

EDIT: I just noticed, I have to add another trim line at the bottom of the "Vs".

The epoxy fin fillets were originally made narrow at the top and wider at the bottom, like the fairings on the real V2.
The fillets were smooth and the mask lines came out very sharp.

The finish is glossy, I might hit it with a coat of flat clear to dull it up.

Saturday, May 16, 2015

The Big Fix, Estes V2 Fix Part 6, Fin Fill, Level Mask

A little right and up from the center of the fin is a white Squadron Putty fill.
There were two small, shallow dents in the fin. I knew that regular water-based wood filler wouldn't stay in the shallow area when sanded down.
The solvent in the Squadron Putty cut into the white paint and held!
I'm now a big fan of this filler putty.


The flaps were slightly longer than the trailing edge of the fins.
This was on purpose so they could be sanded down to the fins already on the model.

The four sided fingernail file is perfect for shaping like this.


The lower section got another coat of white and some final fine sanding.
Here's the mask using Scotch tape, tan masking tape and grocery bags for the large areas.


The V2 low end got two coats of black paint.

TIP: The BT-70 tube fits perfectly over the top of the Rusto 2x paint can making it a good stand for drying.

Friday, September 13, 2013

Honest Goon - Refinish - Finished


The Honest Goon looks better with the alternating black/white fin quarters.
The four spin rockets on the nose cone were drawn to look a bit more 3D.

The fin fillet seam (where the two pieces of vinyl meet) is almost invisible.
The semi-gloss vinyl Contact paper is the best!


On the left is the original build -
On the right is the refinished Honest Goon.
All in all, the refinish is an improvement over the first try.

The balsa is better filled and the decal treatment not as busy.
It's already flown at the schoolyard with a B6-4.

Next up - The Semroc S.P.E.V.

Thursday, September 12, 2013

Honest Goon - Refinish Part 4, Black Fin Quarters

Instead of masking and spraying the black, I though I'd try something different.
The fins are square with no rounded edges. The body tube is a smooth surface. The Contact Paper just might work and be easier than masking.

An over sized rectangle was cut. I made sure the top and sides were square.
The long side was set into the fillet area, the square top between the fins.
In the picture I'm lightly pressing the black vinyl into the opposite fin fillet for marking and cutting.

The piece was lifted and the piece cut to width. The width was cut a little wide. The fin surface overlay will cover up this wide edge. This piece turns up and lays on the fin root edge a bit.


A wide outline tracing was made around a fin.

More vinyl was cut with the root edge straight and square.

The fin cover piece was set into the root edge. This slightly overlapped the wide center body tube piece that was already in place.


After lightly burnishing the cover pieces, the overlapping edges were trimmed down using a new blade.

The blade angle in the picture is a little high. It should be laying more flat against the fin edge.

Two more bands of the black vinyl were applied at the tops of the fins and end of the body tube.
The Honest Goon name sits between the black bands.
The bolt wrap decal is not centered between the black bands but sits between the two words.

Set the decals on dry to get an idea of the spacing. Set down "HONEST", then "GOON" allowing space for the bolt decal wrap.

Wednesday, September 11, 2013

Honest Goon - Refinish Part 3, Nose Cone Black Trim


I had to divide the nose cone in 12 equal spacings.
A strip of paper was wrapped an marked.
This was folded in two, those two halves folded in thirds and sixths.
Pencil ticks were made at all the folds.

The marked strip was taped around the nose cone.
I didn't make decals of the nose section roll pattern. I thought I'd wing-it with my favorite trim material, Contact Paper blackboard covering material.

This is an interesting roll pattern, four sets of bold "U" shapes.
A few guesses were made as too how wide these should be.
I'm not that concerned with any accuracy, it's not a scale model but a Goony.


The longer lower bottom of the "U" wouldn't sit flat on the adapter curve.
It had to be re-cut in more of a inverted trapazoid shape.
The top and bottom of the trapazoid were cut in an arc.

You can draw pencil reference lines on the Contact paper. It erases easily.


This turned out to be a set down, mark, lift and trim operation.
Getting roll patterns to meet up accurately is always hard.

That temporary thin black strip on top helped with alignment.

Tuesday, September 10, 2013

Honest Goon - Refinish Part 2, Decal Removal & Surface Prep

This nose cone section is bigger than you'd think!

After the decals were either lifted with tape or sanded off with 400 grit, here's what I was left with. The primer is starting to show, probably a good time to stop before going through into the balsa.

There's an Estes smile on the balsa adapter that got some CWF and was sanded smooth.

For some reason that black band right above the fins wouldn't sand off. I stopped before going too deep. What is left of the decal will be covered by a band of the Contact paper blackboard material anyway.

The decals on the fins were stubborn, too.
The primer was starting to show.


After filling the dings with CWF an sanding the model got a shot of gray primer/filler. More fine sanding followed.

The primer showed the bubbles in the lug fillets. Some Titebond M&TG took care of that.

Monday, September 9, 2013

Honest Goon - Refinish Part 1, Old Decal Removal

Here's a great small field flyer and a favorite Goony-
The HONEST GOON!

You can get the decals and plan set from Excelsior Rocketry HERE
The builder must supply a Baby Bertha kit, a BT70AJ, a TA6070, and a small ring of BT70.

This was an early BAR build, it's been through the wringer.
I liked the design but was never sold on the OIC-URGOONEY and OOPS decals.
The new decal draw will more reflect the look of the old Estes Honest John.
I don't know why I didn't paint the fin areas with the alternating black and white sides. 

Old clear coats are yellowing up. The model was also used to test the application of Future acrylic coats. 
Still very strong and not to terribly banged up. It's worthy of a refinish.


These decals were tough to remove. They've been in place for years.

Scotch tape was pressed down and quickly pulled up.
Some decals came off easily, others - not so much.

Most had to be sanded off with 400 grit sandpaper.

I'm doing a redraw of the decals and will print them off at home.
The Excelsior decals are great quality - I just wanted to draw some changes from the originals.


You can see where the clear coats have "pooled" on the trailing edge of a fin.
There isn't much grain but still could be better. Sanding down the white paint will fill in some of the shallow balsa grain pores.

Tuesday, May 15, 2012

Centurion Re-Build AGAIN! Part 4


I didn't want to remove any more of the red electrical tape trim than I had to.

Masking tape was set down over the red trim, but the edges weren't burnished down. This way some of the new white spray paint could creep under the edge of the tape (without painting over the red) and wouldn't leave a hard paint ridge.

Any rough under spray would be knocked down using rubbing compound then polishing compound.


Here's the same fin before on the left and refinished on the right.
The red trim strip was cut from a roll of electrical tape and applied over the new white paint.

Ready to fly, and ding up again!

Monday, May 14, 2012

Centurion Re-Build AGAIN! Part 3


I wanted to keep the primer only on the fins.
A piece of card stock was held near the root edge to keep the primer off the body tube.


The top of the body tube had a bad crease.
The dents were filled with medium CA and sanded smooth to surface.


Here's the same area after sanding.
It'll need one more application of some CA and sanding.

Friday, March 2, 2012

Refinishing the Red Max Finished


The old "Orange Max on the left -
The same model refinished on the right.


I used the Red Max decals from a new Estes kit.
You've got to guess a bit on the decal placement. The instructions don't give exact locations. The white decals go on the black nose cone.
I never found a good place for the "Top Secret" decal. I also left off the Estes logo.

This rebuild came out much better than the clone it once was.
I wouldn't normally refinish a model unless it was in very good shape.
BT-55 and BT-60 models seem to hold up best after many launches.

Refinishing the Red Max Part 5 Truing Up the Decals

After all the primer was sanded, the model got an overall white undercoat.
The Red Max isn't a hard model to paint, the body is an overall red, the nose cone is black.
Nothing much to write about here.

What really sets off the Red Max is the decals.
TIP: Some small boxes were stacked to give a baseline to be sure the decals were parallel with the table top. Set the decal in place visually first, then stack CD or DVD cases until their height is near the decal baseline.

The angled cut of the fins can really throw off your visual alignment.
By using a raised baseline I was sure the lettering was in line.


My engineers ruler was stood on end to get a vertical alignment of the iron cross decal.

I centered the decals on the fins then lining up with the ruler edge I knew it was straight.