Showing posts with label E Black Brant XII. Show all posts

Tuesday, October 10, 2023

Estes Black Brant XII, Kit # 9723 Build, Finished


I didn't get a full length picture of the finished model. I tried, but it is simply too tall! 
You can see the finished look on the kit box or on the Estes website.

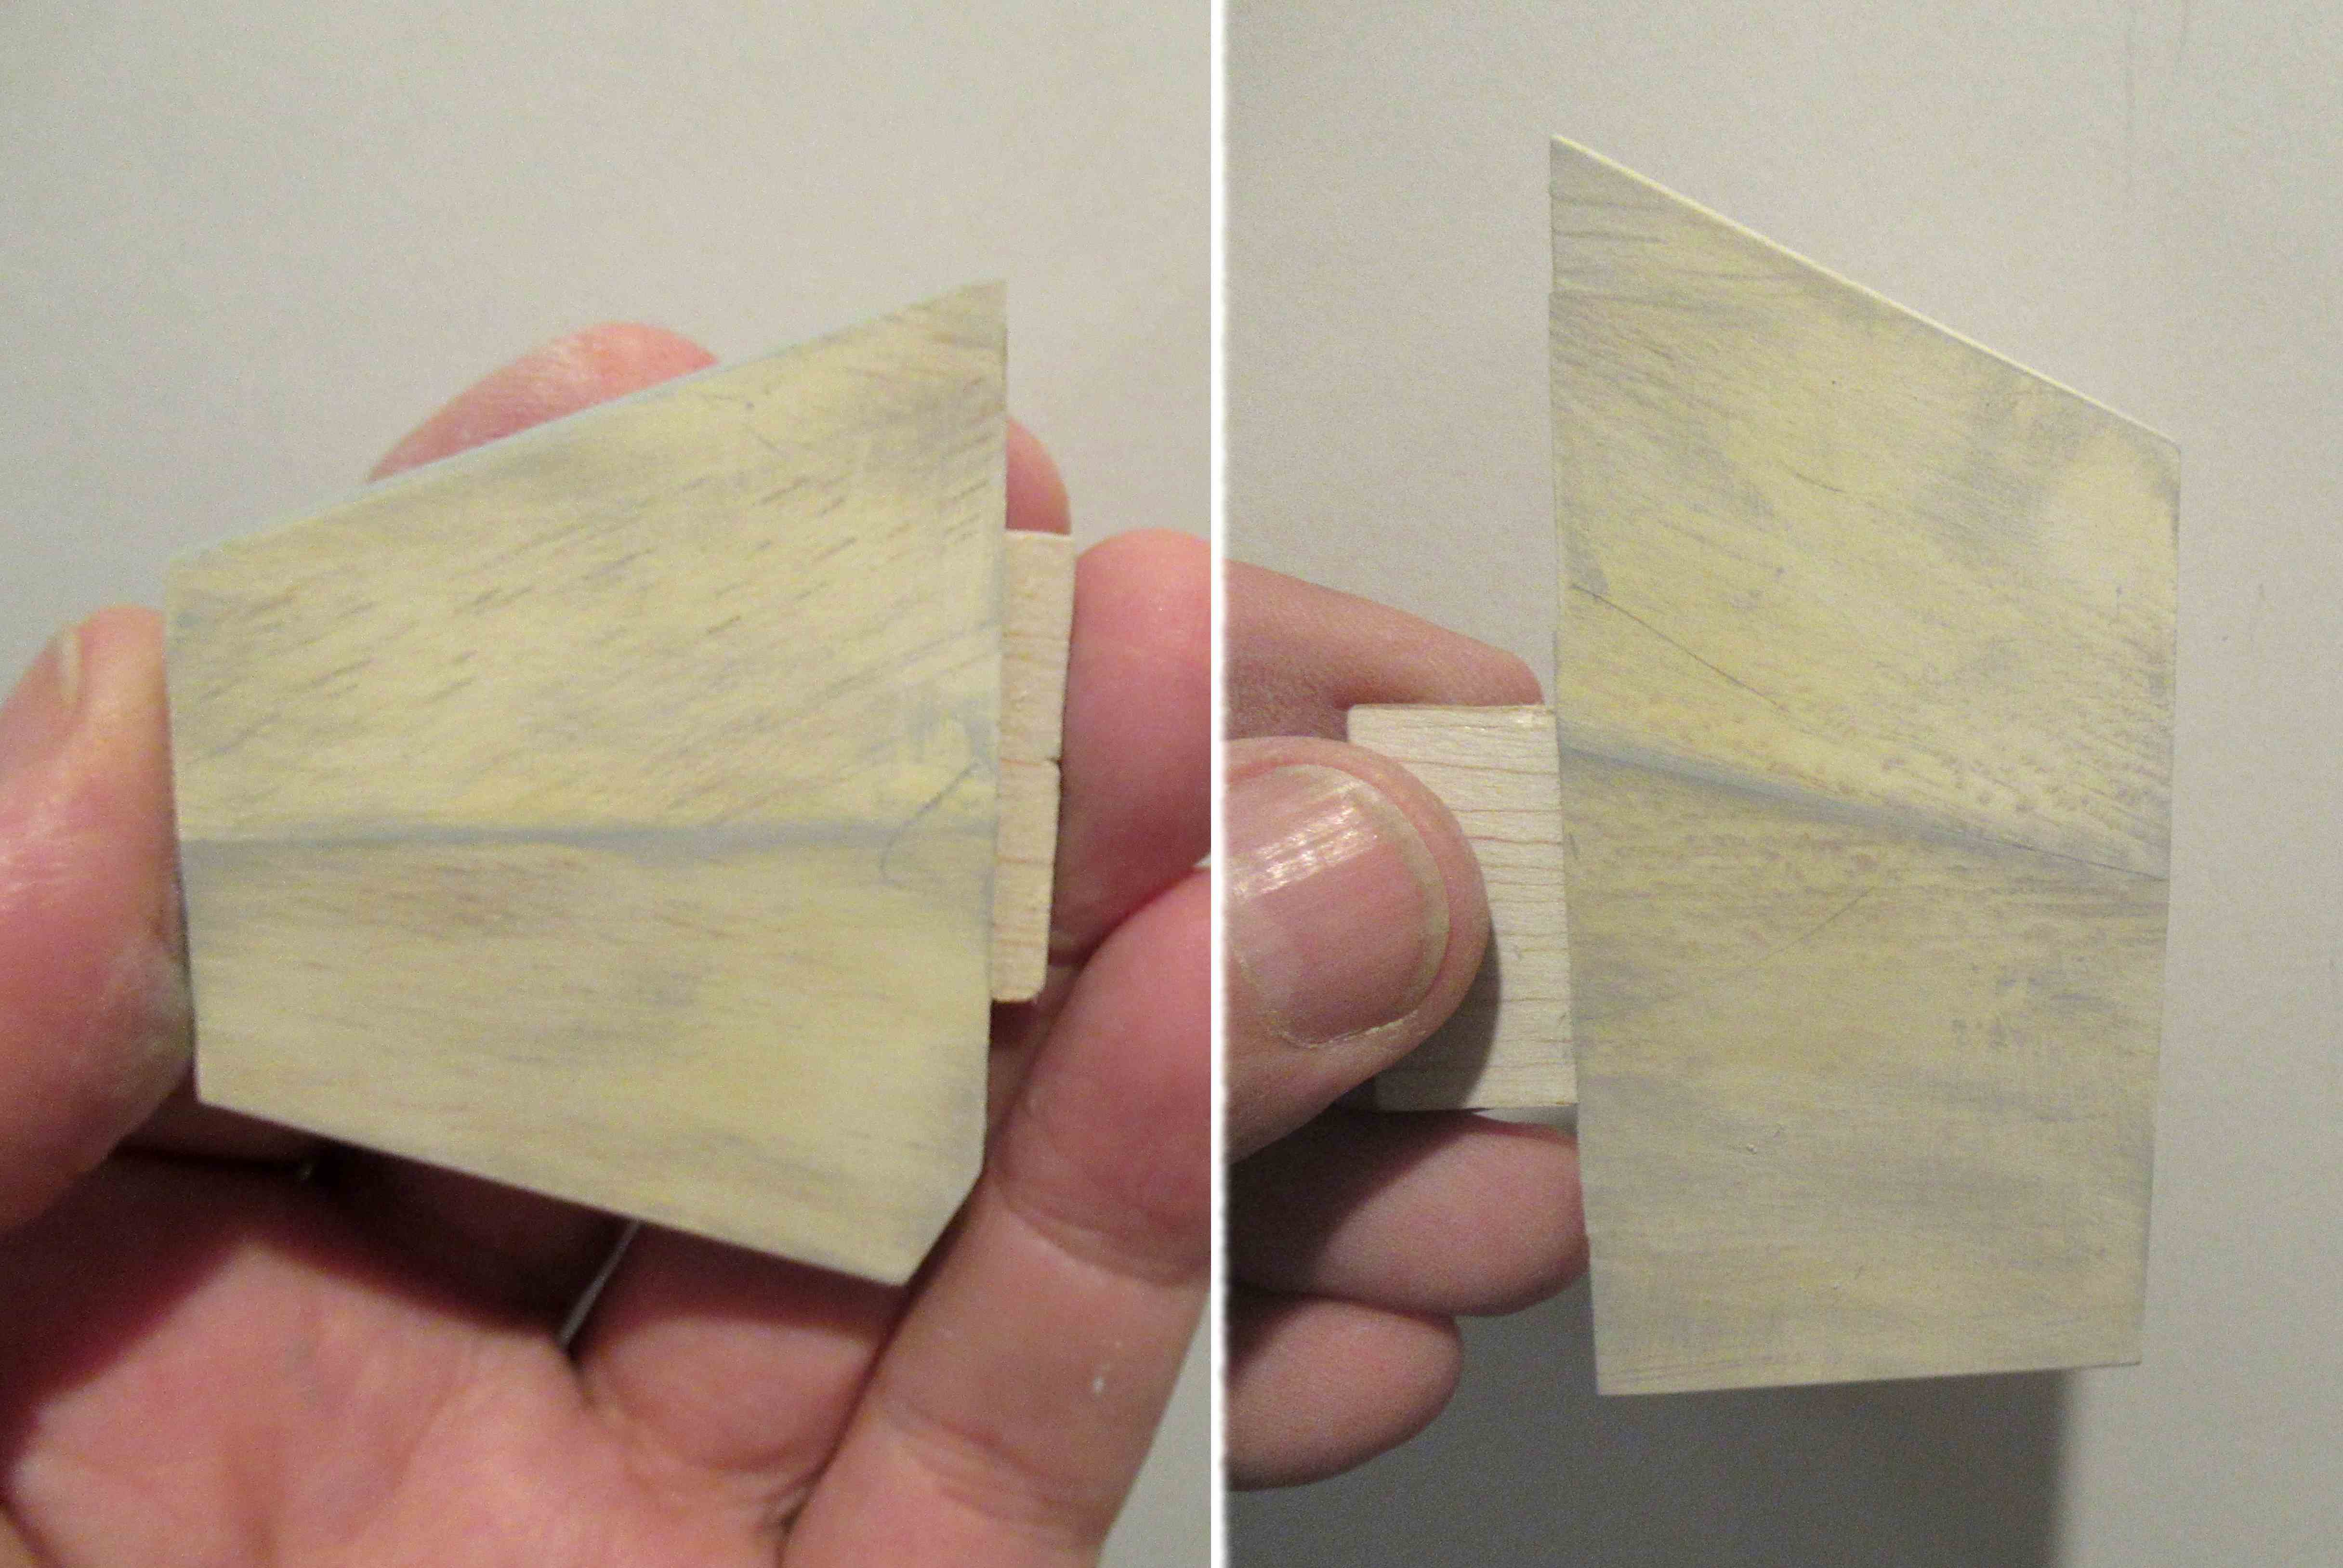
The first and second stage fins.
The first stage fins are thick!
Lots of color on this one - it takes a while to paint everything waiting for the different paints to dry.
No decal markings. There is an Estes logo decal included in the kit parts.


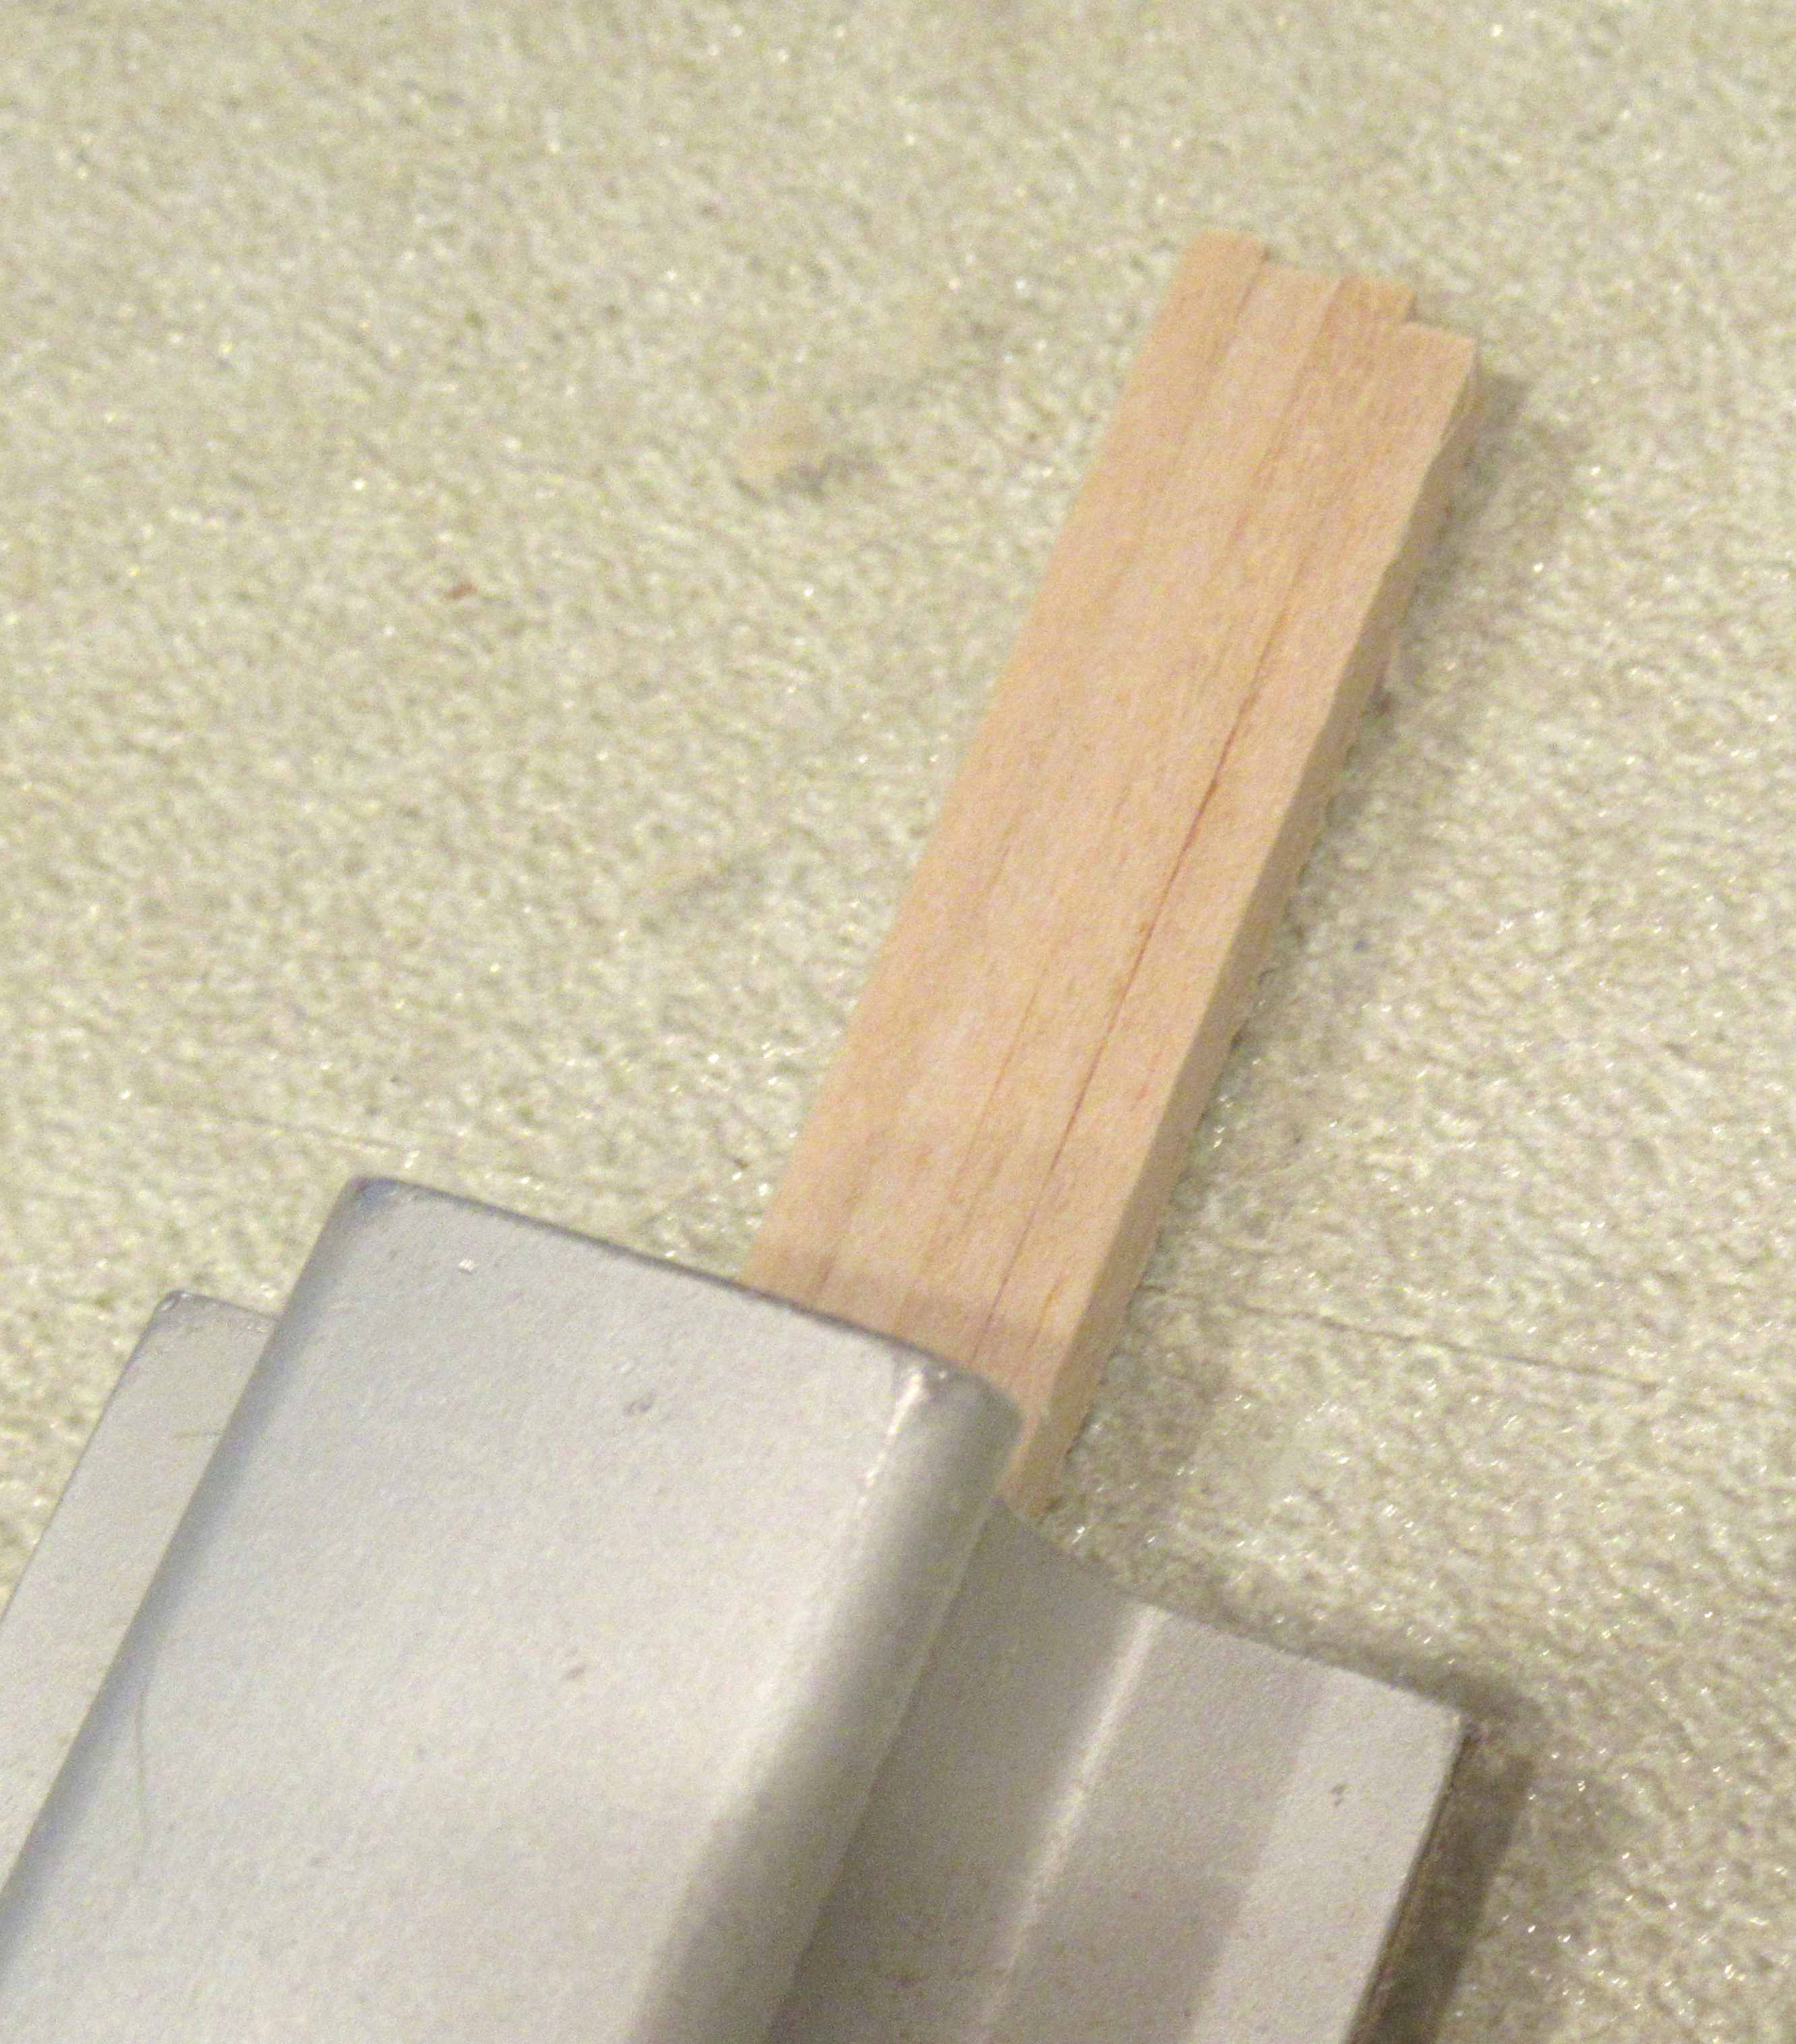
The third stage fins and adapter.
Notice the tunnel end overlapping onto the plastic fin can.

This was a "flight" version. 
The two show builds will have the upper ring painted brown.
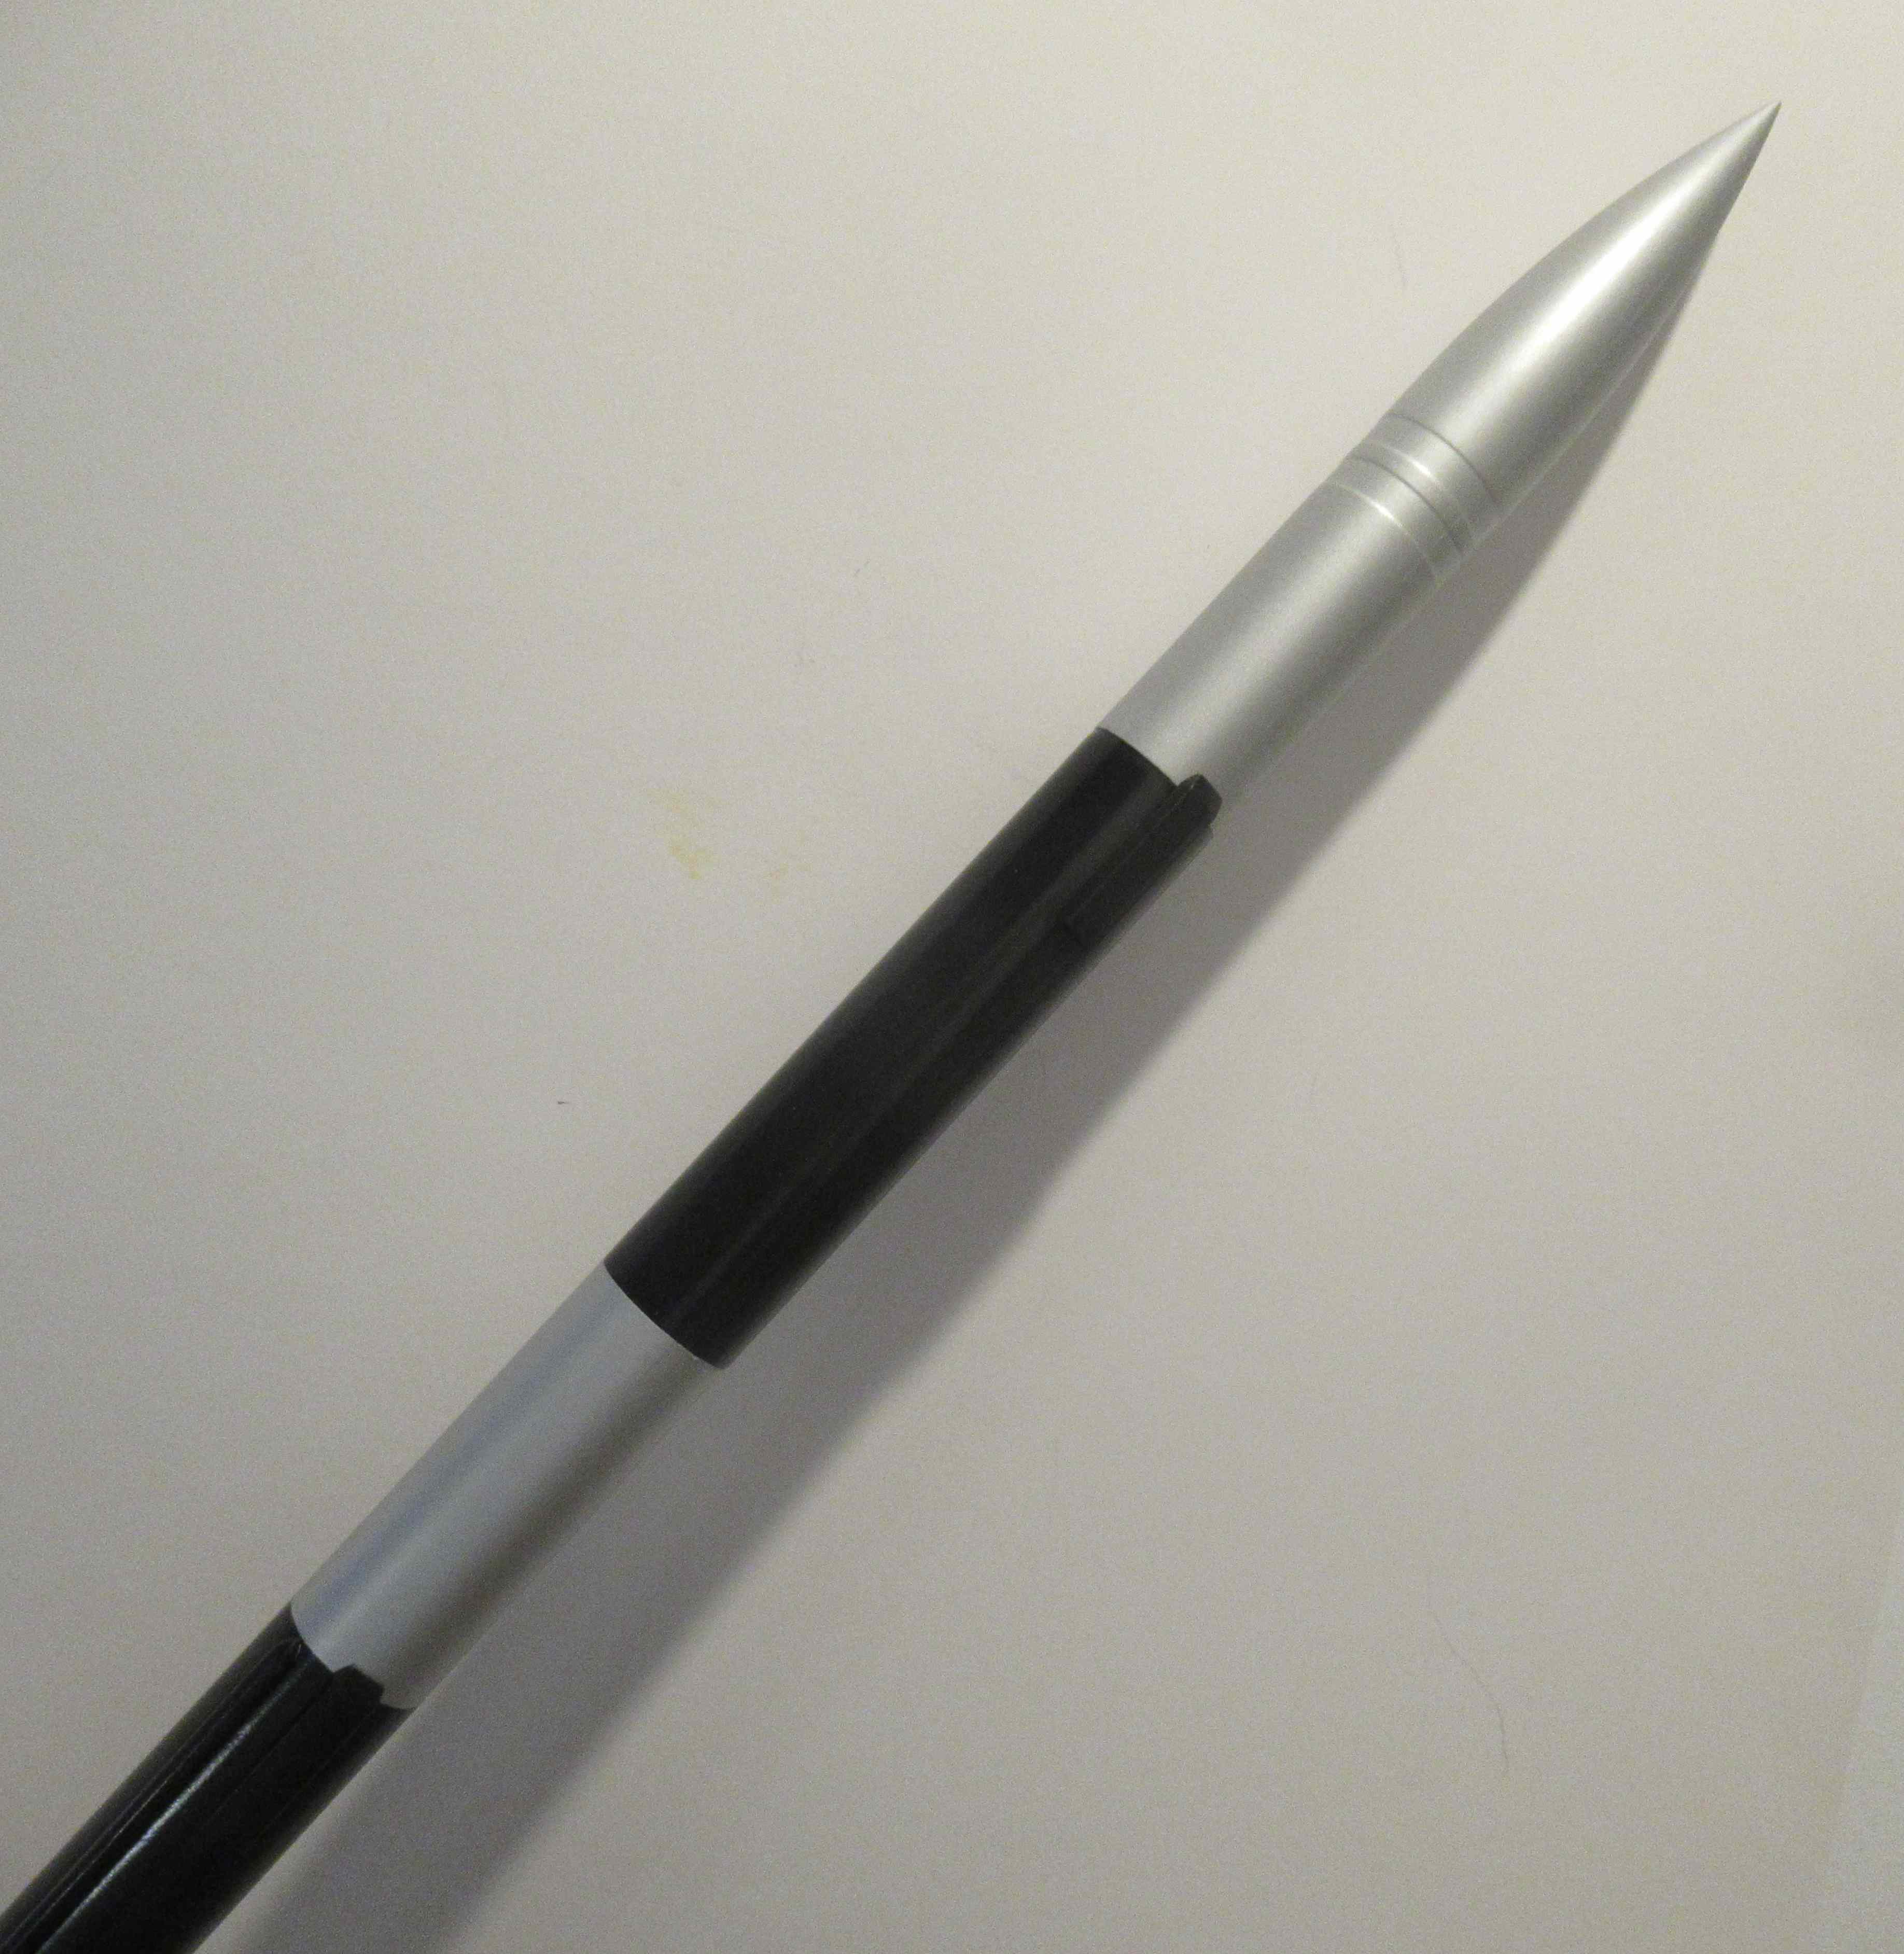


The third stage with the silver and black paint. Notice the top of the hatches overhanging onto the silver paint areas.

This is an impressive model and a good challenge to build. 
Here's a link to the Estes video showing a launch of this build: CLICK HERE

I hope this blog build helps with any questions.
There might be a break in blog posts, until I get another vendor build. 

Sunday, October 8, 2023

Estes Black Brant XII, Kit # 9723 Build, Part 24, Some Additional Build Thoughts

On these adapters, the silver was painted first. The silver was masked off, the orange area got a white undercoat, followed by the orange paint.
Look close - 
On the left, there is some slight discoloration at the shoulder. This was where the the tape adhesive mask made contact with the silver paint.
TIP: Polish the slight discolor with polishing compound to remove any adhesive and even out the silver.
 
This picture is from the data on the Meatball Rocketry website: CLICK HERE 

Notice the brown ring around the body to the right of the silver.
It is visible on the kit face card, not shown in the kit instructions. I wanted to add it to the show models. 

There is also a gold color on the edge of the fin attachment plates. I didn't add the gold - I didn't want to risk a very difficult mask.


Here's the only spray brown I could find that was close. I don't normally use Rusto paints anymore, sometimes you are stuck.

This has a new "5 in 1" spray nozzle. The dial is rotated to different settings.
I did some tests using the High (setting 1), Medium (setting 2) and Low (setting 3) nozzle settings. 
Be aware - the High setting 1 is a VERY heavy flow. The Medium setting was still too thick. I ended on Setting 3, the low setting. 


On the left is a less detailed "flying" version. I also didn't smooth out the molding seams.

On the right is a "show" build. These two builds got the extra brown ring and smoothing of the mold marks.
The flying builds got tube seams filled with CWF, but not the extra filler/primer spray and sanding. The flying builds didn't get as much attention to the balsa grain on the fins, no filler/primer follow up.

Saturday, October 7, 2023

Estes Black Brant XII, Kit # 9723 Build, Part 23, Assembly


I wouldn't recommend applying epoxy to the fin tab then sliding it into the slot. That would squeeze epoxy out into the fillet area. It'd be a mess to clean up.

I applied epoxy into the fin slot using a toothpick, then slid the fin into it.


A rubber band was used to apply pressure on the fin pushing it into the fin slot for a tighter fit.

You do have to check the alignment before the epoxy sets up. The rubber band can pull the fin to one side.
Glue in the fins one at a time only after the epoxy has set up.


The launch lugs are centered between two fins.

Looking from the lower lug - 
The upper lug segment has the balsa standoff. 


The Kevlar cord is slipped through the back end before gluing on the second stage orange tube.

You can see the epoxy glue inside the body tube right before it was slid in place.

Friday, October 6, 2023

Estes Black Brant XII, Kit # 9723 Build, Part 22, Rear Ring & Retainer


With the fins in place, 
The third centering ring is dropped in and pressed down onto the rear of the fins tabs.
I applied some wood glue to the fin tabs before sliding the ring in place.


A wood glue fillet was applied to the tube/ring joint using a Q-tip.


The inside ring of the two-piece engine retainer is roughed up with 220 grit sandpaper for a stronger Epoxy bond.


Epoxy is applied to the outside of the engine tube and the retainer ring is slid over, down to the inside raised stop.

Turn the ring to spread and even out the epoxy.

Thursday, October 5, 2023

Estes Black Brant XII, Kit # 9723 Build, Part 21, Attaching First Stage Fins

This illustration (second stage) implies that both parts of the epoxy mixture are squeezed our of the tubes onto the fin tabs. MIX the two part Epoxy before applying to the model. Wear gloves! You might have an Epoxy allergy or could develop one from exposure over time.

TIP: I didn't apply epoxy to the fin tab, then slide in the fin. That would squeeze out epoxy onto the outside surface of the model. You might end up with a strong fillet, but it would be a mess to clean up. 
I neatly applied epoxy into the slot, then slid in the fin tab. 


I had to sand a little bit on the TTW tabs for a easier fit.


Yellow glue was used for fillets where there was a wood to Kraft tube joint. The glue was applied using a Q-tip. 

Epoxy was used inside where the fin tab contacted the plastic outer fin can tube.


Here's the finished lowest fin can. Notice the gap between the upper end of the root edge.

Wednesday, October 4, 2023

Estes Black Brant XII, Kit # 9723 Build, Part 20, Tunnels & Hatches


The upper body got the tunnel and hatches glued on after being painted off the model.

I used my aluminum angle to mark straight lines and scrape off the black paint inside the gluing area.

The angle was again used to make sure the tunnel was straight after gluing in place.  

Masking tape was wrapped for a position refernce when gluing the hatches in place.

Look close, you can see a scraped line at the side of the hatch. This is a border for scraping off the black paint. The scraped glue "box" is smaller than the actual hatch.


The hatches are glued on opposite each other.


Here's how the upper section looked when finished.

Tuesday, October 3, 2023

Estes Black Brant XII, Kit # 9723 Build, Part 19, Third Stage Paint


The "Rocket Finishing" photograph at the bottom of Page 10 doesn't give any measurements for the third stage painting lines. I checked the picture on the kit box to figure out where the silver paint should start and stop.
On the Kraft tube, the 3.24" measurement is the top of the tunnel (Part V) and the beginning of the silver paint. The angled top of the hatch (Part U) overhangs the start point of the silver paint.


This picture might explain it better.

On the left is the plastic body and nose cone. 
There is a molded recess line, marked with a piece of tape for clarity.
Silver is sprayed above the recess line around the tube.

On the right is the Kraft tube that slides in beneath the plastic section on the left.
The tape is placed at 3.24" from the top of the tube. Silver is sprayed above the 3.24" mark.

Many people insist that silver paint is more vibrant with black paint underneath. Silver is one of those rare paints that you can spray over a dark color.

Monday, October 2, 2023

Estes Black Brant XII, Kit # 9723 Build, Part 18, Scattered Build Pics


This blog build probably hasn't followed the instructions order. Many of the parts were painted before gluing the model together.
Here's two of the first stage fins.

GOTCHA: The Finishing Picture on Page 10 of the instructions says to paint all four of the 1st stage fins yellow. Actually, there are three yellow fins and one red fin.
The second stage fins are three red and one yellow.
The single first stage red fin lines up with the single yellow fin on the second stage.


The area under the third stage fins is flattened for a better fit of the plastic fins.

The instructions show a sanding block being used. I used a flat diamond file for more control. The block is too big, with a file I could see what I was sanding.


Here's all the black parts ready for paint.


On the largest adapter shown at the right - 
The orange was sprayed first. A straight line mask went around the bottom of the orange. Another white under coat was sprayed before the silver was added.
Silver was sprayed and allowed to dry. 

Sometimes it's hard to get a clean mask line in a recessed area.
TIP: I used a ultra fine point Sharpie for an easier, sharper mask. The black pen ink filled the recess area. Masking followed, then spray black paint.

Sunday, October 1, 2023

Estes Black Brant XII, Kit # 9723 Build, Part 17, Filling & Filler/Primer


I'm brushing on a single coat of CWF or Carpenter's Wood Filler.

Be careful to keep the filler off the root edge. I brush on the CWF but stop at the edge without lapping over on the root.


Use a fingernail to remove any filler and square up the edges.

The CWF was sanded to surface. 
A follow up spray of filler/primer followed.


After sanding down the filler/primer - 

Notice the high point at the center of the fins. If carefully sanded, the filler/primer can help define that line one last time.


Here's how I taped the pieces down for the filler/primer and white undercoats. 

If you spray from the angle in the picture, you shouldn't get any spray paint on the fin root edges.

Saturday, September 30, 2023

Estes Black Brant XII, Kit # 9723 Build, Part 16, Gluing Up The Engine Mount


The centering rings were loose on the 29mm engine mount tube. I built up the inside edge of the ring with a small bead of wood glue. Let it dry.
Check the fit. If it ends up too tight, you can sand the glue edge with 400 grit.

The black retainer ring was also loose. I wrapped some masking tape around the tube to hold it in while the low plastic fin can was slid in place.

When all is glued up, the black retainer ring is even with the bottom of the white plastic fin can.


Fillets were applied using a drop of glue on the end of a Q-tip.

Tubing, cardstock rings and balsa fins are glued on with wood glue.
Plastic parts are glued onto everything else with two part epoxy.

Friday, September 29, 2023

Estes Black Brant XII, Kit # 9723 Build, Part 15, Shaping The Hatch Detail


After the bottom curvature is sanded in,

Do the top curve keeping the height consistent from side to side.


Sand the front angle using 400 grit on a block.

Sand the side and back angles in.


Here's a finished hatch piece ready for filler.

I'd recommend filling the balsa grain before gluing unto the model.

Thursday, September 28, 2023

Estes Black Brant XII, Kit # 9723 Build, Part 14, Detail Hatch


Use the extended lines on the full size drawing and transfer them onto the balsa detail pieces.


The same as the long tunnels, 
Draw a pencil line down the center.

Using a rounded end dowel,
Press a "starter" trench into the balsa. The slight rut will help keep the piece straight on the body tube. 


Wrap some 220 grit around the tube and sand in a straight line up and down.

On the right side picture, you can see the sanded curve in the underside. There is still some of the flat bottom left. Sand until the curve is complete from side to side.


Here's a good fit of the hatch piece against the body tube.

Wednesday, September 27, 2023

Estes Black Brant XII, Kit # 9723 Build, Part 13, Tunnel Fit To Tube


You should sand a curve into the bottom face of the tunnel for a tighter fit against the body upper tube. 
Start by drawing a pencil line down the center from end to end.


TIP: Press a "starter" curve down the center pencil line using a rounded dowel end. This slight indentation will help you keep the sanded underside curve straight.


TIP:
One trick to getting a good fit on a tunnel is to wrap sandpaper around a smaller tube than the one it will end up on. Example - If the tunnel will be glued to a BT-60 tube, sand the bottom curve with sandpaper wrapped around a BT-55 tube. 


Here's the before and after fit of the bottom of the tunnel.


The outside of the tunnel was rounded off using 220 grit on a  sanding block for the rough shaping. 
400 grit rolled under my fingers finished off the rounding.

Tuesday, September 26, 2023

Estes Black Brant XII, Kit # 9723 Build, Part 12, Kit Tunnel Replacement


The kit directs you to glue two lengths of a balsa strip for the long length of the single tunnel. 
I didn't like the idea of forming a long, narrow butt-join piece. When sanding to shape, it could break at the small glue joint.


TIP: You might find it easier to shape a single piece tunnel. I cut a new one piece tunnel - 1/8" thick X 13 3/16"long.


Here are four new tunnels cut from 1/8" thick balsa.

I'm gang sanding all four at the same time for a consistent start shape.


Use the round end of the laser cut tunnel piece as a template to shape the replacement piece.

Rough cut with a knife, then round with your sanding block.

Monday, September 25, 2023

Estes Black Brant XII, Kit # 9723 Build, Part 11, Second Stage Fin Shaping

I know these are out of order - That's just my kit build style -

The bottom of Page 7 has the overhead view showing the taper from the root edge to the outside edge.
It's up to you - on this "flight" version build, I didn't sand this taper. The raised center line won't be as apparent on a thinner fin.


If you want to shape this profile:
This root edge to outside edge taper (shown above) should be formed before sanding the diamond profile shown below.


Here's how the second stage fins look after shaping with the sanding block.

Notice the glued lamination lines that show when the taper is sanded in. It's another good reference to help judge the thickness while sanding.


Whoops! Be careful near the root end tips. 
I had one fin tip break off down the grain line.