Showing posts with label Revision. Show all posts

Sunday, February 28, 2021

ASP MMX Jayhawk Build, Kit Corrections Already Made

I had some concerns and was a little confused when building the A.S.P. MMX Jayhawk.
A quick email to Andy at A.S.P. got some easy answers.
I was sent a pre-production kit. Before the kit went into full production, corrections were made in the templates and decals.


On the top is the Main Fin Cutting Guide I had from the instructions.
Note the "root edges" designation and arrows.


Here's the corrected version, now in the kits.
The illustration is flipped and the "root edges" are now clear.    
This decal wrap in my kit had one of the Stars and Bars flipped. When wrapped around the body, one star ended up upside down. I simply cut off the stars and bars and turned it over.

The kits now have Stars and Bars in the correct orientation.

I've produced a few kits and can certainly understand how this happens. 
On my Odd'l Rockets F-104 Starfighter kit I left off a measurement. On the first run of kits, the instructions said to glue a cut tube XXXX" from the back end of the model.  The XXXX" was a pre-production place holder for the final measurement. 
Measurements, parts, instructions and templates can change as you go through prototypes and test flights. Producing kits (especially the instructions) takes more time than most modelers realize.

Sunday, September 1, 2019

New Estes Black Brant II, Changes Part 1, Fins & Tail Cone

Here's the instructions from the older Black Brant II kit.
On the tail cone there is a recessed ring. This leaves a gap at the root edge of the fin. You were told to make a triangle shaped piece of balsa, insert the piece and glue. Trim off the excess and apply a glue fillet along the root edge.

These are the fins from the new kit. With laser cut fins, I wondered why this filler wedge piece wasn't added to the root edge.
I mentioned this to Estes. Maybe it'll be incorporated in a future run of kits.

The scale fin tapers can be done with patience and a good sanding block.


This shows the fins and gap at the tail cone.

Sanding the suggested scale diamond taper looks okay but with the 3/32" thick fins the effect is subtle. If the fins were thicker the taper lines would be sharper.

Monday, March 13, 2017

New Estes Lynx Decals

If you've ever tried to do a clone you realize how models evolve over the years. Nose cone materials and shapes change, decals can go through revisions.

Harold sent an email and attached a picture of his recently finished Estes Lynx. I thought something had changed. Compare the differences in the face card picture and the decals on the finished model.
This kit has only been out for two or three years and the decals now have an extra thin border line on everything. Instead of a difficult mask around the white "rudder", now it is painted black and a white decal trim is in its place.

Saturday, March 4, 2017

Buzz Nau's Skydart

Buzz Nau sent me a link to the revision he made in his Skydart elevon.
It gives a more direct, straight-up pull up on the elevon.
The check out Buzz' website, CLICK HERE


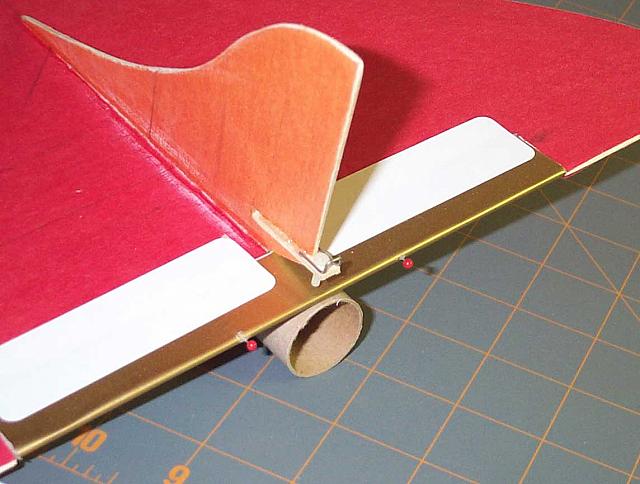
Push pins in the trailing edge of the elevons. Note the "U" piece of music wire glued to the elevon adjustment tab.


With rubber band installed and in glide position.
Buzz used Japanese tissue to cover the wing and rudder. It adds a lot of strength and very little weight.

The Skydart being built on the blog is already past this point in the construction. I were to build another I'd probably use this option. Thanks Buzz!