Showing posts with label MPC Vostok. Show all posts

Sunday, November 16, 2025

An Earlier Vostok Build Part 2 -

 
This is the "Build To Fly, Build To Display" MPC Vostok.
To see the bog build: CLICK HERE


The finished model weight with no engine is 4.27 oz.! 4 oz. is the maximum weight for a C6 engine. I should have waited for the C5-3 with an 8 oz. max. weight. 

The box advertised a C9-3 engine, I don't think MPC ever produced it. The picture to the left shows what happened!
(Picture by Roger Smith.)

Monday, April 7, 2014

Flight Prepping the MPC Vostok - Lariat Tied Kevlar

Even though my MPC Vostok flight wasn't a success, you might be able to use this Lariat Tie on certain models.

I didn't use the Stine "Shock Lock" (shock cord mount) included in the MPC Vostok kit.
The "shock lock" is the MPC version of the Estes tri-fold mount.
There's barely enough room for the 20" Mylar parachute in the interior tube. I didn't need any interior mount to block the parachute ejection.


I used a removable "Lariat" tie for the Kevlar line.
A tight loop is tied around the rear of the engine. The line runs up the engine mount tube right beside the engine casing.
On the left you can see how the Kevlar line length was found by setting it outside, next to the main body.
A tied loop goes around the base of the engine. A small loop is tied below the top of the main body. An elastic line will be tied on the small forward loop in the Kevlar.


Here's the back end with the Kevlar loop around the engine.
The fit of the engine is a little tight with the Kevlar beside it.
Still, a better idea to insure a parachute eject.

MPC Vostok Aerial Shot


Roger Smith took this picture from his helicopter camera.
That's the unstable Vostok with a Estes C6-3. 
I'm standing under the smoke trail trying to get a good launch shot.
Right after this it did some skywriting before hitting the ground and ejecting the parachute.

Jeff Lane did have success with his Vostok and a Estes C6-3 - HERE

Sunday, April 6, 2014

MPC Vostok Finished!


To be honest, this one was a disappointment.
The plastic central core halves were badly molded.
The fit of the booster halves was poor.
The capsule will probably break apart on landing.
The nose section shoulder is too loose.
You'll be lucky to pack and have the 20" parachute eject.
My finished weight with no engine is 4.27 oz.!
4 oz. is the maximum weight for a C6 engine.
(I know - I could use a composite D)
This one will probably end up a shelf queen.
Considering the original model was released in the early 1970s, it's a good piece of scale work. I doubt the Russians were handing out scale information back then.
I hope the reissue kits are better molded.

Saturday, April 5, 2014

MPC Vostok Build, Part 13, Nozzle Plate and Flight Fins


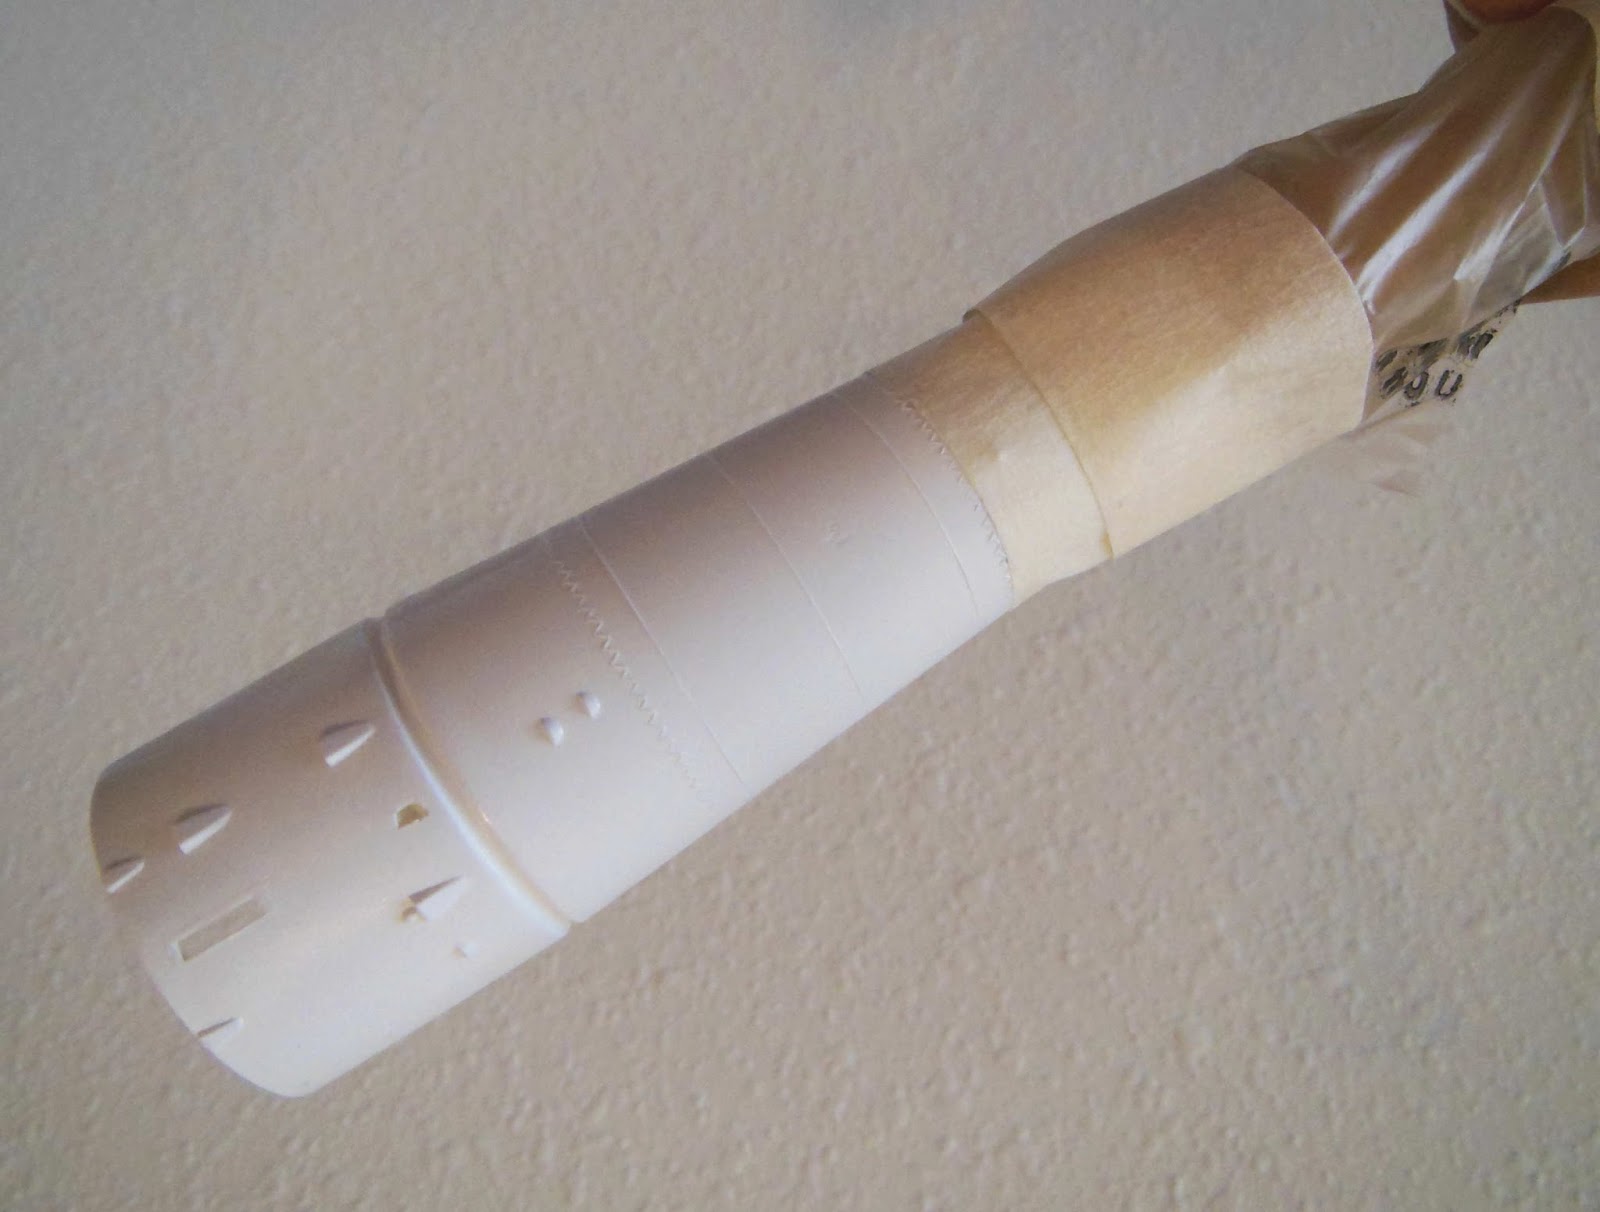
The instructions say to snap the nozzle plate onto the boosters.
Mine wouldn't snap on. I could see where it was close, but not enough to stay on during boost.
Look to the right of the lower launch lug and you'll see the open joint between the booster and nozzle plate.


I bent the plastic on all four sides of the nozzle plate for a better fit.
Things were good until one side cracked!
Oh well, no love lost on this one! It'll glue back down.


The fins are rocked from the back forward and snapped in place with no glue.
I would assume this allows the fins to pop off on a hard landing rather than break at the root edge.

The inset picture shows the fin "locked" on. There is a slight gap at the root edge.

Friday, April 4, 2014

MPC Vostok Build, Part 12, Painting the Nozzle Plate


The kit includes two different nozzle plates, the less detailed one is for flying version.

It was painted overall with aluminum paint.
The centers of the nozzle bells are painted gold.

The bell interiors are round. I took the easy way out and used a Q-tip to paint them.
Dip, wipe off excess and roll the paint into the nozzle bell.


After painting (and a little aluminum touch-up on the rims) here's the finished rear plate.

Thursday, April 3, 2014

MPC Vostok Build, Part 11, Gluing on the Boosters

Don't do what I did and start by gluing the boosters first.
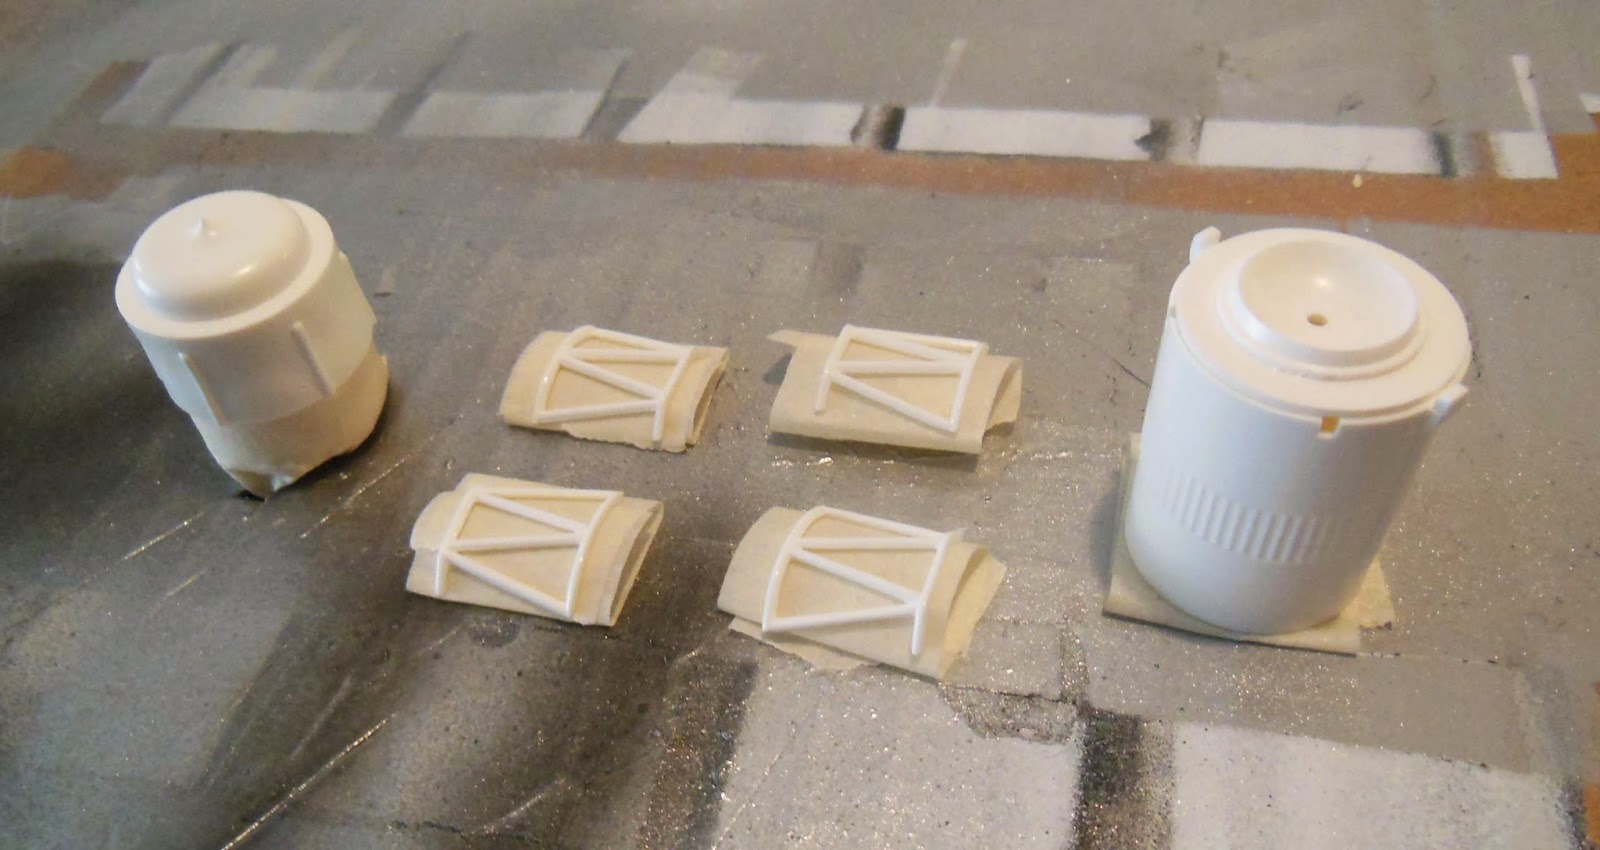
You should glue the "link" chrome support struts on opposite boosters then glue the boosters on.


Here's the chrome link" support piece. One way to explain this - These go on booster 1 and 3. The straight (no link) struts go on booster 2 and 4. Glue the "link" boosters on opposite sides of the central body.

In the picture, the glue dissolved a bit of the paint. This won't be seen when it's all glued together.

Here's the straight strut in position. The small end pins fit into the holes in the boosters.
The inset picture shows paint being scraped off for better glue adhesion.


This step is a little like a puzzle.
The ends of the boosters have to be spread to get the strut pins in place.

With the glued struts the assembly feels pretty solid.
Heavy but solid.

MPC Vostok Build, Part 10, Paint and Glue


I should have glued these smaller pieces on before painting!
There are four of the smaller triangular pieces right above the tower. I could only find two in the box!
I'll leave them off. This model has been a pain to build and I don't feel it's worth making new pieces from scratch.
According to the Peter Alway ROTW book -
The wide strip in the mid section is painted olive drab.
The MPC kit includes red decals to make the overall white Vostok that is on display at the Cosmos Pavillion in Moscow.

I sprayed some of the Testor's Master Modeler paint in a disposable cup and rolled the paint on the raised line with a Q-tip.
It's not perfect but good enough for this one.

I can already tell the finished model might be heavy using a C6-3 engine.

There are no locking "pins" or ridge when gluing the capsule on top. It has already popped off when the small detail pieces (first picture) were glued on. I'm concerned it'll be lost at ejection.

Wednesday, April 2, 2014

MPC Vostok Build, Part 9, Booster Mask


The four side boosters are white at the top and olive drab on the bottom. They weren't painted that way, the white is frozen condensation.

I wasn't looking for a very sharp mask line, the ice would make for an inconsistent color separation.
I used brown masking tape and didn't press the edge down.


The line wasn't clean. I had to "push" the olive drab back with the side of my knife.
Don't scrape the paint here, try to push the paint edge back where it snuck under the tape.
It'll look okay from 10 feet away on the launcher.
That is, if the C6-3 engine gets it high enough.
This thing will be heavy!

I'm not adding the chrome band at the half of the boosters. The way I feel about it now, it's not worth the extra effort!

Note: The second small rectangle above the open slot on the booster will be opened with a a knife.
You need both open squares to attach the larger flight fins.

MPC Vostok Build, Part 8, Tower Parts Prep

There was mold flash on all seams of the tower grid pieces.

Tops and bottom were sanded flatter for a better gluing surface.
The inside tower edges were cleaned up with a knife.

All segments were sprayed olive drab before assembly.
There would be no way to paint them after gluing together with the clear section in the center.
A slot was cut into the cardboard flat for the "screw eye" piece to fit into on the right.
The tower pieces were shot then flipped over and the other side painted.


Some paint was carefully scraped off so the plastic glue would adhere better.


The fit of the tower wasn't good.
Rubber bands were wrapped to apply pressure while the glue dried.

Plastic cement was used, then thin CA afterwards.
I'll be lucky if this stays together at ejection.

After the rubber bands were removed you can see some white plastic peeking through.
More touch-up with a brush is needed.

Tuesday, April 1, 2014

MPC Vostok Build, Part 7, Capsule Paint and Mask


The capsule got the first coats of Tester's MM flat Olive Drab.
Even with all the prep, filling and sanding there was still open seams.
This model just gets more frustrating.


This time I filled the gap with medium CA dragged down the seam with a toothpick.


After sanding the seam again the capsule window was "masked" with a flattened pea of Silly Putty.
I'm just trying the Silly Putty method after seeing it on a plastic model website. That modeler got great results on a camouflage mask. It does stick pretty well and you can coax it into a round shape.


The paint was re-shot directly over the window mask.
The results were just okay. I'll have to go back and touch up with a brush later.
After all the disappointments in this old model, it's almost not worth messing with!

MPC Vostok Build, Part 6, Vostok Capsule


The lead weight glues into a recess at the bottom of the capsule.
I won't be painting the cosmonaut and detail pieces inside the capsule.
In the end the clear display half of the capsule will be painted. All the interior parts won't be seen.
They are inside for the extra weight probably needed for stability.

The inside of the bubble window was roughed up.
The rough inside window was blackened with a permanent marker.
If masked well, the outside of the window will be a glossy, blacked out window.


The base of the upper capsule halves weren't even after gluing together.
Like most all of the plastic parts, some sanding was needed for a flat gluing edge.


The original parachute shroud lines were used.
These weren't four looped lines, but eight single lines.

Getting all eight ends into the small end of the included snap swivel took some time.

Monday, March 31, 2014

MPC Vostok Build, Part 5, Vostok Capsule

You can build and fly either (or both) of the Vostok or Sputnik capsules.
On the right are all the parts.
Half of the capsule body is clear so you can see the Cosmonaut and detail inside.

The Cosmonaut is glued into his chair and into the capsule.
The small capsule glues on at an angle into the open half.

I'm not painting anything inside the capsule. The outside halves will be an opaque olive drab.


A single lead weight is 0.18 oz.
You are given two weights, one for the Vostok, the other for the Sputnik.

MPC Vostok Build, Part 4, Booster Assemblies


The four booster halves are marked 1, 2, 3, and 4 on the inside.
The fit wasn't good. The tops and bottoms were sanded reducing the open gap.

After glue was applied the numbered halves were joined.

The only way to force a good fit was to use wrapped rubber bands.

Sunday, March 30, 2014

MPC Vostok Build, Part 3B, Engine Mount


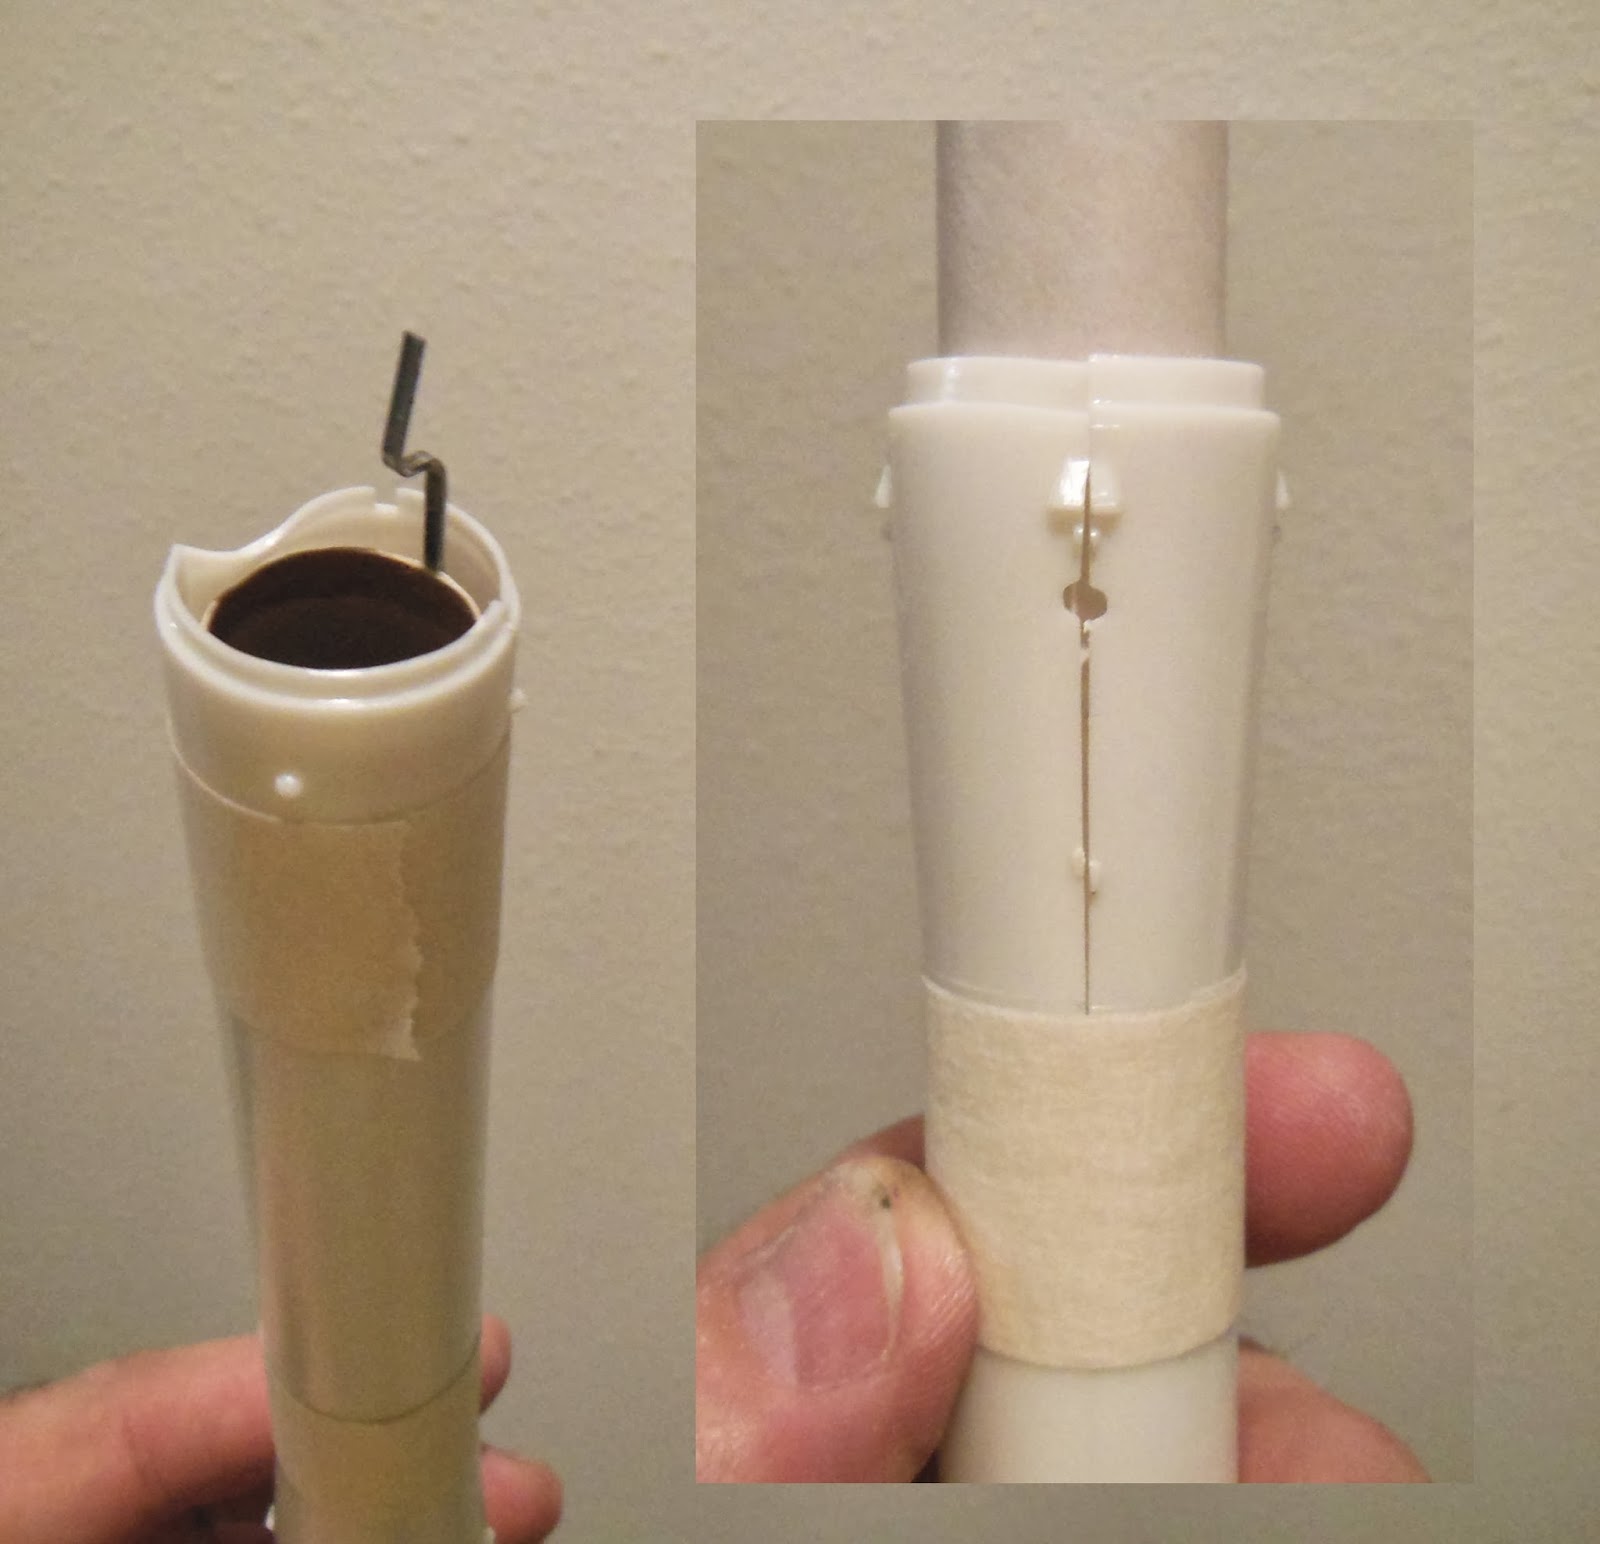
My internal body halves were horribly warped!
There is no way the engine mount tube would slide through.

Even at the top the fit was bad.
The halves had to be taped together to get this picture. The halves don't have any male and female pins.
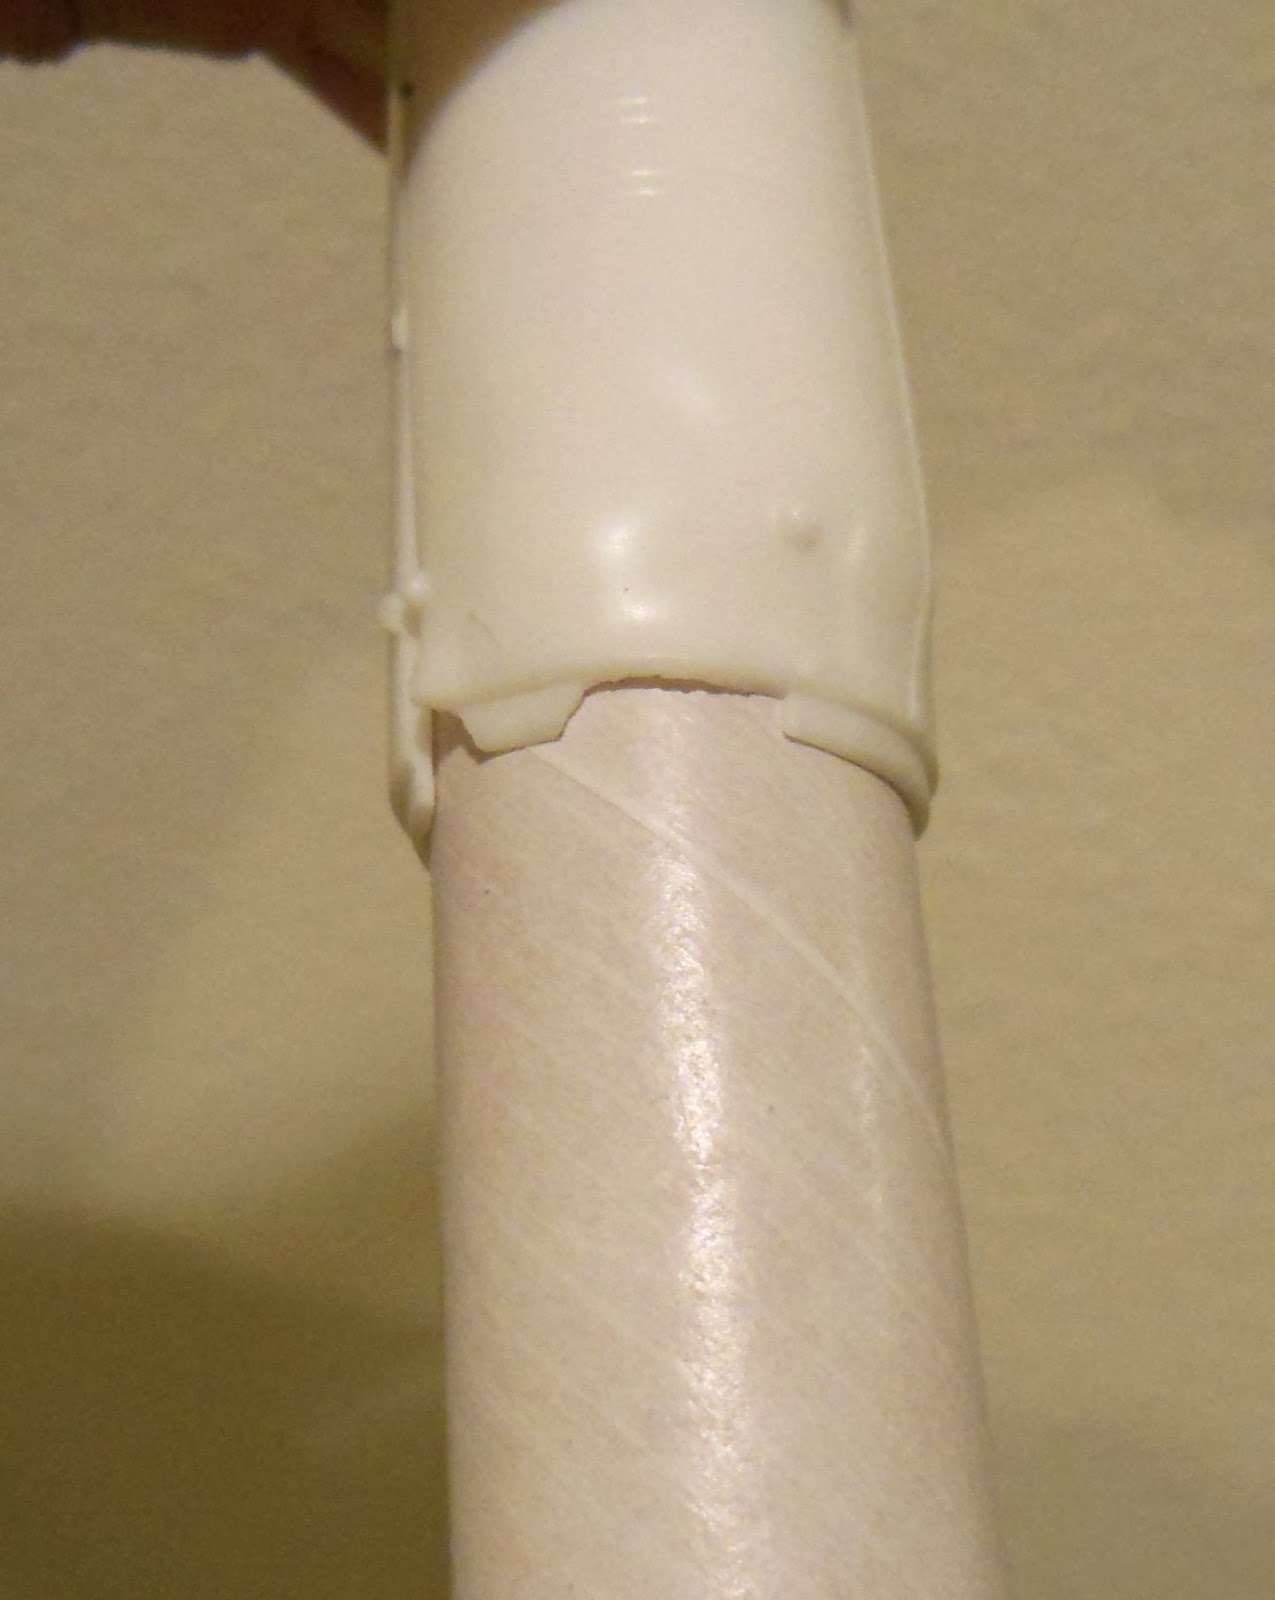
I decided to heat and mold the warped back end of the plastic half.
I honestly didn't know if this would work but I couldn't build the model if the end wasn't round.

Water was brought to a boil then turned down.
The warped end was dipped into the hot water for 5 seconds.
The end was rounded out with a Sharpie pen.


The end result is a usable piece, not perfect but usable.
Luckily the bad joint will be covered by boosters!

Saturday, March 29, 2014

MPC Vostok Build, Part 3A, Engine Mount


My kit box didn't have the brown tube so I substituted a yellow Quest engine mount tube.
The engine block is glued in first and the tube is roughed up with sandpaper.


My yellow tube was too wide to fit properly in the 20mm tube.
I ended up cutting a slit down the side and removing a sliver until there was a good sliding fit.


With the slim sliver of tube removed the ends butted up and the fit was good.
I decided to keep the old style engine hook just because it was original.
I kept an engine casing in the mount for support when gluing it in place.

You don't put glue inside the 20mm tube and then slide the engine tube in.
Slide the tube partway in, apply a ring of glue around the yellow tube then slide it into the 20mm tube.
The fit is tight and I can see why you are instructed have you do it this way.


The exposed yellow tube is thin and rough.
I gave it a wrap of 20 lb. copy paper adhered with a glue stick.

Friday, March 28, 2014

MPC Vostok Build, Part 2A, Old MPC Instructions

From Anonymous, I received a comment about the interior booster pieces:
"Just finished my build, let me know what you think about the disks and trusses that go into the booster pods, what's the point of these if you can never see them?" on MPC Vostok Build, Part 1 Parts

Obviously, the new instructions don't say to leave those pieces out of a flying version.
You'll never see them inside the boosters in the display or flying versions, but why add the extra weight? Keep the weight off, especially in the rear.
The original instructions are HERE


Enlarge the instructions at the right.
Anytime you see an Asterisk "*" they are directing you to an optional step to be used on the flying model.
If you want to fly it, the internal disks and trusses are left out.
Here's the original instructions for assembly of the capsules.
I left all the parts 9 - 13 inside. You'll want that extra weight in the top end (with the lead weight equivalent)  for stability.


The less detailed nozzle plate is used for the flying version.