Showing posts with label Helicopter Blades. Show all posts

Monday, May 14, 2018

Estes Mini A Heli #007272, Build, Part 18, Hold Down Thread

The instructions show two small holes "drilled" on opposite sides of the body tube.

GOTCHA: The burn string and helicopter blade deploy is not explained in the instructions or on the website. I understood how burn-string models work before assembling the kit, I've been around a while. A first timer might be confused.


Don't just blindly drill two holes with the tip of a hobby knife. Measure and mark the hole locations directly opposite each other.
These marks are 6" up from the bottom of the body tube.


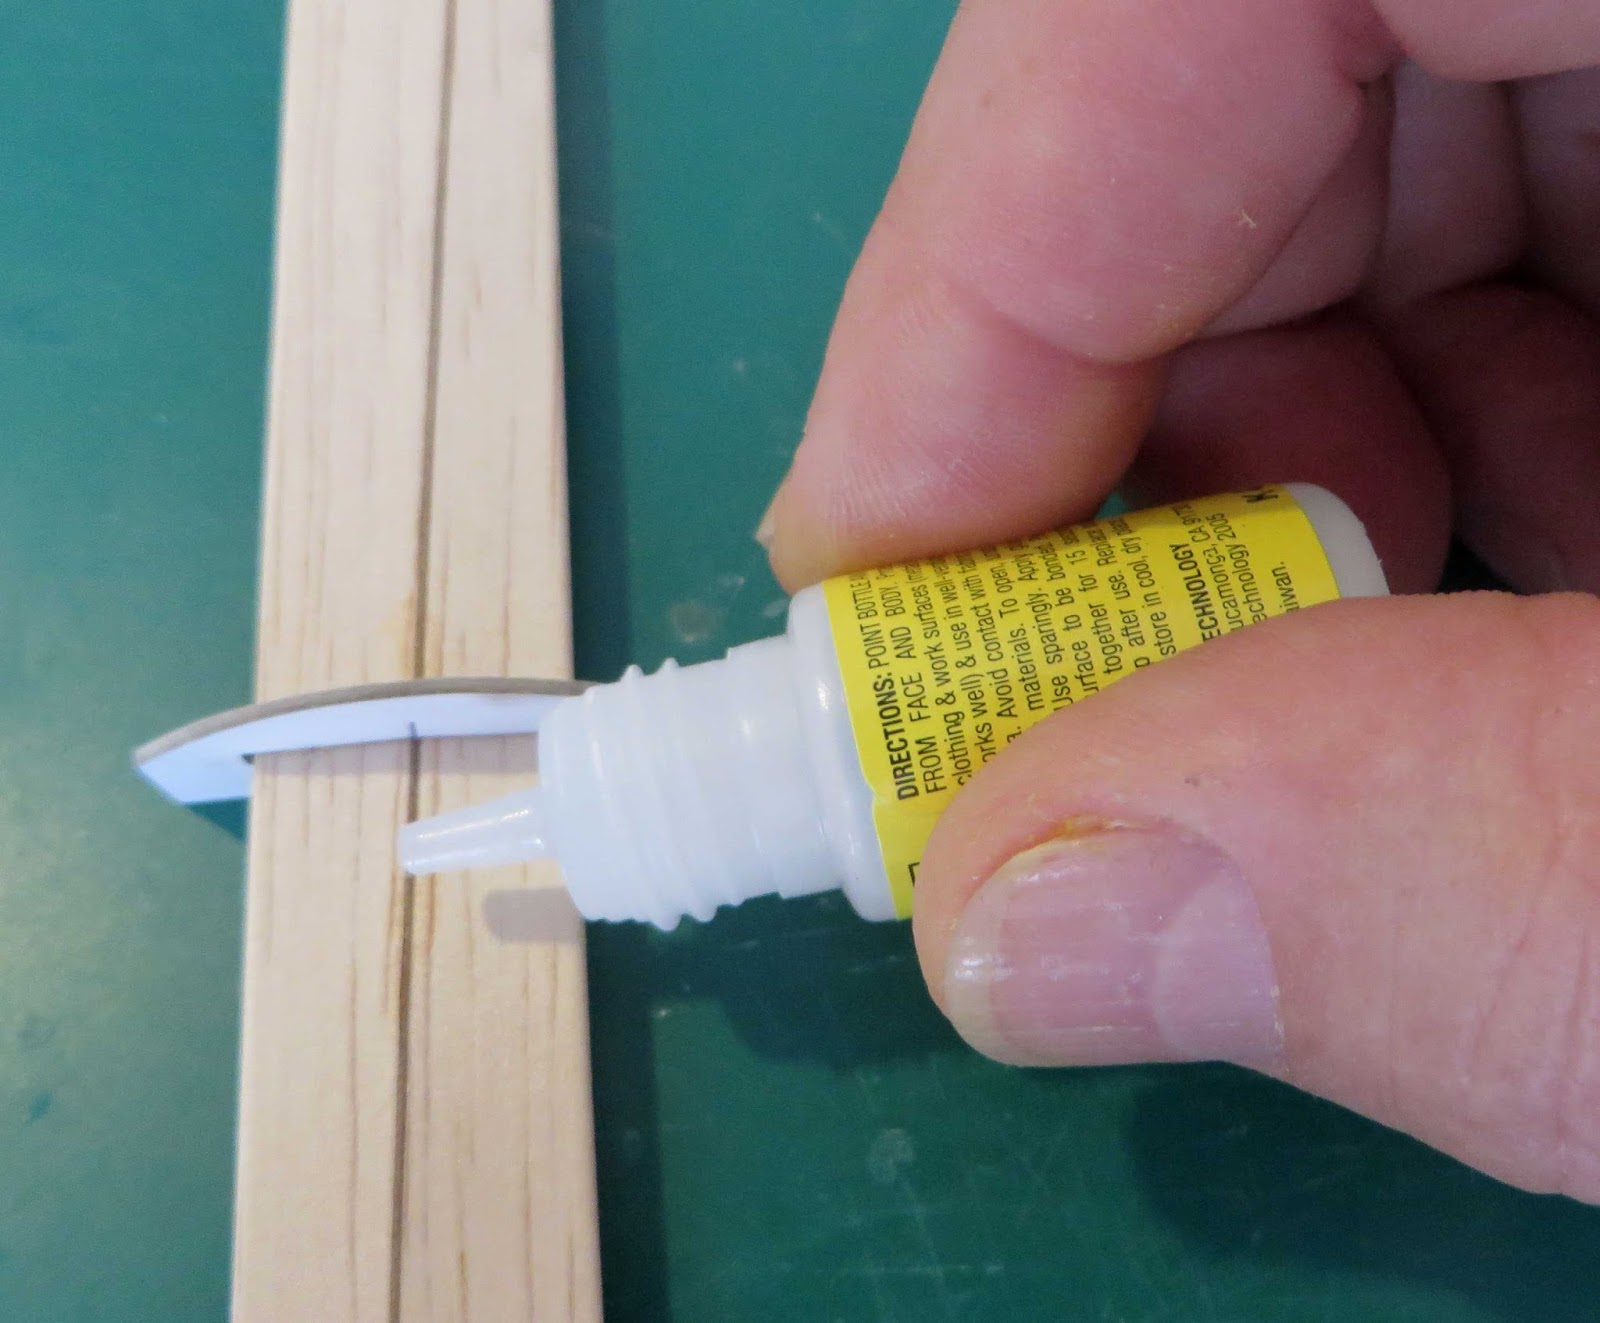
A new blade with a sharp tip was used to start the thread holes.

After a small hole was made, it was rounded and cleaned up using a smooth sharpened dowel.

The holes got some CA glue applied with a Q-tip. Light sanding followed.

A needle is used to run the thread through the holes.


Fold the blades down with the ends between two fin faces. Hold the blades down against the body while tying the thread.
Follow the instructions illustration to weave the thread around the blades.
Tie off the thread with the blades are held against the body tube, each blade set between two facing fins.
Set the three rubber bands into the hinge hooks.

Saturday, May 12, 2018

Estes Mini A Heli #007272, Build, Part 16, Blade Marking

This rocket won't be painted, I want it light and smooth as possible. Some coloration can be used.
I've read where marker ink adds very little (if any) weight to boost gliders. Competition flyers will color the underside of their glider wings so they can be seen against the sky.

The kit face card shows a dusting "blend" of spray paint.
TIP: Blending spray paints (two color blends) will end up with a rough finish and higher drag. You can't really sand and smooth two blended colors with sandpaper or polish.


Before doing any marker ink "bands" on the underside of the blades, I tested markers on the leftover balsa sheet. As expected, there was some bleed of the ink down the wood grain.
I'll have to use an Ultra Fine Point Sharpie.


I planned a pattern on paper before any ink was applied.
These markings could help with tracking and recovery.


The blades were set directly above the marking template. My trusty 2" machine square helped draw lines perpendicular to the blade.

The ultra fine point Sharpie gave the sharpest lines with very little ink bleed.

Notice the marks inside the squares to be colored. When you get rolling, it's easy to color in the wrong box.

Draw the box sides with the smallest pen then switch to the medium point pen to fill in the space.


Here's the underside of the blades after all three have been marked.

With any luck, during descent the spinning blades will show circles in different widths from narrow to wide.

Estes Mini A Heli #007272, Build, Part 15, Nose Cone & Hinge Fit


The replacement balsa nose cone had a better shoulder match than the plastic nose cone did. There is still a seam to fill.


The picture on the right shows a wrap of masking tape beneath the seam. This prevents sanding of the body tube.


The nose cone also got one pass of CWF and sanding. After that a coat of  CA was wiped on. This strengthens the balsa and after sanding will give it a smooth, low drag finish.


This is the upper assembly after the hinge housings are glued on.


A test fit of a helicopter blade. This shows the blade against the "stop" after ejection.

Thursday, May 10, 2018

Estes Mini A Heli #007272, Build, Part 13, Helicopter Blades


Yellow glue was run down the open cut line and the excess removed and smoothed out with a Q-tip.

Go a few inches at a time, don't allow the glue to set and skin over before smoothing it out.


Here's how the backside of the blade showing the break line.

The blade reinforcement pieces are cut from the fiber paper. You barely have enough to trace and cut four pieces. You'll only need three.


I only smoothed glue over 3/4 of the fiber paper. This gave me something to hold onto when the reinforcement was positioned on the hinge arm end.


The glued side was centered and pressed into place.


Glue was added to the dry side and pressed down even with the end of the balsa blade.

Wednesday, May 9, 2018

Estes Mini A Heli #007272, Build, Part 12, Helicopter Blades


The blades are cracked down the lines that were lightly cut in the last step. If the blades don't crack easily, cut the lines a little deeper.


TIP: Before using the blade angle guides, wipe out the laser cut ash from the center slots.
Any burnt ash could discolor the balsa when they are slid down the length of the blades.
The #1 guide form is slid down first.
TIP: Be ready, it's a little difficult getting the #1 guide started on the far end. The angle slot is the opposite form with the high end to the right side.
It might have been easier to wait before gluing the hinge arm on. With the arm in the way you have to slide the #1 form all the way down the blade from the opposite side. It is do-able but had me concerned at first.

The 2 guide goes to the mid point, followed by the 3 near the outside end. 


A few drops of medium CA was allowed to run down the cut trench. Go light, don't glue the forms to the blade.
I'll follow up with yellow glue after the forms are slid off.

Tuesday, May 8, 2018

Estes Mini A Heli #007272, Build, Part 11, Helicopter Blades

The helicopter blades are removed from the balsa sheet. The leading, trailing and outside edges are rounded. The notched end (near the X3 side) stays square.
The instructions make no mention of air foiling the blades.


The instructions show the hinge arm glued in place and CA glue applied to the outside edge.
I set the arm into the blade slot to see where it made contact with the balsa. I applied medium CA glue to the edges where it wouldn't touch the blade.


Here's how the arm is positioned on the blade.


The bottom of the arm should be flush, even with the flat side of the blade.


The blade is to be scored with a knife and cracked down the line.
I tried to score the first blade but my knife wanted to travel out of the laser cut line and into the wood grain.

TIP: Trace down the line with a sharp, soft pencil. The pencil line will give you a better contrast and help direct the knife down the line.

Use light consistent pressure, you aren't trying to cut all the way through the 1/16" thick balsa.

The blade will be cracked down the line, leave some of the balsa to act like a crack "hinge".