Showing posts with label Bending Wire. Show all posts

Sunday, December 13, 2020

Estes Saturn 1B, #7251 Build, Part 16, Wire Anchor Slot, Part B

Okay - Here's a weird one - 

Instead of leaving an open slot after the wire is glued in, I cut a thin vertical hinge in the body tube.

Think of the slot as having two sides. One side of the slot line is cut all the way through, the other side is scored. This makes a slot a vertical "flap" that you can close between the ends after the wire is slipped in.

Some glue is set on the closed flap and smoothed out by rolling a sharpened dowel tip over the area.

There might be a little raised tube at the ends, this is cut off.

When you finish setting the flap back down, you have very little filling to do. If done correctly, in the end you won't see the slot at all.


Here's the piece of scrap 65 lb. cardstock over the inside of the wire anchor ends.
TIP: Be sure the top and bottom of the cardstock won't interfere with the shoulders of the capsule and LEM shroud. Allow a little more clearance than I did here!


Before gluing the cardstock retainer in, you can emboss a line down the middle for and easier fit around the wire.


Before the glue sets up, check to be sure the wire anchor sticks straight out from the SM tube.

Build time:
Slot for Anchor Wire & Glue: 20 minutes
Total build time so far: 9 hours, 55 minutes

Saturday, December 12, 2020

Estes Saturn 1B, #7251 Build, Part 15, Wire Anchor Slot, Part A


This is one of the trickier parts of the build, bending and inserting the wire anchor. The upper section parachute will clip to this anchor for recovery.
You are supplied with a length of brass wire. 


The three bends of the inverted "U" shape should  all the same length.
TIP: Place a strip of masking tape on your needle nosed pliers to use as a depth gauge for even length bends. 

Make the first 90 degree bend. You should make the bends sharp by keeping the wire close to the sides of the pliers.

Place the wire up to the masking tape for all four bends and you should end up with an equal anchor. Be sure the bends are flat. The anchor should lay flat on a tabletop.

The wire on the left is a practice bend on some scrap wire to get a feel for the assembly.

Before cutting the slot, I used a pin again to mark the start and stop points of the slot.
The slot cut is shown in the next post - 

Build time:
Bend Anchor Wire & Mark: 15 minutes
Total build time so far: 9 hours, 35 minutes

Sunday, August 16, 2020

Centuri Flying Saucer #5325, Part 4, Wire Antennas

The instructions had a print of the original kit antennas. Since this is a 3/4 size downscale, I drew a 3/4" box and reduced the 1" span box to the 3/4" length.
Below the print are the three finished, bent antennas.

You'll need some music wire. I found some at Hobby Lobby - K&S wire, #602201, #5497, .039" diameter.


I tried bending the outside round circle shape around a dowel, but wasn't successful.
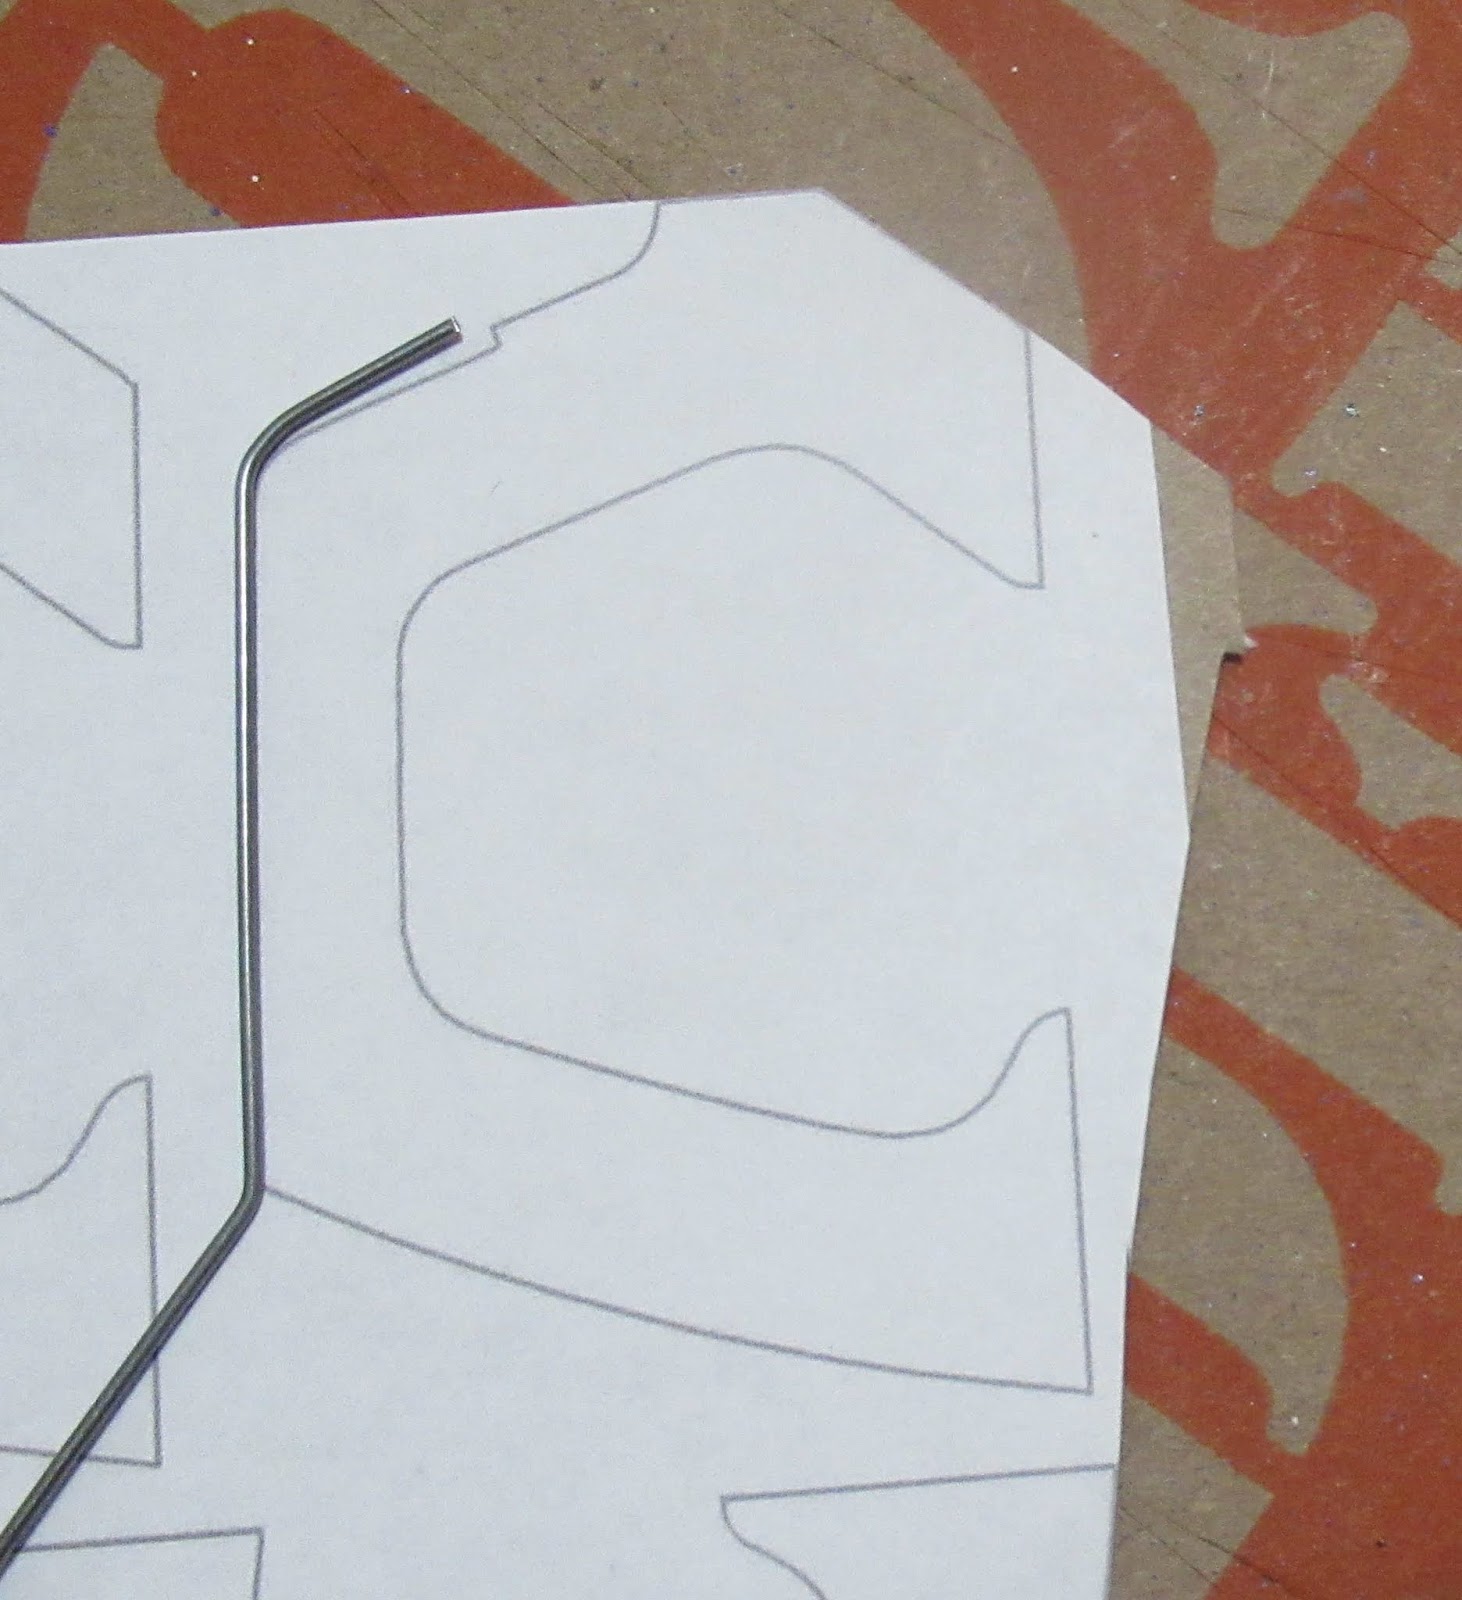
I had better luck with needle nose pliers. Don't try to bend in one movement. Make many small bends around the circle shape. Check against the print as you go.


Keep the circle bend flat. It's very easy to have it end up going out to one side.


The bent wire matched the template print.
I set it on the 75% size "C" shape brace. The upper bend needed to be a bit sharper.
Notice the end of the wire, it is shorter than the notch allowance. I made the notch a bit lower to fit the end of the wire.

The antenna wire and reinforcement piece template is posted in Frank's build at YORF - CLICK HERE, Page 6, Post 51

Thursday, June 13, 2019

Estes Saturn V #1969 Build, Part 32, Install Wire Anchor

This illustration is from the older #2157 Saturn V kit. The new instructions don't have a full-size drawing for bending the wire anchor.

If you are a Patreon support member and would like the PDF with the full-size wire template, 3rd stage shroud and fairing crescent reinforcements, email me at:
oddlrockets@bellsouth.net
and ask for the #2157 3rd Stage Shroud PDF.

EDIT: The ends of the old (kit #2157) anchor pattern are too long by about 1/16". Cut the ends a bit shorter than the pattern shows.


The wrap around marking guide didn't match up so I drew my own.
The RCS nozzle location holes aren't really this large. The gluing pins on the back of the RCS housings are smaller.
I prefer not to cut a slit for the anchor, that leaves a slot that is difficult to fill.
TIP: Punch the holes for the anchor and RCS nozzles with a pin instead of spin drilling with a knife tip. You are likely to drill too large a hole with the tip of an X-Acto knife. The positioning pins on the back of the RCS nozzles are a small diameter.

The anchor was bent as shown to allow the upper end to go into the second hole. It does take some coaxing to get the anchor into the two holes. Try not to scratch the body tube.

After the anchor is in, the upper bend is made inside the tube. This is not an easy thing to do. If you don't have patience you might want to cut the slot. This two-hole method does give a cleaner finished look.
This picture was taken after the RCS nozzles were glued on in a later post. The retention rectangle is 60 lb. card stock glued on with yellow wood glue.

EDIT: The anchor Be sure the top and bottom of the cardstock anchor cover is low enough so the capsule shoulder will fit! Allow a little over 1/2" on both sides. I had to go back and trim the top and bottom of the anchor card stock.

Assembly time so far:
19:20 minutes previous
  0:30 minutes this post
19:50 Total so far

Thursday, August 25, 2016

Centuri Moonraker #KB-11 Build, Part 4, Nose Cone and Retainer Wire

At first I couldn't find the nose cone gluing tab. It was stuck under the "Spec-plate" stapled to the face card.

The gluing tab is a pressure sensitive (peel and stick) paper. It is stuck to the nose cone shoulder giving the white glue something to adhere to.
The tab in my kit was much larger than the illustration showed.

Peel off the backing and roll it around the nose cone shoulder.

The retaining wire is bent by setting it over what's left of the die cut fin sheet.
The end of the wire is set on the large fin trailing edge corner. Bending it over the end of the die-cut sheet gives the "hook" the correct thickness to fit over the front of the large fin. A clever step.


Bent as shown in the instructions, the long end of the hook wire does end up at 2 7/16" long.

Tuesday, April 22, 2014

Estes Saturn V Parachute Hook Bend TIP

You can apply this tip whenever You have to make a bunch of bends the same length.

In Step 17 of the Saturn V kit, you bend a brass wire into a "U" shape.
(The wire is an attachment point for the upper parachute.)

On the left, a small piece of masking tape was stuck to my pliers.
This tape piece was a stop point for how far the wire was set down into the plier jaws.
It helped guarantee each bend of the "U" was the same length, or (at best) closer than I could get without it.

Thursday, May 2, 2013

Fliskits Pheord X150 Build Part 8 Antenna Bending

I wanted to add the optional antennas, they remind me of the older saucer kits from Centuri. On the Centuri Flying Saucer, they were antennas on the way up and "landing gear" on the way down.
Double check how the antennas fit before doing any bending, they are a little confusing at first.
This is the hard part of the build and I can see why it is an option.


There is little room for deviation in the bends, you'll want all five antenna shapes to be consistent.

TIP: I made reference marks with a permanent marker on the end of my needle nosed pliers. Anytime a repeated bend was made I knew how far down to set the wire before the bend.


Start with the base of the antenna first, the wider "U" shape that locks under the fin base.
Finish up with the tight "safety" bend. It's easier to cut it off then finish the final tight bend.


All five antennas ready for gluing besides the root edges of the fins.

Monday, May 23, 2011

Estes Saturn V Build Part 39 Parachute Hook

There is a short piece of brass wire in the kit.
This is bent into a hook to be attached to the 18" upper body parachute. The hook allows the upper section to hang at an angle, reducing the chance of damage to the tower in a hard landing.

While the instructions don't say so, the illustration is full size. I bent mine as best I could to match it, but it's slightly larger.


You are instructed to cut a 1/4" slit above the shroud.


NOTE: The instructions say "slit", but you should cut a thin slot as wide as the wire diameter. My slit was the width of my X-Acto blade and not wide enough for an easy insertion of the wire.

The "U" shape in the wire is pushed through the slit. In my case, this raised the edges of the cut line.

Time spent on build: :45
Total time on build so far: 39:30

Saturday, December 11, 2010

Apogee Heli-Roc Build Part 16 Hooks


Three metal hooks are bent from the supplied music wire.

These are small, you'll need needle nose pliers to make the small hook.

Enough wire is supplied to make five hooks. I made five and chose the best three hooks.


A small hole is made in the rotor blade for the wire hooks. This pin turned out to be too big a diameter. I narrowed the hole width with white glue pushed in the hole.


With the flat back of the hook pressed against the blade, thick super glue was applied to the sides of the wire with a toothpick.