Showing posts with label S SPEV. Show all posts

Sunday, December 15, 2013

SPEV RE-LIST at Auction on EBAY

The SPEV had to be relisted on EBAY -
Moral: Don't ever try to edit an auction.

The same listing (under a new number) is HERE


Here's the next finished model listed on EBAY:
The Semroc SPEV
This is the same model built here on the blog.
You can bid or check out the auction HERE
Bidding now finishes next Sunday, December 22 at around 1:00p.m. EST

Monday, September 23, 2013

Semroc SPEV Finished


Lots of memories building this one. I built an Estes SPEV in 1972.
Looking at it now it's easy to see the Thor Agena B and Little Joe parts being utilized. It's not a cheap kit, there is plenty off balsa used. There is also some Saturn V influence.
This is a good model for a B6-4 in a small field maxing out at 250'.
A C6-5 will get it up to 600' according to Semroc.

Semroc SPEV Build Part 10, Mask and Fix

Whoops! This one should have gone in much earlier! So I screwed up. 
Remember, the blog is free - it isn't perfect. 

The vertical wide black roll patterns are divided into quarters.
I used Scotch tape for the masks.

TIP: You can use your aluminum angle to check how straight your mask lines are.

The black vertical bars run halfway down the BT-60 section of the model. The large adapter also has black areas divided in fourths.

I haven't glued the model segments together yet. Sometimes it's easier to leave things apart for painting them glue it together afterwards.

I flipped the BT-60 section upside down and slid it into the adapter.
The masked quartered segments are continued down the adapter.

After painting the tube is removed, turned over and glued into the adapter.
When the tube is glued on those black segments don't line up but get 1/4 turn so they are opposite of each other.


After the tape was removed all the lines were sharp except for the corners where the tape overlapped. Some corners had a small bleed.

Use the side of your knife and push the black back onto itself.
The lower inset picture shows the correction after the small paint bleed was pushed back.

Semroc SPEV Build Part 13, Lower Body Mask and Decals


Here's the full mask on the lower section.
Again this is divided into quarters, two black and two white quarters.

The mask lines split around the extended "small fins". This required three small pieces of tape per small fin.
I tried to match the face card illustration.
Decals were started on the upper section.
The "UNITED STATES" decals are in two pieces. Plan your spacing before setting down the first half.

The rest of the decals went on without problems. All the wording should be centered between the black and white areas.

Sunday, September 22, 2013

Semroc SPEV Build Part 12, Nose Cone Mask

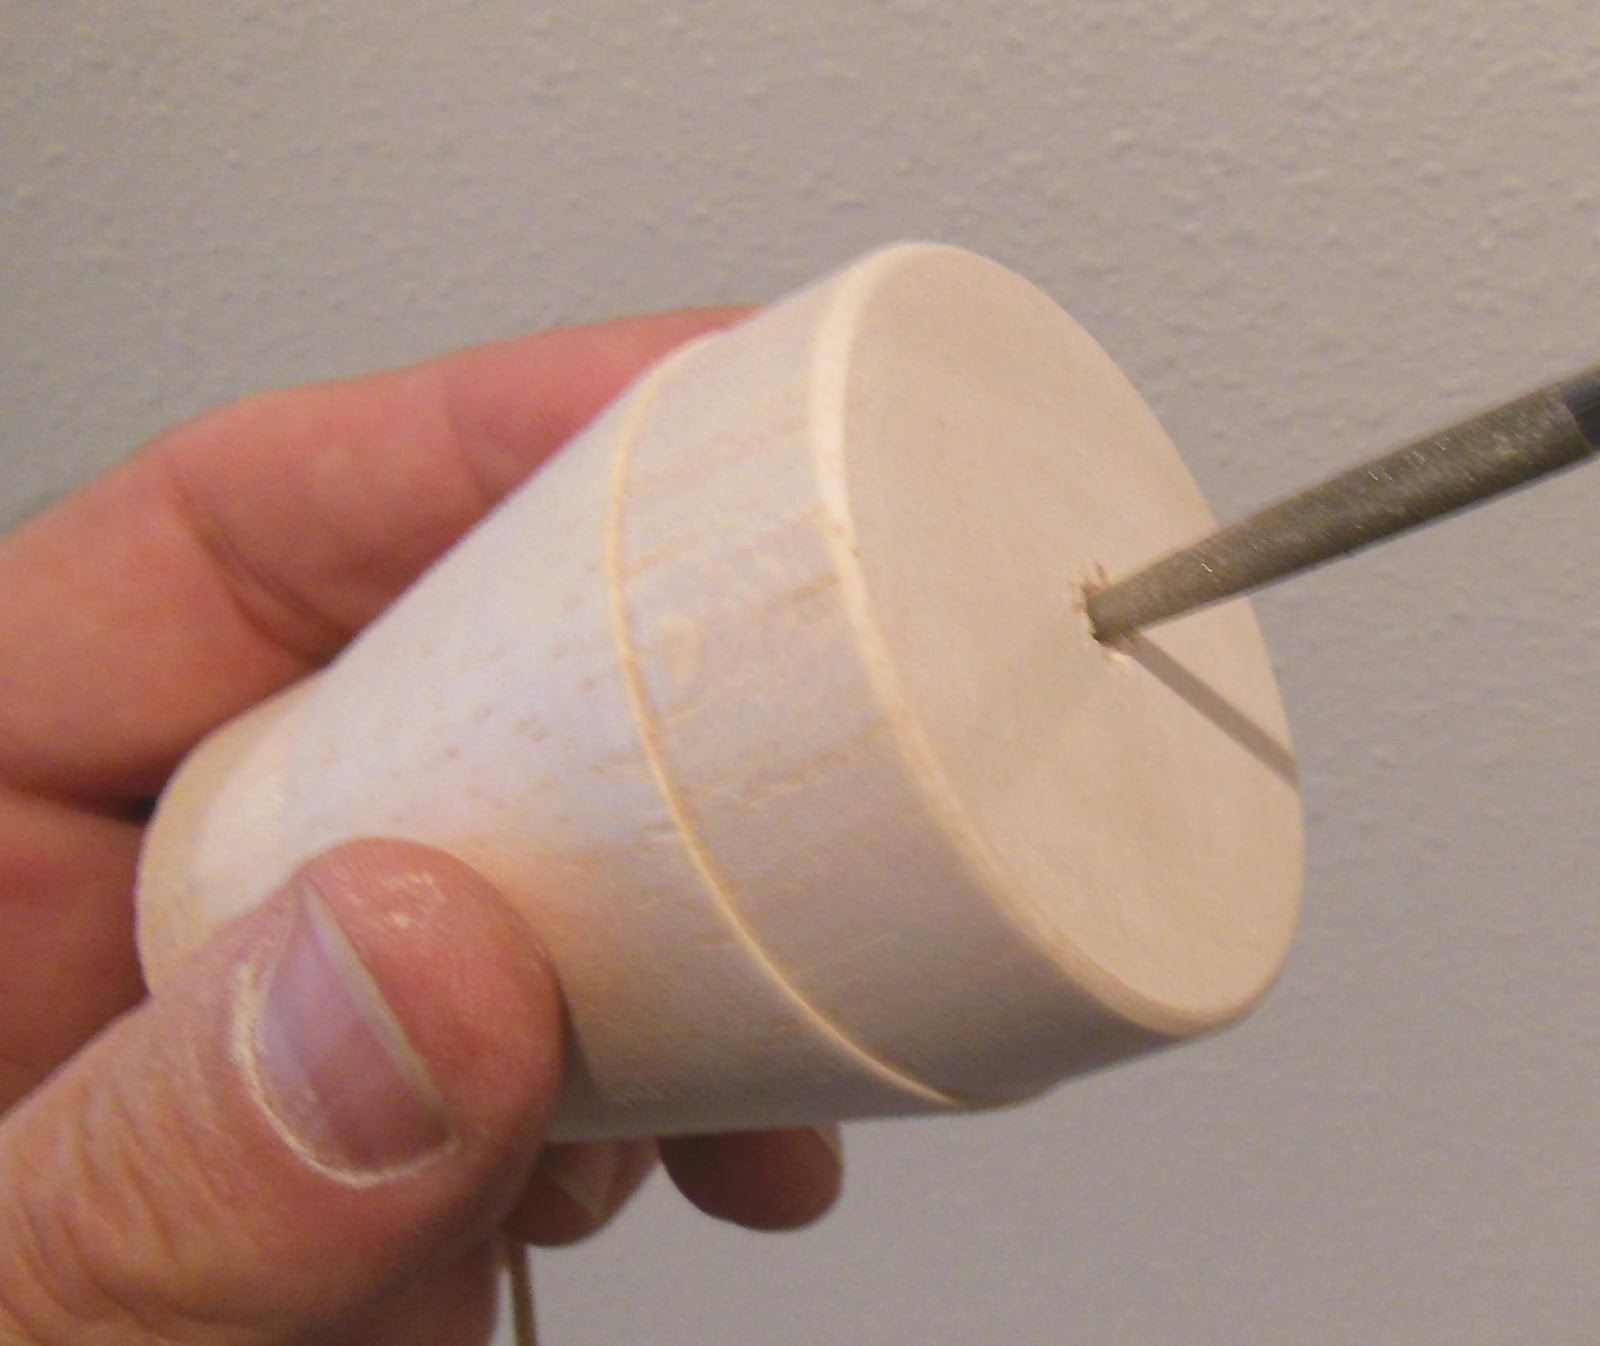
The tip of the nose cone is painted silver.
I tend to use Aluminum in place of silver. It dries faster, won't show fingerprints and looks about the same.

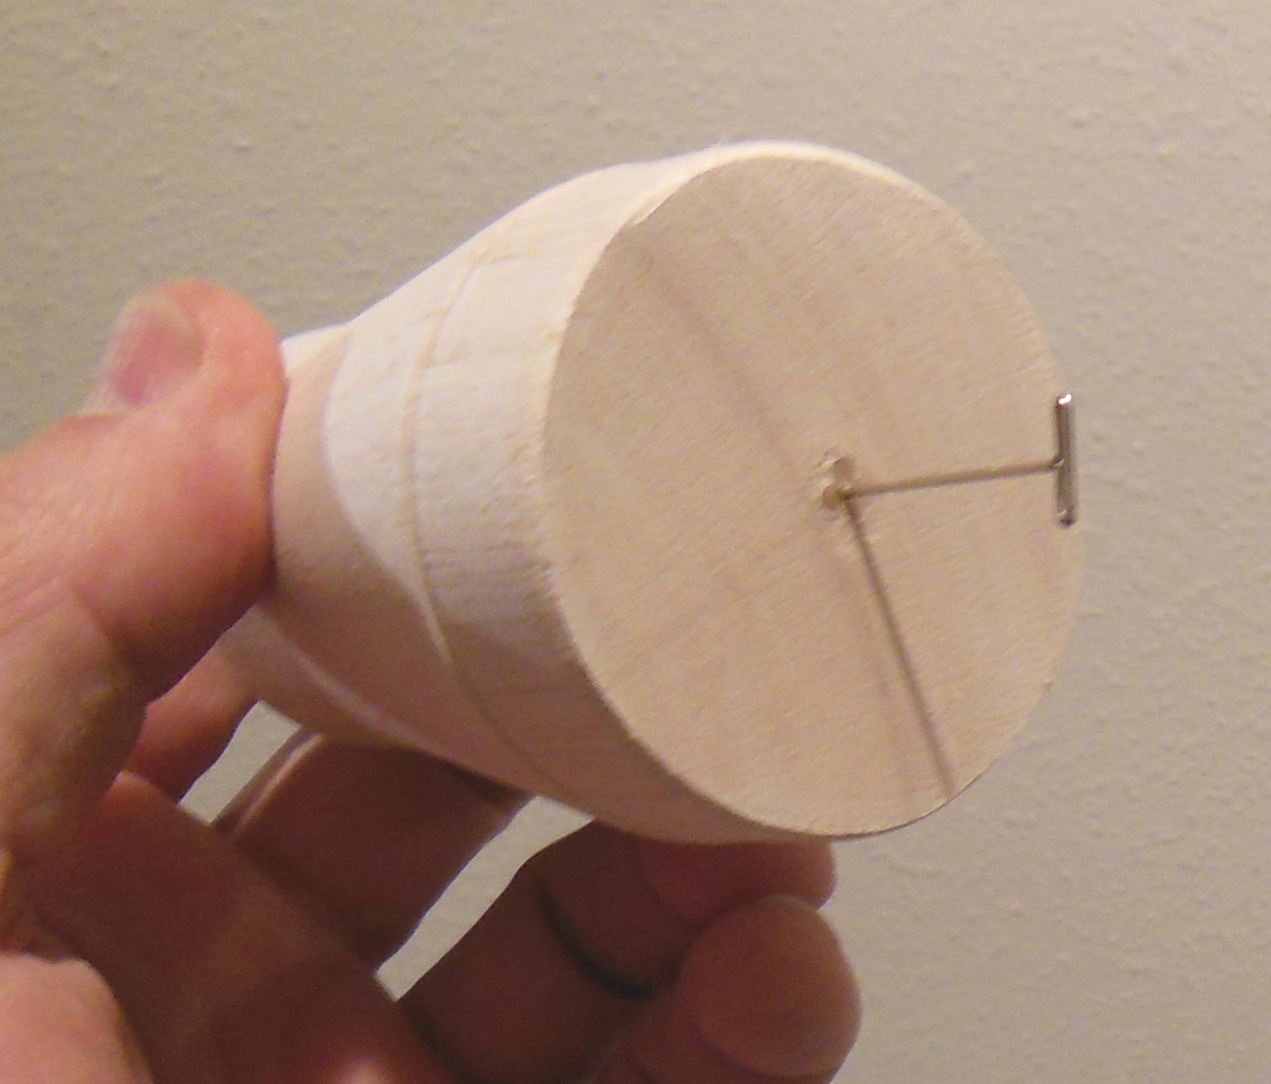
This tip would be hard to mask. I cut a narrow strip of Scotch tape in an arc. Look close at the picture and you can see the upward curve of the tape cut.
Again, this will take a few tries to get the spacing and end match right.
Look close and you can see a bit of the Scotch tape right above the masking tape.
The rest of the nose cone was covered in tape.

Like the rest of the kit, all the segments haven't been glued together yet.
Everything will be glued after the parts are painted.

TIP: Before assembling a kit, look ahead to how it'll be painted. You can save yourself a lot of time by avoiding unnecessary masking. When you can spray in segments sometimes your masking lines can be sharper.
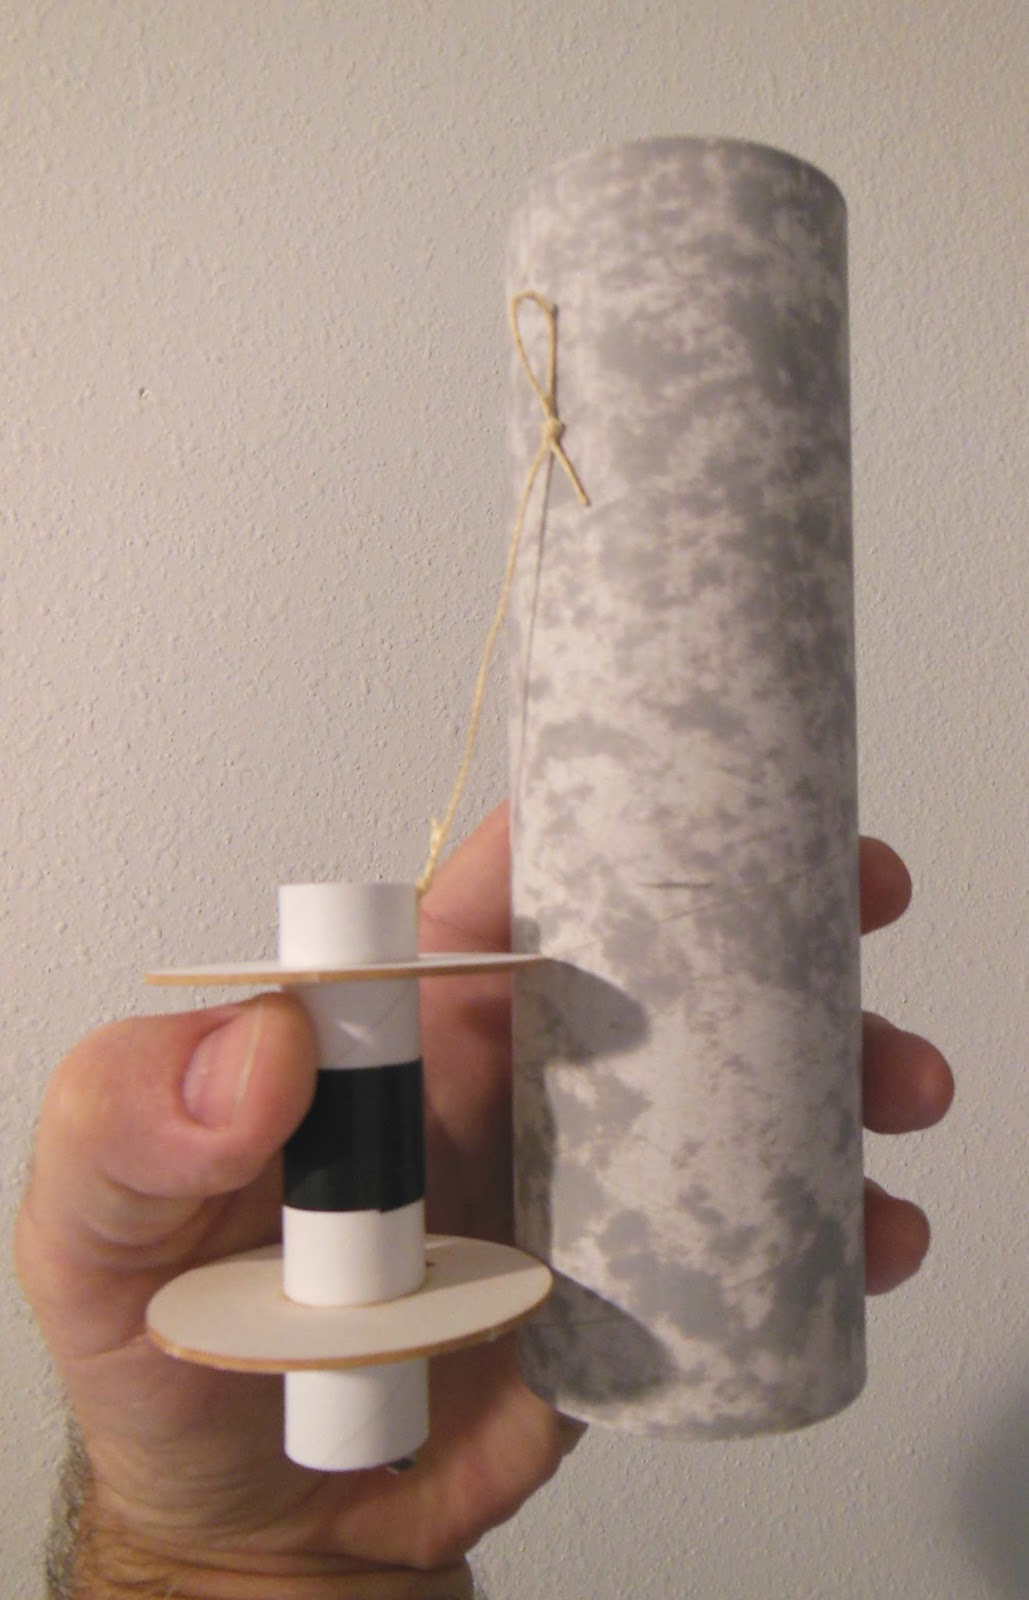
This model is over two feet tall. I'll rarely tie the model together by the shock cord until after it's painted.
It's easier to handle and spray it in two parts.


Here's the model so far.
That little silver tip on the nose cone adds a lot.

Next up - Masking and spraying the BT-70 and fins.

Saturday, September 21, 2013

Semroc SPEV Build Part 11, Trim Lines

I used my favorite trim material for the thin lines at the segment joints.
This is the Contact Paper Blackboard Covering Material available at Michael's Crafts.

At the bottom of the picture is the kit instructions face card. Blow up the picture and you'll see the thin black lines.


1/16" wide strips were cut and placed using the tube edges for a guide.


The hardest line to place is at the middle of the long adapter.
It'll take a few tries to get it to line up when you get all the way around.

Friday, September 20, 2013

Semroc SPEV Build Part 9, Interior Engine Mount Masking

You've seen it at club launches - 
Many builders spray paint the entire model. Engine hooks, engine mounts and launch lug interiors get a coat of paint.
I like to keep the back end clean. Sometimes the bare surfaces will get a rubbing of white glue to seal everything up.
The rear mask on the SPEV is a little different. "Strakes" extend past the rear of the body tube. the inside of the extensions should be painted.


Small pieces of masking tape are set right below the exposed ends of the strakes.

These short pieces of tape were pressed down on my pant leg and pulled up to remove some of the stickiness.


More small pieces of tape were added below the fins covering all the inside of the body tube.
It's easier to apply the masking tape pieces with tweezers.


One small piece of tape was slid underneath the engine hook.
Spray paint could "glue" the hook to the engine mount tube.

More tape was wrapped around the rest of the engine mount tube.


An engine casing stuck on a dowel painting rod was inserted into the engine mount tube.

Rolled paper towel pieces filled in the wide gaps.
It's now ready for the white coats.

Thursday, September 19, 2013

Semroc SPEV Build Part 8, Cleanly Gluing a Launch Lug TIP

Most builders simply run a line of glue down the lug and stick it on the model. Here's a cleaner method.

Run a straight line of glue down the lug.

To remove excess glue and straighten the glue line:
Pinch your thumb and index fingertips together and run the "V" (formed by the fingertips) down the glue line.
This leaves a thinner and straight line of glue on the lug.

Another tip for a straight lug:
When possible, use your aluminum angle to check the straightness of the lug.
If adjustments are needed check to be sure the lug is still on the pencil line after the angle is removed.

You'll still have to add fillets, there will be bubbles after the glue dries.
Use the Titebond Molding and Trim Glue for fillets, especially for the deep launch lug fillets.

Wednesday, September 18, 2013

Semroc SPEV Build Part 7, Engine Mount Fit


Before burnishing the paper in the tube, be sure it is squarely set!
The overhanging edge should be somewhat parallel to the body tube edge.

From the center of the shim to the edges -
Press and roll a dowel pushing the paper shim into the inside of the tube.

After the paper is in place, you can apply some CA around the bottom edge with a Q-tip applicator.

This CA coating is on the lower 1/4", not farther inside.
The CA would seal the paper and not give a good bond when the mount is glued in place.


The mount is then glued in place.
The was better, a good sliding friction fit.

On the SPEV, the end of the motor mount tube is even with the end of the mainframe tube. The engine hook extends about 1/4" beyond the end.

Semroc SPEV Build Part 6, Engine Mount Fit


Here's a tip I picked up on the Sirius Interrogator build:
Set and tie the Kevlar length before gluing in the engine mount.
Lay the mount next to the body tube, allowing for the engine mount tube being flush or extending a bit out the back.
Fold over the Kevlar below the top edge of the body tube.
Tie the loop for the elastic shock cord attachment.

Unfortunately, the centering rings were small! the entire mount just slid right through the tube. I wanted a tighter fit.
I'll have to build up the inside diameter of the main air frame tube.
This method is best suited for LPR rockets.


A single piece of 24 lb. copy paper should do the trick.

Roll and set in the tube and mark the overlap.
Cut to size.


This is where a glue stick comes in handy.
Glue sticks allow for re-positioning. You'll probably have to try this twice to get it right.
Try for a good even coverage over the entire piece of paper.


Roll the piece and set in the tube. Allow the edge to overhang the end of the tube by about 1/8".

The ends of the roll will probably stick to each other.
In the next post the paper will be rolled into place from the center (bottom right corner) to the edges.

Tuesday, September 17, 2013

Semroc SPEV Build Part 5, Shoulder Build TIP

Sometimes the balsa on the edge of a nose cone shoulder or adapter can be chipped or rough.
Here's one way to get a sharper line at the lip of the balsa adapters.

Set the adapter into the adjoining tube. Leave a small gap
Brush on CWF almost over the raised lip.
You don't want the filler on the shoulder, just over and a bit around the edge that butts up against the body tube.


While the CWF filler is still wet - 
Press and turn the body tube against the shoulder lip.
This forces the CWF filler into and over the rough edge.


Pull the body tube out an you can see the new raised lip of CWF.

Sand down the lip after the filler has dried.

Monday, September 16, 2013

Semroc SPEV Build Part 4, Stronger Screw Eye Attachment TIP


I usually sand down and square up the bases of nose cones and adapters.
The wide BT-70 end of the big balsa adapter is the screw eye connection.
After sanding, there was a recess with some broken up balsa. This wouldn't make a good place for the small screw eye threads to grab onto.

This is based on the nose cones you get from BMS.
BMS will send you a drilled dowel to glue into the hole left in the nose cone shoulder. This dowel is a much stronger than balsa  and give you a better hold on the screw eye threads.
I "drilled" out a wedge shaped hole with the tip of a small diamond file.


Three toothpicks are glued in a triangle shape in the hole.
Press them in but not too far, maybe 1/2" - Don't split the balsa! 


More glue was applied around the toothpicks at the base of the adapter.
A rubber band was wrapped around the toothpicks while the glue dried.
After the glue dried, the toothpicks were cut off and the ends sanded flush.

A pin is pushed in the middle of the three toothpicks as a starter hole for the screw eye.
Push the pin in straight and the screw eye should go in straight also.

Using this reinforcement the screw eye should not pull out at ejection.

Sunday, September 15, 2013

Semroc SPEV Build Part 3, Sharper Balsa Shoulders TIP

I've explained this before on the old "How To" website.

The shoulders lips on the balsa adapters were a bit rounded. I wanted a sharper edge on them.
We'll use the body tube edges to "sand" a sharper lip.

First, rough sand the body tube end a bit. Here I'm using 220 grit.
This is to just roughen up the tube. It also squares the tube ends and removes any bad tube cuts.
Don't sand too much or shorten the tube, just rough it up.

Slide the shoulder in the tube up to the lip edge.

Turn the balsa adapter against the roughened tube edge.
This "sands" the rounded lip to a sharp, squared edge.

Later on I'll show how to build up the edge if the lip is low.


Semroc SPEV Build Part 2, Sub Assemblies


The engine mount went together as normal, nothing out of the ordinary here.
The Semroc centering rings are thicker than the old Estes rings.


The red and white parachute will look good on this Saturn-ish looking model.

I always add a snap swivel on builds.
Right now there are no tangles in the shroud lines.
Some of the adapter shoulders were tight in their adjoining tubes.

Careful sanding with 220 grit on a block got them to a better slip fit.

Don't ever force a nose cone or adapter shoulder into a body tube.
BT-20 and BT-50 tubes can crimp!
If it feels tight, stop and sand the shoulder.

Friday, September 13, 2013

Semroc SPEV Build Part 1 Parts


The original Estes S.P.E.V. was said to be a Spare Parts Elimination Vehicle.
The facecard called it a SPace Exploration Vehicle.

You can see the profile of the (then discontinued) Thor Agena B kit.
The BT-70H tube was the same length as the Little Joe II, also discontinued.


There is a LOT of balsa in this kit, notably the large TA-6070 reducer.

It is a large model with an interesting look. There's some Saturn V influence in the roll patterns.


The parts of interest:

BIG engine mount centering rings.
That big balsa adapter,
Relatively small fins, much like the Saturn V. There are also four slim "stick" fins that trail past the end of the body tube.