Showing posts with label E Star Seeker. Show all posts

Sunday, March 9, 2025

Estes Star Seeker BT-50 Upscale (Tri-Pack) Kit #0866, Finished


Here's the shot you were waiting for -
The BT-5 original and the BT-50 upscale.

It's a lot easier working on the larger model. The graphics on this design really pop.


The top end - 
There is still a bit of a yellow tinge showing through the white paint.

Saturday, March 8, 2025

Estes Star Seeker BT-50 Upscale (Tri-Pack) Kit #0866, Part 9, Sanding & White Paint


The assembled model ready for white paint.


After the first coats dried, glue boogers and glue fillets were sanded.

Here you can see where the uneven glue fillet was sanded.
The paint fills some of the voids.

The Apogee nose cone is molded in yellow. This plastic color seems to show through light paint.

I sprayed white first, still too much yellow.
Then another shot of gray filler/primer.

You can still see some yellow tint showing through.


All gloss white paint, no masking!

Decals application were covered in the earlier small model build.

Friday, March 7, 2025

Estes Star Seeker BT-50 Upscale (Tri-Pack) Kit #0866, Part 8, Nose Cone and Shock Cord Mount


On the Apogee plastic nose cones, 
there is sometimes a raised lip on the shoulder edge.
Sand this down a bit.

The nose cones can have a slight bulge at the tip.
You can sand the tip so it follows the contour of the nose cone sides.
The shoulder cap was glued in using Beacon Fabri-Tac glue.

If you can't find a good plastic glue (most don't contain Acetone to "weld" the plastic pieces) Fabri-Tac is a good substitute.
Run a ring inside the nose cone, slide in the base and turn to even the glue bead and get better coverage.


I don't normally use a tri-fold mount, 
I didn't feel good about a Kevlar loop under the upper (homemade) centering ring. They're probably strong enough to handle an ejection pull, but I played it safe with a folded mount and elastic.

A 12" Odd'l chute was tied onto the shock cord.

Thursday, March 6, 2025

Estes Star Seeker BT-50 Upscale (Tri-Pack) Kit #0866, Part 7, Motor Lug Details


The motors tubes were made from 1/4" diameter launch lugs. Like the dowels, the lugs were cut to 2 1/4" long.

Here I've sanded the glue lines using my sanding block with 400 grit.


Evening out a glue line - mentioned earlier
On the left is the initial glue bead right out of the bottle.

On the right, I've evened out the glue line by using the "V" formed by the pinched thumb and index finger. Run the "V" down the glue line. 


Both of the launch lugs are glued to each other, with the ends even. No need to glue fillet.
Make two sets of two lugs.
After the glue dried,
The ends were sanded even on a block.

With a sharpened dowel, the folded in "skin" was lifted out for fine sanding and a cleaner edge.

Wednesday, March 5, 2025

Estes Star Seeker BT-50 Upscale (Tri-Pack) Kit #0866, Part 6, Gluing On The Dowel "Guns"


Two of the (mirrored) fin pieces were marked for the vertical fins, shown below.
The BT-5 smaller version was marked at 1".
The upscale markings are at 1.80".
Lay a bead of glue down the outside edge of the vertical fins for the dowel "gun" placement.

On the left, I'm running the side of my finger down the fillet, smoothing the bead and removing excess.

On the right is the even glue bead. This makes a cleaner glue joint with less glue "squeeze out". 


The dowels are set into the glue line. 
The rear of the dowel is even with the trailing edge of the fins.

After previously evening out the blue bead,
there is very little (if any) glue to smooth or remove from the joint.

Tuesday, March 4, 2025

Estes Star Seeker BT-50 Upscale (Tri-Pack) Kit #0866, Part 5, Gluing In The Engine Mount


The mount was glued into the BT-50 tube with 1/4" of the mount tube exposed. 
Maybe I should have made the end of the tube flush with the end of the BT-50? Well, a little more room for the small chute.


The upper ring ends up in the glue ring. There isn't any glue on the lower ring - yet. 

The lower fillet was applied with small drops of glue on a Q-tip. A second Q-tip smoothed the fillet and removed excess glue.

Monday, March 3, 2025

Estes Star Seeker BT-50 Upscale (Tri-Pack) Kit #0866, Part 4, Prepping Lug Details


The 1/8" launch lug and 1/4" decorative "engine" tube lugs got a CWF seam fill and sanding.

While being held by Q-tip handles, 
they were sprayed with filler/primer.


All were sanded with 400 grit.

The ends got a wipe with CA glue applied with a Q-tip.
This hardens the loose fibers and allows you to sand them off clean.


After sanding, 
The edges were pressed and rolled round using a sharpened dowel.

Sunday, March 2, 2025

Estes Star Seeker BT-50 Upscale (Tri-Pack) Kit #0866, Part 3, Engine Mount


The tube was slit for the upper bend of the engine hook. A  installed motor will extend 1/4" out the bottom end of the tube.

One of the laminated rings got rotary punched for movement of the engine hook. 
For a bit more strength, the upper ring was set right over the upper bend of the engine hook. 

The lower notched ring was placed 1/2" from the bottom of the motor mount tube.

Notice the ruler. The low (and top) end starts at the zero point. Usually rulers have a 1/8"extension before the 1" point  starts.  


A wrap of electrical tape holds the engine hook and allows flexibility.

TIP: Electrical tape won't deteriorate over time like paper masking tape will.

Saturday, March 1, 2025

Estes Star Seeker BT-50 Upscale (Tri-Pack) Kit #0866, Part 2, Engine Mount

Parts of interest:
The four fins and correct dowel diameter for the BT-50 size upscale.
Four cardstock centering rings made in an earlier blogpost.
Four 1/4" diameter launch lugs.

The tube seams and balsa grain have already been filled.
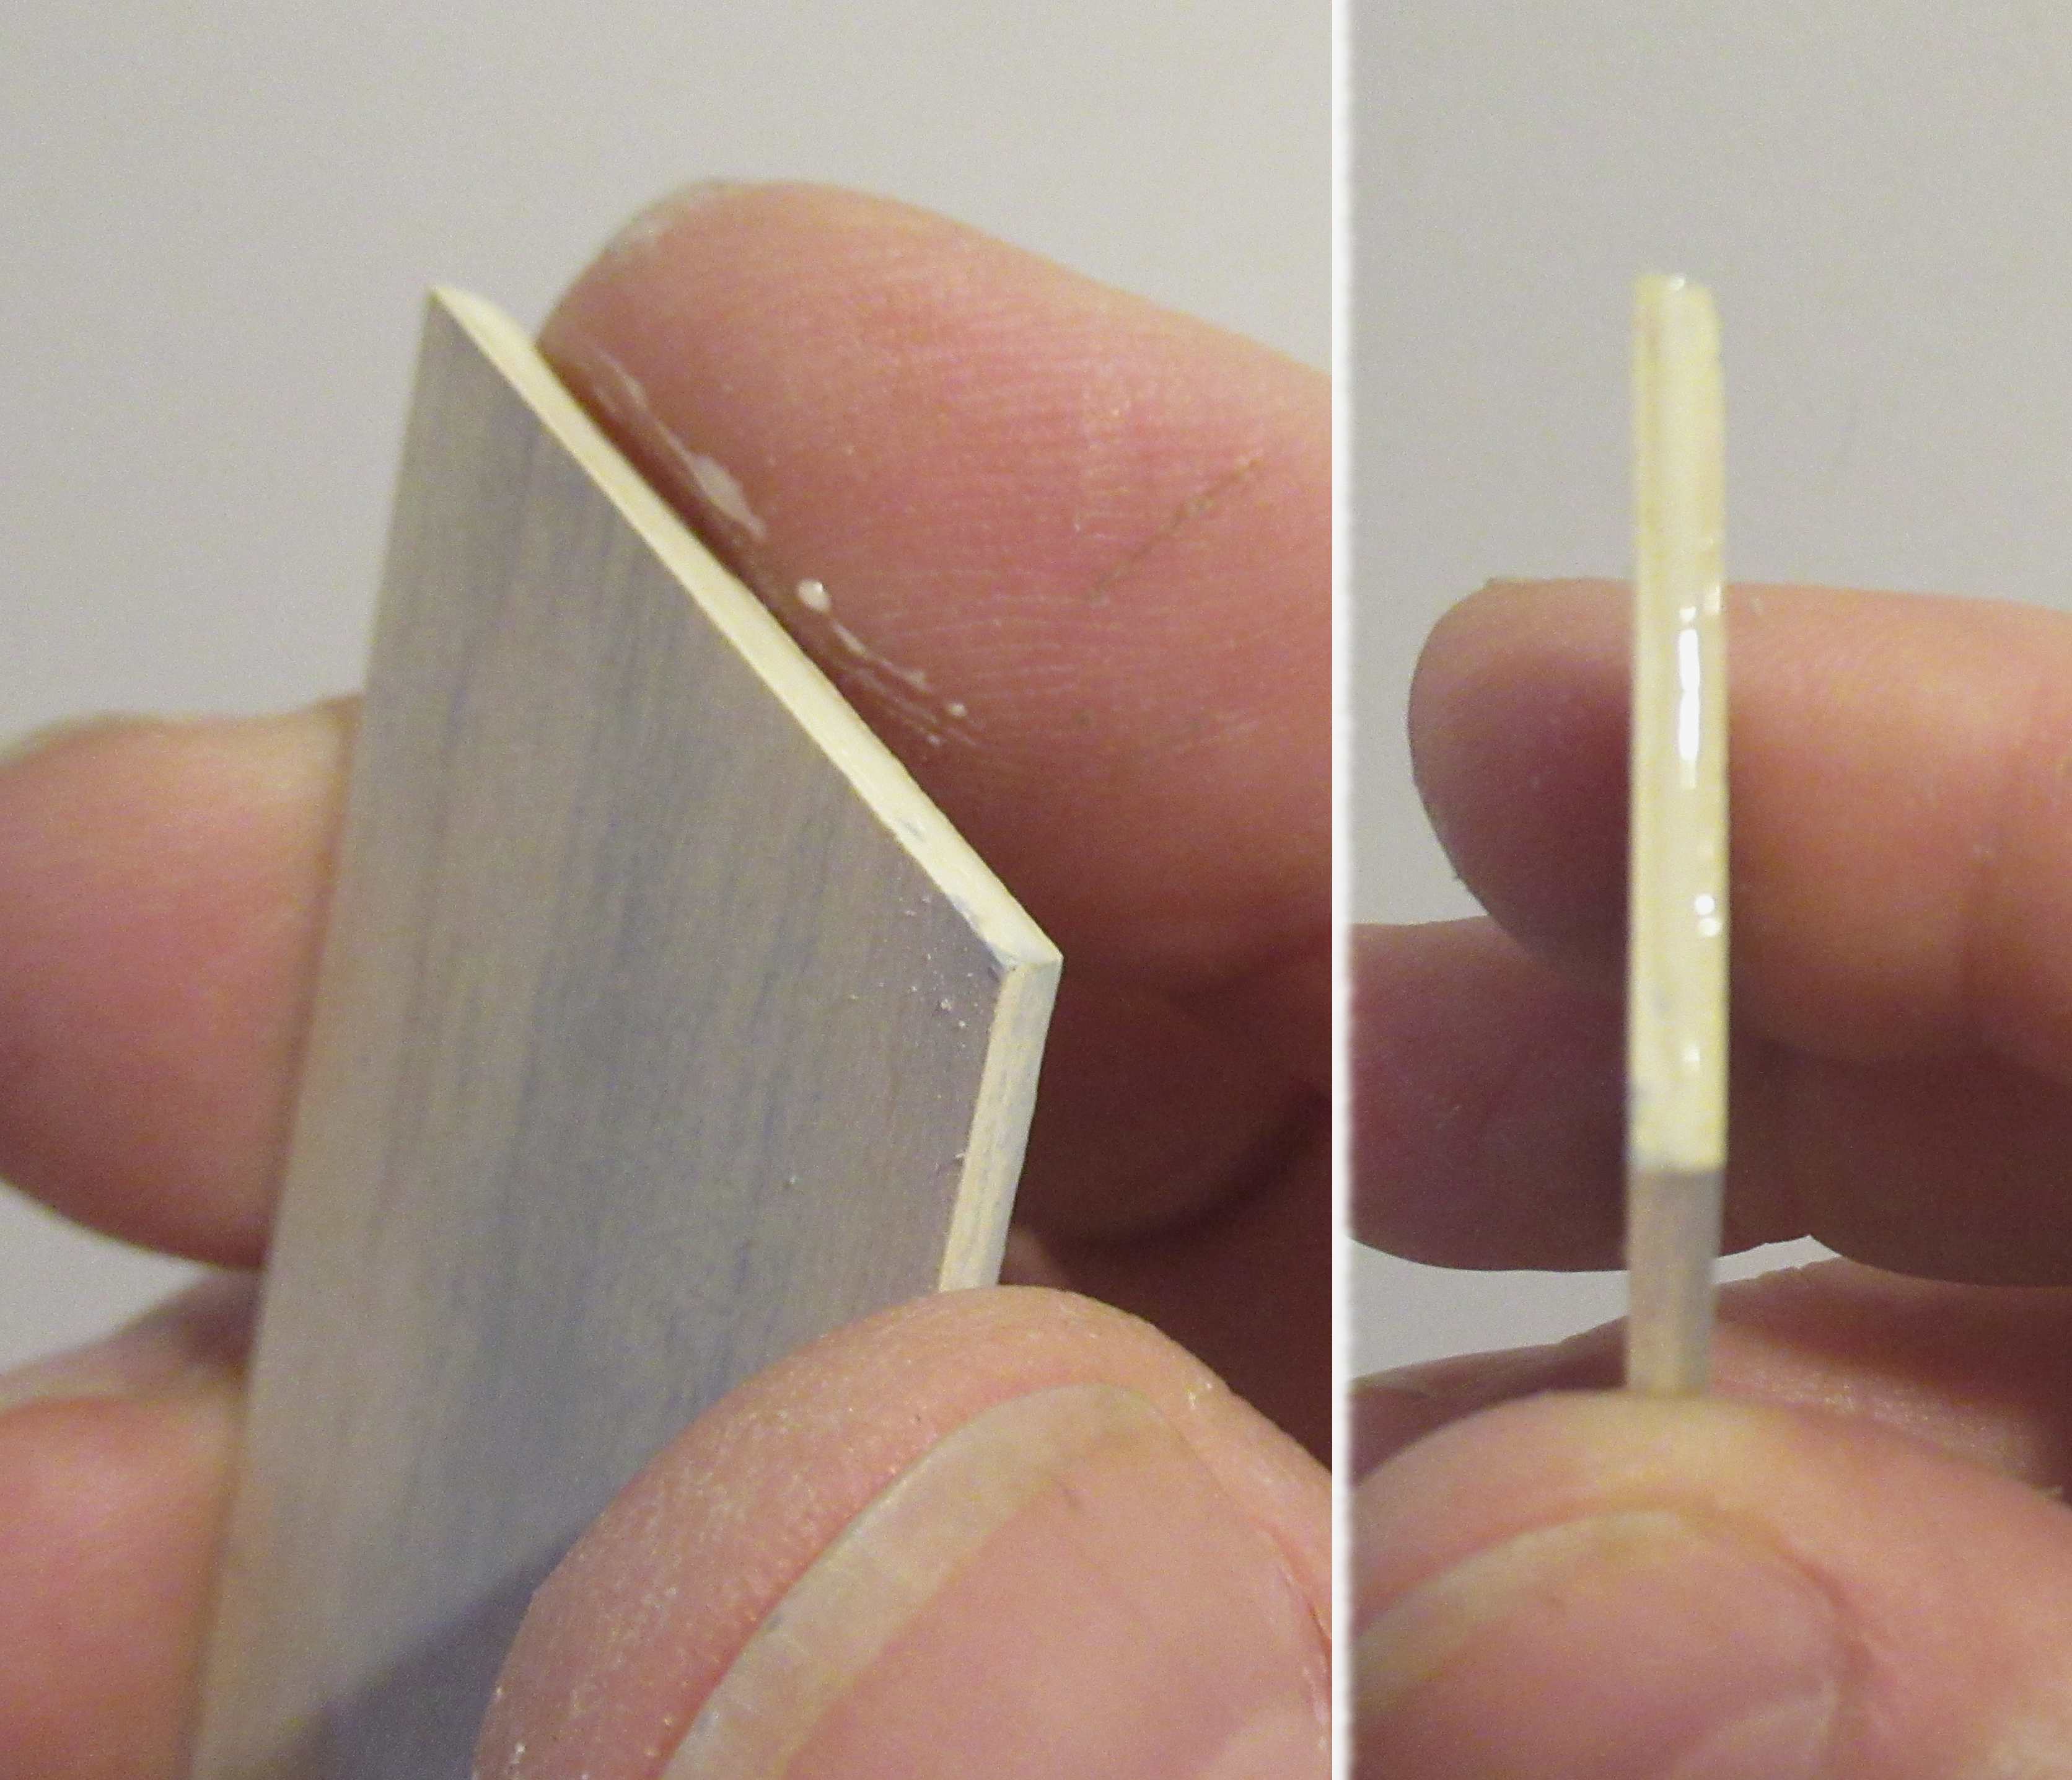
The centering rings I cut seemed a little thin.
Four were initially cut, I decided to double them up.

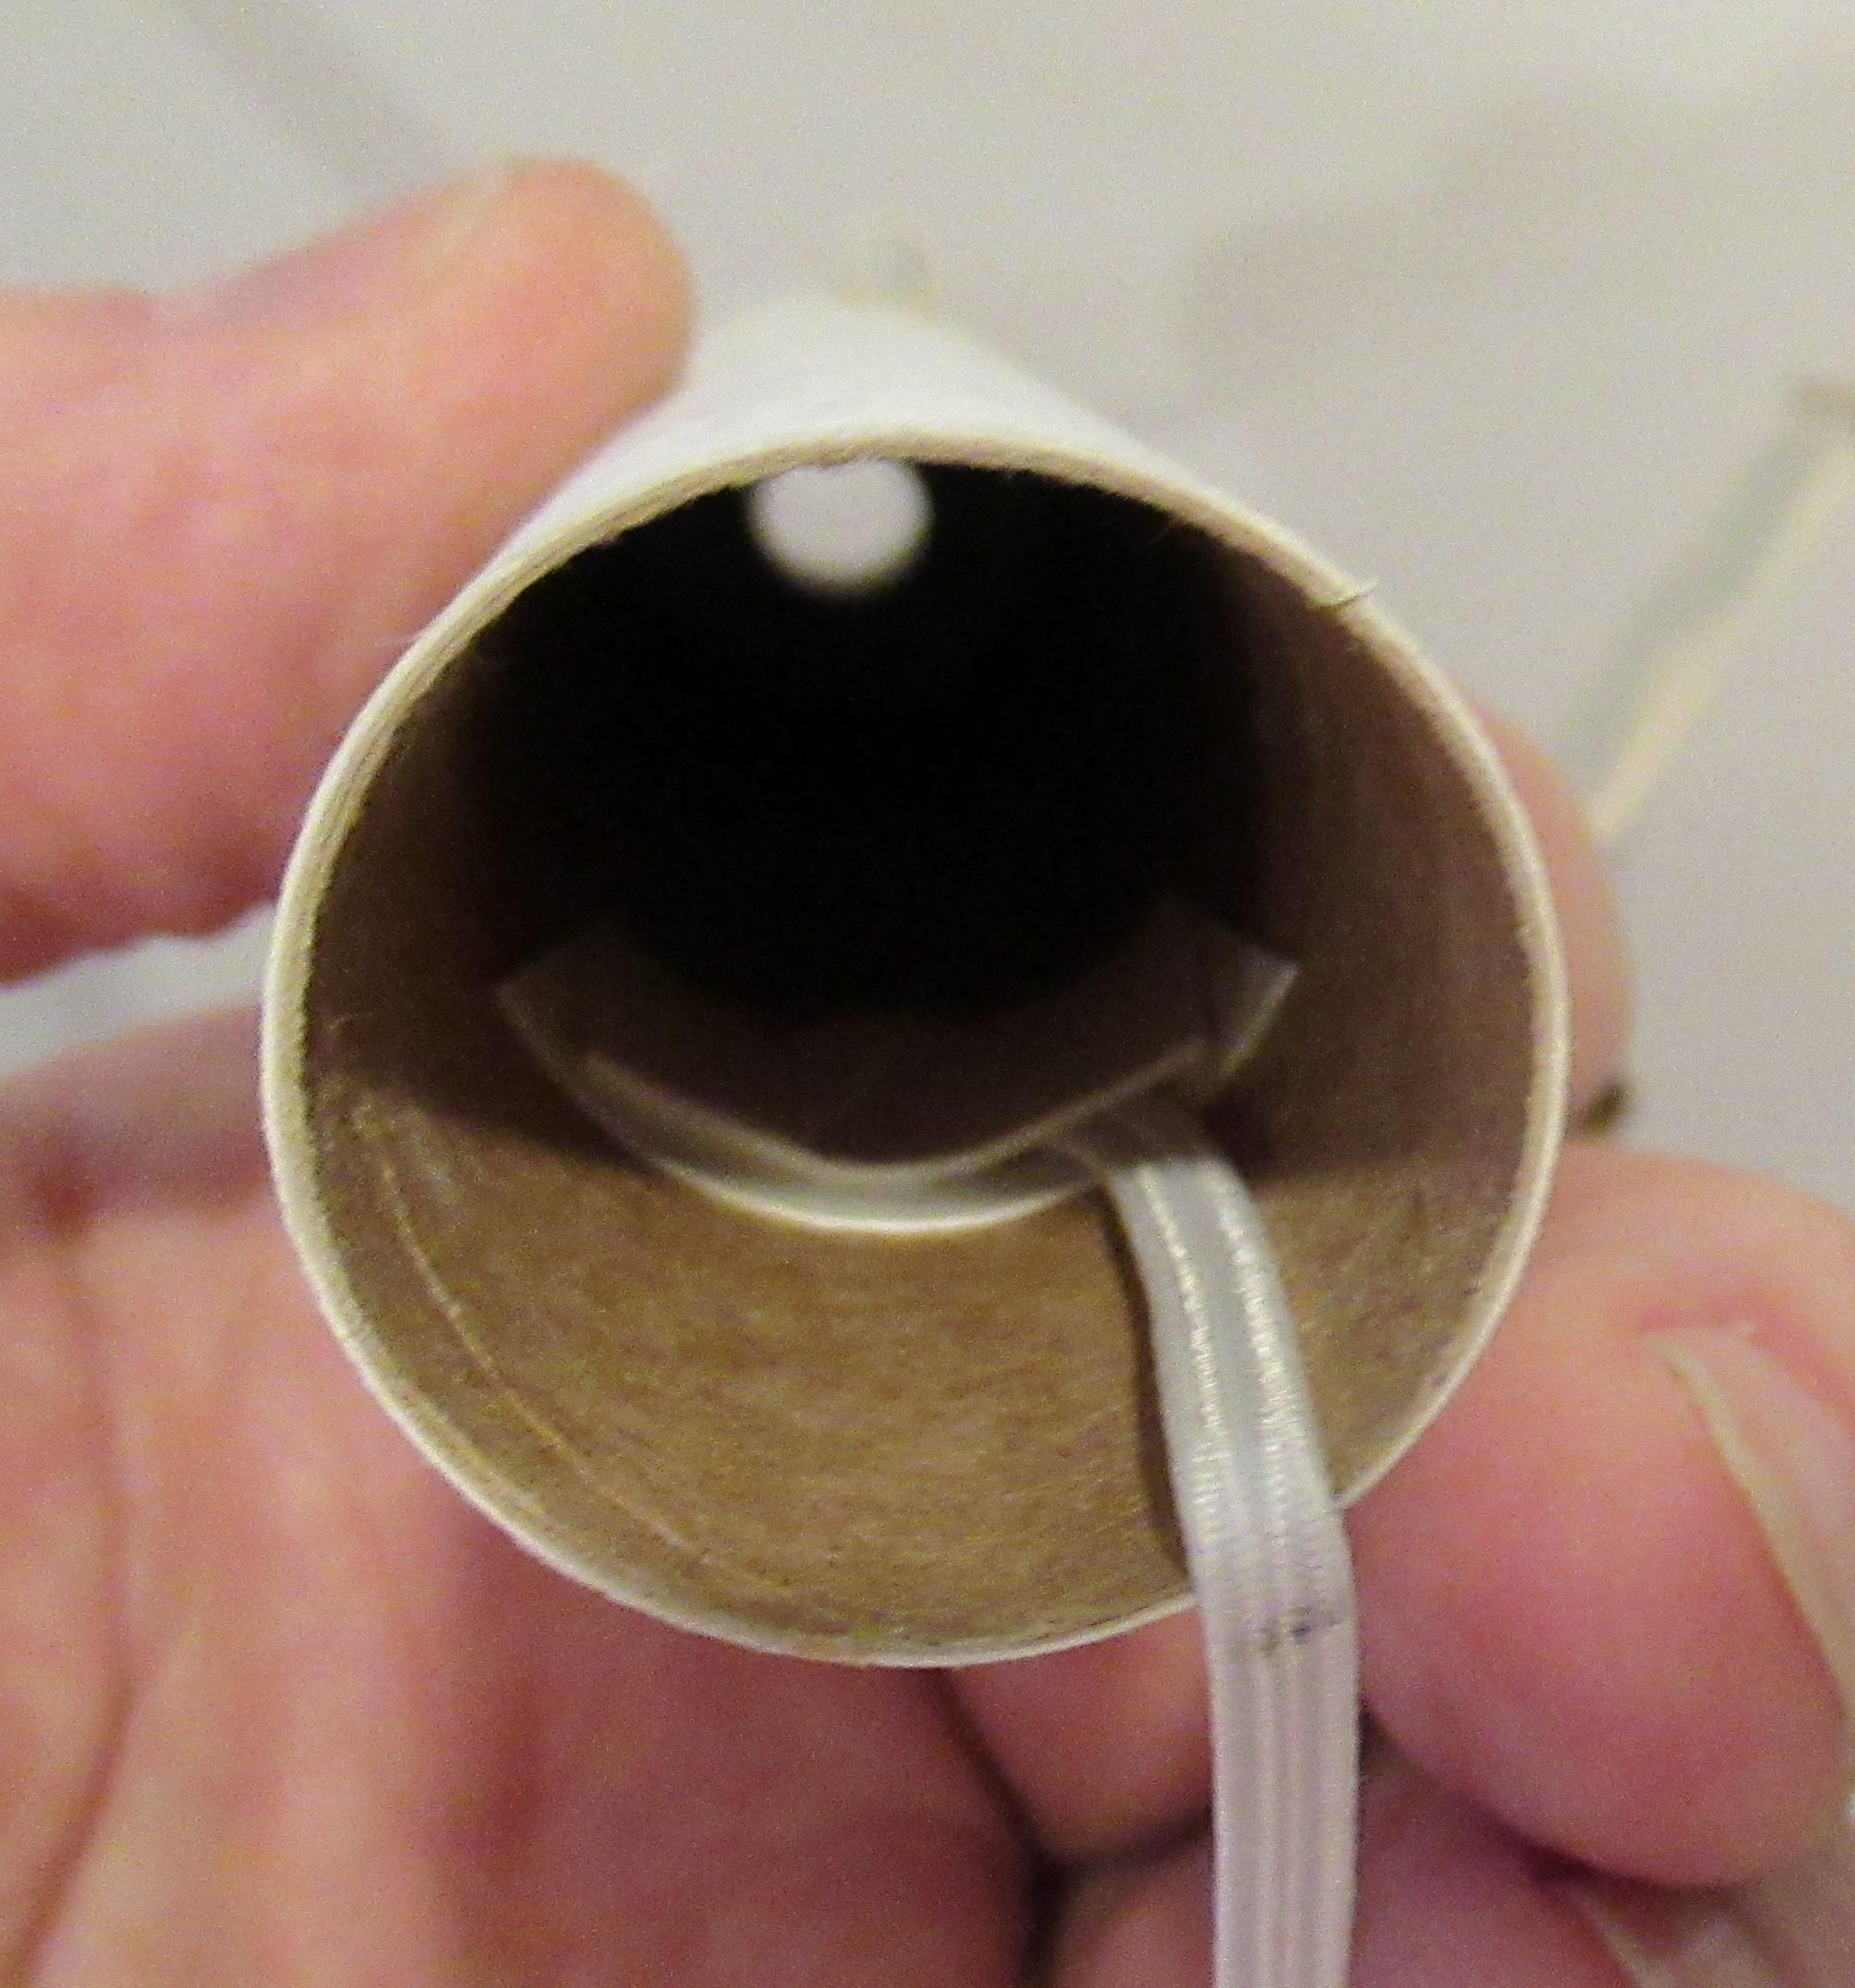
To be sure they were perfectly aligned on top of each other, one was slid (dry, no glue yet) over the BT-5 motor mount tube.

A light coat of glue was spread evenly over the second ring.

I'm not gluing the rings to the tube yet, just joining the rings.

The glued ring was slid over the tube and pressed against the ring already in place.

The two rings were closed using the (flipped) clothes pin clamps.
A second laminated ring was also made.

Friday, February 28, 2025

Estes Star Seeker BT-50 Upscale (Tri-Pack) Kit #0866, Part 1, Parts


After building an interesting BT-5 clone,
this one begs for an upscale. 

There are enough differences to make a larger model interesting.
Mentioned in the previous build, this isn't a 2X build. 
All original kit piece sizes will by multiplied by a factor of 1.8 to get the BT-50 sizes.


I'll be using 13mm motors. I made some 5/50 cardstock centering rings a few weeks back. We'll use them on this build.
In the picture above, the 1/4" lug "jets" tubes and "gun" dowels were cut at the same time as the previous BT-5 based build. They were also cut short. I recut both at the longer, correct length.

Wednesday, February 26, 2025

Estes Star Seeker (Tri-Pack) Kit #0866, Finished


Big graphic decals on a very small model!


Notice how close the door is to the base of the nose cone.


Not much to see on the underside.

For such a small rocket, it's an interesting design.
It begs for an upscale. That is coming . . .

Tuesday, February 25, 2025

Estes Star Seeker (Tri-Pack) Kit #0866, Part 9, Decals


After the door/windows decal has dried,

Cut through at the nose cone joint with a new razor blade.

I don't normally use Future clear coats. I find it unnecessary.
It will hold down an exposed edge that could be subject to peeling back.

On the left, a Q-tip was used as a brush to seal the decal on the leading edges.
On the right, another decal where the edge ends at the body tube.


The Kevlar was tied to the elastic shock cord using a simple overhand knot.

I'll trim off some of that excess.


In the comments I was warned about how easily the fins will break off on a hard landing. There's not much of a root edge to glue onto the body tube.
I decided to slow the descent with a streamer.

It'll probably still break off, but I gave it a try.

The body tube is short, but I could fit in the wadding, streamer and nose cone!

Sunday, February 23, 2025

Estes Star Seeker (Tri-Pack) Kit #0866, Part 8, Decals


I'm making the decals available to Patreon subscribers.
Both the BT-5 and BT-50 sizes will be on a home print PDF.

To get a canopy decal to fit around a nose cone, 
Cut with a rounded relief in the center for a some flexibility. 
Note: Rounded. Sharp corners can lead to tears of the decal film.

After the canopy was in place - 
The door and window decals were transferred. 
The nose cone body tube joint will be cut after the decals dry.


Enlarge the picture to see the wing reflection centered down the windows. 

This can happen with home print decals - 

The blue in the wing decal started to break up. This is usually caused by too many tries at repositioning. 
The decal sheet has two sets for the BT-5 size model.


There is some overhang on the outside edge.

After the decals dry, you can slit and remove the excess using a sharp razor blade.

Saturday, February 22, 2025

Estes Star Seeker (Tri-Pack) Kit #0866, Part 7, Paint & More Sanding


Here's the launch lug that will slide over the launch rod.
The rear of the lug is 5/8" from the rear.


After spraying the the model with gloss white,
some fillet bubbles showed. These were filled with more glue.


After the paint dried, the launch lugs showed how rough they were. 
This required some 400 grit sanding before another coat of spray.


No masking!
Just a clean, glossy white finish, ready for decals.

Friday, February 21, 2025

Estes Star Seeker (Tri-Pack) Kit #0866, Part 6, Fin Assemblies


Keep your glue lines short - 

Set the lugs in place and make the fin edges with pencil. 
Apply some glue up to the pencil lines and place the lugs.


Here's how the lugs set when set against the fin joint.  

The wing fin assemblies are glued to a standard 120 degree three fin spacing, using just two of the pencil lines. This makes a wide "W" shape.

The "flight" launch lug is glued onto the third pencil line.

Thursday, February 20, 2025

Estes Star Seeker (Tri-Pack) Kit #0866, Part 5, Fin & Launch Lug Assemblies


The dowels are glued to the top of the upper (unmarked) fins.


Two launch lugs are glued side by side.
Make two sets. I found it easier to make glue fillets now.


On the left, I've lightly sanded the glue line for better glue adhesion. 
On the right, the dowel fins are glued with that spacing overhang on the outside.

Be sure to make two "mirrored" fins.