Showing posts with label ASP. Show all posts

Sunday, September 11, 2022

ASP Micro Sandia Sandhawk Build, Finished


I like the use of thin plastic sheet for fins on MMX models.
Basswood certainly works but the plastic doesn't need any sealing or filling.

I ran into the same masking concerns on the ASP Micro Maxx Hawk. It's hard to get a good mask line on models this small. 


A good looking model and should really scoot as MMX rockets this size do.

Saturday, September 10, 2022

ASP Micro Sandia Sandhawk Build, Part 9, Decals

The decals are small and printed on white decal paper.
The instructions show an orange band above the body break. I thought maybe the green decal color might be wrong. I checked Alway's R.O.T.W. and the band is green.

It's hard to see, but there is a thin gray band below the green decal.
The decals are cut out along the black lines but not into the shite background. Cut close or you will see white outside of of the fin support plates.

Mentioned in the instructions - Down the center of two fin supports decals is a vertical line. These two with the center line go on opposite sides of the model.

I wish vendors would include an extra decal on the sheet so you could practice cutting and find the right soak times before transfer.


TIP: Roll a Q-tip to a point to press and set the decal tight into the root edges. 

When the decals are dry, I'd recommend brushing on some Future Floor Finish Acrylic into the root edges with another Q-tip.

Friday, September 9, 2022

ASP Micro Sandia Sandhawk Build, Part 8, Masking For The Red & Black


Here's the low end after the final gloss white undercoats.
Everything looks good, the little root edge fillets are smooth and even.
Masking the small fin root edges was tricky.
All four fins were taped off to remain white. One fin will be painted black later. The upper body tube/nose cone section also remain white.

The instructions call for a phosphorescent red/orange paint. The Alway R.O.T.W. book says red/orange. The old Estes kit #1251 says to use matte red. I didn't have red/orange, it's a tough spray paint color to find. I took the easy route and went with red.

The inset picture shows the mask lines after the tape was lifted.
The upper root edge separation is good, the lower root edge line is a little rough. It might need some scraping and touchup.


One fin is painted black - 
Here's that mask.


This is after the tape was pulled. Not a perfect color separation but on a model this small it'll do.

Thursday, September 8, 2022

ASP Micro Sandia Sandhawk Build, Part 7, Fin Fillets & Streamer Attachment


The CA glue fillets were lightly sanded smooth with 400 grit before spray painting an overall gloss white.


This shows how small the model is, just under 7" tall.

After the first gloss white paint coat dried, I ran the backside of my blade down the fillets to feel for any dips.

One fillet did have some divots. Another CA fillet followed with light sanding.


The Mylar streamer is taped to the Kevlar line.
Scotch tape was set down, wider than the width of the streamer. 
After pressing in place, the overhanging tape was  trimmed off without cutting into the Kevlar. 

Wednesday, September 7, 2022

ASP Micro Sandia Sandhawk Build, Part 6, Fin Gluing


The launch lug diameter seems tiny!
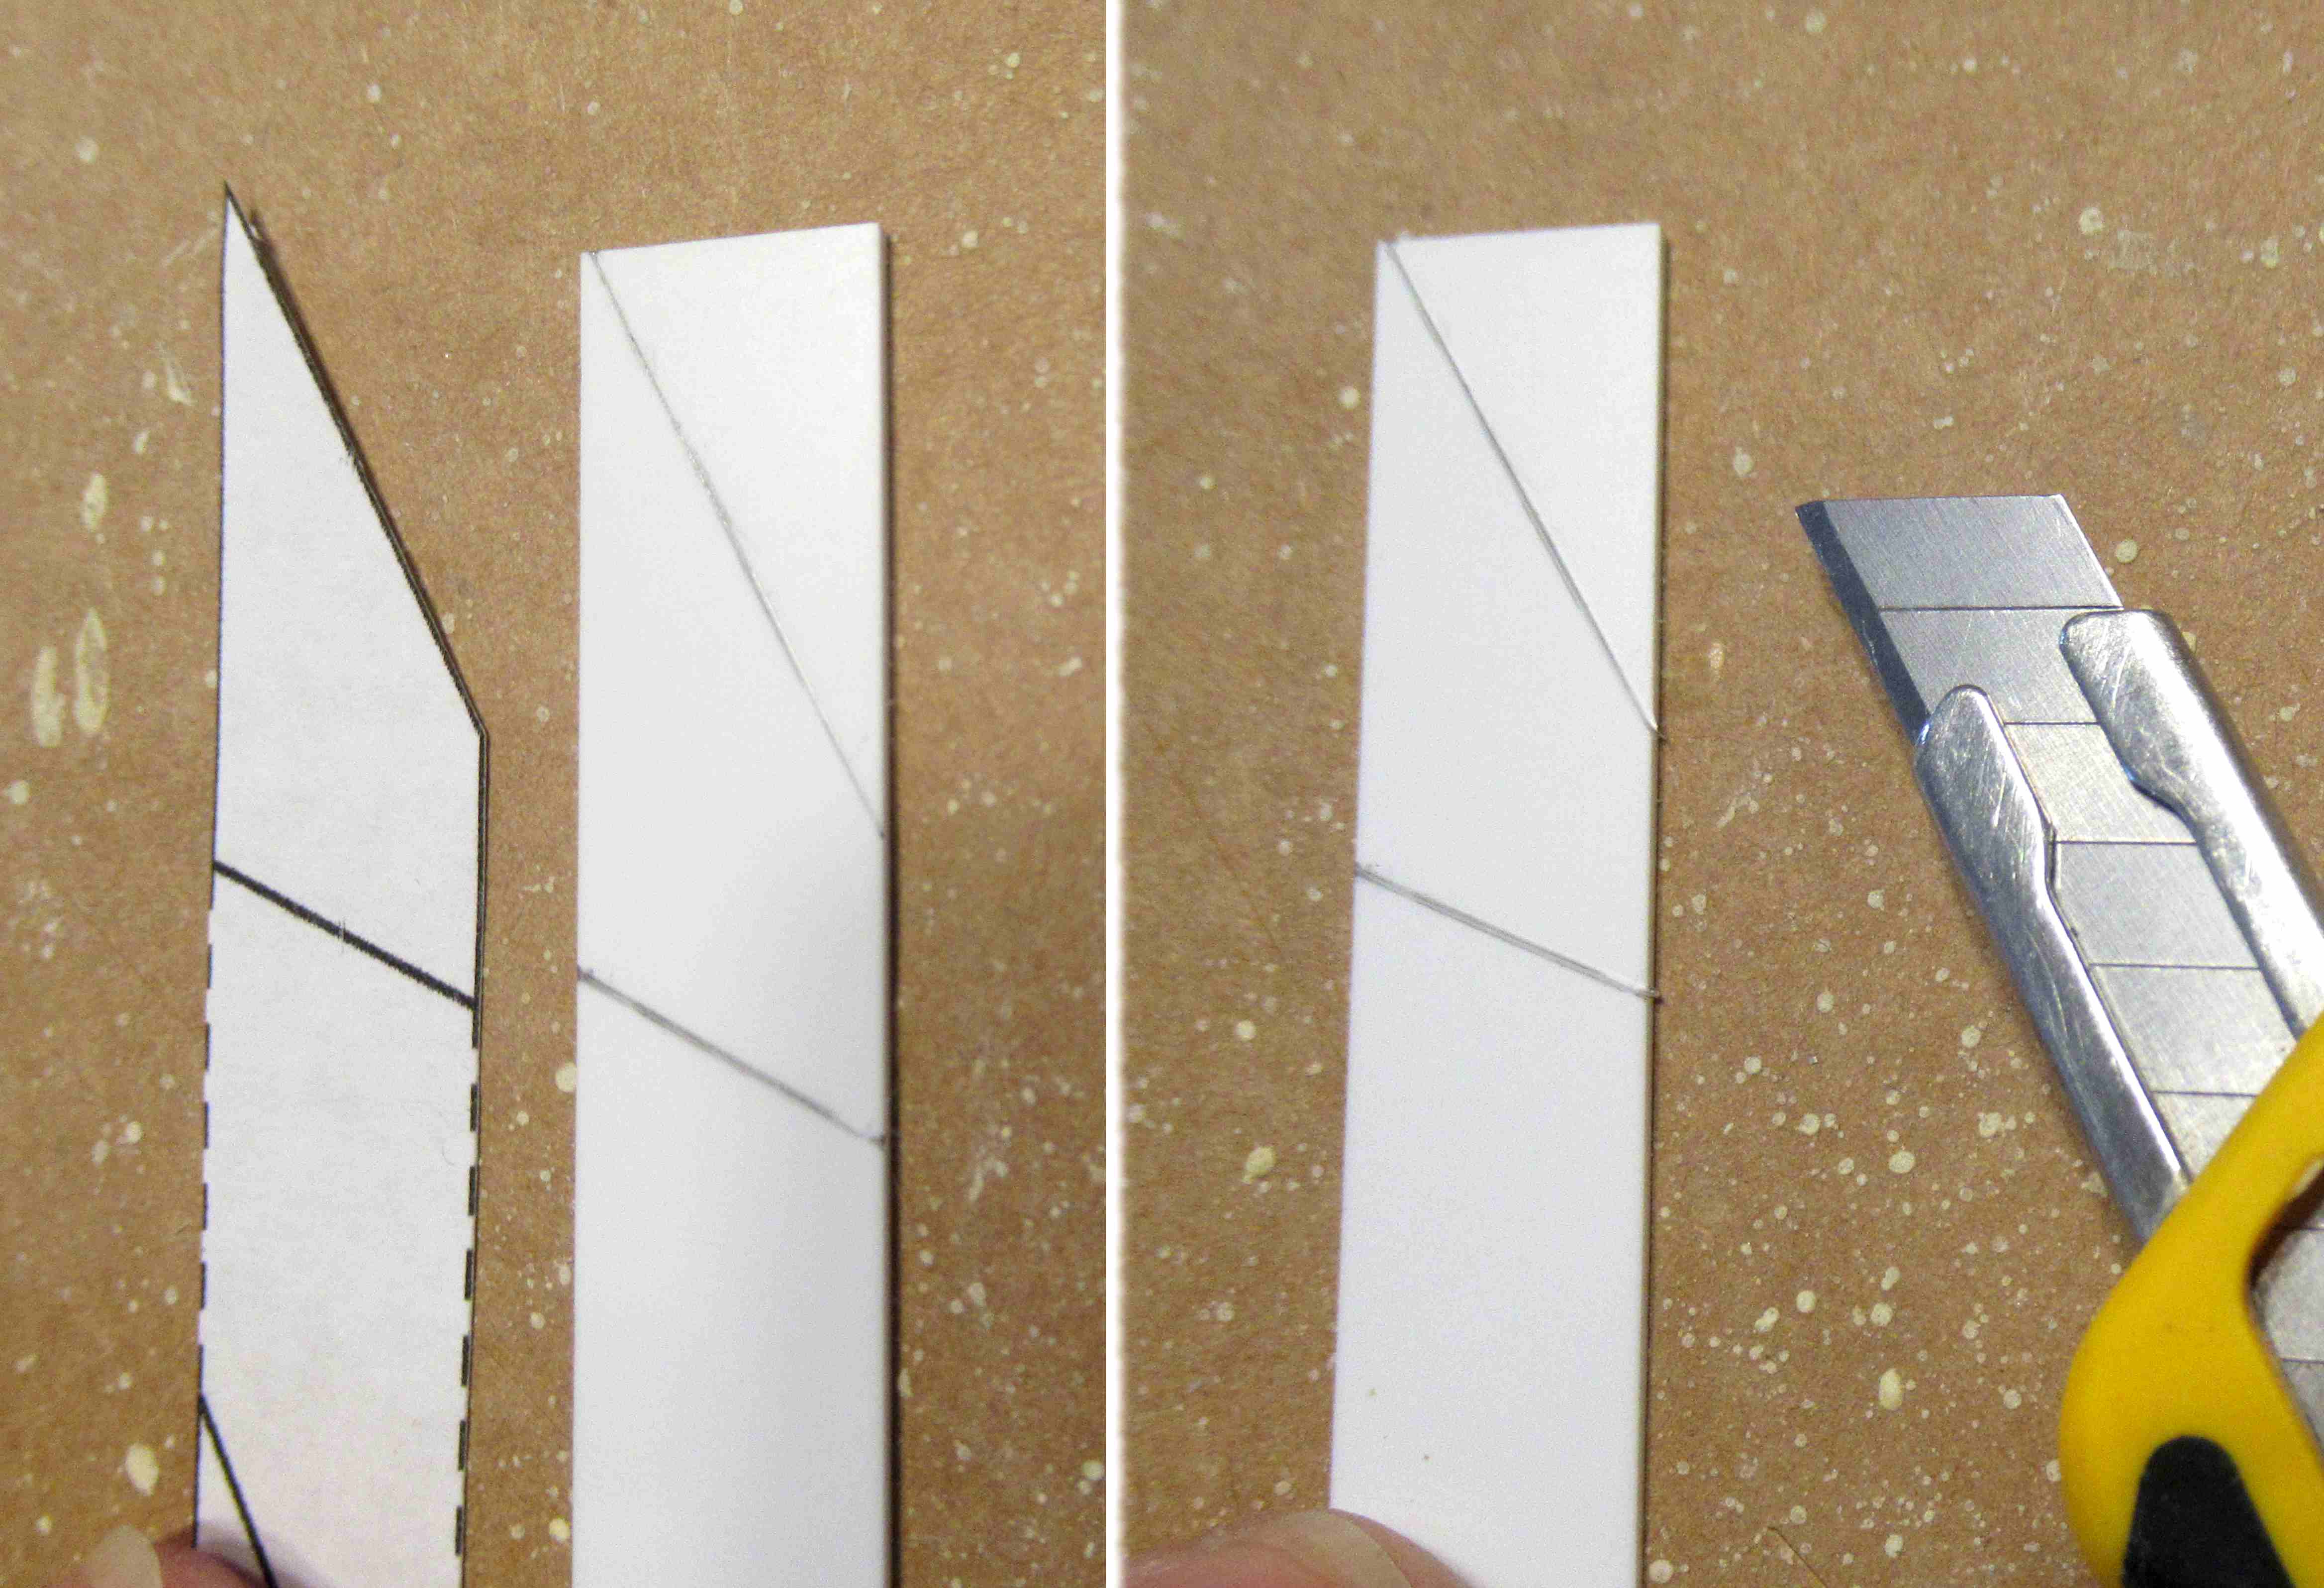
I rolled my #11 blade tip to remove any burrs along the ends.


I don't normally use CA glue for rocket construction and Fabri-tac is a bit thick for gluing on the fins - a plastic to Kraft tube bond.

I set a drop of CA glue on cardboard. The root edge of the fin was drawn through the wet pool of glue and set on the pencil lines.


The left over length of coupler was slid into the rear of the body tube - no glue! The fin placement lines were extended down onto the coupler for easier visual alignment.

Place fins on opposite sides, look across the trailing edges to be sure they are in line.
Double check the fins to be sure there isn't any overhang.


After the fin is initially tacked in place -
Dip a sharpened toothpick into a drop of CA glue. Run the glued tip down the root edge making a fillet.

Pick up and remove the excess with a quick Q-tip wipe.

Tuesday, September 6, 2022

ASP Micro Sandia Sandhawk Build, Part 5, Nose Cone & Coupler


There are some small nubs in the shoulder base left from the 3D print process. Sand them off with a block.

The nose cone is glued into the shorter upper tube with Fabri-Tac.


The longer coupler gets a small hole "drilled" into the top.
After spinning a blade tip, the hole was rounded out using the tapered end of a mechanical pencil.

The inset picture shows the Kevlar line tied through the hole. 


The coupler is glued all the way into the upper tube. The upper end of the coupler butts up against the shoulder of the nose cone.

The coupler that sticks out the back is the shoulder that joins the two tubes.


The nose cone joint seam got a CWF fill.


After sanding down the CWF, the body got a shot of filler/primer and sanding.

Monday, September 5, 2022

ASP Micro Sandia Sandhawk Build, Part 4, Engine Mount


The engine block is a little different on this one.
You have two 1 1/2" long couplers included in the kit.

To make the engine block, one coupler is cut in two making a 3/4" long block. It is easiest to use a single edge razor blade for this cut.

The Kevlar line is looped and tied around the coupler and tied.

Mark the second coupler at 3/4". This depth gauge allows a MMX motor to extend 1/4" out the back of the body. 

Thread the Kevlar line through the tube and out the top. Slide the 3/4" long coupler block into the tube end. 
Push the engine block into the tube up to the 3/4" pencil mark on the longer coupler.


The instructions say to use Super Glue (CA) to set the coupler/block.
I used a small drop of wood glue set in place with a Q-tip stick. 
 

Sunday, September 4, 2022

ASP Micro Sandia Sandhawk Build, Part 3, Cutting Out The Fins


Underneath the four fins is the remaining fin plastic
There is enough fin material for eight fins!


- If you back them up end to end when doing the tracings.


Score the plastic and bend at the cut line to separate the pieces.
TIP: You can score the narrow tip a bit deeper than the rest of the fin sides so the break line remains straight.

The fins edges are cleaned up with 220 grit on a sanding block.


The instructions suggest the leading edges can be sharp. 
I rounded the leading edge and left the other sides square.


It helps to keep the small parts in a zippered baggie. 
These small pieces can end up anywhere!

Saturday, September 3, 2022

ASP Micro Sandia Sandhawk Build, Part 2, Cutting Out The Fins


Here's a page of the instructions. 
I held the page up to a window to allow sunlight to show through both sides of the page.
Note how ASP has no print on the backside of the paper of the fin template and body tube marking guide. 

Thanks ASP! You can cut out the guides without cutting up the instruction copy. 


The fin template is set over the flat plastic fin material.


Here's the first tracing.
You don't need space between the fins as drawn on the template.

Check the next blog post to see what I mean.

Friday, September 2, 2022

ASP Micro Sandia Sandhawk Build, Part 1, Parts


Here we go with another MicroMaxx build, this time the Aerospace Specialty Products (ASP) Micro Sandia Sandhawk. The parts are shown above.


The parts of interest:
Two brown couplers, Smooth 3D printed nose cone, Angled plastic fin marking tool, Sheet plastic fin material.


Water slide decals are included.
Looking at the face card drawing, the wrap around decal doesn't seem to be the correct orange/yellow color. The decal is correct - more on that later.

Between the fins are the four bolt and plate decals.

Saturday, March 5, 2022

ASP Ram B Build, Finished


This is visually, a busy rocket!
Red, White, Green Black, Gray and Silver!


At the top and bottom of the largest black vinyl pieces are horizontal 1/8" wide strips.

The red band goes on last.


Here's the upper section with the smaller fins and the spiral band.


And, the nose section.
Call it done!

Friday, March 4, 2022

ASP Ram B Build, Part 14, Fin Leading Edge Trim


The leading edge trim is cut using one of the templates.

Lay the strip down the middle of the leading edge by sighting down from the rear. Get both sides as even as you can.


Initially, the black trim strips look very good.


But, after an hour -
The vinyl strips started to lift and couldn't be used.

I could mask and spray the black leading edges but it's a lot of work!
I'll pull the fin vinyl and call it done. This model is very colorful and doesn't really need the fin trim -  Unless you are a real scale guy.

Thursday, March 3, 2022

ASP Ram B Build, Part 13, Thin Vinyl Spiral Trim


Getting a smooth flow on these vertical lines is tricky.
A 1/8" wide strip is pre-cut for you.

Set the lower, shorter piece first.
Start at the low root edge. This piece finishes at the top of the adjacent fin root edge. 
The ends are carefully trimmed down the root edge.

The next longer piece starts on the other side of the fin and continues in a spiral.
Hopefully it ends directly over the starting point. Mine was close!

Oops! If I had followed the color and masking directions - 
There wouldn't have been a launch lug in my way!

I had to trim the vinyl to sit around the lug.
I always cut the tall slot too wide. The slot could have been narrower to tuck into the launch lug fillets.

Wednesday, March 2, 2022

ASP Ram B Build, Part 12, Large Vinyl Trim


This is the vinyl trim template sheet.
Cut them out using a knife and straightedge.

You are given enough black vinyl that if a mistake is made you can cut out a replacement. 

Notice the Lower Back Section template.
Here's how the lower vinyl section piece fit between the fins. 
Even though I used thinner 3/32" balsa, there would be some gaps near the tops of the root edges if the 1/8" thick balsa were used. 

If I were to do it again I would cut the the recesses wider to touch the root edges. Trying to match the rounded leading edge would be tough. 


Check the fit of the template before cutting out the Upper Black pieces. You might have to make adjustments to the width.


Matched corners on one side - 


Might not meet on the other.
I couldn't use this piece and had to cut another one slightly wider.

Tuesday, March 1, 2022

ASP Ram B Build, Part 11, NC Touch-up, Clay Weight & Parachute


On the left is the nose cone mask, a little rough.

I've mentioned before how good the Ace Hardware Premium Enamel is. It also takes brush touch-ups very well.
I sprayed some light gray into a cup and touched up some small areas that got scraped off when removing some of the silver.

The picture on the right shows the smooth touchup.

The balsa adapter is glued into the upper BT-20 tube. The clay nose weight is pressed into the tube and against the top of the adapter.

You are given more clay than will fit with the nose cone slid in place. Remove enough to slide the entire nose cone shoulder in.


The large screw eye was set in the adapter base and the shock cord tied on using a Duncan Uni Knot.

A overhand loop was tied in the shock cord about three inches from the screw eye. 

The eight sided Mylar parachute was clipped onto the loop in the shock cord.